How To Level A Bumpy Lawn In Virginia Without Heavy Equipment
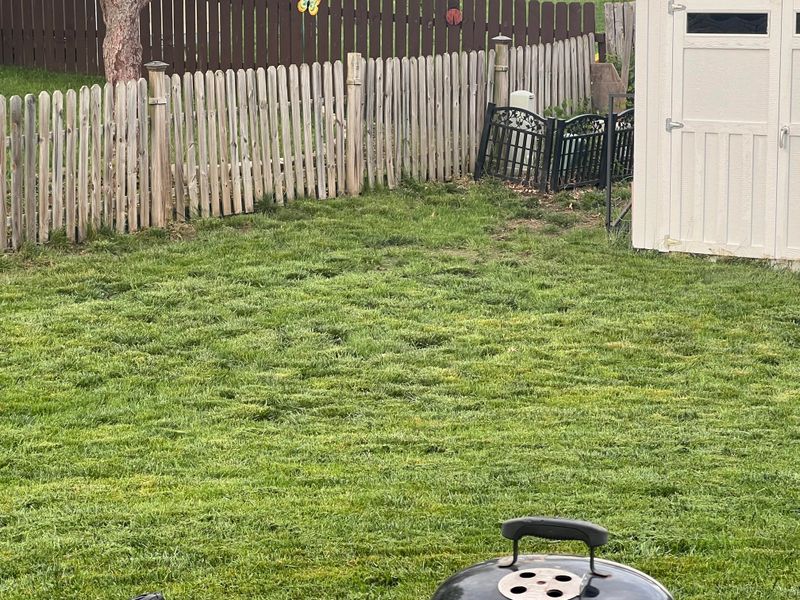
Rolling an ankle in your own backyard is a special kind of frustrating. A lumpy lawn feels like walking across a giant waffle, and it turns mowing into a bouncy chore.
Across Virginia, heavy clay, busy moles, and wild winter temperature swings all love to rumple a nice yard. Over time, those small bumps and dips add up.
Smoothing things out doesn’t require rented machines or roaring engines. A rake, a wheelbarrow, and a little patience handle most of the work.
Soft, even grass underfoot on a warm summer evening is closer than you think. A sandy topdressing mix and good timing do most of the heavy lifting.
The steps below show how to turn bumpy ground into a lawn your neighbors will notice. Some take an afternoon, while others work best in small rounds over a few weeks.
Figure Out What Caused The Bumps
Think of yourself as a lawn detective for a moment. Before grabbing any tools, you need to know why the ground went lumpy.
Virginia yards face a special troublemaker called frost heave. Clay soil freezes and thaws unevenly, pushing up bumps by spring.
Animals can also stir up plenty of mischief underground. Moles and voles tunnel just below the surface, leaving ridges and little mounds.
Pets play a part too, especially dogs who love to dig. Look for holes near fences, gates, or shady spots where they lounge.
Foot traffic on soggy ground leaves its own marks. Walking across wet clay after a storm can press small dents into the yard.
New homes often have settling soil from construction work. Loose fill dirt sinks over the years, creating dips in random places.
Grubs, tree roots, and thick weed clumps cause trouble as well. Peel back a loose patch of grass to check for white, curled grubs.
Fixing the cause first saves you from repeating the job. Smoothing mole hills is pointless while the moles keep digging fresh tunnels.
Walk your yard slowly and jot down what you notice. A quick sketch showing high spots and low spots helps you plan the work.
Here is a handy trick for spotting hidden dips. Lay a long, straight board across the grass and watch for gaps underneath.
Once you know the culprit, the rest gets much easier. Treat grubs, manage moles, or reroute foot paths before moving on.
Mow A Little Lower Before You Start
Picture trying to paint a wall covered in fuzzy blankets. Tall grass does the same thing to your leveling mix, catching it before it reaches soil.
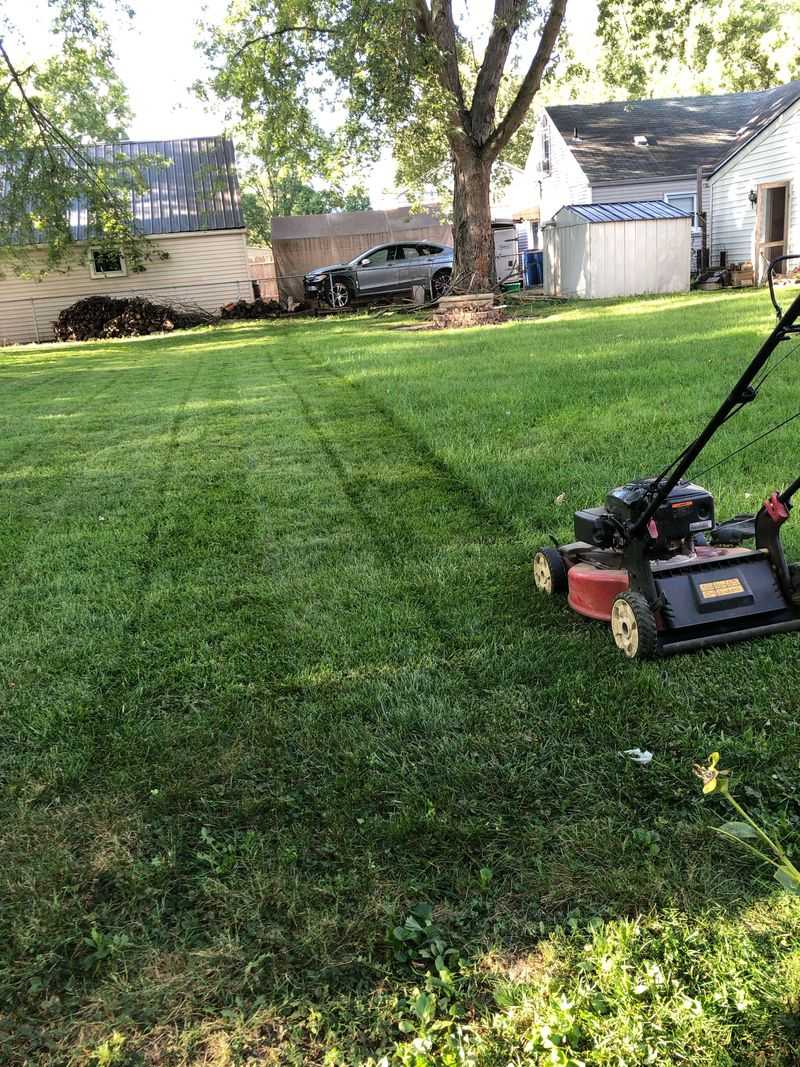
A slightly shorter cut fixes that problem quickly. Aim for about 2 to 2.5 inches on your mower setting.
Lower grass also reveals the lumps more clearly. High spots and shallow dips suddenly pop out once the blades are trimmed.
Be careful not to go too far, though. Scalping the lawn down to brown stems stresses the grass and slows recovery.
Most Virginia lawns grow tall fescue, which prefers a taller height normally. Dropping it just one notch for this project is usually plenty.
Your Virginia Garden Changes Every Week. Your Plan Should Too.
Gardening in Virginia changes quickly throughout the season. Every Friday you’ll receive a simple weekly plan showing exactly what to plant, prune, fertilize, harvest, and protect so you never miss the right timing.
Bag your clippings instead of letting them scatter. Loose grass bits can block the topdressing from settling into the turf.
A quick rake afterward helps catch any leftovers. Even small clumps can trap sand and leave uneven spots later.
Timing your mow matters more than people expect. Cut the grass a day or two before spreading any soil mix.
Sharp blades make a real difference here as well. Dull ones tear grass tips, leaving ragged ends that turn brown and weak.
Got a mower that has been sitting all winter? Spend ten minutes sharpening the blade before you begin.
Once the yard is trimmed and tidy, you can see your true starting point. Now the real smoothing work can begin.
Core Aerate To Loosen The Soil
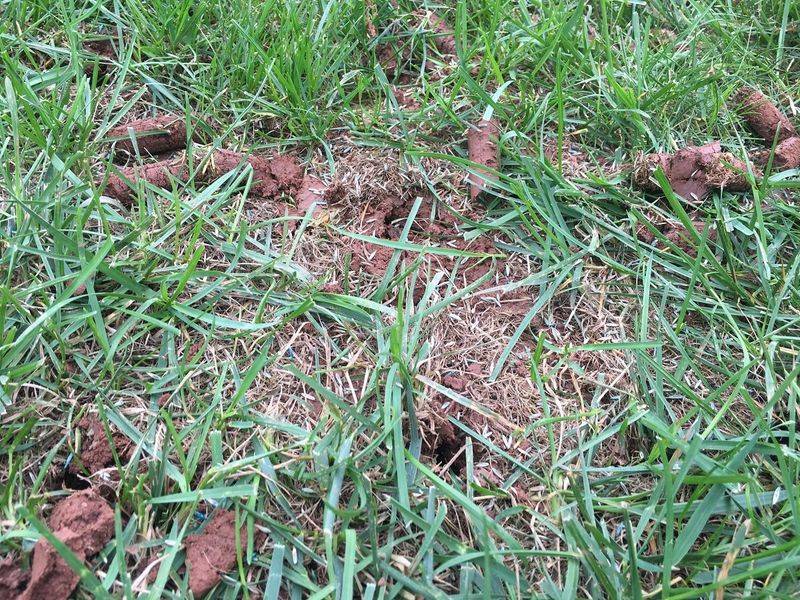
Clay soil can feel like a brick after a dry spell. Roots struggle to push through, and water just runs off the top.
Core aeration pulls small plugs of dirt out of the ground. Those tiny holes let air, water, and food reach the roots.
Much of the state sits on dense, sticky clay. Aerating before you level helps the new mix blend with the soil below.
You do not need a big gas machine for small yards. A manual core aerator with foot pedals works fine with some elbow grease.
Step on the tool every few inches across the lawn. Rows that overlap slightly give the best coverage.
Leave the soil plugs sitting on the grass. They break down in a week or two and add helpful nutrients back.
Moist soil makes the job much easier. Water the lawn lightly the day before so the tines slide in smoothly.
Avoid aerating when the ground is soaked and muddy. Wet clay smears and seals the holes instead of opening them.
Spike aerators that only poke holes are not the same thing. Solid spikes can press soil tighter, which defeats the purpose.
Fun fact: golf course crews aerate their greens several times a year. Smooth putting surfaces depend on loose, breathing soil underneath.
Once those holes are open, your topdressing has a place to go. Sand and compost will trickle down and improve the ground over time.
Mix A Sandy Topdressing Blend
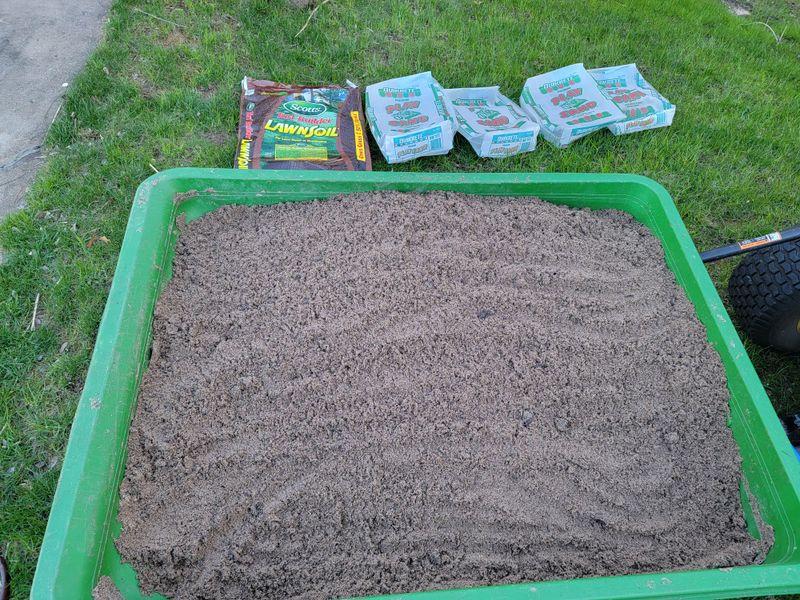
Every good recipe starts with the right ingredients. Your leveling mix is no different, and the blend really matters.
A popular choice is two parts topsoil and two parts sand. Add one part compost for extra nutrition and better texture.
Some pros prefer a simpler 70 and 30 mix. That means 70 percent medium sand with 30 percent compost.
Sand helps the mix spread evenly and settle into low spots. Compost feeds the grass and helps hold moisture during hot weeks.
Washed sand works best for this kind of job. Avoid play sand, since its fine grains can pack down tightly.
Virginia clay needs special care when choosing materials. Mixing in some native soil helps prevent layers that block water flow.
Buy your materials from a trusted garden center if possible. Cheap fill dirt often hides weed seeds that sprout later.
A wheelbarrow and shovel make easy mixing tools. Turn the pile several times until the color looks even throughout.
Try to keep the mix fairly dry while you work. Damp clumps are harder to spread and leave lumpy patches behind.
How much will you need? One cubic yard covers roughly 650 square feet at a half inch deep.
Bulk delivery usually costs less than buying dozens of small bags. Ask a neighbor to split a load if your yard is small.
With your blend ready, the fun part is just ahead. Spreading comes next, and a light touch wins.
Spread It Thin With A Leveling Rake
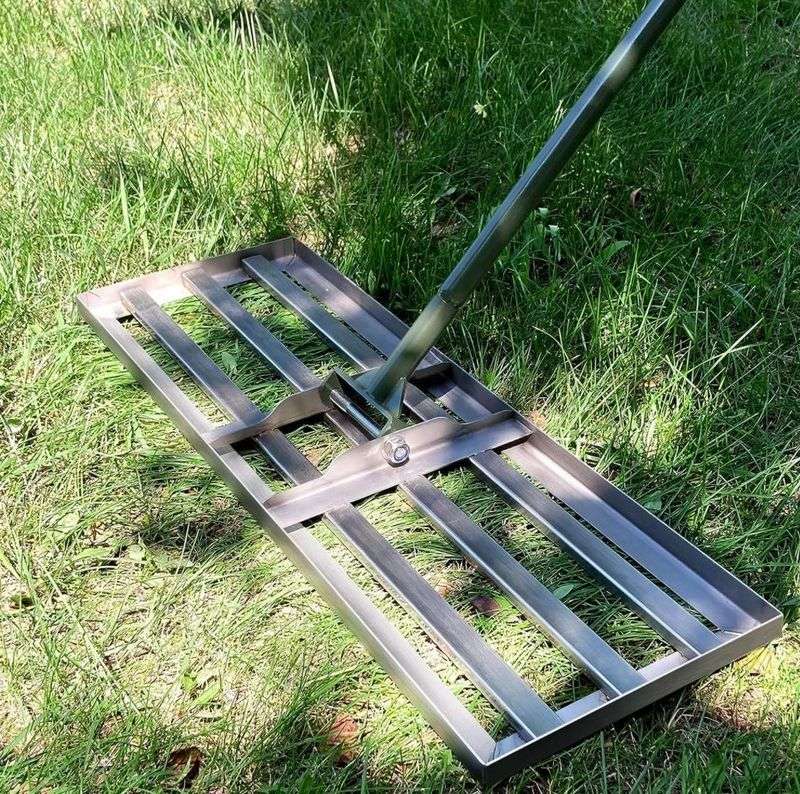
Less really is more when spreading your mix. Piling it on too thick can smother grass and leave yellow patches.
Aim for about 1/8 to 1/2 inch at a time. You should still see grass tips poking through the layer.
Dump small piles across the bumpy areas first. Then work each pile outward with steady, even strokes.
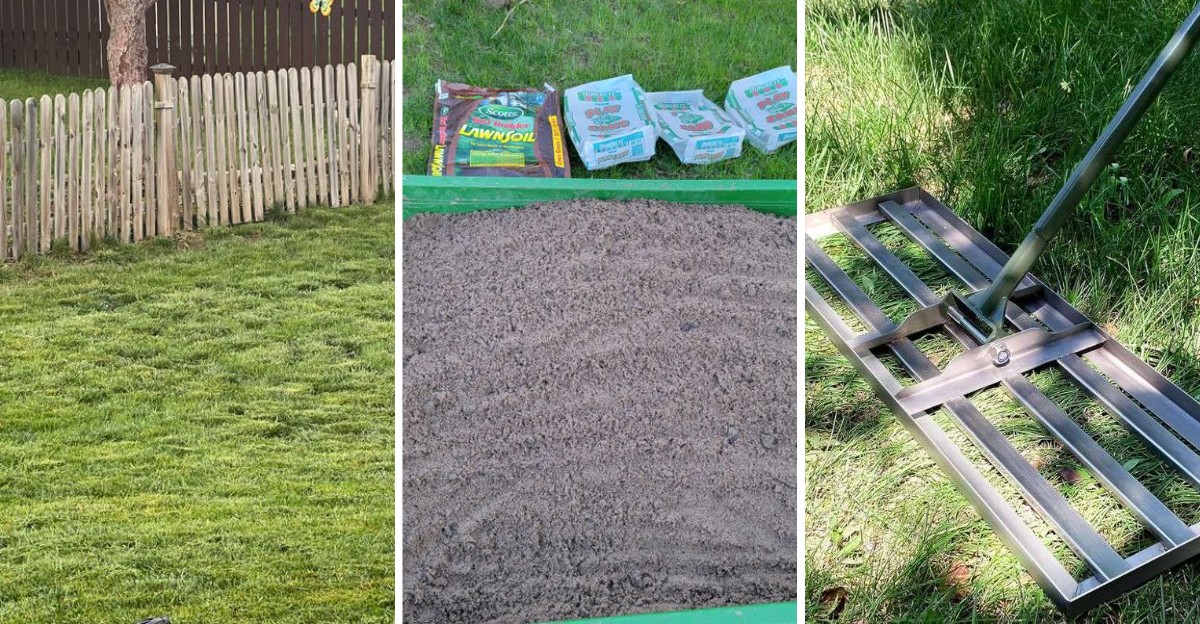
A leveling rake makes the job far easier. Its wide, flat head glides over the lawn and pushes soil into low spots.
No leveling rake in the garage? Flip a regular garden rake upside down and use the flat back.
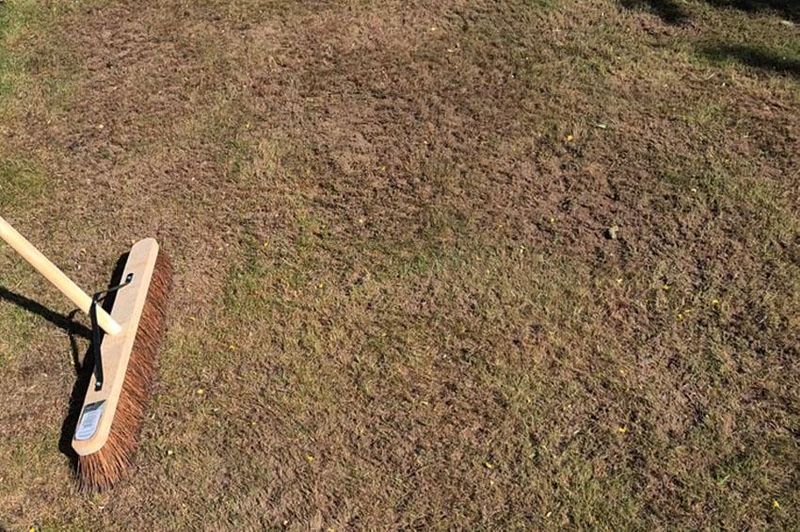
Some folks finish with a stiff push broom. Sweeping helps nudge the mix down between the grass blades.
Move the rake in different directions as you go. Crisscross strokes help catch dips you might miss going one way.
Stop often and look at the lawn from a low angle. Kneeling down shows bumps that are hard to spot standing up.
Spread on a dry day with light winds. Wet mix clumps together, and gusts can blow sand into flower beds.
Little gaps are fine at this stage. You can add more later once the grass grows through this first layer.
Leveling rakes are sold at most hardware stores. They cost far less than renting machines and last for years.
Take breaks when your arms get tired. Steady, careful work beats rushing every single time.
Lift And Refill Deep Dips
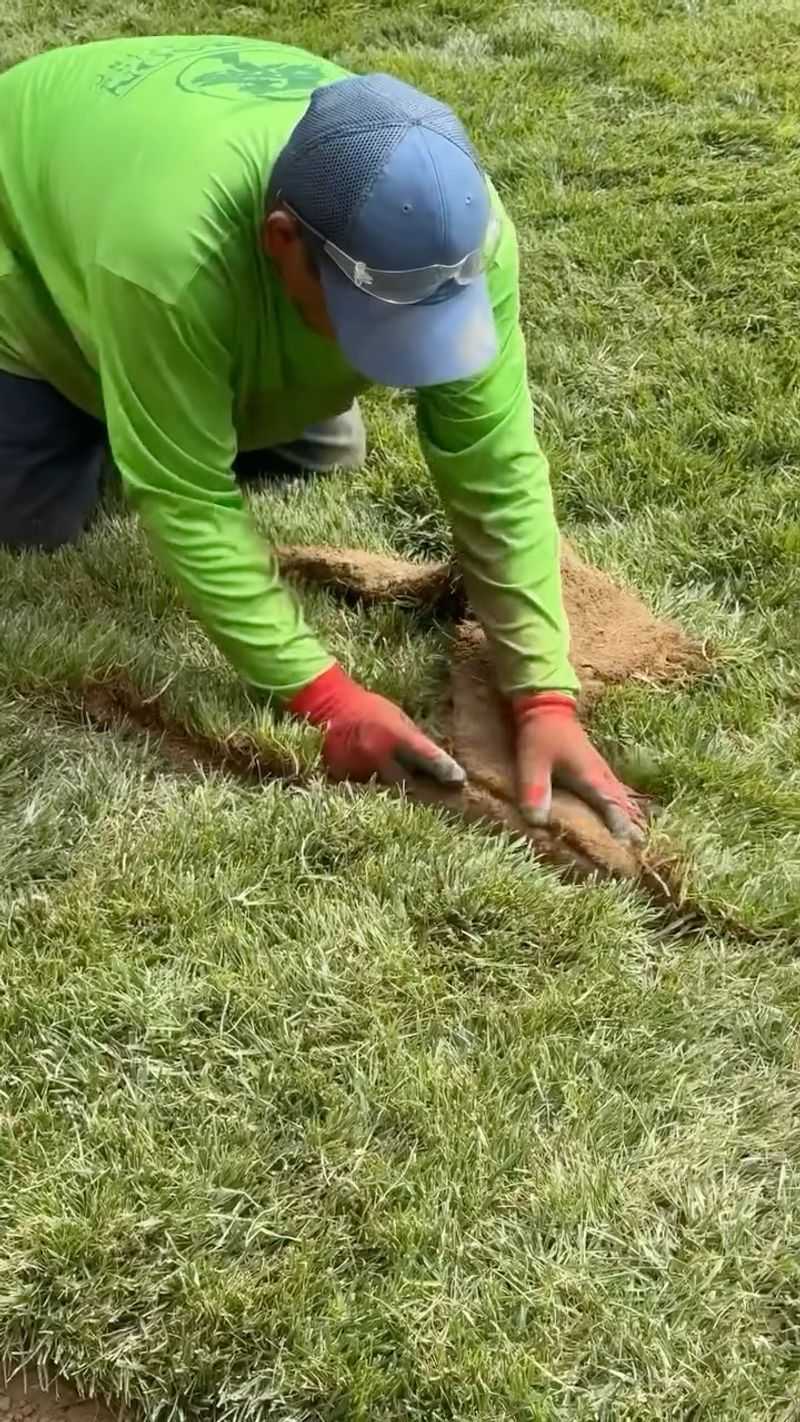
Some holes are just too deep for a sprinkle of sand. Dips deeper than two or three inches need a bigger fix.
The trick is to lift the grass like a rug. Then you can fill underneath and lay it back down.
Start by cutting an H shape through the sod with a flat shovel. Slide the blade under each flap and peel it back gently.
Keep the roots attached as much as you can. Thick, healthy flaps bounce back much faster after replanting.
Now fill the hole with good topsoil in thin layers. Press each layer down lightly with your foot or hands.
Overfill the spot by about a quarter inch. Soil sinks a bit as it settles, especially after rainstorms.
Fold the sod back over the fresh soil. Press it firmly so roots touch the dirt below.
Water the patch right away to help it settle. Keep it moist for a week or two while roots knit back in.
Work on cool, cloudy days if possible. Lifted sod dries out fast under hot afternoon sun.
Got a dip near a downspout? Water flow may be washing soil away, so add an extension first.
One weekend can fix several deep spots this way. Your mower will thank you for the smoother ride.
Overseed Any Bare Patches
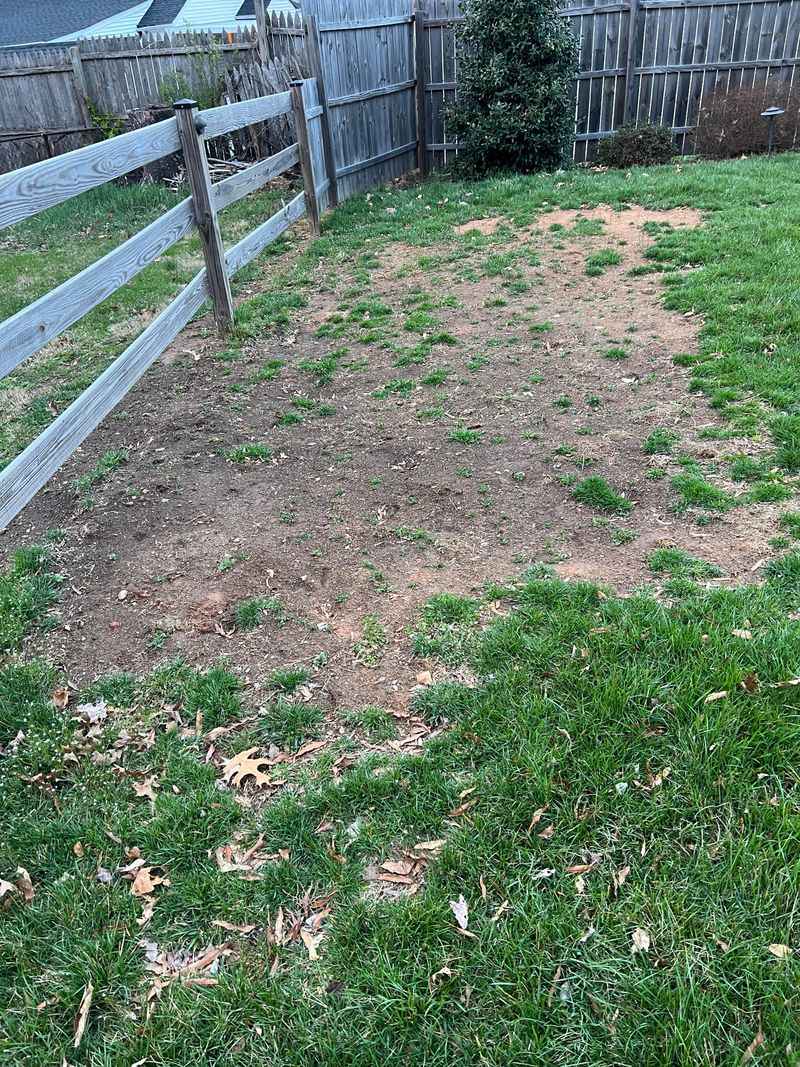
Bare dirt is basically an open invitation for weeds. Filling those spots with fresh seed keeps unwanted guests out.
Leveling sometimes leaves thin or patchy areas behind. Lifted sod and heavy topdressing can both expose soil.
Tall fescue is a favorite across the state for good reason. It handles heat, drought, and busy backyard play quite well.
Kentucky bluegrass and perennial ryegrass also grow nicely here. Many seed bags mix all three for a sturdy lawn.
Match the seed to your existing grass whenever possible. Mixed types can leave patches that look different in color.
A handheld spreader helps scatter seed evenly. Tossing by hand works too for small spots.
Rake the seed gently into the topdressing afterward. Good contact with the soil helps seeds sprout faster.
Timing makes a huge difference with cool-season grasses. Early fall is ideal, though spring seeding can work in a pinch.
Birds love free snacks, so expect a few visitors. A thin layer of straw can protect seeds while they sprout.
Hold off on weed control products for now. Many products stop new grass seed from growing at all.
Little green sprouts usually appear within one to three weeks. Seeing them pop up feels like a small backyard victory.
Give the new grass time before heavy play. Let it reach mowing height before kids and pets run wild again.
Water Gently To Settle Everything
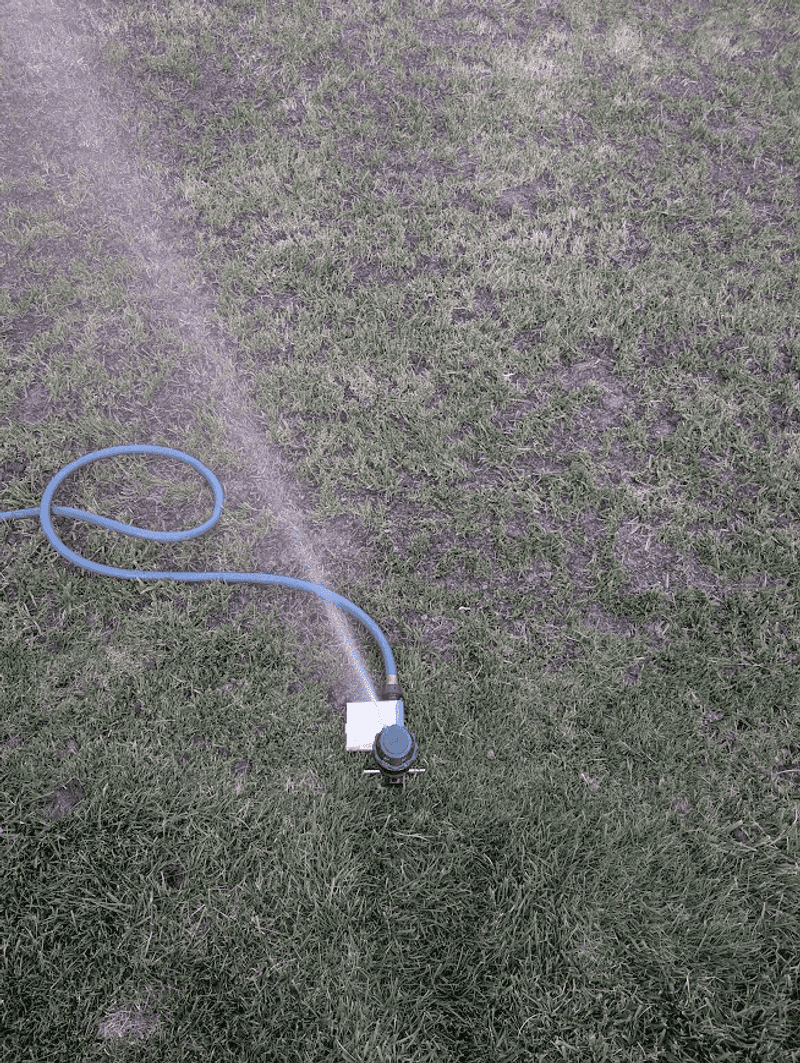
A soft sprinkle works like a lullaby for your fresh lawn. Hard blasts of water do the opposite and scatter everything.
Watering helps the mix sink between grass blades. It also keeps sand from blowing away on breezy days.
Pick a nozzle with a gentle shower setting. A fine mist is perfect for newly spread soil and seed.
Short sessions beat one long soak here. Try several quick rounds so water soaks in without running off.
Freshly seeded areas need steady moisture to sprout. Aim for about a quarter inch of water daily during the first week.
Early morning is the best time to water. Less heat means less evaporation and fewer fungus problems.
Puddles are a warning sign worth noticing. Pooling water may wash topdressing away or point to low spots.
An empty tuna can makes a handy rain gauge. Set it on the lawn and stop when it fills about a quarter inch.
Watch the weather forecast closely too. Heavy summer storms in Virginia can do your watering job for you.
After seedlings are established, water less often but deeper. Deep soaking encourages roots to grow down instead of staying shallow.
Your patience here sets the stage for success. Gentle care now means a smoother, greener yard in a few weeks.
Work In Stages Rather Than All At Once
Rome was not built in a day, and neither is a flat lawn. Rushing the job usually creates more problems than it solves.
Thick layers of soil can choke the grass underneath. Blades need sunlight, and heavy piles block it out.
Instead, add thin layers of 1/8 to 1/2 inch. Let the grass grow through before adding another round.
Wait about three or four weeks between applications. Grass needs that time to recover and push up new blades.
Deep dips might need three or four rounds total. Shallow bumps may only need one or two passes.
Growing season timing helps the process along. Spring and early summer work well when grass grows quickly in Virginia.
Keep a small notebook or phone notes handy. Write down dates and which spots you treated each time.
Photos make progress easier to track too. Snap pictures from the same spot before each new layer.
Breaking the work into stages saves your back as well. Smaller sessions feel easier than one exhausting weekend.
Patience also means spending less money overall. You buy only what you need for each round.
Watch how the grass responds after every layer. Yellowing blades suggest you added too much material.
By midsummer, the difference often looks dramatic. Slow and steady really does win the leveling race.
Skip The Heavy Roller
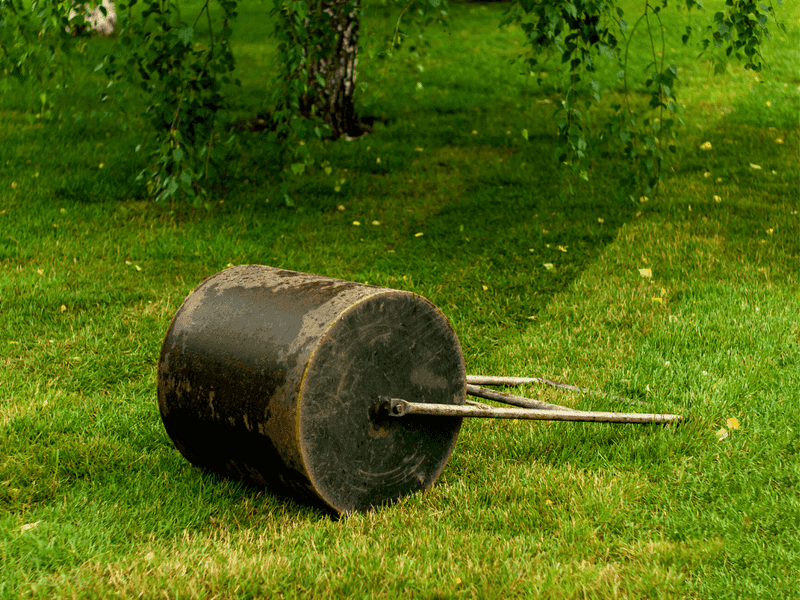
Plenty of homeowners rent a big roller and hope for magic. Sadly, the results often disappoint and can harm the lawn.
Heavy rollers squeeze soil particles tightly together. Packed ground blocks air, water, and food from reaching roots.
Clay soil across Virginia compacts especially easily. Rolling it can turn your yard into something closer to pavement.
Compacted lawns tend to drain poorly after rain. Water pools on top and grass roots stay shallow and weak.
Certain weeds actually thrive in packed ground. Plantain and goosegrass often move in where turf struggles.
A light roller does not cause much harm. Unfortunately, it also does almost nothing to flatten real bumps.
Bumps from frost heave or moles need filling, not squashing. Pressing them down only hides the problem for a while.
Your rake and topdressing mix work far better. They build up low spots slowly while keeping soil loose.
Still tempted to try one? Test a small corner first and check how hard the ground feels afterward.
Skipping the roller saves money and effort too. Rental fees and hauling a heavy drum add up fast.
Healthy, loose soil is the real secret to smooth grass. Treat the ground kindly, and your lawn will reward you for years.