How To Revive A Wilting Pothos With 8 Simple Fixes
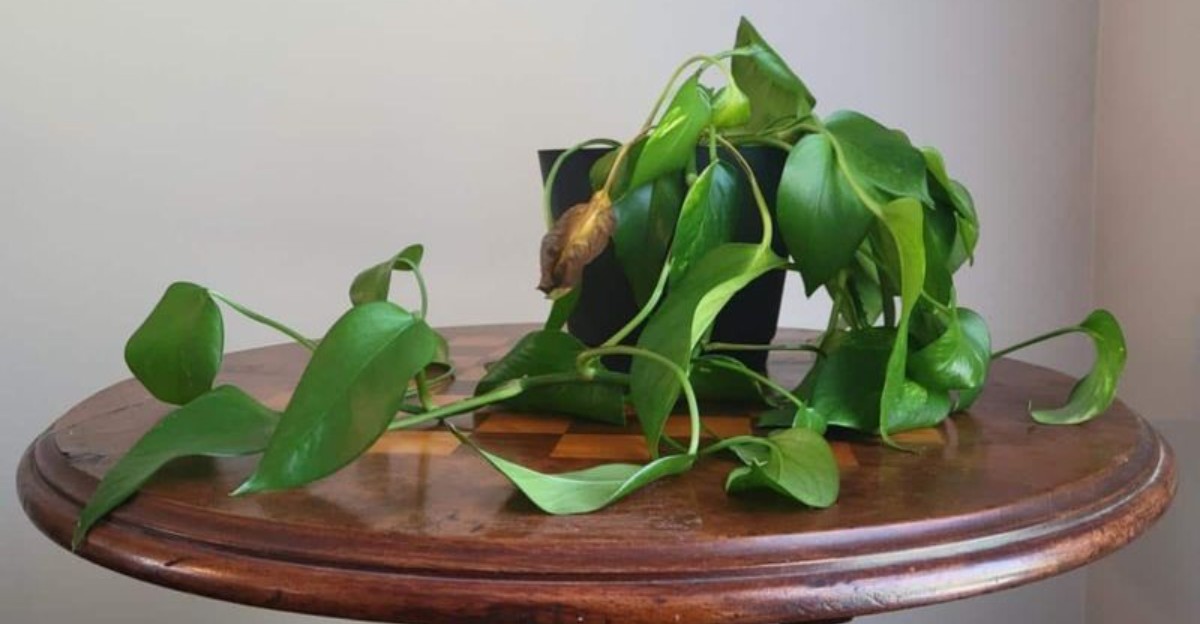
You walk past your favorite leafy friend and notice something sad, droopy, and a little dramatic. Those perky vines now hang like wet spaghetti over the edge of the clay pot.
Your stomach sinks a bit, because most plant owners hate watching a green buddy lose its happy bounce. Before you panic, take a breath and know that droopy leaves are mostly a loud signal.
Plants cannot text you, so they use limp stems and curled leaves to share their complaints. Early October brings cooler nights, drier indoor air, and shorter days that can stir up trouble.
The soil might feel soggy, crunchy, or somewhere in between, and each clue tells a story. Learning to read those clues turns you from a worried owner into a calm plant detective.
Most droopy plants bounce back with a few small changes and a little patient, steady care. Your leafy roommate is far tougher than it looks, and it is ready for a comeback.
1. Check The Soil Before You Water Again
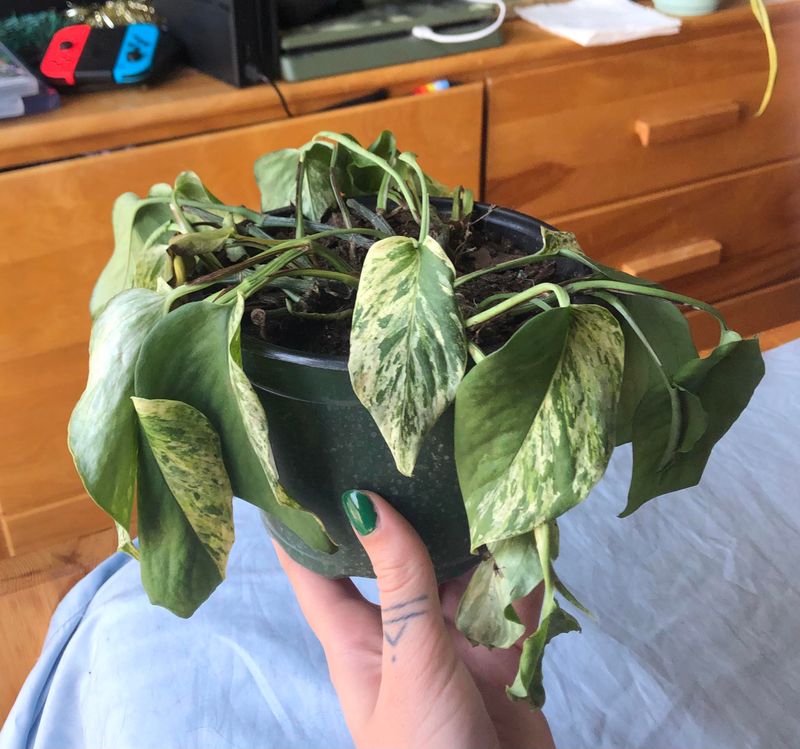
Picture this: you see droopy leaves, grab the watering can, and pour without thinking twice about it. That quick reaction feels helpful, but it often makes a soggy problem much worse for the roots.
Droopy leaves can come from too much water or too little water, and they look surprisingly similar. The most reliable way to tell which one you face is to check the soil with your finger.
Push one finger about two inches into the potting mix, right near the base of the stems. If it feels dry and dusty at that depth, your plant is most likely asking for water soon.
If the soil feels cool, wet, and squishy, hold off on watering for now and look for other causes. Soggy soil can smell a little sour, like an old sponge left sitting in the kitchen sink.
In early October, your plant usually needs less water than it did during the warmer months. Cooler air and shorter days slow its growth, so the soil stays damp for much longer stretches of time.
A cheap moisture meter can help if you feel unsure, since it reads deeper parts of the pot. Wooden chopsticks also work well, because damp soil clings to the wood when you pull it out.
Make the finger test a habit, and your plant will rarely suffer from wild guessing games again. Reading the soil first takes about ten seconds and helps you avoid watering at the wrong time.
2. Rescue Soggy Roots From Rot
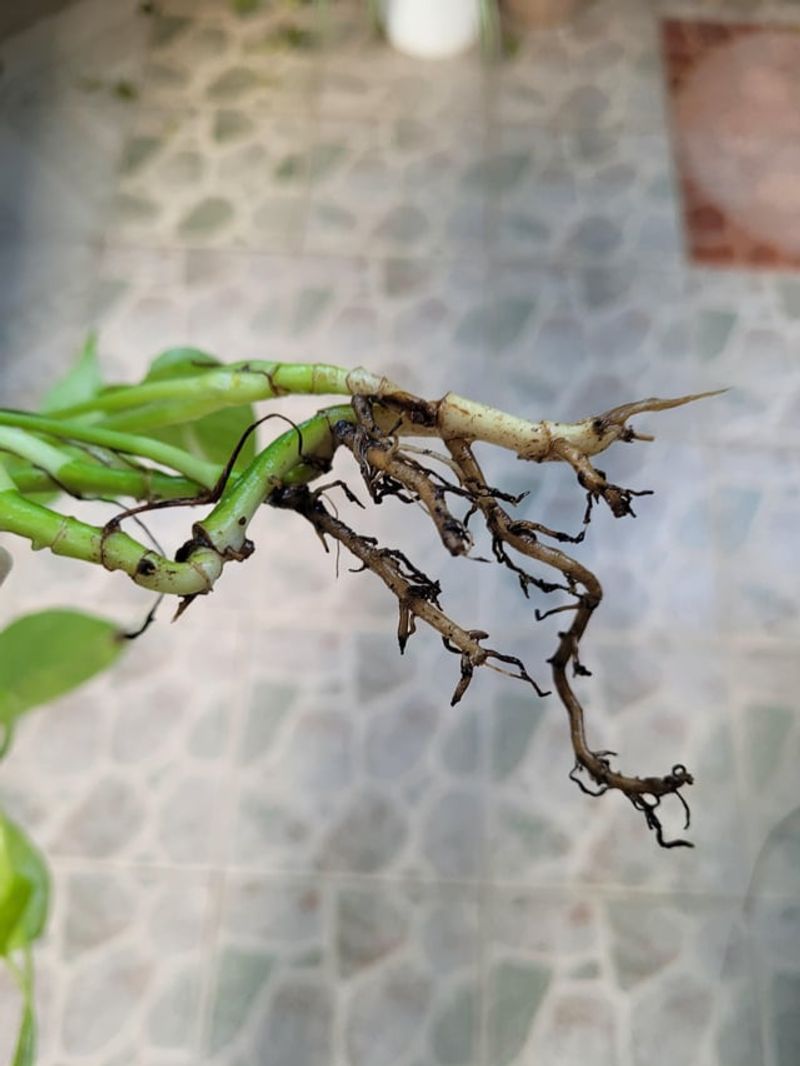
Root rot sneaks up quietly, hiding below the soil while the leaves above slowly turn yellow and limp. By the time you notice the droop, the roots may have been sitting in wet soil for a while.
Healthy roots look firm and white or light tan, a bit like fresh bean sprouts from the store. Rotting roots turn brown or black, feel mushy, and often give off a stinky, swampy pond smell.
To check, gently tip the pot sideways and slide the whole plant out while supporting the stems. Shake away loose soil over a sheet of newspaper so you can see every single root clearly.
Use clean scissors to snip off every soft, dark root, cutting back until you reach firm tissue. Wipe the blades with a disinfecting solution between cuts to help prevent spreading disease to healthy roots.
Next, place the trimmed plant into fresh, chunky potting mix that drains water quickly and breathes well. Adding a handful of perlite or orchid bark helps air reach the roots instead of trapping moisture.
Pick a pot with drainage holes, because a container without them traps water around the roots. Wait a few days before watering again, giving the freshly cut roots time to heal and settle.
Fun fact: pothos vines can root in plain water, so healthy cuttings make a handy backup plan. Snip a few strong stems now, just in case the main plant struggles to recover this fall.
3. Give A Thirsty Plant A Deep Soak
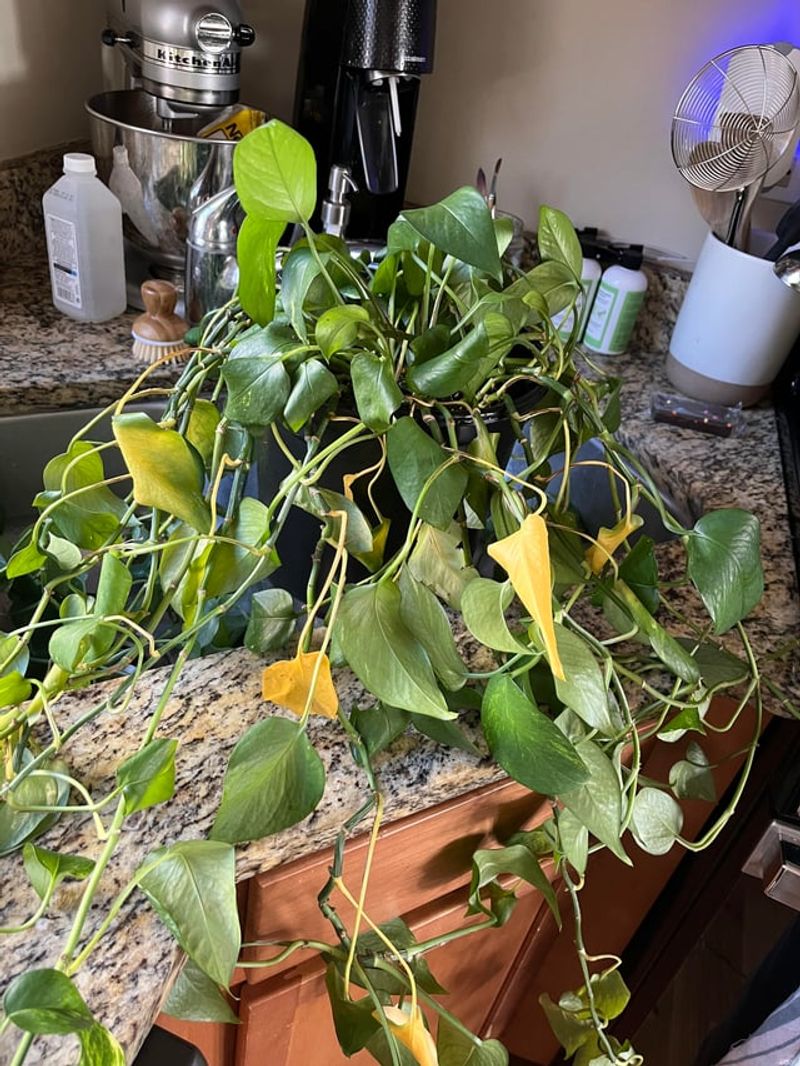
Sometimes the answer really is simple, and your plant just wants a long, refreshing soak of water. Underwatered leaves feel thin and floppy, and the soil often pulls away from the sides of the pot.
Bone dry soil can turn hard and crusty, so water runs straight through without soaking in at all. You might pour a full cup and watch it rush out the drainage holes within seconds.
Bottom watering fixes this problem nicely, and it takes almost no special skill or fancy tools. Fill a sink or bucket with a few inches of room temperature water and set the pot inside.
Let it sit for about twenty to thirty minutes while the soil slowly takes up water from below. You will know it worked when the top of the soil looks darker and feels evenly damp.
Afterward, lift the pot out and let the extra water drain away for about ten minutes. Leaving it standing in a full saucer can flip the problem from too dry to far too wet.
Within a day, most thirsty plants perk up, and their leaves lift like they just woke from a nap. Seeing that bounce return is a good sign, especially after a few days of droopy stems.
Indoor heaters often kick on in October, and that warm, dry air can drain pots faster than expected. Keep checking the soil every few days so a sudden dry spell does not catch you off guard.
4. Move It Into Brighter Indirect Light
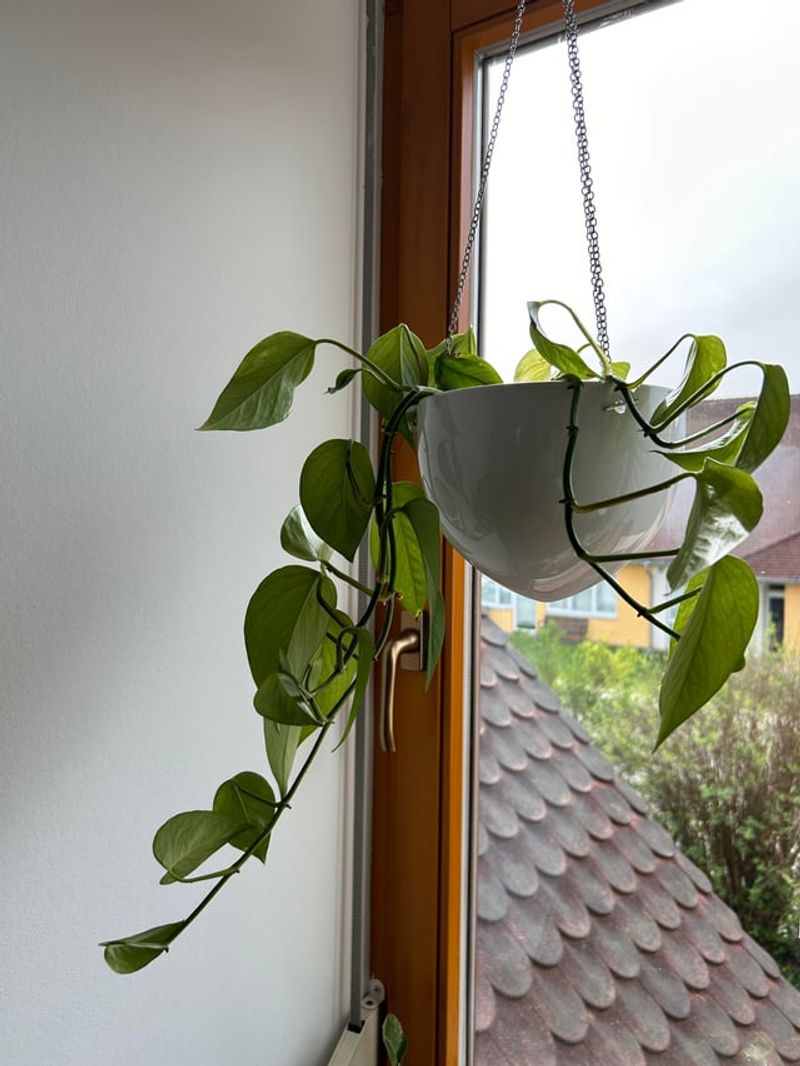
Pothos plants have a reputation for tolerating dark corners, but tolerating and thriving are two very different things. A plant stuck in dim light grows slowly, stretches thin, and droops more easily over time.
Look closely at the vines, and you may spot long, bare gaps between each little leaf. Those stretched stems are reaching for sunshine, almost like a kid stretching toward a cookie jar on a shelf.
Bright, indirect light is the sweet spot, meaning plenty of brightness without harsh rays hitting the leaves. A spot a few feet from an east or west window often works beautifully for most homes.
Early fall sunlight sits lower in the sky, so light reaches deeper into rooms than before. Even so, the days are shrinking, which means your plant gets fewer bright hours of sunshine each week.
Sliding the pot closer to a window now can make up for that shorter, softer October daylight. Watch for pale or scorched patches, though, since those suggest the sun is a little too strong.
If your home stays gloomy, a simple LED grow light can fill the gap quite nicely during fall. Set it about a foot above the plant and run it for about ten to twelve hours daily.
Give the pot a quarter turn every week so every side gets an equal share of light. Within a few weeks, new leaves should appear larger, greener, and spaced more closely along the vines.
5. Shield It From Chilly Fall Drafts
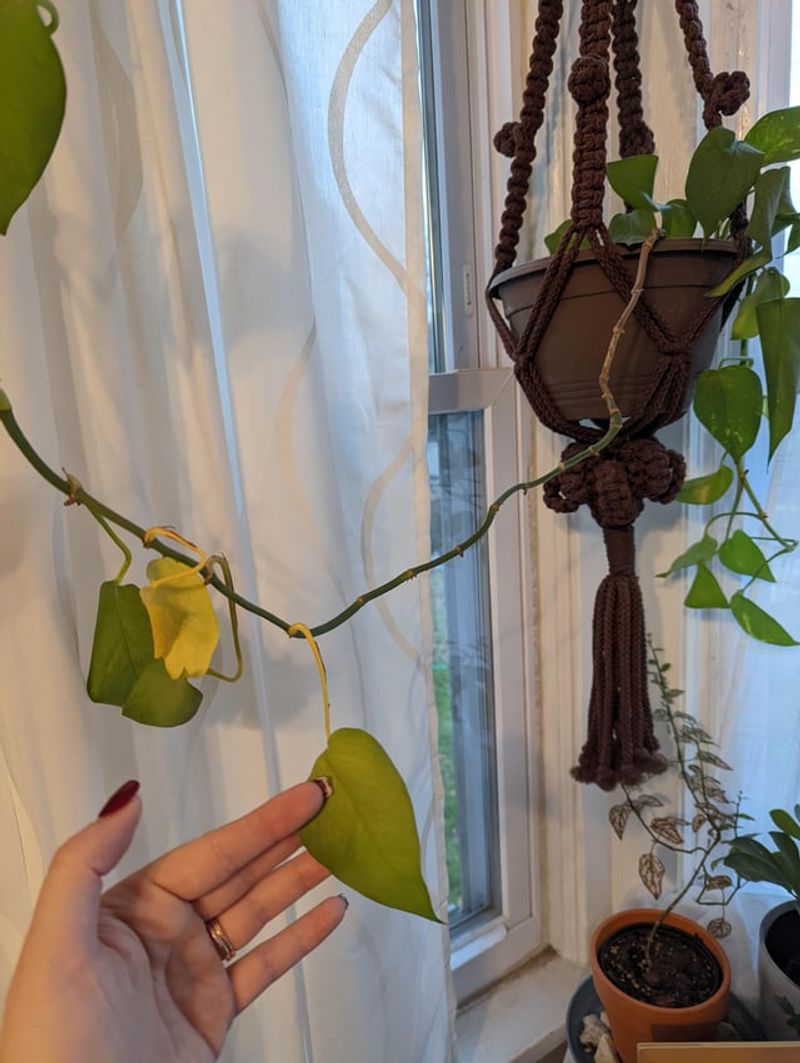
Imagine standing near a drafty door in a T-shirt, shivering every time someone walks in from outside. Your tropical plant feels the same way when cold October air sneaks in through windows and doors.
Pothos vines originally come from warm, humid tropical forests in the South Pacific, where chilly nights are rare. They feel happiest between sixty five and eighty five degrees, which matches most cozy indoor living rooms.
When temperatures drop below fifty degrees, leaves can droop, curl, or develop dark, soggy looking spots. Cold glass at night can chill nearby leaves even when the rest of the room feels perfectly comfortable.
Walk around your home on a breezy evening and feel for cool air near windows and vents. Any spot that makes your hand feel chilly is probably too chilly for your leafy friend as well.
Heating vents cause trouble too, pushing out hot, dry air that can dry leaf edges into crispy brown strips. Keep the pot at least a few feet away from radiators, space heaters, and air ducts.
If your plant spent the summer on a porch, bring it inside before nights dip below fifty. Check the leaves and soil for tiny hitchhiking bugs before setting it beside your other favorite houseplants.
A steady, cozy spot helps the plant spend energy on new growth instead of handling cold stress. Moving it just a few feet can help the leaves regain their perky, glossy look over the following weeks.
6. Boost The Humidity Around Its Leaves
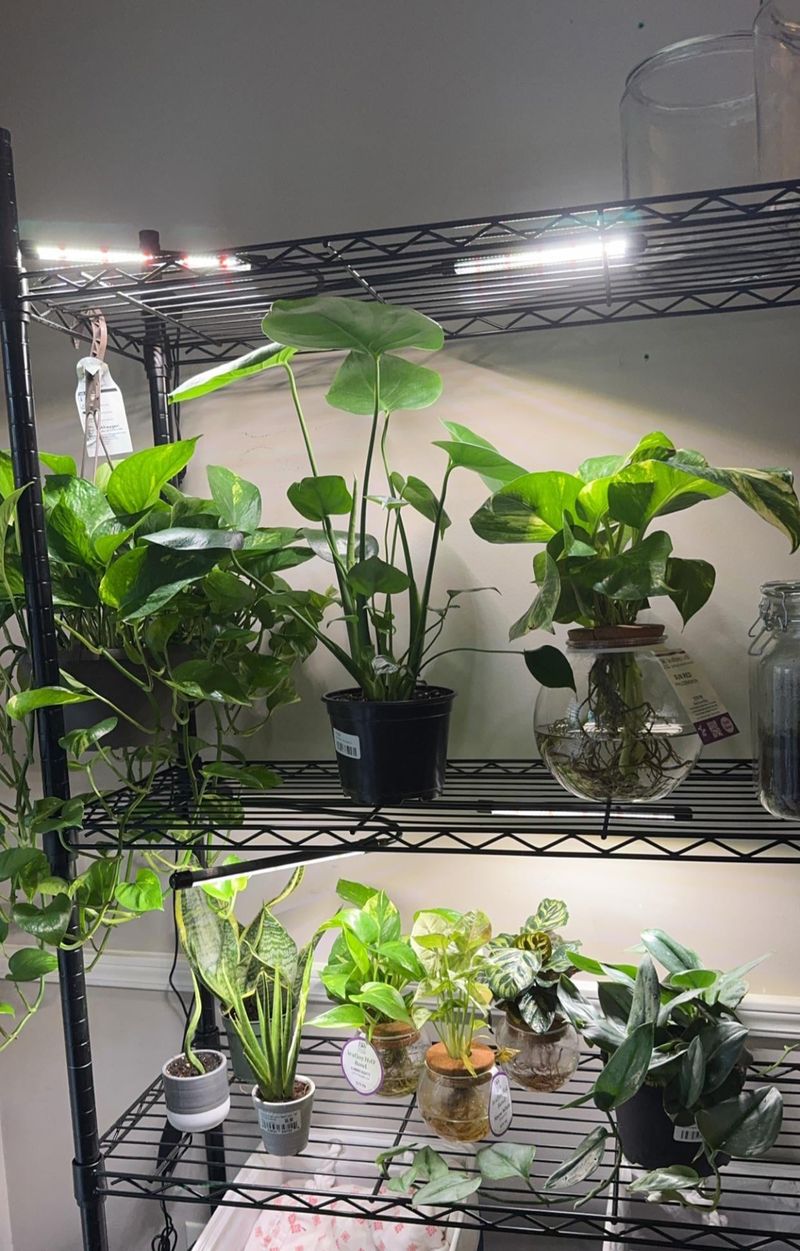
Ever notice how your lips feel dry and cracked once the furnace starts humming in the fall? Your plant notices that dry air too, and its leaves can lose their firm, plump, healthy feel.
In their jungle home, these vines climb tall trees surrounded by damp, misty air most of the year. Indoor air in autumn can drop below thirty percent humidity, which is much drier than what these vines are used to.
Grouping several houseplants together creates a little pocket of moist air, since leaves release water as they breathe. Think of it as a tiny indoor rainforest club where everyone helps everyone else stay comfortable.
A pebble tray works well too, and you can make one in about five minutes at home. Fill a shallow dish with pebbles, add water just below the tops, and set the pot on top.
As the water slowly evaporates, it adds a small amount of moisture to the air around the leaves without soaking the roots below. Refill the tray every few days, especially once your heater starts running more often in early October.
A small room humidifier gives the biggest boost, and your skin and sinuses will enjoy it as well. Aim for around forty to sixty percent humidity, which you can track with an inexpensive digital gauge.
Misting feels fun, but the effect fades within minutes, so it rarely solves the real problem alone. Steady humidity matters more than quick sprays, and it helps the leaves stay firm and healthy.
7. Repot A Cramped Root Ball
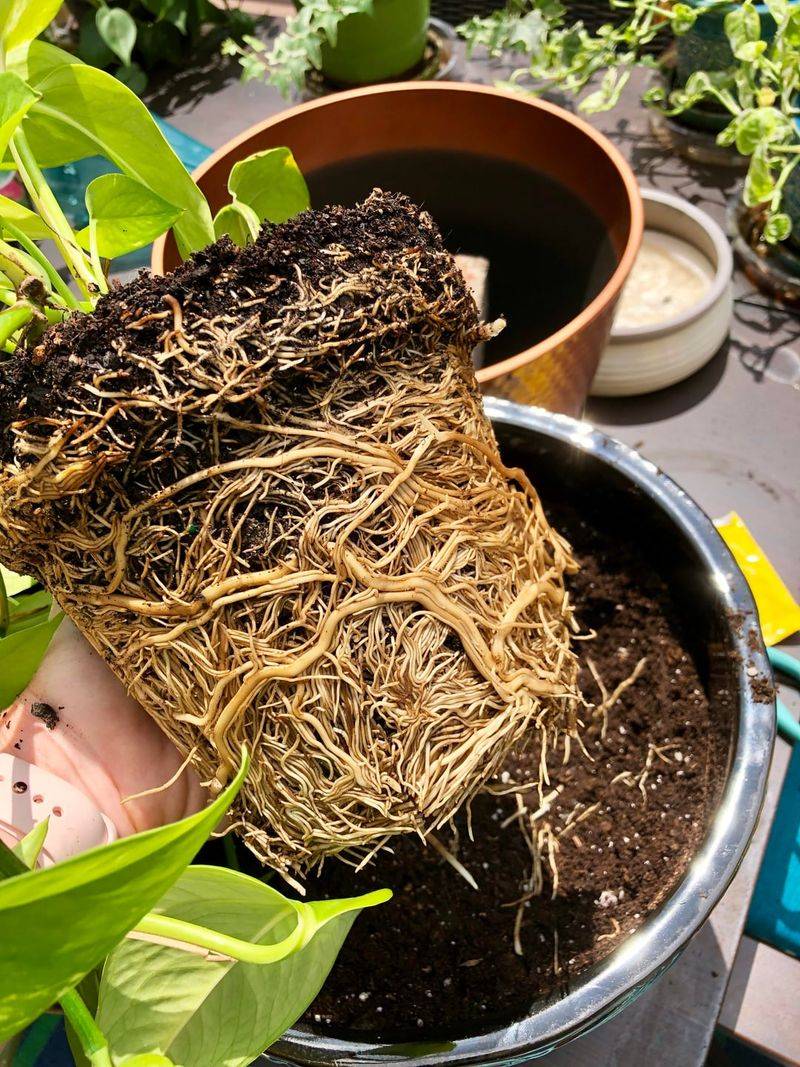
Roots circling the bottom of the pot like a tangled ball of yarn tell a clear story. Your plant has outgrown its home, and cramped roots struggle to soak up enough water and food.
A root bound plant often wilts just days after watering, because the soil dries out super fast. You might also see roots poking out of the drainage holes, searching for more space to spread.
Early October still offers enough warmth and light for a gentle repotting, especially in a cozy indoor room. Waiting until deep winter can be harder on the plant, since growth slows down quite a bit.
Choose a new pot just one or two inches wider than the old one, with good drainage holes. A giant pot holds too much wet soil, which can lead to soggy roots and new trouble.
Gently loosen the outer roots with your fingers, teasing them apart like you are untangling a necklace chain. Set the plant at the same depth it sat before and fill around it with fresh mix.
Water it well afterward, then let it rest in bright, indirect light for about a week or so. Some drooping right after repotting is normal, so try not to panic during those first few days.
Skip fertilizer for about a month, since fresh potting mix already holds plenty of nutrients for now. Once the roots settle, your plant can stretch out, sip water evenly, and grow with fresh energy.
8. Trim Tired Vines To Spark New Growth
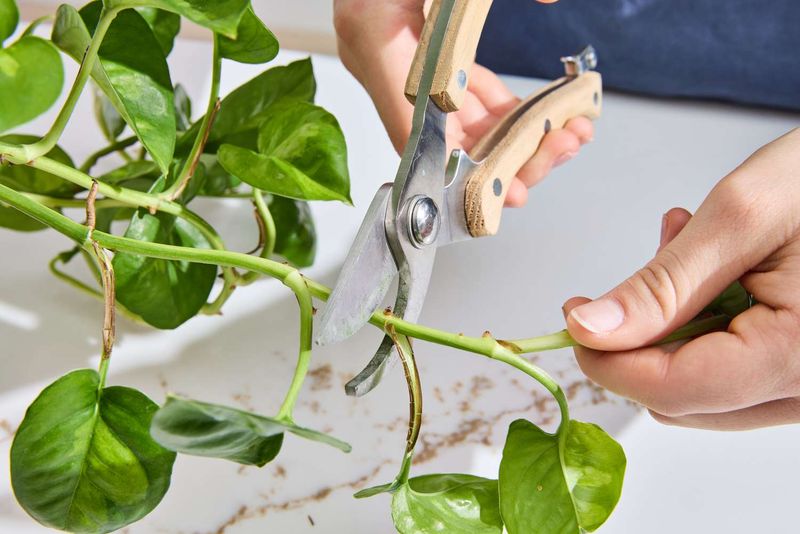
A good haircut can work wonders, and plants respond to a fresh trim in surprisingly cheerful ways. Long, leggy vines with only a few leaves at the tips often look tired, thin, and droopy.
Yellow or brown leaves rarely turn green again, so removing them helps the plant focus its energy. Think of it like clearing clutter from a room so the healthy parts have space to shine.
Grab clean, sharp scissors and cut each vine just above a node, the small bump along the stem. New growth sprouts from these nodes, so careful cuts can turn one long vine into several fuller ones.
Try not to remove more than about one third of the plant at once during the fall. Growth slows as days get shorter, so a lighter trim keeps stress low while it slowly recovers.
Do not toss those healthy cuttings, because they can grow roots in a glass jar of water. Place them on a bright windowsill and watch tiny white roots appear within a few weeks.
Once the roots reach about two inches long, tuck them back into the main pot for extra fullness. Your once scraggly plant can look bushy and lush again, almost like a brand new garden center purchase.
Pruning also makes it easier to spot pests, soggy soil, or other issues hiding beneath thick leaves. A quick monthly trim keeps your vines tidy, healthy, and ready to show off fresh green growth.