How To Mulch Hydrangeas Before The First Freeze (And Protect Next Year’s Blooms)
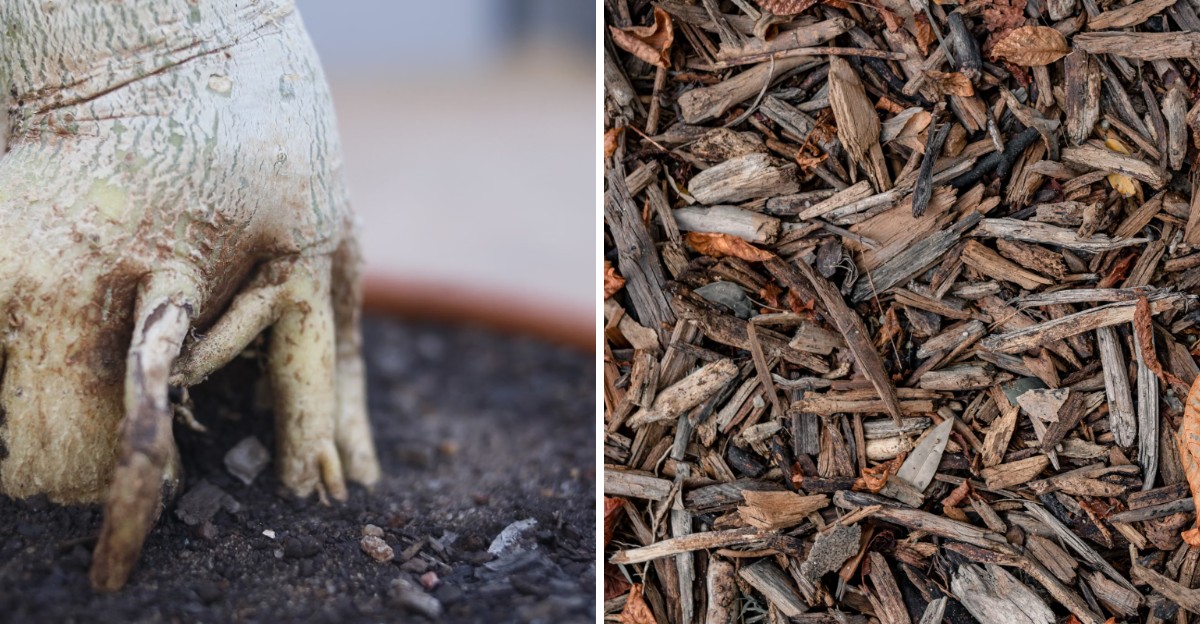
Those papery brown flower heads on your hydrangea are guarding a secret. You can’t see them, but next summer’s buds already sit tucked beneath those heads.
Bigleaf types form next year’s flowers on old wood, so it deserves your protection. Deep winter cold can nip those buds before you spot a leaf.
Then summer arrives, and you get lush foliage without a bloom. Protect them now, and you spare yourself that letdown.
Build a wire cage around the stems, then fill it with dry oak leaves. Wait until nights dip near freezing so you avoid inviting dampness.
Skip plastic, because trapped moisture softens the stems you protect. Leave the papery flower heads in place, since they may shield buds from wind.
Your neighbors will notice the difference by July. Remove the cage after last frost, and watch summer reward patience.
1. Time It Right After The First Light Frost
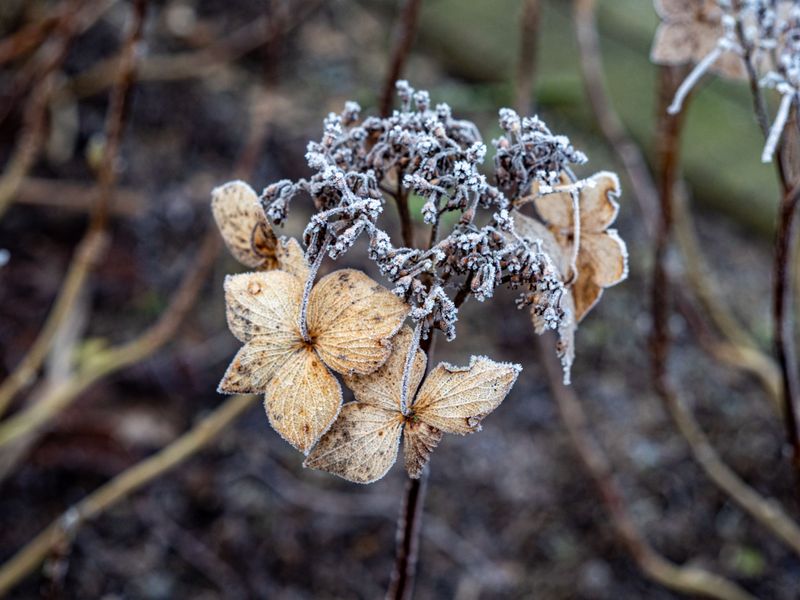
Picture a cool October morning when the lawn sparkles with a thin coat of frost. That sparkle is your signal that the garden is shifting into winter mode.
Mulching too early can work against you. Warm soil under a blanket may trick roots into staying active when they should be resting.
Most gardeners wait until after the first light frost has passed through. By then, the shrub has started to slow down and prepare for the cold.
Cold acclimation is a natural process where stems toughen up and store energy. A plant that finishes this step handles long freezing nights much better than one rushed.
In many northern areas, that sweet spot often lands in mid to late October, but check your local frost dates. Southern gardeners can often relax and wait until November or even early December arrives.
Check your local weather forecast every few days during this busy stretch of fall. When nighttime temperatures keep dipping near freezing, it is time to gather your supplies.
You also want to finish before the ground freezes solid like a hockey rink. Frozen soil makes spreading mulch harder, and the roots miss out on early protection.
Think of it like putting on a winter coat at the right moment. Wear it too soon and you sweat, but wait too long and you shiver.
A simple garden journal helps too, since you can note the date each year. After a season or two, you will know your timing by heart.
2. Pick A Good Mulch For The Job
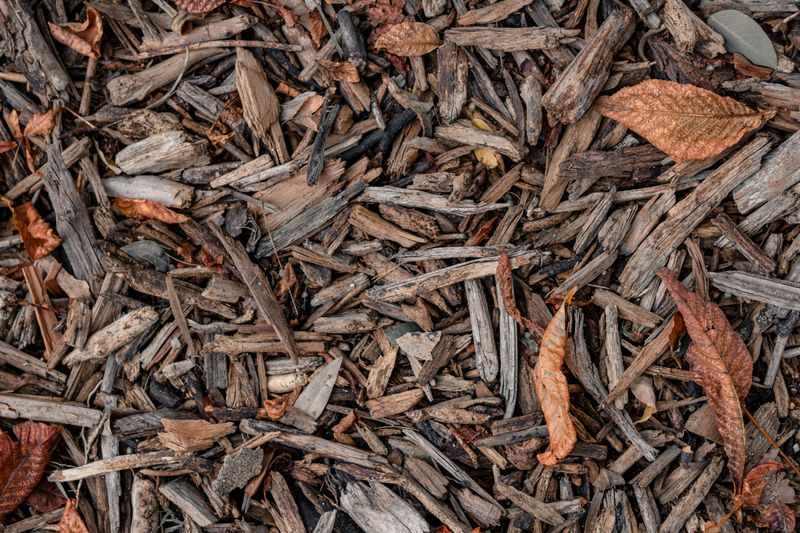
Walk into any garden center in October and the mulch aisle looks like a buffet. Bags of bark, straw, pine needles, and compost all compete for your attention.
Shredded hardwood bark is a popular pick because it stays put on windy days. It also breaks down slowly, so one layer can last through the whole winter.
Pine needles, sometimes called pine straw, are light and fluffy and let water through easily. They also trap air, which works like insulation in a cozy sleeping bag.
Chopped leaves are the bargain choice since your yard probably has piles of them right now. Run them over with a mower first so they do not mat down.
Whole leaves can form a wet, dense layer that blocks air and invites rot. Shredding them turns that dense mat into a light, crumbly blanket.
Straw is another cheap option that insulates well and is easy to spread. Just make sure you buy straw, not hay, because hay carries loads of weed seeds.
Bark and pine needles shift soil acidity only slightly and slowly. Bloom color on bigleaf types depends mainly on soil pH and aluminum availability, so mulch alone will not change it.
Dyed mulch is generally safe, but it adds no benefit over natural bark. Fresh wood chips can tie up nitrogen if mixed into the soil, so keep them on the surface.
Whatever you choose, aim for something organic that will feed the soil as it breaks down. Your shrub gets a winter blanket now and a snack later.
3. Clean Up The Base Before You Start
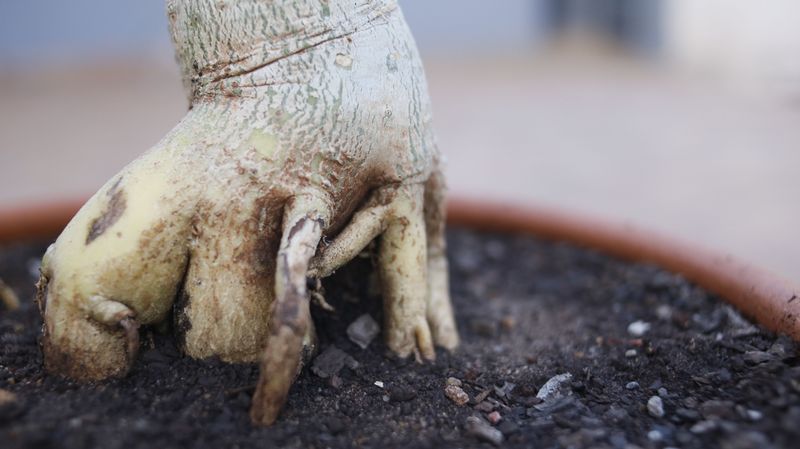
Nobody wants to tuck fresh, clean sheets over a bed full of cookie crumbs. Your shrub feels the same way about old debris sitting around its base.
Start by raking away fallen leaves, twigs, and old mulch that has turned slimy or moldy. Diseased leaves can hide fungal spores that wake up again in spring.
Leaf spot is a common problem that can overwinter in fallen leaves. Removing infected leaves now gives next year a much cleaner start.
Pull any weeds growing near the trunk, roots and all, if you can. Weeds steal water and nutrients, and they love hiding under a fresh blanket of mulch.
While you are down there on your knees, take a quick look at the stems. Snip off any broken, cracked, or clearly withered branches using clean, sharp pruners.
Be careful not to trim healthy stems on bigleaf or oakleaf types this time of year. Those plants already formed next summer’s flower buds back in late summer.
Cutting them now removes next summer’s flower buds. Leave the tidy pruning for spring when you can see which stems leafed out.
Old flower heads can stay put if you like their papery winter look. Some gardeners believe they even help shield the tender buds below from harsh wind.
Toss diseased material in the trash rather than the compost pile. A clean base means your new mulch can do its job without hidden pathogens.
4. Water Deeply Before The Ground Freezes
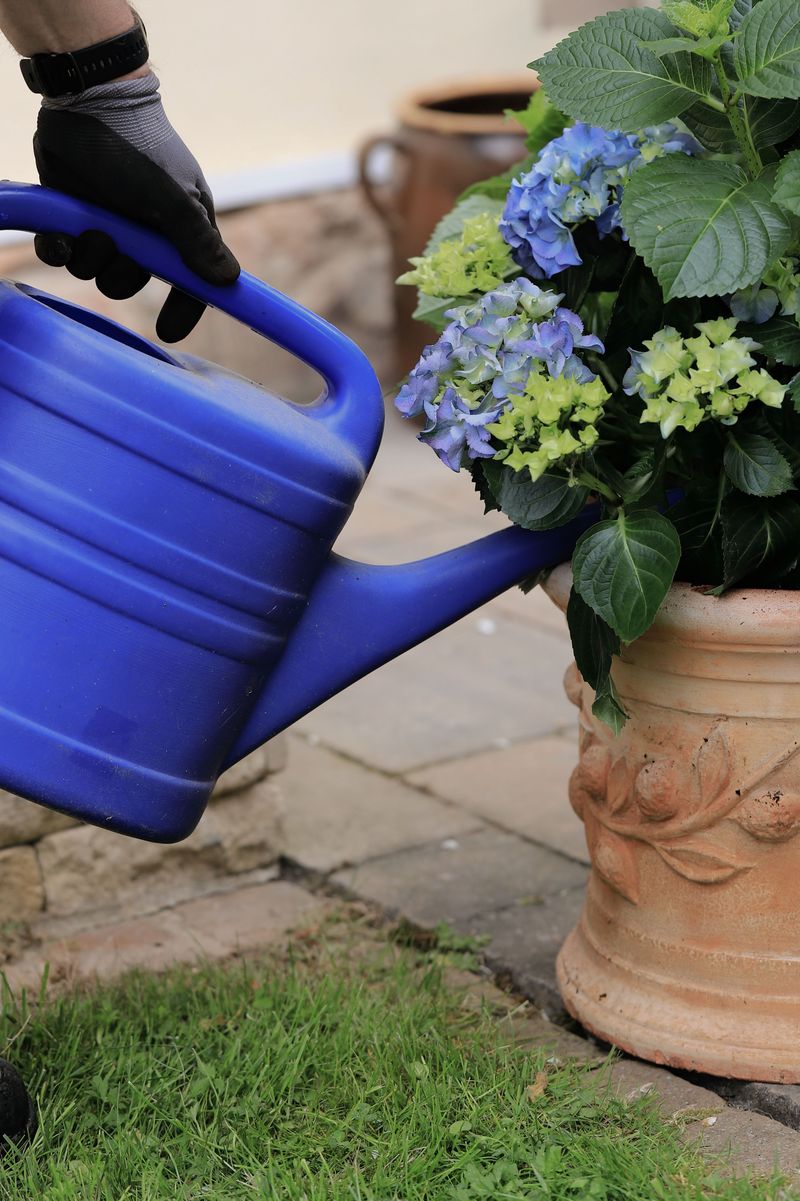
One easily overlooked fact: plants lose moisture in winter, too. Cold wind pulls moisture from stems even when the shrub looks fast asleep.
Hydrangeas need plenty of water, and their name comes from Greek words for water and vessel. Going into winter dry is like starting a long road trip with an empty tank.
Give your shrub a deep, slow soak a few days before you spread mulch. Aim for soil that feels moist several inches down, not just on the surface.
A garden hose on a gentle trickle works well for roughly twenty minutes, depending on soil and flow. Soaker hoses are even better because they drip water right where roots can reach.
Moist soil actually holds heat better than dry soil, which surprises a lot of folks. That stored warmth helps protect tender roots during sudden, severe cold snaps at night.
Mulch then acts like a lid on a pot, locking that moisture in place. Less water escapes, so roots stay comfortable for weeks at a time.
Try to water in the morning on a mild, sunny day with no frost. Evening watering in chilly weather can leave soggy soil that freezes hard overnight.
If fall has been rainy, you may only need a light drink. Poke a finger into the soil, and skip the hose if it already feels damp.
Keep an eye on things through winter during long dry spells without snow. A mid-winter drink on a warmer day can make a real difference by spring.
5. Spread A Thick Ring Around The Plant
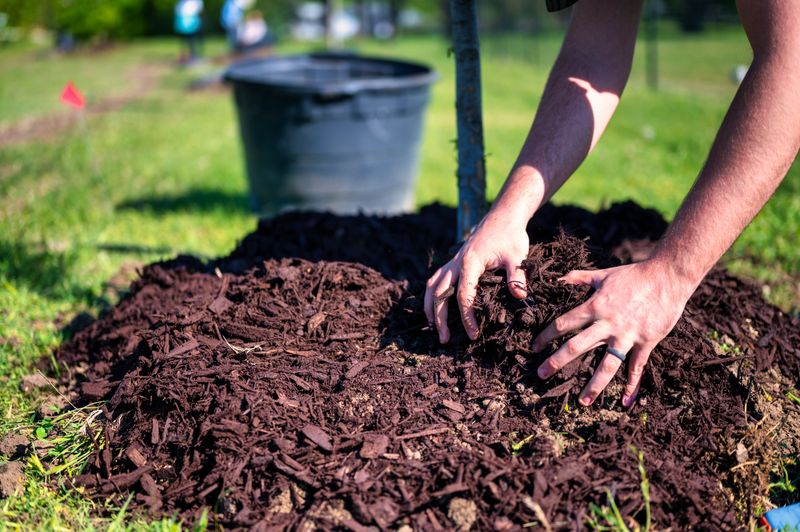
Two to four inches is the recommended depth for a winter mulch layer around most shrubs. Thinner than that, and the cold sneaks right through to the roots.
Going much deeper than four inches can cause its own trouble, though. Soil underneath may stay too wet, and roots can struggle to get enough air.
Spread the mulch in a wide circle that reaches at least to the drip line. That line is where rain drips off the outer edge of the branches.
Roots often stretch out even farther than the branches, so wider is usually better. A ring reaching two or three feet out from the stems works for a young shrub.
Grab a garden fork or your gloved hands to fluff the material as you go. Loose mulch traps more air, and trapped air is what keeps the cold out.
Work slowly around the plant and fill in any thin spots or bare patches. Even coverage matters because one gap can let frost reach a section of roots.
Keep the layer level and even across the whole ring. An even layer protects roots on all sides.
A yardstick or ruler poked into the pile is an easy way to check depth. Kids love this job, and it turns chores into a quick measuring game.
Mulch settles over a few weeks, so check the depth again in late November. Top it off if the layer has sunk below two inches.
6. Keep Mulch Away From The Stems
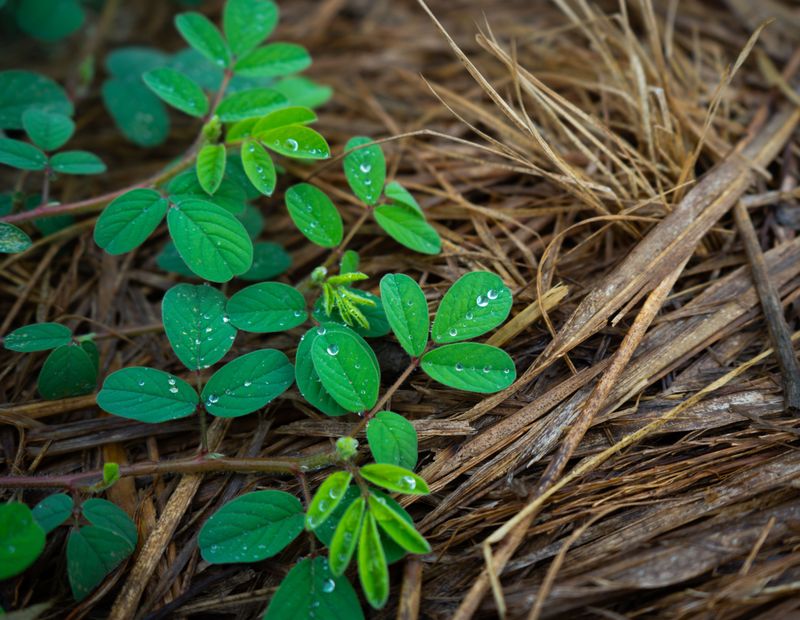
A frequent mistake is called volcano mulching. It happens when mulch gets piled high against the stems like a mini mountain.
It might look extra cozy, but it causes real trouble for the plant. Mulch pressed tight against bark holds moisture, and soggy bark slowly starts to rot.
Decaying stems give fungi and bacteria an entry point. Over time, the shrub can weaken, lose whole branches, and bloom poorly in summer.
Hungry critters are another reason to leave some space around the base. Mice and voles love hiding in deep mulch and nibbling tender bark all winter.
The easy fix is to leave a gap of two to three inches around the stems. Think of it as a tiny personal bubble that keeps the bark dry.
Use your fingers to brush mulch away from the crown, where stems meet the soil. The ring should look like a donut, not a pointy party hat.
Air flowing around the crown helps the stems dry quickly after rain or melting snow. Healthy, dry bark stands up much better against severe cold and pests.
Check the gap once or twice during winter, since wind and snow can shift things around. A quick nudge with a gloved hand keeps that donut shape tidy.
This small detail takes a minute or two but can prevent problems later. Sturdy stems in spring are a pretty sweet reward for such a tiny effort.
7. Add Extra Cover For Bigleaf Types
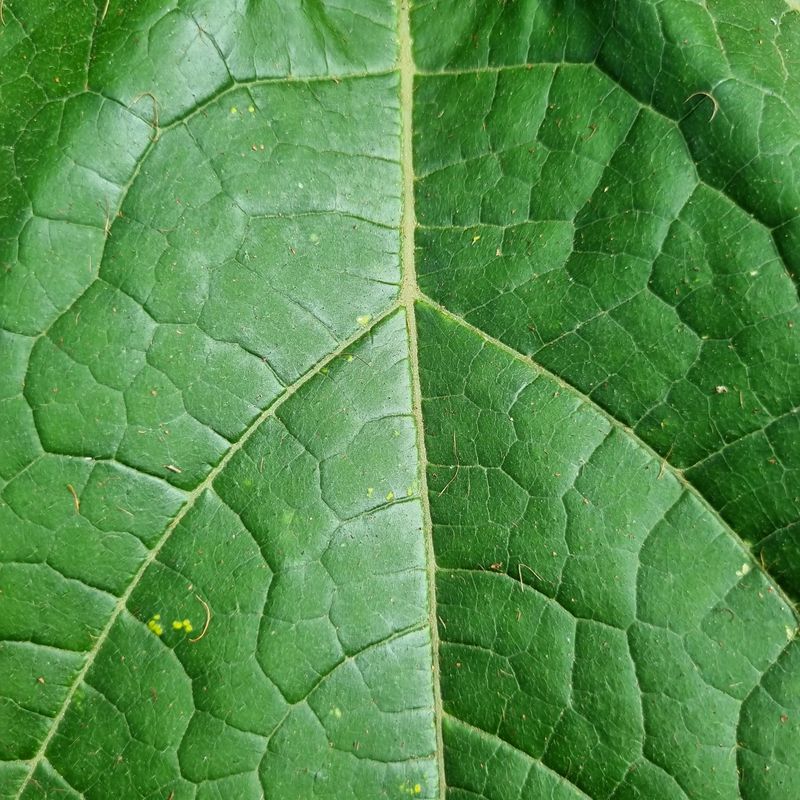
Bigleaf hydrangeas are known for their famous blue and pink mopheads. They are also among the most prone to winter bud loss.
The reason behind this is simple, but it can feel a little frustrating. Many bigleaf types bloom on old wood, meaning flower buds form on last year’s stems, although reblooming varieties like Endless Summer also bloom on new wood.
If those stems freeze back to the ground, the buds go with them. You end up with a leafy green shrub and not a single flower in July.
Mulch protects the roots, but the buds sit higher up and need extra help. A simple cage made of chicken wire and garden stakes does the trick.
Push four stakes into the ground around the shrub and wrap chicken wire around them. Line the cage with hardware cloth first if voles are common in your area. Fill it loosely with dry leaves or pine needles up to the top.
Keep the burlap cap secure so the stuffing stays dry, because wet material against the stems invites the rot described earlier.
Oak leaves work especially well because they curl up and resist matting down. Cover the top with burlap so rain and snow do not soak the stuffing.
Avoid wrapping plastic directly around the shrub, which can trap heat on sunny days. Burlap breathes, so extra moisture can escape instead of building up inside the cage.
Panicle and smooth hydrangeas, like Limelight and Annabelle, bloom on new wood and skip this step. Those tough types just need a good layer of mulch at the base. In milder climates, a good mulch layer is often enough for bigleaf types too.
Not sure which kind you have growing in your yard right now? Check the plant tag, or ask a local nursery to identify it from a leaf and a photo of the blooms.
8. Pull Back The Layers After The Last Frost
Months from now, when robins start hopping around the yard, your winter work pays off. Spring is when you slowly peel back the blankets you tucked in this fall.
Timing still matters here, just like it did back in chilly October. Wait until your local last frost date has passed, often in April or May.
Removing the cover too soon can expose tender new buds to an unexpected late freeze. One cold night in spring can set back your careful effort.
Start by taking off any burlap and emptying leaf-filled cages on a cloudy day. Cloudy skies help the shrub adjust gently instead of getting a sudden blast of sun.
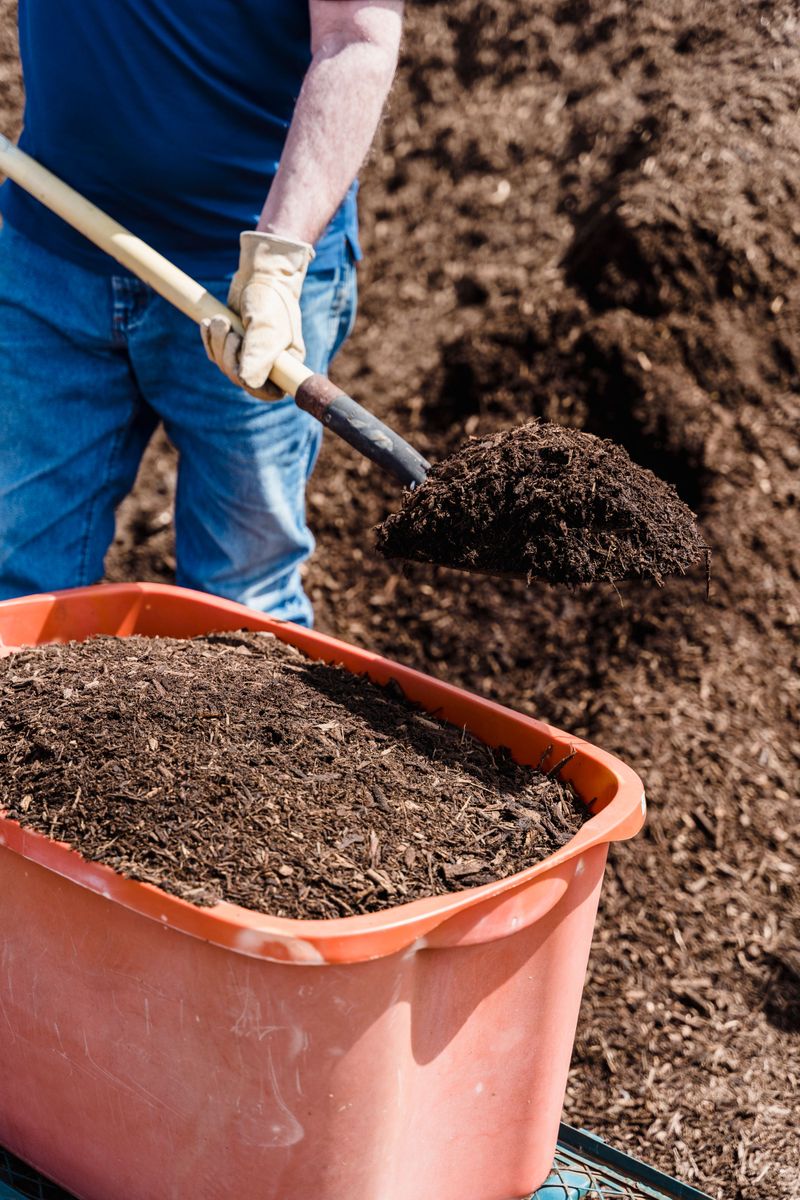
Next, rake the thick mulch layer back so about two inches remain. That thinner layer keeps weeds down and holds moisture as the weather warms.
Pulling some mulch away lets the sun warm the soil, which wakes up the roots. Warm soil helps fresh green shoots push up faster, stronger, and healthier.
Once leaves start to appear, you can finally see which stems made it through winter. Trim away any brown, brittle tips just above the first healthy bud.
Old mulch that has fully broken down can be worked into the soil, while fresh chips stay on the surface. Top up the layer later in spring once things have settled.
Then comes the best part, watching fat buds swell into those huge summer flowers. All that October effort suddenly feels like time well spent.