Brilliant Tips For Growing Beets In California From Tiny Seeds To Juicy Roots
Some of the most vibrant harvests in a California garden begin with seeds that look nothing like seeds at all. Rough, wrinkled, and corky, they hardly seem capable of much.
Appearances can fool, though. Tucked into the right soil at the right moment, those odd little nuggets can turn into something sweet, earthy, and deeply colorful.
Small choices shape the outcome more than most gardeners expect. Every step leaves its mark long before anything comes out of the ground.
California’s long, mild seasons give this crop plenty of chances to shine. Coastal fog, valley sunshine, and even desert winters each offer a window.
A few smart moves early on can turn bare ground into a basket worth bragging about.
1. Sow Seeds In Cool Soil
A hot August afternoon in Fresno makes a poor launch date for this crop. Seeds planted in that heat often sprout slowly, and the roots that follow can taste bland or bitter.
Beets are a cool-season crop. They do their best work when the air and soil feel crisp rather than scorching.
Cool soil brings the strongest germination and the sweetest roots. Seeds sprout in soil from about 50 to 85 degrees Fahrenheit, but roots build the most sugar when days stay mild and nights turn chilly.
Warm weather pushes plants to grow fast and leafy. Cool weather slows them down and sweetens the flavor.
Timing shifts depending on location in California. Along the coast, gardeners can sow almost year-round, since summers stay foggy and gentle.
Inland valleys like Sacramento and the San Joaquin do best with sowings from late summer through fall, and again from late winter to early spring.
Desert gardens in places like Palm Springs or the Imperial Valley have it flipped. Sowing from fall into winter works best, once temperatures drop and the soil stops baking.
Mountain gardeners usually wait until spring frost danger passes, then plant again in midsummer for a fall crop. UC ANR planting calendars can help fine-tune timing for each region.
A simple soil thermometer takes the guessing out of the process. A morning reading a couple of inches deep that sits comfortably in the 50s or 60s means the bed is ready.
2. Soak Seeds Overnight For Faster Sprouts
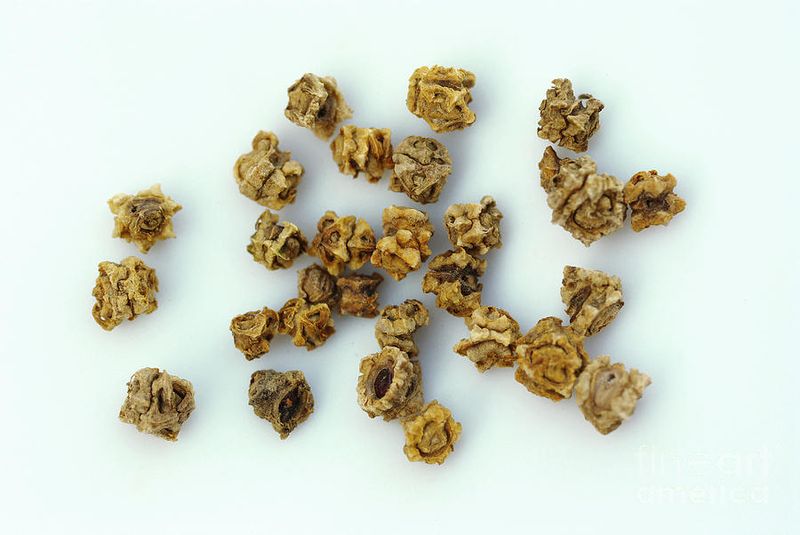
Up close, each seed looks more like a tiny cork nugget than anything ready to grow. That rough, wrinkly shell is tough stuff.
Water has to work its way through it before anything inside can wake up. An overnight bath gives the process a head start.
Seeds placed in a bowl of room-temperature water for about 8 to 12 hours soften and swell. Once they hit the soil, they can start sprouting sooner.
A marathon soak works against them, though. A full day or two in water can cut off oxygen and leave seeds soggy and weak, so one night is plenty.
After soaking, draining the seeds and spreading them on a paper towel for a few minutes helps. Damp seeds tend to clump together, which makes even planting tricky.
Your California Garden Changes Every Week. Your Plan Should Too.
Gardening in California changes quickly throughout the season. Every Friday you’ll receive a simple weekly plan showing exactly what to plant, prune, fertilize, harvest, and protect so you never miss the right timing.
A quick air-dry lets them separate for easy, one-at-a-time sowing. Planting them the same day keeps the benefit intact, since seeds left to dry out completely lose much of the advantage.
Moist soil should be waiting for them. A light watering of the bed before sowing sets the stage.
Soaking proves especially handy in dry inland gardens, where the soil surface can crust over quickly. Faster sprouting means less time sitting in the ground exposed to birds, insects, and drying winds.
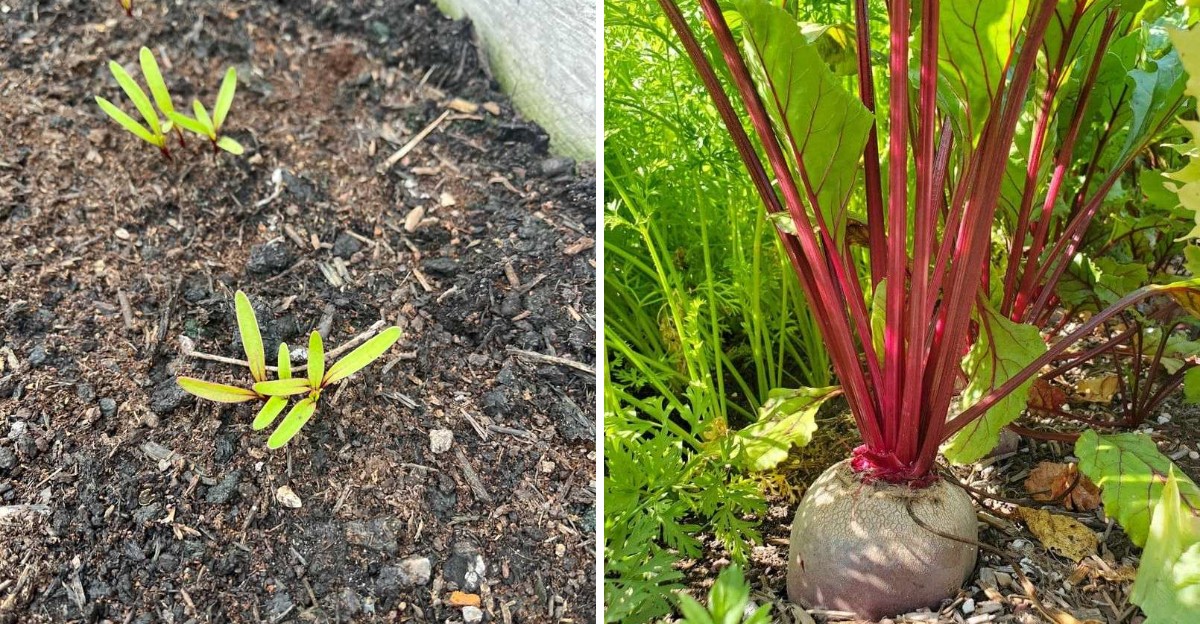
It’s a small step that takes almost no effort. The payoff shows up as quicker, more even rows of tiny red-stemmed seedlings.
3. Plant Seeds Half An Inch Deep
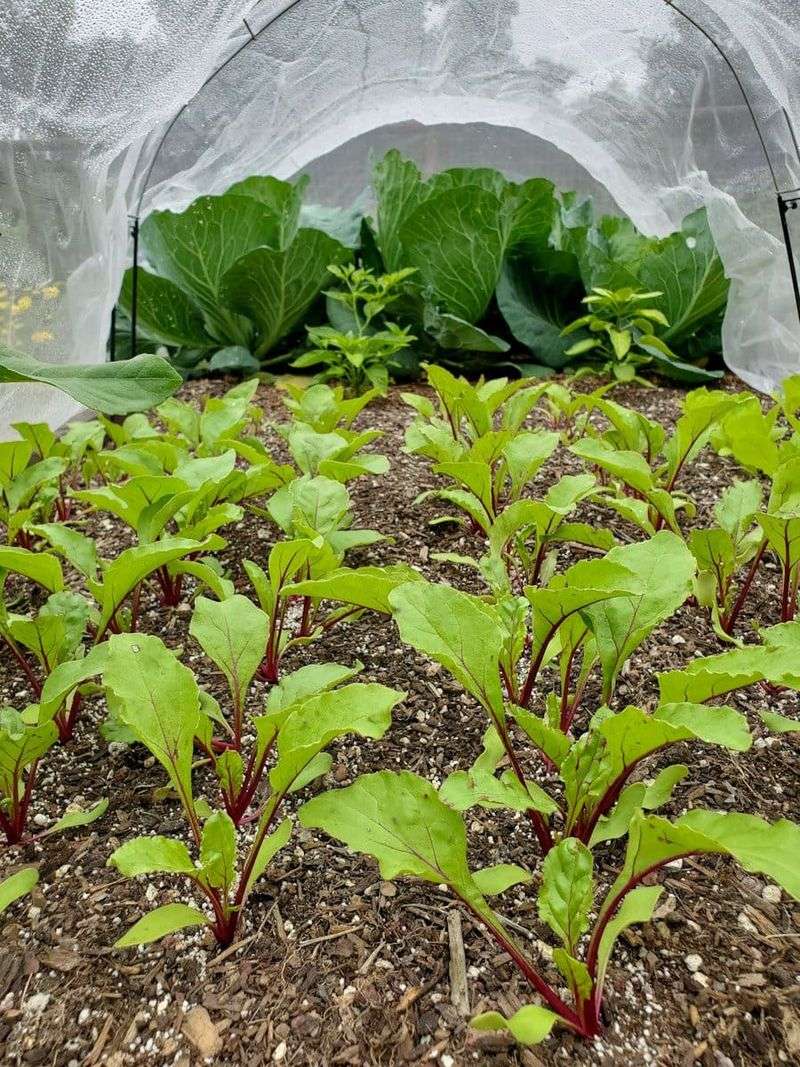
Depth matters more than it might seem. A seed buried too deep may run out of energy before reaching daylight, while one planted too shallow can dry out or wash away with the first watering.
About half an inch makes the sweet spot. A finger, a pencil, or the edge of a trowel can press a shallow furrow into loose soil.
A ruler laid beside the row helps check the work the first few times. After that, the right depth starts to feel natural.
Seeds go about 1 inch apart along the row. Rows can sit roughly 12 to 18 inches apart, leaving room to walk, weed, and water without trampling seedlings.
Raised beds allow tighter spacing. Short bands or blocks make good use of the space there.
A gentle cover of fine soil or a thin layer of compost finishes the job. A light pat with the palm presses seeds into contact with moist soil on all sides, helping water reach them steadily.
The top layer needs to stay damp until seedlings appear, usually in one to two weeks. Hot, windy spots may call for a light sprinkle once or twice a day.
Some gardeners lay burlap or a board over the row to hold in moisture. Lifting it as soon as sprouts appear keeps seedlings from stretching in the dark.
Short rows sown every few weeks bring a steady supply. That rhythm beats one giant harvest arriving all at once.
4. Thin Each Seed Cluster To One Seedling
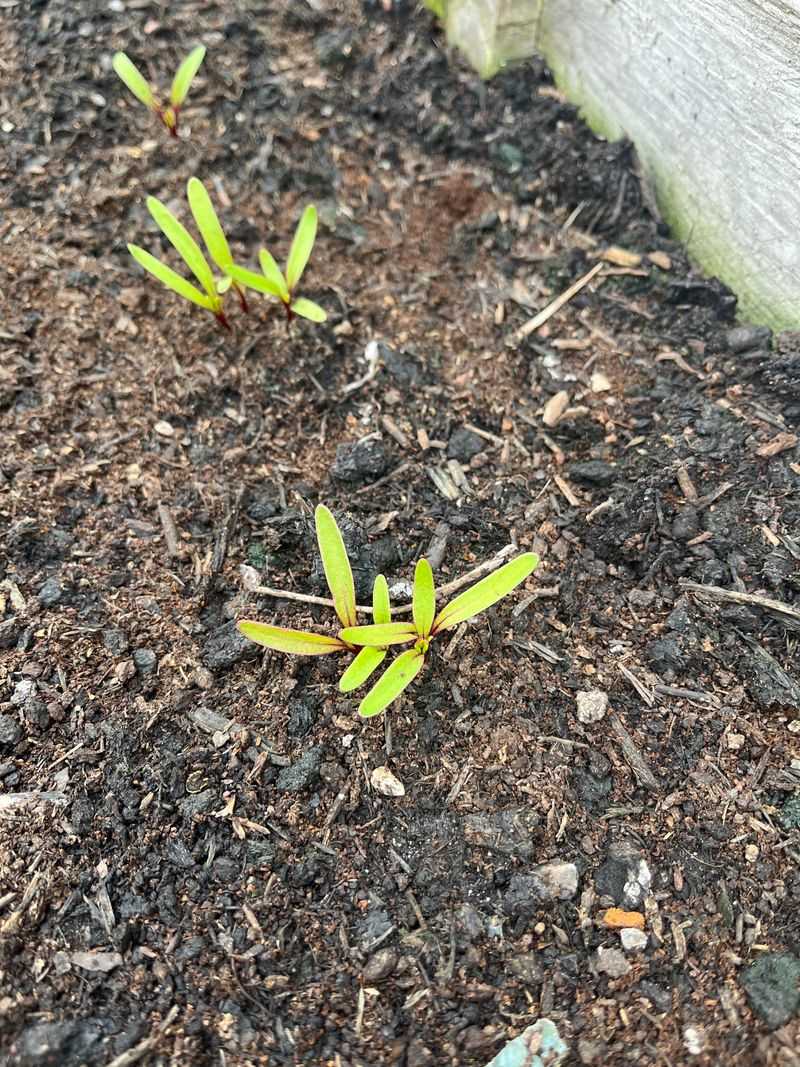
One seed went into the ground, yet three or four tiny sprouts popped up in the same spot. Nothing went wrong.
Each corky seed is actually a cluster holding several seeds inside. That surprise catches plenty of first-time growers off guard.
Those crowded sprouts look sweet, but they compete for water, food, and space. Left alone, they tend to produce a tangle of skinny, stunted roots.
Thinning turns a crowded row into round, healthy beets. The best time arrives when seedlings stand about 2 inches tall and show a few true leaves.
Keeping the strongest sprout in each cluster gives the best results. Snipping the others at soil level with small scissors, rather than pulling, protects the roots of the keeper.
Final spacing should leave one plant every 2 to 4 inches. Closer spacing suits baby beets, while wider spacing gives room for bigger roots.
Thinning in two rounds often works well, once early and again a few weeks later. That second pass catches any clusters missed the first time.
A tasty bonus comes with the job. Thinned seedlings are tender and edible, perfect for salads, sandwiches, or a quick stir-fry, with a mild, slightly earthy flavor.
Thinning can feel a little heartbreaking at first. Every sprout removed, though, helps the remaining plant grow into the plump, juicy root that makes the whole effort worthwhile.
A little tough love goes a long way here.
5. Keep Soil Loose And Rock Free
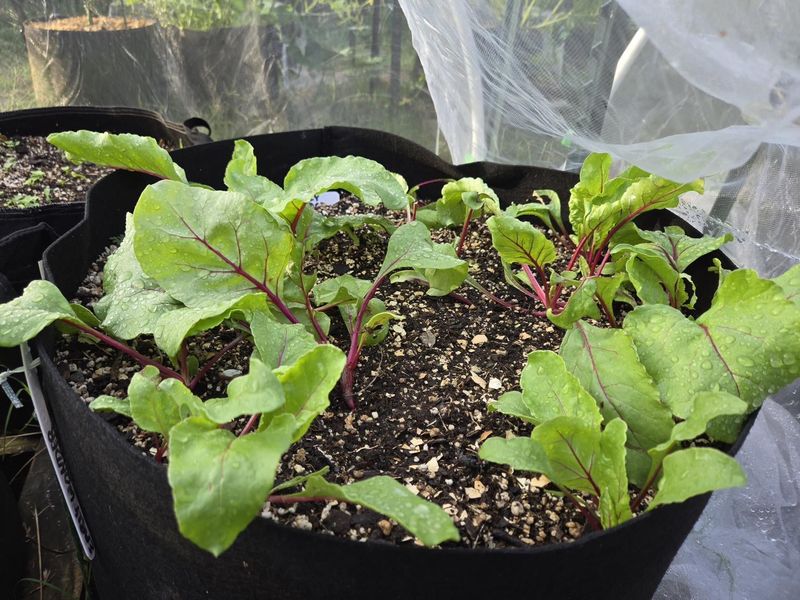
A root pulled from hard, rocky ground can look lumpy and twisted, as if it lost a wrestling match. Roots grow where they can push easily.
Stones and packed clay force them to bend, split, or stay small. Loose, crumbly soil, on the other hand, lets beets swell into smooth, round globes.
Preparation starts with digging or forking the bed about 8 to 12 inches deep. Breaking up hard clods by hand or with a rake leaves the soil light and fluffy.
Rocks, sticks, and old roots are best removed along the way. Even small pebbles can leave dents or forks in the finished crop.
A garden sieve, or hardware cloth stretched over a simple frame, makes quick work of sifting out debris. The effort pays off at harvest time.
Many parts of California have heavy clay soil that holds water and turns hard as brick in summer. A few inches of compost mixed in loosens it and improves drainage.
Compost also helps sandy soils hold moisture, so it pulls double duty. UC ANR guidance often recommends organic matter as a go-to fix for tricky soils.
Raised beds offer a smart option where native soil stays stubborn. A quality garden mix gives roots a clean, easy path, and the beds drain well after winter rains.
Foot traffic on prepared ground is best avoided. Footsteps squeeze air out and pack the soil down again.
Paths or stepping stones let the crop root in peace.
6. Water Evenly For Sweet Tender Roots
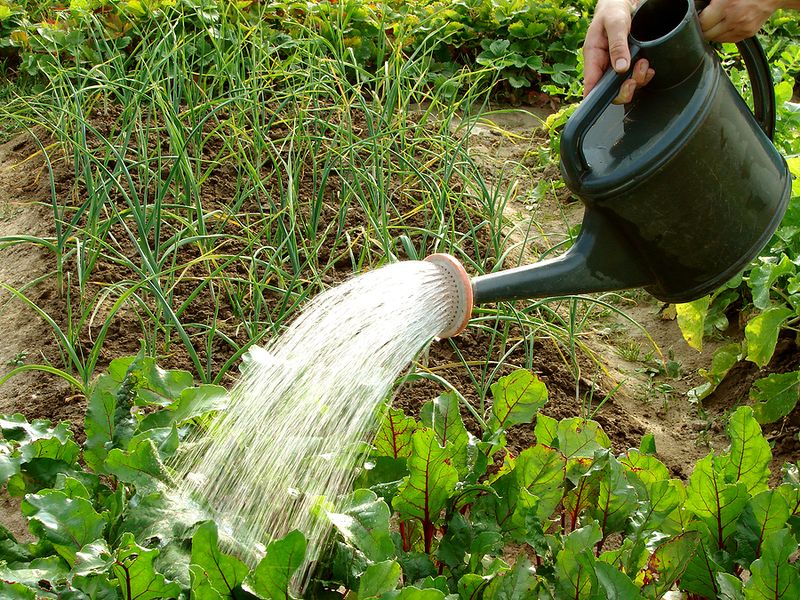
A cracked root tells a story. Most likely, the soil went bone dry for a while, then got a big soaking, and the root swelled so fast it split open.
Uneven watering ranks among the biggest reasons beets turn out tough, woody, or cracked. Steady moisture keeps roots growing at a smooth, even pace.
Soil kept about as damp as a wrung-out sponge suits the crop best. A finger pushed an inch or two into the ground offers a quick check, and dryness at that depth signals time to water.
Deep, regular watering beats quick daily sprinkles. A good soak encourages roots to grow downward and stay plump.
Cool coastal weather may call for watering only once or twice a week. Hot inland gardens often need it more frequently.
Drip lines and soaker hoses make excellent partners. They deliver water right to the soil and keep leaves dry, which helps limit leaf spots and mildew.
Paired with a simple timer, they make missed watering days far less likely. That consistency shows up in smoother, sweeter roots.
Mulch helps, too. A thin layer of straw, shredded leaves, or compost slows evaporation and keeps soil temperatures steady, with a small gap left around the stems so they stay dry.
Fall and winter storms may handle much of the watering on their own. Checking the soil before adding more makes sense, since soggy ground can lead to rot.
7. Feed Lightly To Favor Roots Over Leaves
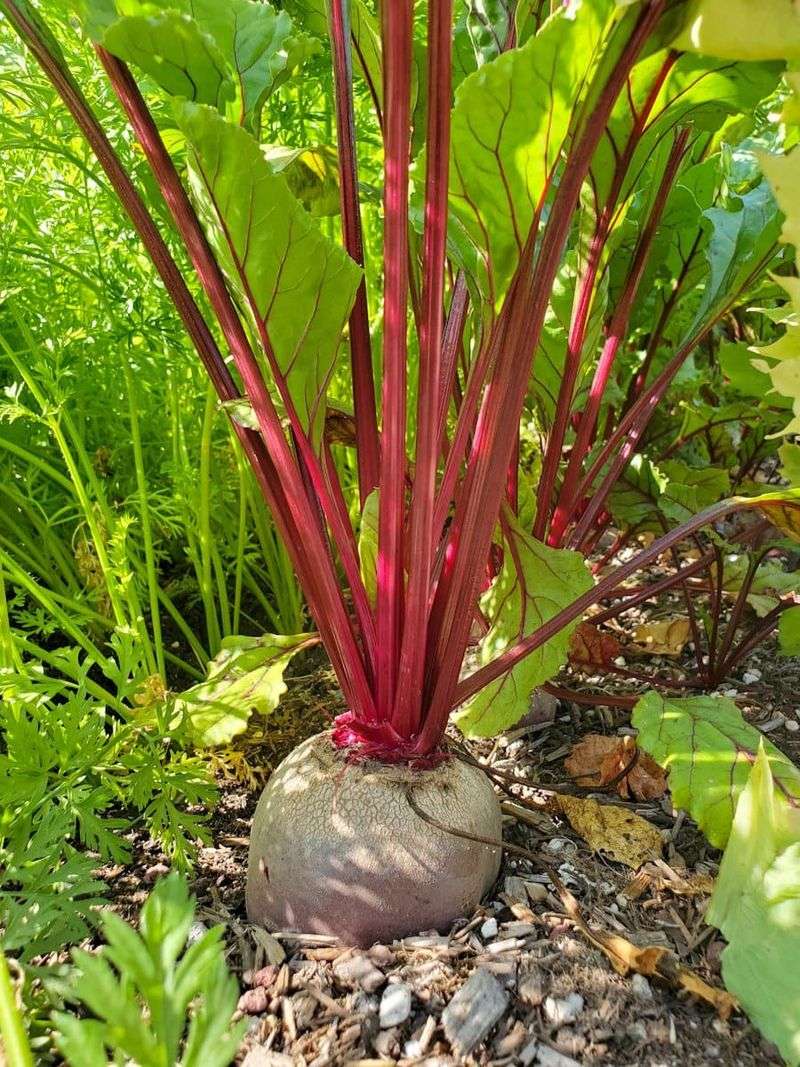
Big, bushy tops look impressive, but they can hide a disappointing secret underground. Too much nitrogen pushes plants toward lush leaves while roots stay small.
A gentle hand works best when it comes to food. Compost mixed into the bed before planting releases nutrients slowly and supplies most of what the crop needs.
Poor soil may benefit from a small amount of balanced fertilizer at planting time, applied according to the label.
High-nitrogen products like fresh manure or lawn fertilizer are best skipped, since they feed leaves and grass rather than roots.
A light side-dressing of balanced fertilizer about a month after sprouting usually covers the rest. More rarely helps.
Leaves offer helpful clues. Pale, yellowing foliage across the whole plant may signal a nitrogen shortage, and a light feeding can help.
Very dark, oversized leaves above tiny roots often point the other way, toward too much nitrogen. Adjusting the next feeding keeps things balanced.
Boron matters, too. A shortage can cause dark, corky spots inside the root, a problem often called black heart, along with stunted or twisted young leaves.
UC ANR guidance suggests testing soil before adding boron, since too much can harm plants. Soil tests are inexpensive and take the guesswork out of feeding.
Local nurseries can often point toward nearby testing labs. Less really is more with this crop, and a restrained approach lets the roots steal the show.
8. Harvest At Golf Ball To Tennis Ball Size
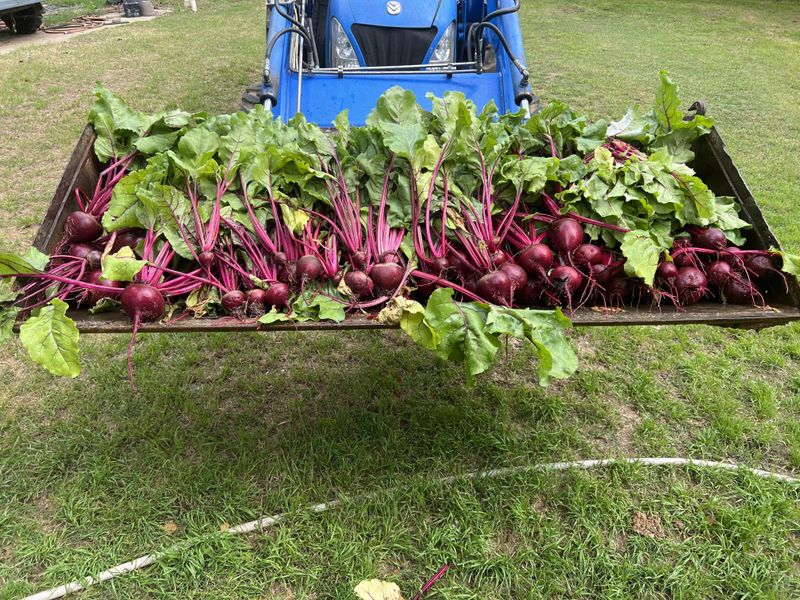
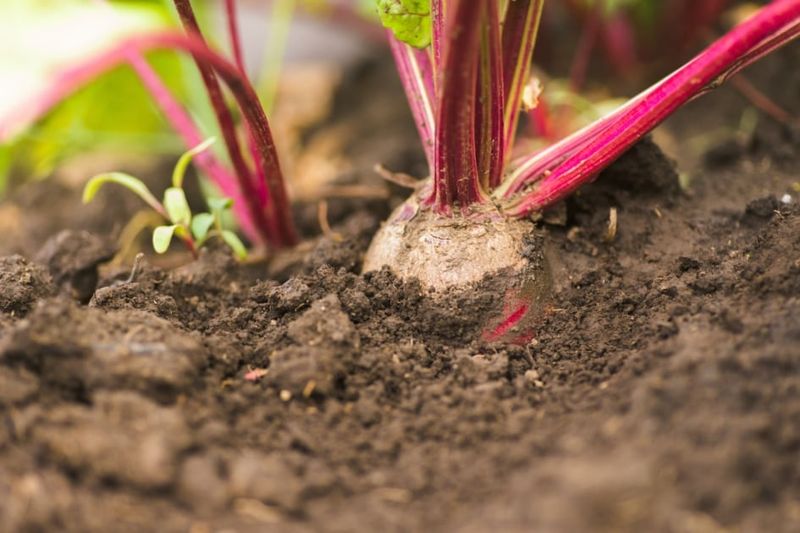
A little soil brushed away at the base of a plant reveals the top of the root. Once those shoulders reach about the size of a golf ball, harvest can begin.
Roots taste sweetest and most tender between golf ball and tennis ball size, roughly 1 1/2 to 3 inches across. Bigger rarely means better here.
Beets left in the ground too long can turn woody, stringy, and less flavorful. Most varieties reach harvest size about 50 to 70 days after sowing, though cool winter weather can stretch that timeline.
A firm, gentle pull near the base of the leaves usually brings the root up. Tight soil loosens easily with a garden fork first.
Pulling the largest roots first gives smaller ones extra time to keep growing. That approach stretches the harvest over several weeks.
The leafy tops deserve a spot in the kitchen, too. Beet greens are delicious and packed with nutrients, much like their close cousin, Swiss chard.
Sauteed with garlic and olive oil, they make a quick side dish. Young leaves also brighten salads.
For storage, twisting or cutting the greens off while leaving about an inch of stem keeps roots from bleeding color.
Unwashed roots in a plastic bag in the refrigerator can keep for several weeks. Greens are best used within a few days.
Roasted, pickled, or grated raw into a slaw, the finished roots reward every careful step from seed to harvest.