How To Encourage A Pothos To Grow Fuller And Bushier
Your vine holds itself back, and you can change that today. Hormones made at the tip of each stem gently quiet the buds below.
Plants follow this growth habit, and you can redirect it. Take clean scissors and find a node, the small brown bump along the stem.
Trim just above it, and you wake dormant buds hiding in that joint. Fresh shoots emerge where you trim, and your vine branches out.
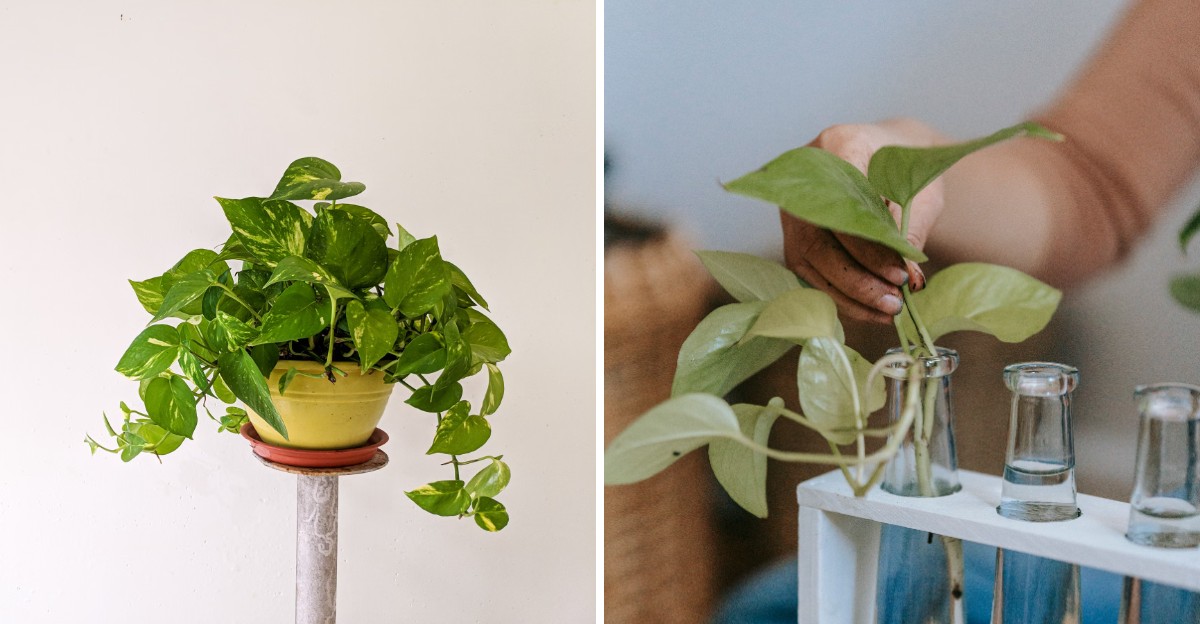
Place those trimmed stems in water, and you gain bonus vines for free. Roots appear within weeks, so you can tuck them back into the pot.
Bright indirect light helps too, so you should slide the pot closer to the glass. Soon you will notice crowded stems pushing up from the soil line. Imagine a full cascade of glossy leaves framing your shelf. Trust your instincts and trim.
1. Prune The Long Vines Just Above A Node

Snip, snip, and suddenly your plant gets the message to grow sideways instead of only longer. Cutting a vine wakes up sleepy buds hiding along the stem, ready to burst into action.
Look closely at a vine and you will spot little brown bumps where leaves meet the stem. Those bumps are called nodes, and they are where new roots and shoots love to start.
Grab clean, sharp scissors and cut about a quarter inch above a node. Wipe the blades with rubbing alcohol first so you do not spread germs between plants.
Feeling nervous about removing half a vine is normal, but pothos bounce back fast. Within a few weeks of the growing season, one or two fresh shoots often appear right below your cut.
For the best results, trim several vines at different lengths instead of giving everything the same length. Varied lengths create layers, so the plant looks full from the top and along the sides.
October is a fine time for light pruning, though growth slows a bit as days shrink. Save heavy trimming for spring, when your plant has the most energy to push out shoots.
Keep those snipped pieces, too, because they can become brand new plants with a little water. Your trash can stays empty, and your windowsill slowly fills with green babies instead.
Repeat this haircut every month or two during the growing season for steady thickening. Patience pays off, and soon your skinny vine looks like it joined a leafy gym.
2. Pin The Bare Vines Back Onto The Soil
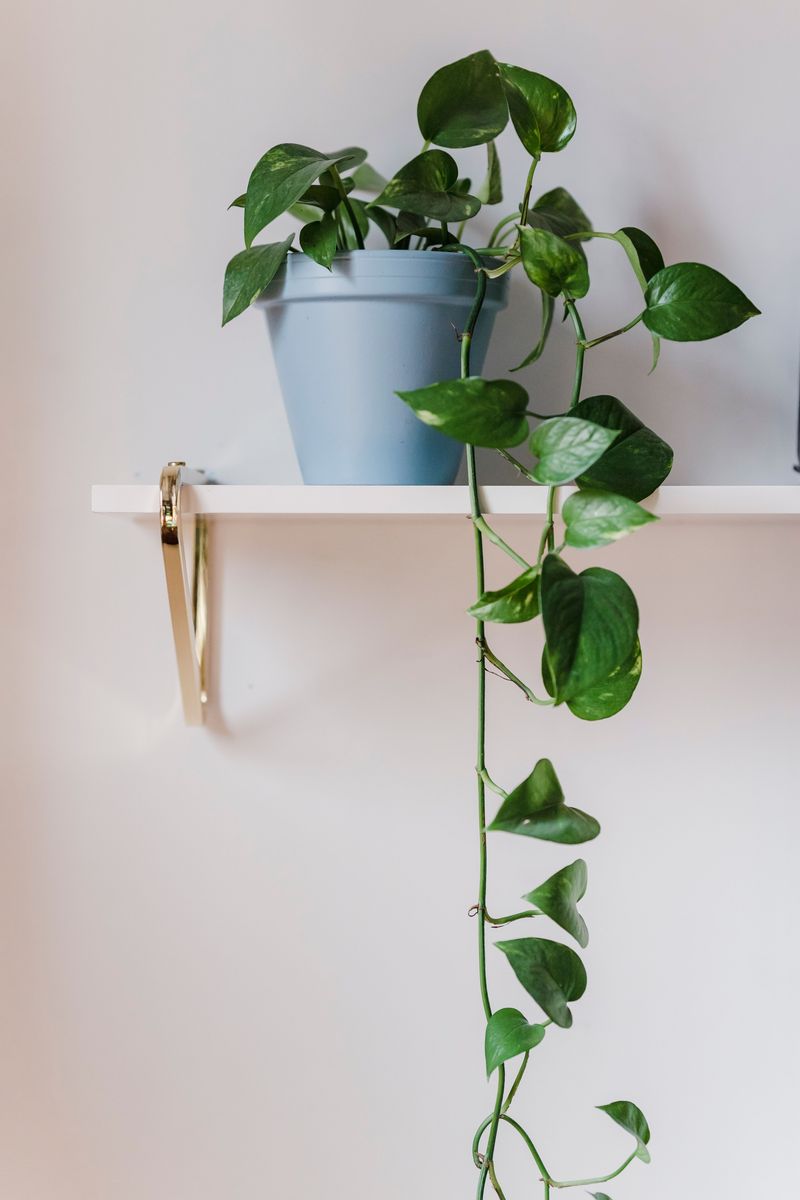
Ever notice how a vine trailing over the pot edge leaves the top looking sparse? Gravity pulls those stems away from the soil, leaving a bare spot behind.
A simple trick fixes that problem without any cutting or fancy tools at all. Gently coil a long vine back across the soil surface and pin it down in place.
Floral pins, bent paper clips, or small U-shaped garden staples all work well for this job. Press each pin over the stem near a node, not right on top of a leaf.
Once a node touches moist soil, it starts growing tiny white roots of its own. Those roots anchor the vine and feed fresh leaves that fill in the empty center.
Think of it like tucking a sleepy kid into bed under a warm, cozy blanket. The vine settles in, gets comfortable, and starts making itself at home right where you placed it.
Keep the soil lightly moist for the next two or three weeks so the new roots form easily. Soggy soil can cause rot, so aim for the feel of a wrung-out sponge.
In about a month, give one pinned vine a soft tug to check progress. If it resists, roots have grabbed hold, and you can gently pull the pin out.
Spiral a few vines around the pot at once for a thick, layered look. Your plant will look like it got a fluffy new hairstyle, and nobody had to grab scissors.
3. Move The Pot Into Bright Indirect Light
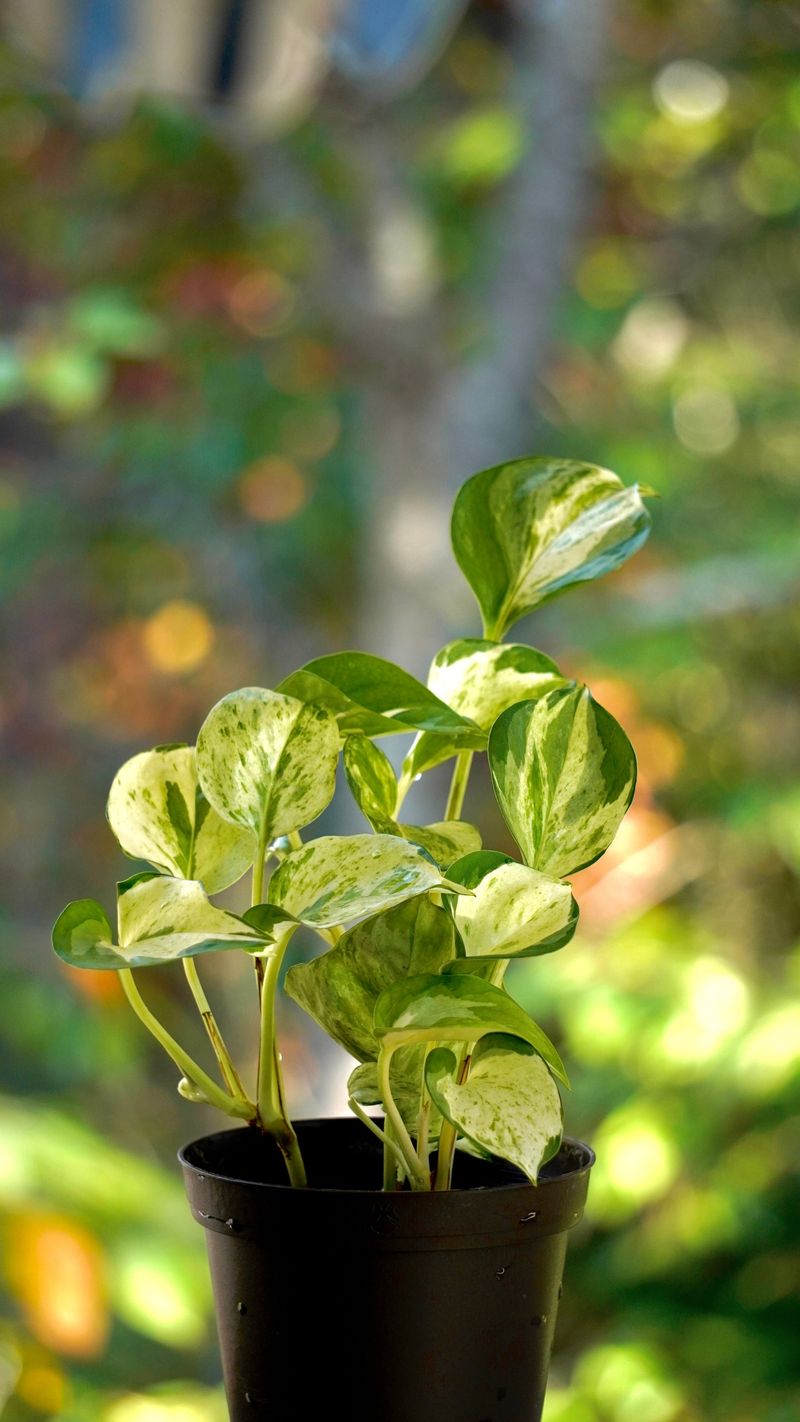
Pothos tolerate a dim corner, but tolerating and thriving are two different things. Low light makes vines stretch out with big gaps between leaves, searching for the sun.
Those gaps are the reason many plants look stringy instead of lush. More light means shorter spaces between nodes and more leaves packed along each stem.
Aim for a spot a few feet from an east or west window. The plant should see the sky but not sit in harsh, direct afternoon rays.
Too much direct sun can damage leaves, leaving crispy brown patches. Sheer curtains work like sunglasses, softening strong light while keeping the room bright.
In October in the Northern Hemisphere, the sun sits lower and days grow shorter. A spot that felt perfect in July might now feel a bit gloomy for your plant.
Consider moving the pot closer to the window as fall settles in. A small LED grow light can also help, especially for apartments with few windows.
Variegated types like Marble Queen need extra brightness to keep their creamy streaks. In weak light, they often turn plain green, trying to make more food with less sun.
Watch your leaves for clues about whether the light is right. Small leaves with long gaps between them often mean more light is needed, while bleached spots mean you should back off a little.
Pale or yellow leaves can also point to overwatering or low nutrients. Getting the light right takes some trial and error, so stay curious and keep watching. Your vines will reward you with tighter, fuller growth that looks good from every angle.
4. Tuck Fresh Cuttings Into The Same Pot
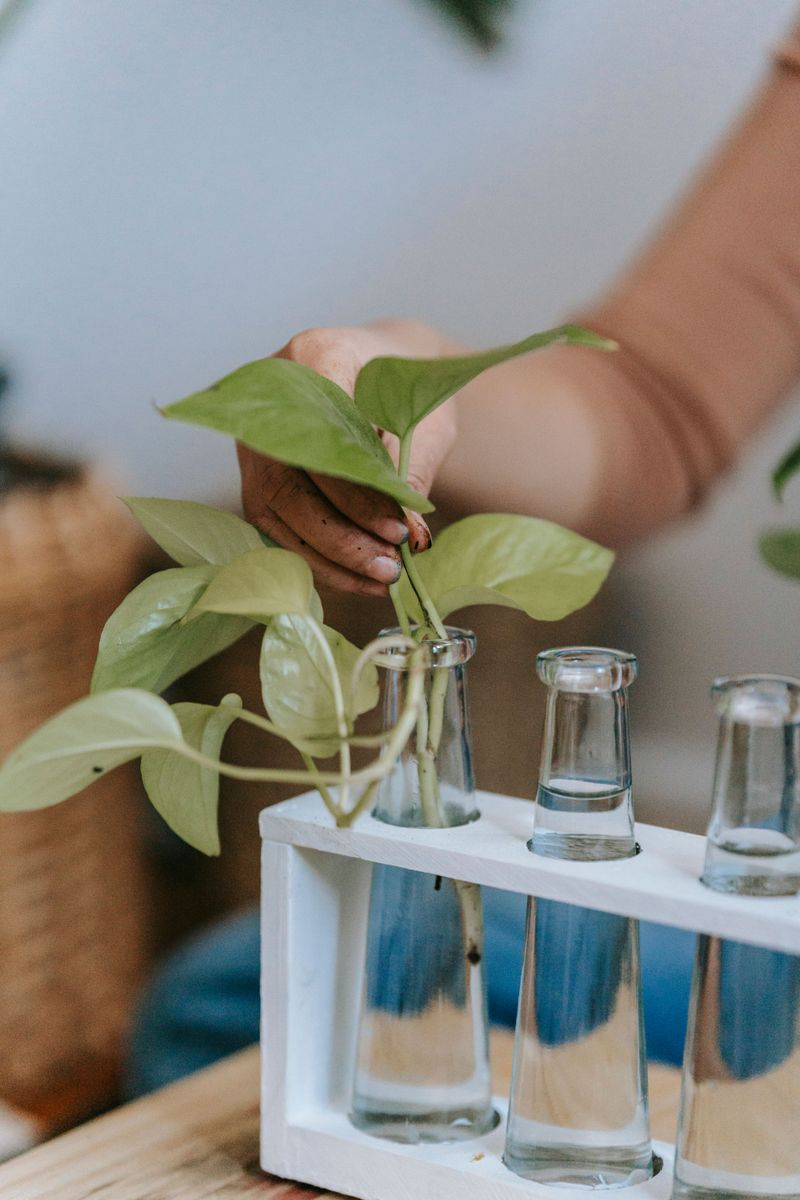
Growers at plant shops use a simple trick for full hanging baskets. Many of them plant several rooted cuttings together in a single pot.
You can copy that trick at home using the vines you trimmed earlier. Each cutting should have at least one node and two or three healthy leaves.
Pop the cuttings into a glass of water on a bright windowsill. Keep cuttings and pots out of reach of cats and dogs, since pothos is toxic to pets and its sap can irritate skin.
Change the water every few days so it stays fresh and clear instead of cloudy. Watching roots grow is oddly satisfying, like a slow science fair project on your counter.
Once roots reach about two inches long, the cuttings are ready to plant. Poke small holes in the soil around the bare areas of your main plant.
Gently set each cutting in a hole and firm the soil around its roots. Spread them out evenly so the pot fills in from every side.
Pay special attention to the thinnest spots, since new plants help most there. Water lightly after planting, then keep the soil slightly damp for a couple of weeks.
Young roots are tender and need time to adjust from water to soil life. Skip the water step if you like and press node cuttings straight into moist soil.
Either way works, so pick whichever feels easier for your busy schedule. Before long, the new plants blend in with the old ones, and your pot ends up crowded with leaves, which is exactly the goal here.
5. Feed The Roots With Gentle Fertilizer
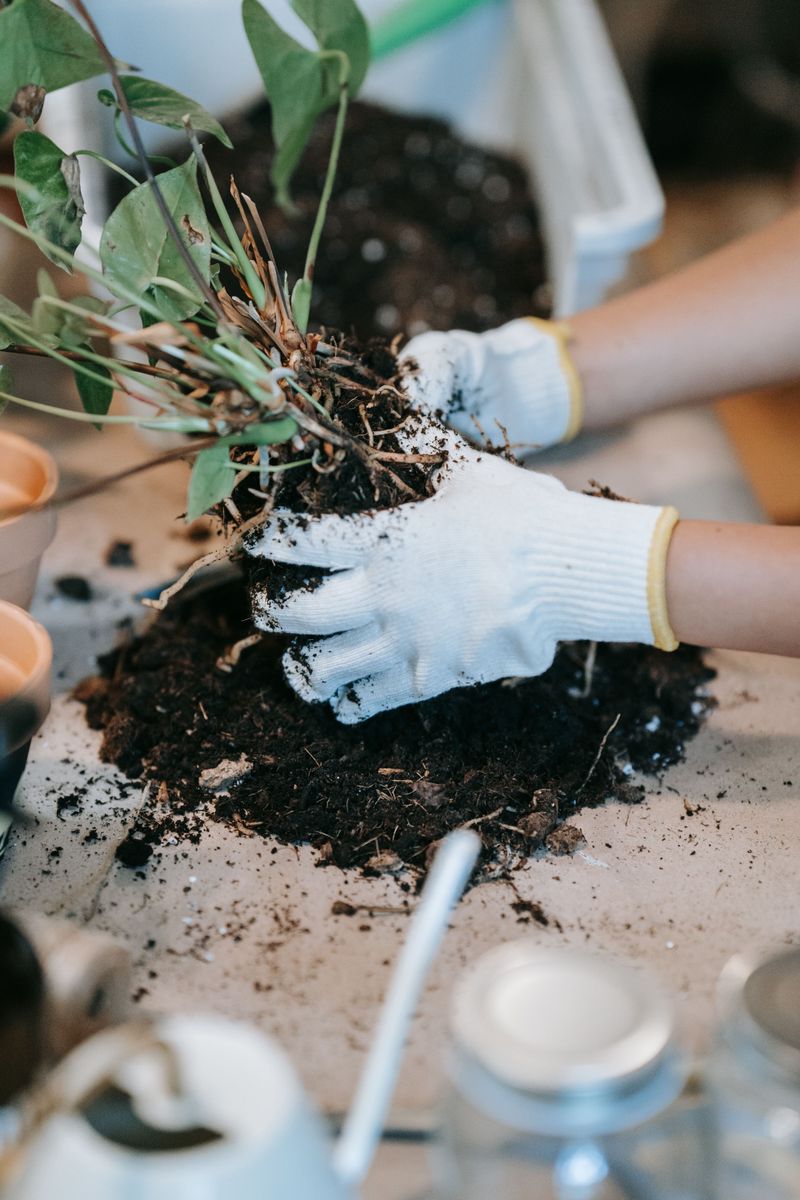
Imagine trying to build a treehouse with only three boards and a handful of nails. A hungry plant faces the same problem when the soil runs low on nutrients.
Pothos need nitrogen to build leaves and stems, plus other nutrients for strong roots. Potting soil loses its food supply after a few months of watering and growing.
A balanced liquid fertilizer, with numbers like 10-10-10 or 20-20-20 on the label, works nicely. Mix it at half the strength listed on the bottle to avoid damaging the roots.
During spring and summer, feed your plant about once a month. Growth slows down in fall and winter, so cut back to every two months or pause.
Since it is October, now is a good time to start easing up on feeding. Your plant is heading into a slower season, so it needs less food.
Too much fertilizer can cause white crust on the soil and brown leaf tips. If you spot those signs, flush the pot with plain water to rinse extra salts away.
Water the soil first, then feed, so dry roots do not soak up strong nutrients too fast. Damp soil spreads the food evenly and keeps tender root tips safe.
Some growers like slow-release pellets that feed the plant gradually for several months. Those are handy if you tend to forget monthly chores on a busy calendar.
With steady meals, new leaves come in larger, greener, and closer together on the vine. A well-fed plant simply has more energy to push out side shoots.
6. Water When The Top Soil Feels Dry
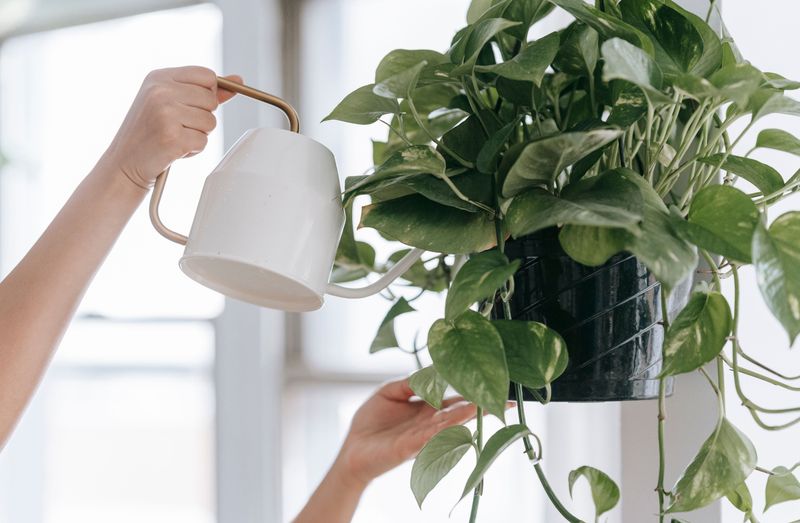
Here is a confession many plant owners share: they loved their first pothos a little too much. Daily watering felt caring, but it slowly overwatered the roots underneath.
Roots need air as much as they need water. Soggy soil squeezes out oxygen, leading to yellow leaves and mushy stems that stop growing well.
The finger test is the easiest way to know when to water. Push a finger into the soil, and if the top two inches feel dry, grab the watering can.
Water slowly until it flows out the drainage holes at the bottom. Dump any extra water sitting in the saucer so the roots are not stuck in a puddle.
Underwatering causes trouble too, with droopy vines and crispy brown edges. A thirsty plant stops pushing new growth because it is busy just holding on.
As October brings cooler air, your plant will drink less than it did in summer. Check the soil before every watering instead of following a strict calendar date.
Pots with drainage holes are strongly recommended for healthy growth. Pretty pots without holes work only if you set a plastic nursery pot inside them and empty any water that collects.
Steady moisture keeps roots strong, and strong roots support thick, leafy growth up top. Think of watering as a conversation, where you listen to the soil before you speak.
Many people find that watering once every week or two works well in fall. Your own home may differ, so trust the soil more than any rule.
7. Give The Vines A Moss Pole To Climb
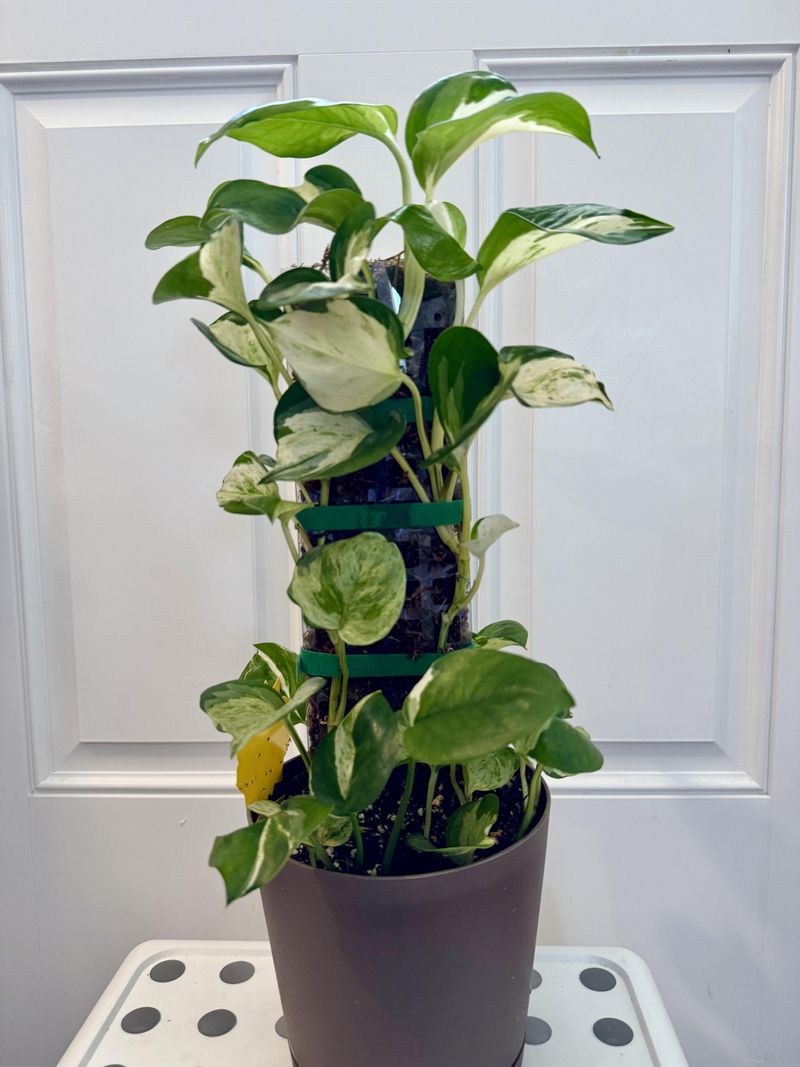
In tropical forests, wild pothos climb tall trees and grow leaves far larger than those on hanging plants. Climbing tells the plant it has found a safe home worth investing in.
Hanging vines, on the other hand, tend to produce leaves that get smaller as they dangle. A moss pole gives your plant something to grip, just like a tree trunk.
Push the pole deep into the pot, close to the base of the plant. Doing this during repotting is easiest, since you avoid damaging roots in packed soil.
Use soft plant ties or strips of fabric to attach vines to the pole. Tie loosely, leaving room for the stems to thicken as they grow.
Aerial roots, those little brown nubs on the stems, will slowly grab onto the moss. Misting the pole keeps it damp, encouraging the roots to dig in and hold tight.
As the plant climbs, leaves grow larger and closer together, creating a thick column of green. It looks like a full column of green rising from your pot.
Coco coir poles work too, and some people even use wooden planks or trellises. Pick whatever matches your style and fits the space you have.
Pairing a pole with pruning gives you the best of both worlds. Climbing vines grow upward while trimmed stems branch out, making the plant full from top to bottom.
Moss poles are sold at many garden centers and online. Add one now, and by spring your plant may be climbing well.
8. Turn The Pot Every Couple Of Weeks
Plants lean toward light, a response scientists call phototropism. Leave a pot in one spot, and soon most leaves lean toward the window.
That lean creates a lopsided look, with one side full and the other side thin. Turning the pot fixes this problem with minimal effort.
Give your pot a quarter turn every two weeks or so. Each side gets its turn in the spotlight, so growth stays balanced all around.
A small sticker or piece of tape on the pot rim can help you remember. Move the marker each time you turn, and you will know which side faced the window last.
Pair this habit with your regular watering routine so you do not forget about it. Water, turn, and walk away in less than a minute.
Hanging baskets need turning too, even though they dangle in the air. Light still hits one side harder, so give the hook a gentle twist.
In October, the sun shifts its angle, so light hits rooms differently than in summer. Rotating helps your plant adjust to these seasonal changes without getting stretched out.
Over time, you will notice even, round growth that looks full from most angles. Guests may even ask if you bought a brand new plant at the store.
Small habits like this one add up to big changes over a few months. Combine turning with pruning and good light, and your pot will overflow with leafy goodness.