What To Check In California Mulch Before Adding It To Raised Beds This Fall
Fall brings a perfect window for refreshing raised beds in California. Cooler days and the first rains help organic matter settle in, setting the stage for spring.
A fresh delivery of brown material can look like promise. Not every load deserves a spot near vegetables, though.
Some piles hide unwelcome extras that stay invisible until crops start acting strangely. Others need more time before they’re ready.
Tools and lab tests aren’t necessary to tell the difference. Sharp eyes, a curious nose, and a few good questions go a long way.
A few minutes of inspection can spare a season of frustration.
Every shovelful that reaches the beds should earn its place, and a quick check helps it do so.
1. Check Where The Material Came From
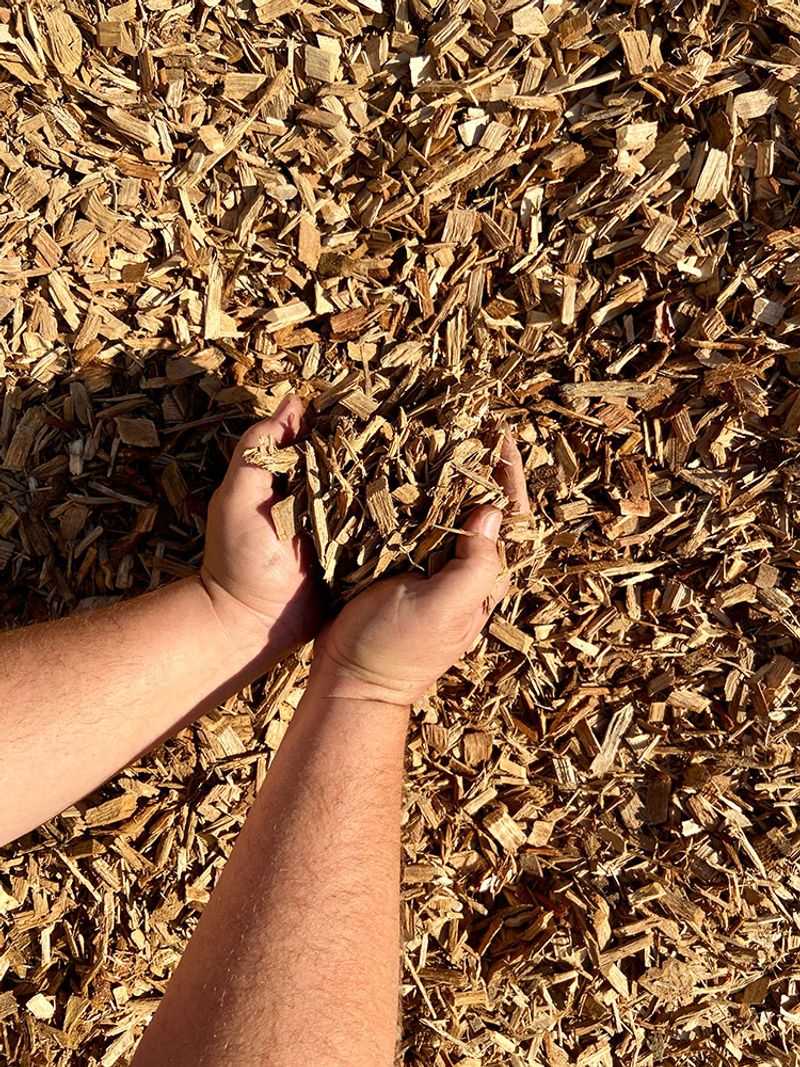
A free pile from a stranger’s tree crew sounds like a bargain, and sometimes it is. Other times, it turns out to be a mystery load, and vegetables end up paying the price.
Simple questions make a good start. Knowing which trees or plants went into the material, whether it came from one job site or many, and how long it has been sitting all help.
Whether the load was composted or just ground up matters, too. A reliable supplier answers quickly and without fuss.
Species plays a bigger role than many gardeners expect. Some trees, like black walnut and eucalyptus, carry natural compounds that can bother young plants.
Diseased trees can also carry fungi into a yard. Arborists usually know what they cut that day, so a direct question often brings a clear answer.
Handling counts as well. Commercial compost sold in California often comes from facilities that heat material to reduce weed seeds and pathogens.
Products carrying the US Composting Council Seal of Testing Assurance offer added confidence. Bagged products should list ingredients on the label.
Loads with no story at all deserve caution. A seller who shrugs at every question offers little reassurance, and plenty of reliable mulch exists elsewhere.
A quick note recording where each load came from pays off later. When something goes wrong, that record shows exactly which pile caused trouble and which supplier to skip next time.
2. Avoid Chips From Black Walnut Or Treated Wood
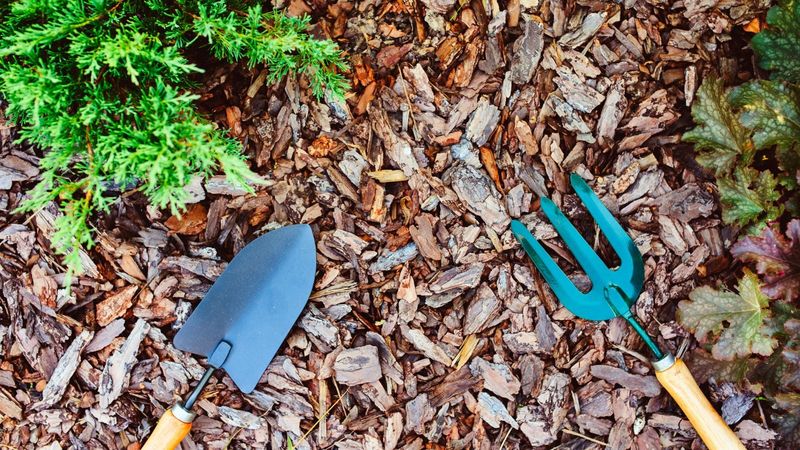
One sneaky tree can sour a whole bed. Black walnut produces juglone, a natural chemical found in its roots, bark, leaves, and hulls.
Tomatoes, peppers, potatoes, and eggplants are especially sensitive to it.
Plants exposed to juglone may wilt, yellow, and stall out. Damage can appear within weeks.
California has native and planted walnuts, including Northern California black walnut along rivers and in older neighborhoods. Chips from these trees are best kept out of vegetable beds entirely.
Fresh walnut material raises the main concern. Composting helps break juglone down over time, but the age of a load often remains a mystery.
Skipping walnut chips makes the safer choice for edible gardens.
Wood scraps bring a different headache. Painted lumber may carry old lead paint, especially from homes built before 1978.
Your California Garden Changes Every Week. Your Plan Should Too.
Gardening in California changes quickly throughout the season. Every Friday you’ll receive a simple weekly plan showing exactly what to plant, prune, fertilize, harvest, and protect so you never miss the right timing.
Pressure-treated wood and stained boards can hold preservatives that have no business near carrots or lettuce. Those chemicals can linger in soil.
A close look at the pile reveals plenty. Bright colors, flat geometric pieces, nails, or a greenish tint can point to construction debris.
Dyed mulch raises another red flag for food beds, since the base wood often stays unknown. Pretty colors can hide questionable origins.
Plain chips from known, untreated trees, or compost from a trusted source, make the best choices. A salad bowl deserves wood with a clean past rather than a sketchy rap sheet.
3. Look For Plastic Glass And Trash
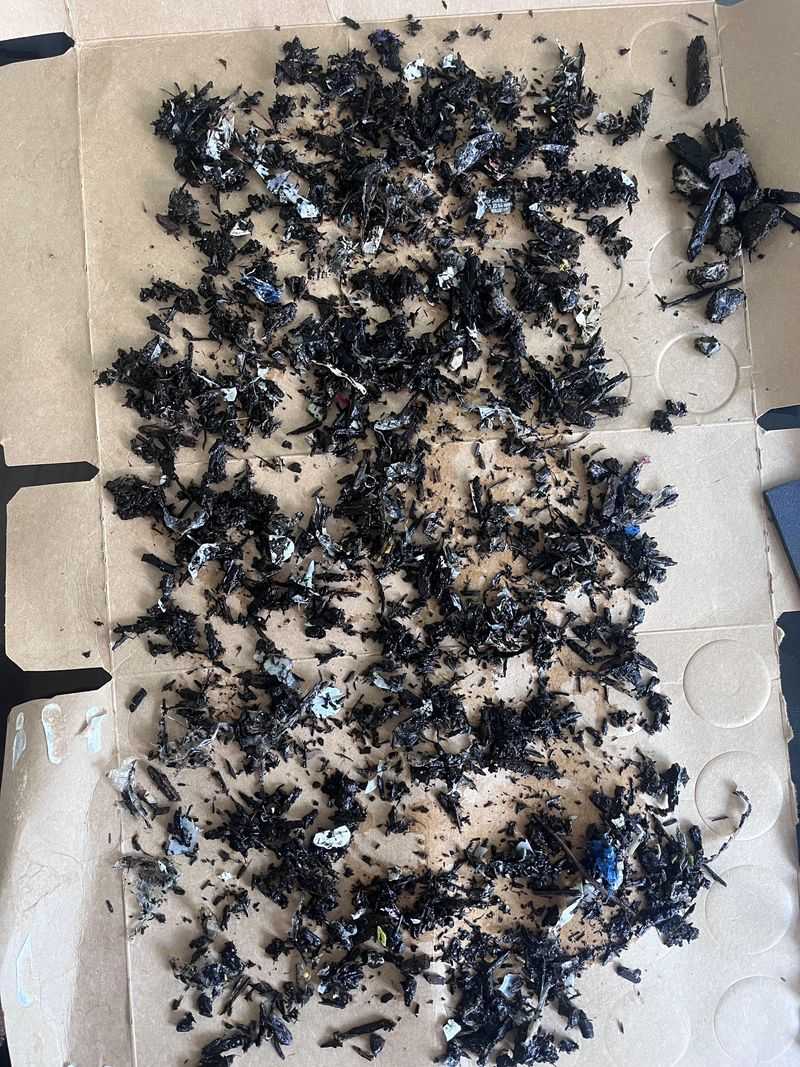
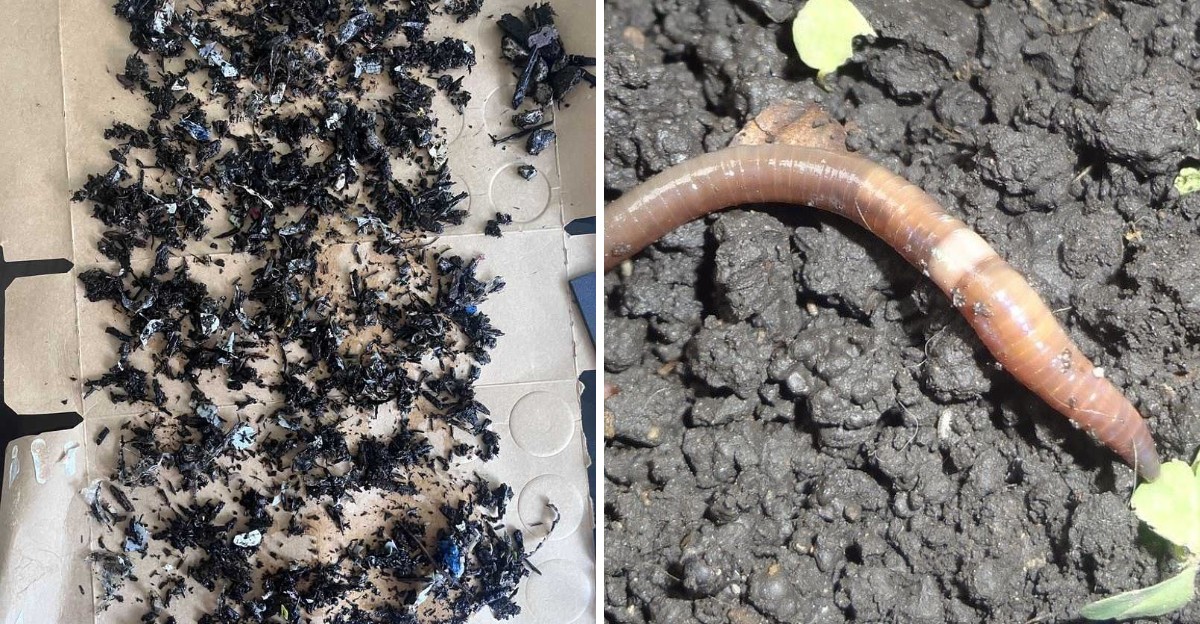
A handful sifted slowly through gloved fingers can reveal surprises. Shiny flecks, thin film, or a bottle cap may hide among the bark, and those little extras matter.
Many California cities collect yard waste in green bins and turn it into free mulch or compost. The idea is wonderful, though results vary.
People toss plastic bags, plant tags, nursery pots, and even glass into those bins. Grinders miss plenty of it.
Plastic doesn’t break down in soil. Instead, it shreds into smaller pieces that linger for years, and over time, those fragments mix deep into the bed.
Glass shards pose a real hazard for hands that pull weeds and harvest root crops. Safety alone justifies a careful look.
A few shovelfuls spread on a tarp make inspection easy. Raking through them can turn up plastic film, string, and shredded bag pieces.
Glass, ceramic bits, metal, rubber bands, twist ties, plant labels, and cigarette filters may appear, too.
A stray piece or two can come out by hand. A load sparkling like confetti tells a different story, and it’s better suited to walkways or areas far from food crops, or skipped entirely.
California’s SB 1383 rules have pushed composters to cut contamination, so quality keeps improving. Many facilities now screen more carefully.
Still, checking takes only five minutes. It works like a treasure hunt where finding nothing counts as the prize.
4. Smell It For Sourness Or Ammonia
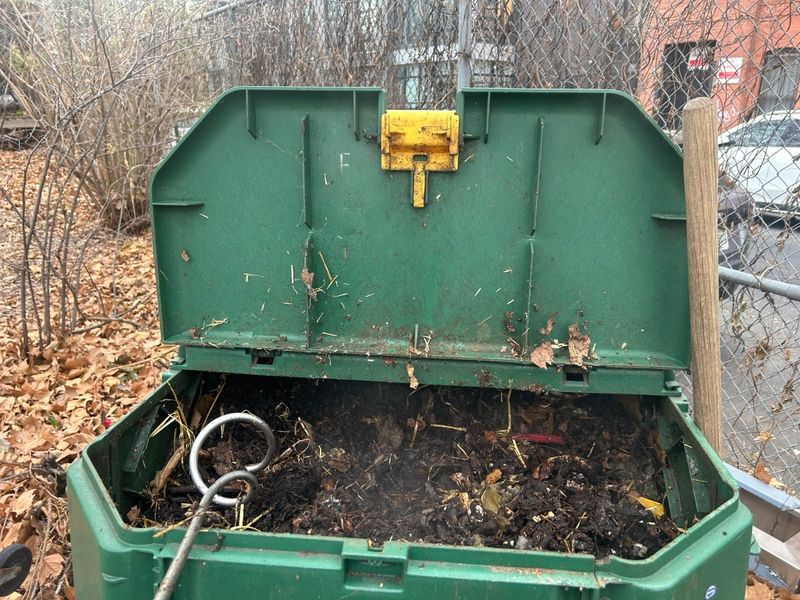
A nose works as a free testing lab. A handful pulled from the middle of the pile and given a slow sniff tells plenty.
Good mulch and finished compost smell earthy, like a forest floor after rain.
Sour, vinegary, or rotten-egg odors tell a different tale. They usually mean the material sat packed too tightly without air.
Microbes working without oxygen create acids and other compounds that can harm tender roots and young seedlings. Those effects show up fast in raised beds.
A sharp ammonia smell signals another problem. Too much nitrogen-rich material, such as fresh grass or manure, is still breaking down.
The process remains unfinished, and the pile releases nitrogen as gas instead of holding it. Plants miss out on that nutrient.
Heat offers a clue as well. A little warmth is fine, but a very hot interior means the pile is still actively decomposing.
UC ANR guidance describes mature compost as stable, dark, and crumbly, without strong odors. That description makes a handy benchmark.
Sour material isn’t ruined forever. Spreading it thin on a tarp or turning it with a pitchfork for a few weeks lets air and time clear the smell.
A second sniff test then confirms readiness.
Instincts matter here. A load that makes noses wrinkle will likely make beds react the same way, so waiting until it smells pleasant pays off.
5. Choose Aged Material Over Fresh Chips
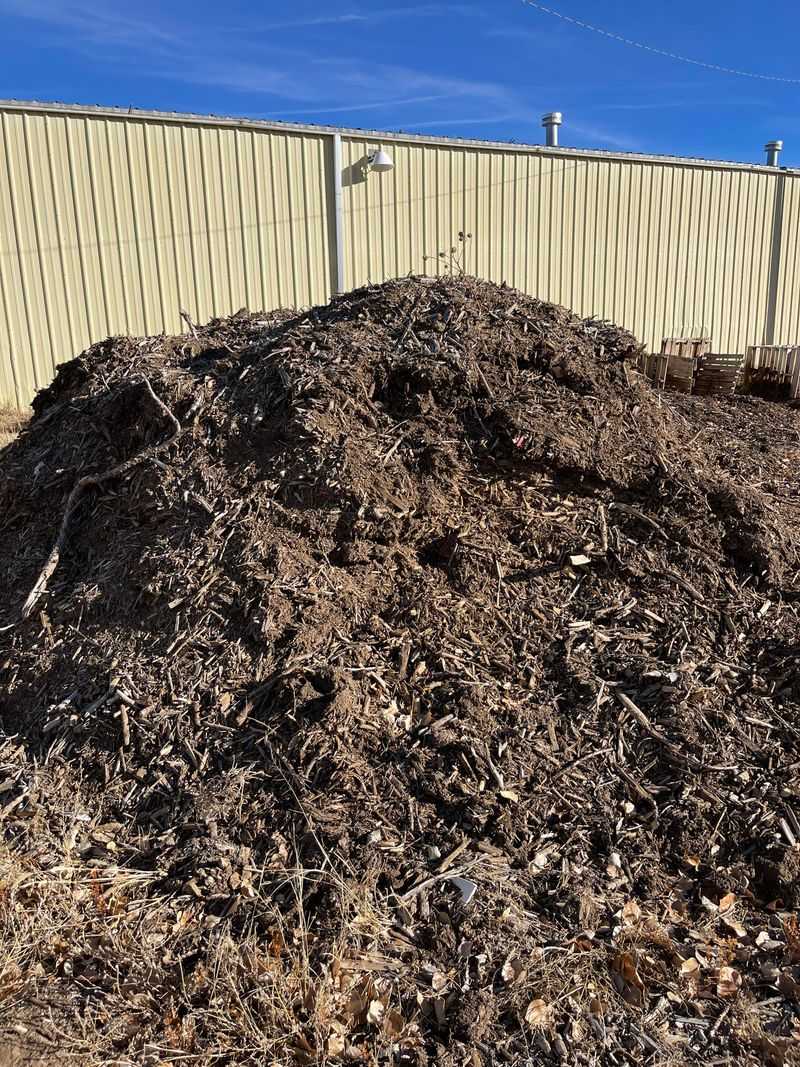
Bright orange chips straight from the chipper look fantastic. Underneath that fresh color, though, hungry microbes wait to get to work.
Fresh wood runs high in carbon. As soil microbes break it down, they borrow nitrogen from the surrounding soil.
UC ANR calls this nitrogen tie-up. It can leave nearby plants pale and slow, especially seedlings and fall greens just getting started.
Aged material offers a simple fix. Chips that have weathered for several months to a year turn darker and start to crumble.
Much of the early decomposing has already happened by then. Far less nitrogen gets borrowed as a result, and darker, crumbly chips also blend more naturally into bed edges.
Application matters just as much. A surface layer works far better than digging chips into the soil, since tie-up mostly happens where wood mixes with soil.
In raised beds, about 2 to 3 inches of coarse material works well. Finer mulches and compost can go thinner, around 1 to 2 inches.
Pulling back the layer when sowing seeds directly gives sprouts room to emerge. Tucking it back around plants once they sprout and stand a few inches tall completes the job.
Fresh chips already on hand can sit in a corner through winter or cover paths between beds.
By spring or next fall, they mellow into something vegetables happily accept, and that patience pays off in better harvests.
6. Ask About Herbicide Residue In Clippings And Manure
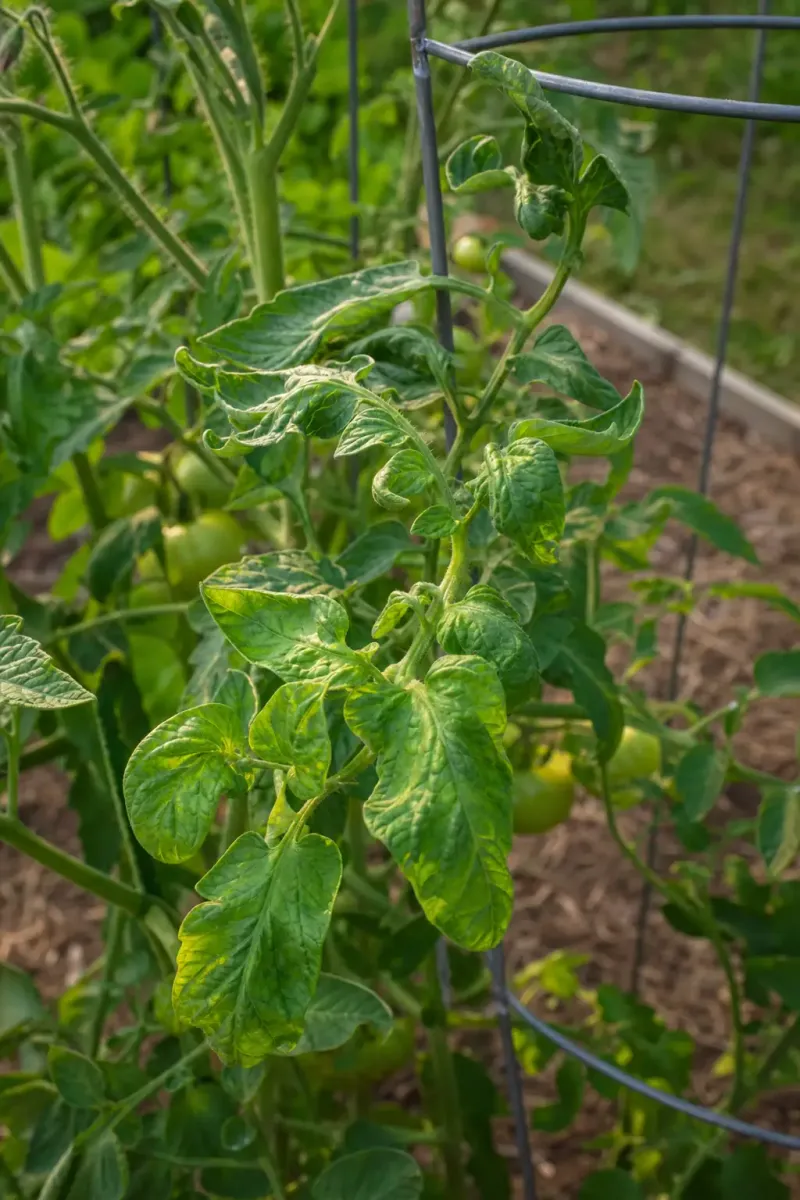
Curled, twisted tomato leaves can stump even experienced gardeners. Sometimes the culprit isn’t an insect or a virus at all, since it arrived with the mulch.
Certain herbicides, including clopyralid, aminopyralid, and picloram, get used on lawns, pastures, and hay fields. These chemicals can survive in grass clippings, hay, straw, and even manure from animals that ate treated forage.
UC ANR resources warn that some residues persist through composting. That durability makes them especially tricky.
Vegetables react strongly. Tomatoes, peppers, beans, peas, potatoes, and lettuce can show cupped leaves, odd growth, and poor yields at tiny amounts.
In some cases, the problem lingers in the soil for more than one season. Prevention beats a long wait.
A few questions help before using clippings, straw, or manure. Knowing whether lawns or fields were treated with broadleaf herbicides, whether animals ate hay from treated pastures, and how long the material composted all matter.
Many suppliers simply won’t know the answers. A quick test fills the gap.
Some of the material mixed into potting soil and planted with a few pea or bean seeds, alongside a second pot of plain potting soil, offers a clear comparison.
Twisted test plants after a few weeks signal a load best kept out of beds.
Clippings from a personally managed, untreated lawn usually make a safer bet. A little homework now beats a summer of strangely shaped tomatoes.
7. Check For Weed Seeds And Jumping Worms
A tidy bed in October can turn into a jungle of foxtails by March. Weed seeds hitch rides in mulch more often than most gardeners expect.
Fresh chips, hay, and poorly composted material make common carriers. Properly composted products reach temperatures high enough to reduce many seeds.
Seed heads, grassy bits, and stems deserve a close look during inspection. A few sprouts in a damp pile after rain offer a strong warning sign.
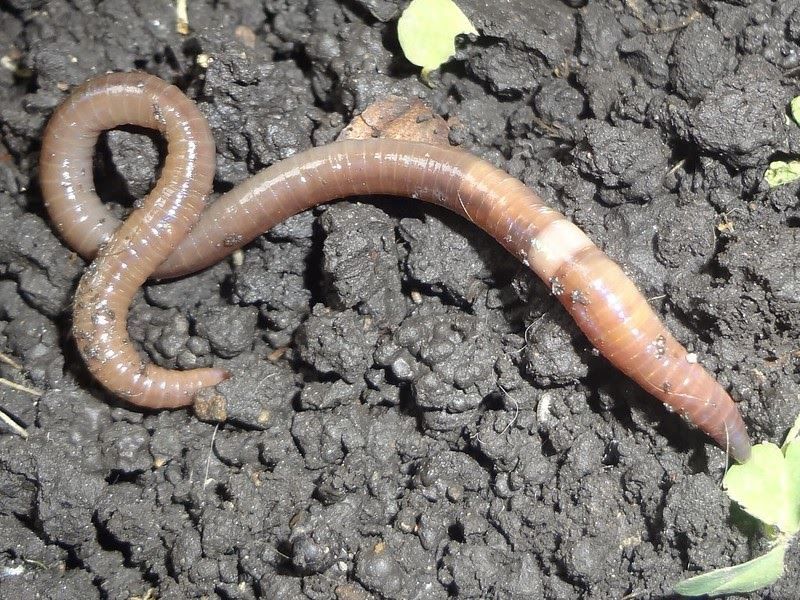
A newer worry deserves attention, too. UC ANR has warned gardeners about jumping worms, invasive earthworms that have turned up in California.
These worms thrash wildly when touched, almost like a snake, and may even shed their tails. That frantic movement stands out immediately.
Their calling card looks unusual. Loose, grainy castings resembling used coffee grounds cover the soil surface where they live.
They chew through mulch and leaf litter fast, leaving soil that drains poorly and holds fewer nutrients. Raised beds can suffer quickly.
New mulch, compost, and bagged soil deserve a check before use. A smooth, milky band near the head of a glossy worm, sitting flush with the body rather than raised like a common earthworm’s, points to trouble.
Suspicious material is best kept out of beds. UC ANR encourages reporting sightings to the county agricultural commissioner, bagging the worms, and asking the supplier where the load originated.
That information can help track the source.
8. Keep Mulch Off Plant Stems
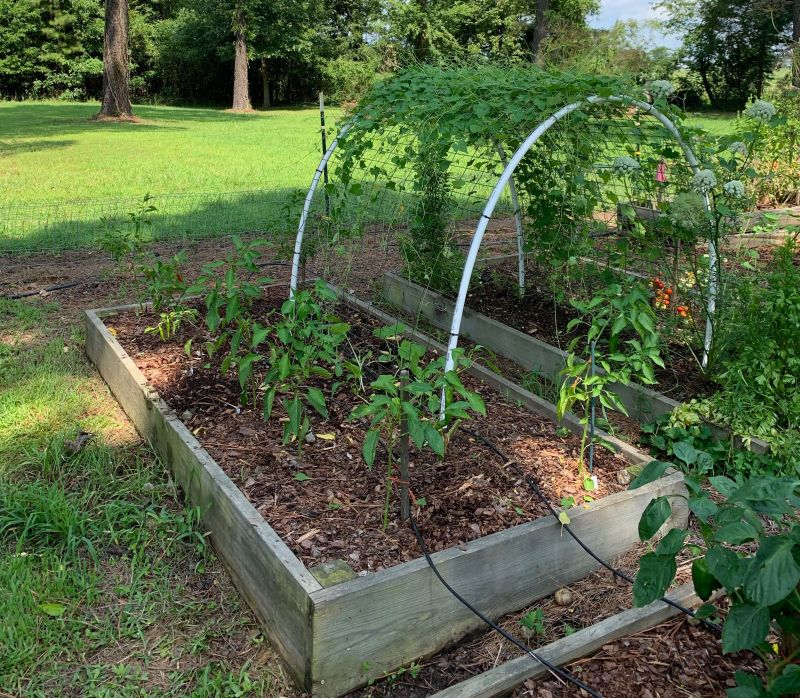
Piling mulch right up against a stem feels cozy and protective. Plants see it differently, since moist material against bark or stems invites rot, fungal disease, and nibbling pests.
A small ring of bare soil around each plant solves the problem. About 2 to 3 inches works for most vegetables, while young fruit trees in raised beds need several inches more.
That gap gives each plant a little personal space. It also improves air flow at the base.
Snails and slugs love hiding in damp mulch near tender stalks. A clear gap makes their dinner commute much harder.
The opening also helps reveal problems early. Cutworms or crown rot become easier to spot before they spread.
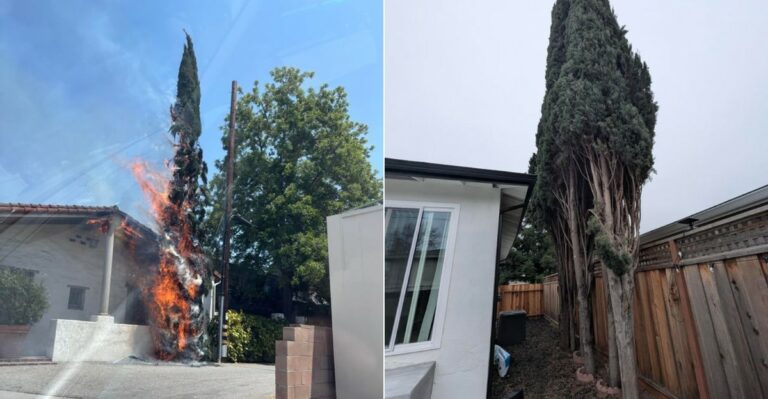
Location around the house matters, too. In fire-prone parts of California, combustible mulch such as bark and wood chips can catch embers during wildfires.
State rules for Zone 0, the ember-resistant area within 5 feet of a home, aim to limit burnable materials there. Details continue to evolve as those rules take shape.
Raised beds hugging house walls deserve a second look. Gravel, pavers, or bare soil make smarter choices near the foundation.
CAL FIRE or the local fire agency can confirm current Zone 0 requirements.
Beds and mulch placed with a little breathing room bring several rewards. Stems stay healthy, pests stay hungry, and homes stay a bit safer during fire season.