How To Propagate Geraniums In New York In 8 Simple Steps For Stunning Spring Color
Frost season is approaching, and you can clone your geraniums. Overnight frost across New York can damage those blossoms.
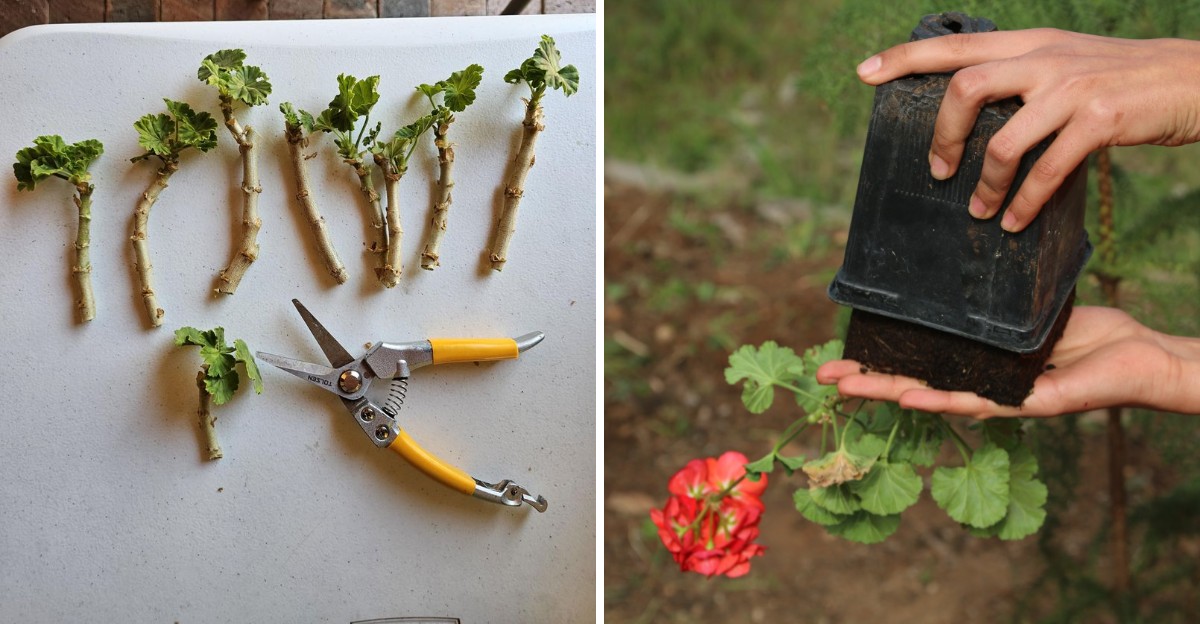
You need sharp scissors, a pot of damp soil, and a bright sill. Snip stems just below a leaf joint, then strip the lower leaves.
Let the cut ends dry on a counter so they callus and resist rot. Dip each cutting in rooting powder, then push it into the soil.
Roots can form in about a month if you keep the light strong. Water only when the top inch of soil feels dry.
Drafty glass in New York winters chills roots, so shift pots inward. Once roots form, you will pinch tips for bushier growth.
Expect your cat to file a complaint about the lost sunny spot. Keep pots out of its reach, since geraniums can harm both cats and dogs.
1. Choose Healthy Parent Plants Before Frost Arrives
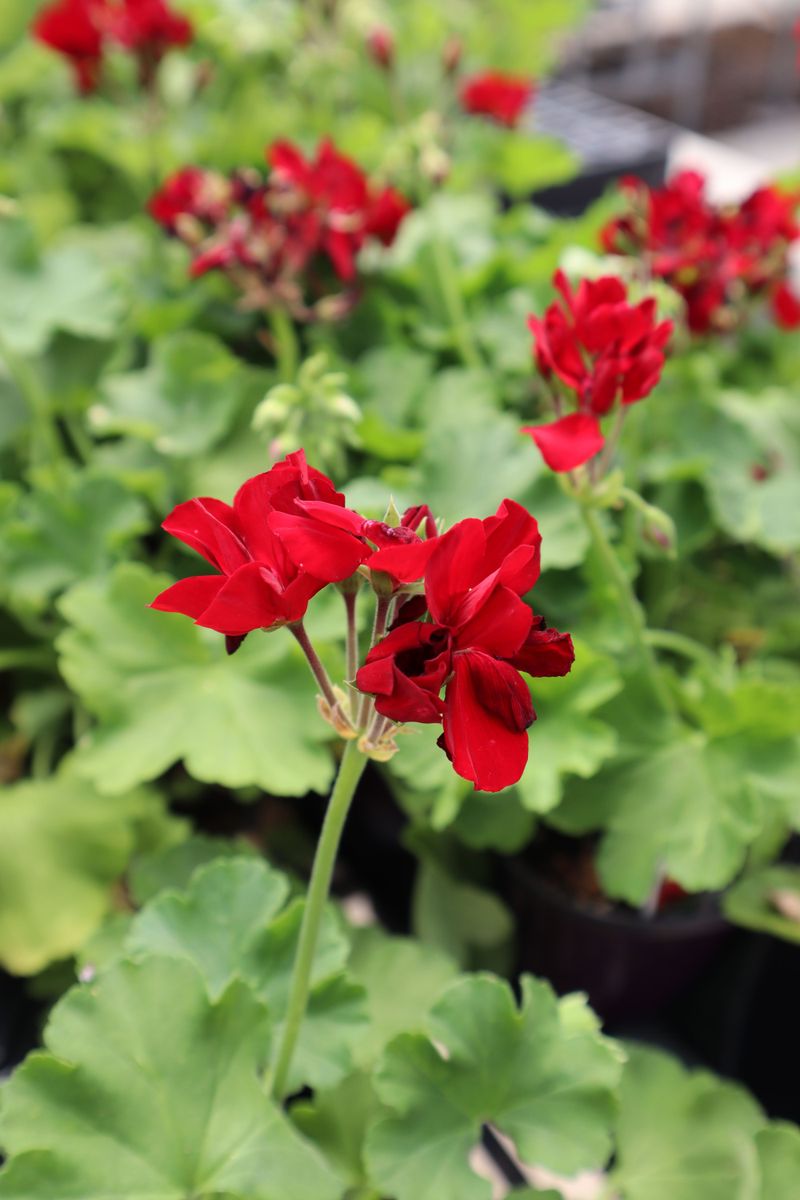
Picture your best porch geranium, the one neighbors stop to admire on their evening walks. That plant is your source of free spring flowers.
In New York, the first frost typically arrives from late September in the Adirondacks to well into November in the city. Upstate towns often see it weeks before Brooklyn or Queens feel any chill.
Check your local forecast and plan to take cuttings while nights stay above 40 degrees. Cold-stressed stems root slowly and may turn mushy before they get going.
Look for plants with thick, sturdy stems and bright green leaves. Skip any with yellow spots, black patches, or soft, squishy bases near the soil.
Peek under the leaves too, since tiny whiteflies and aphids love to hide there. Bringing bugs indoors can spread pests to your other houseplants.
Zonal geraniums, the classic kind with ring-marked leaves, are the easiest type for beginners. Ivy and scented types root well too, just a little slower.
Garden geraniums have a surprising backstory. Most actually belong to a group called Pelargonium, which first came from South Africa.
True hardy geraniums, also called cranesbill, are a different genus. Water your chosen plants well a day before you snip. Plump, hydrated stems handle the stress of cutting much better than thirsty ones.
Choose three or four parent plants if you have them. Spreading your cuttings across several plants gives you more colors and a safety net.
Mark your favorites with a twist tie or colored string. Later, you will thank yourself when every pot looks the same.
2. Gather The Right Tools And Supplies
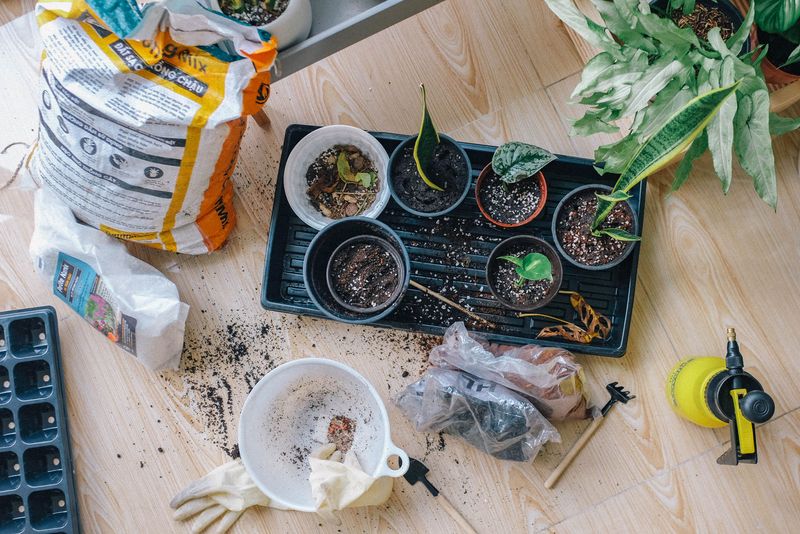
A messy kitchen drawer often holds half of what you need already. The rest is inexpensive and easy to find at most garden centers.
Start with a sharp, clean knife or a pair of pruning snips. Dull blades crush stems, and crushed stems invite rot instead of roots.
Wipe the blade with rubbing alcohol between plants to stop germs from spreading. A cotton ball and a small bottle work just fine.
Next, grab small pots about three or four inches wide with drainage holes. Recycled yogurt cups work too if you poke holes in the bottom.
Your New York Garden Changes Every Week. Your Plan Should Too.
Gardening in New York changes quickly throughout the season. Every Friday you’ll receive a simple weekly plan showing exactly what to plant, prune, fertilize, harvest, and protect so you never miss the right timing.
For soil, pick a seed-starting mix or blend potting soil with perlite. Regular garden dirt packs down hard and holds way too much water.
A jar of rooting hormone powder is helpful but optional. You can find it at most hardware stores and garden centers across the state.
Clear plastic trays catch drips and keep your windowsill clean. Popsicle sticks make handy plant labels, and they are easy to write on by hand.
Lay everything out on old newspaper before you begin. Having supplies ready means your fresh cuttings spend less time drying out on the counter.
A spray bottle rounds out your kit nicely. Fill it with water that has sat out for a few hours, since room-temperature water is gentler on tender cuttings.
Finally, clear a sunny shelf or table near a window. Your future plant nursery deserves a cozy spot with good light and no chilly drafts.
3. Snip Cuttings From Strong Green Stems
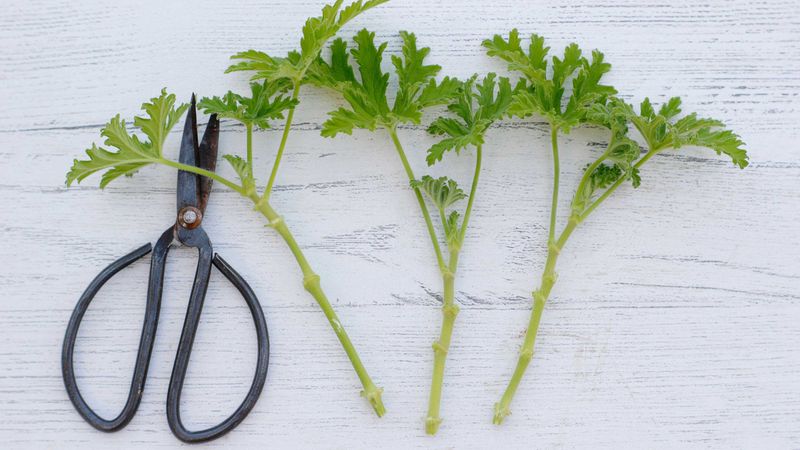
Snip, snip, and suddenly one plant becomes a whole family. Taking cuttings feels a bit like magic the first time you try it.
Look for healthy stem tips that are about four to six inches long. Each one should have at least three or four sets of leaves.
Find a node, which is the small bump where a leaf joins the stem. Roots grow fastest from these spots, so they matter a lot.
Make a clean, straight cut about a quarter inch below a node. Some gardeners prefer a slight angle, which gives the stem more surface area.
Avoid stems with flowers or fat buds if you possibly can. Plants pour energy into blooms, leaving less power for building new roots.
If every stem has buds, just pinch them off gently. You will get plenty of flowers later, so this small sacrifice pays off in spring.
Take more cuttings than you think you will need. Even experienced growers lose a few, and extras make lovely gifts. Check that your variety is not patent-protected before sharing or selling cuttings.
Morning is the best time to cut, since stems are full of water then. Afternoon heat can leave them limp and droopy.
Some New York gardeners do this right on the porch in early October. Others bring whole pots inside and snip cuttings later in the winter.
Place each cutting on a damp paper towel as you work. Keeping them moist prevents wilting while you finish the rest of the batch.
4. Strip The Lower Leaves And Let Cuts Dry
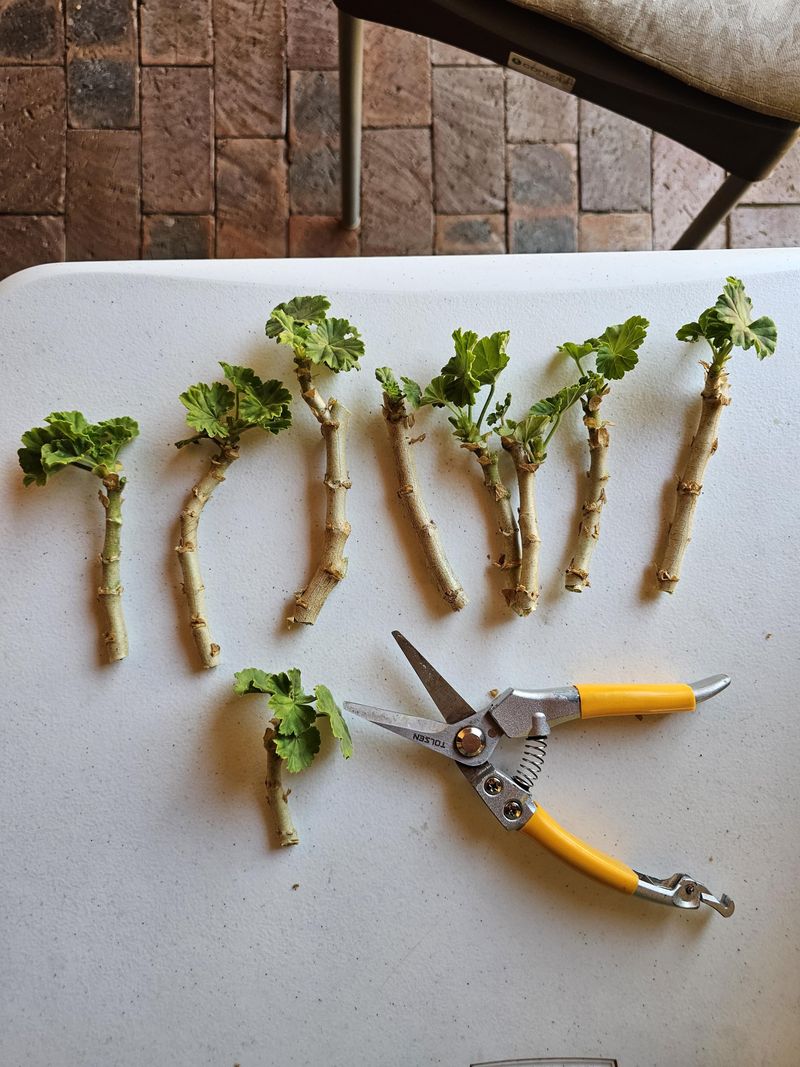
Think of this step as giving your cuttings a quick haircut. A little trimming now helps them focus on what matters most, which is roots.
Gently pull off all the leaves on the bottom half of each stem. Leave only two or three healthy leaves near the very top.
Leaves buried in soil tend to rot and spread mold to the stem. Too many leaves up top also drain moisture faster than new roots can replace it.
Remove the small papery flaps at each node too, called stipules. They peel away easily and can hide fungus if left behind.
Now comes the waiting game that surprises most beginners. Geranium stems are juicy, so they need time to dry before planting in soil.
Set your cuttings on a paper towel in a shady, airy spot. Let them rest for a few hours or up to one full day.
During this time, the cut end forms a thin, dry seal called a callus. That seal works like a bandage, blocking germs from sneaking in.
Skipping this step is a common reason cuttings turn black and mushy. Patience here helps prevent rot in the coming weeks.
Humid October days in the city may slow drying a bit. If the ends still look wet, give them a few extra hours.
Keep pets and curious little hands away from your drying batch. A knocked-over tray of cuttings can set your whole batch back.
5. Dip The Ends In Rooting Hormone
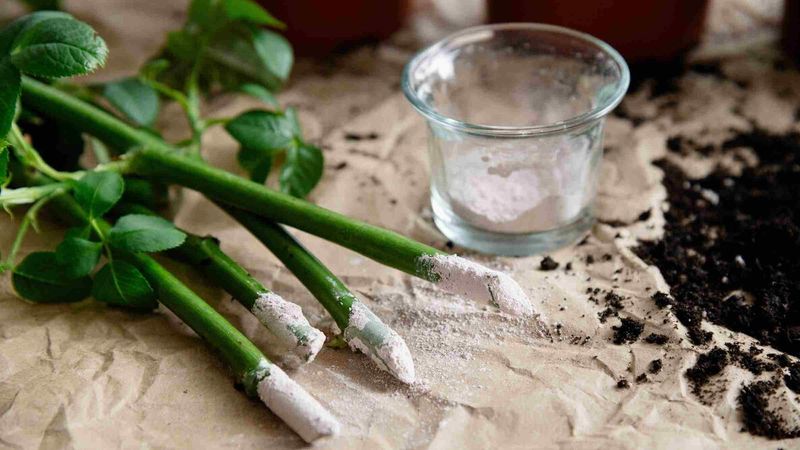
Gardeners argue about rooting hormone almost as much as New Yorkers argue about pizza. Some swear by it, while others skip it and still succeed.
Geraniums root fairly easily on their own, so the powder is a bonus. Still, it can speed things up and boost your success rate.
Pour a small amount into a separate dish before you start. Dipping straight into the jar can spread germs to the whole supply.
Lightly moisten the callused end of each stem with water. Then dip about half an inch into the powder and tap off the extra.
A thin dusting works better than a thick coat. Too much hormone can slow root growth instead of helping it along.
Want a natural option from your pantry? Some growers dab the cut ends in a little honey or cinnamon for a gentle germ shield.
Kitchen tricks like these are not as strong as commercial powder, and their benefit is mostly anecdotal. The cinnamon method is kid-friendly, and the whole room smells like cookies.
Wash your hands after handling store-bought rooting powder. Toss any leftover powder from the dish rather than pouring it back.
Store the jar in a cool, dry cabinet away from sunlight. A sealed container usually stays useful for a year or two.
Write down which cuttings got powder and which got honey or cinnamon. Tracking dates helps you see which method roots faster in your home.
Hormone or not, your cuttings are now ready for their new homes. The next step is where the real growing begins.
6. Plant Cuttings In A Light Gritty Mix
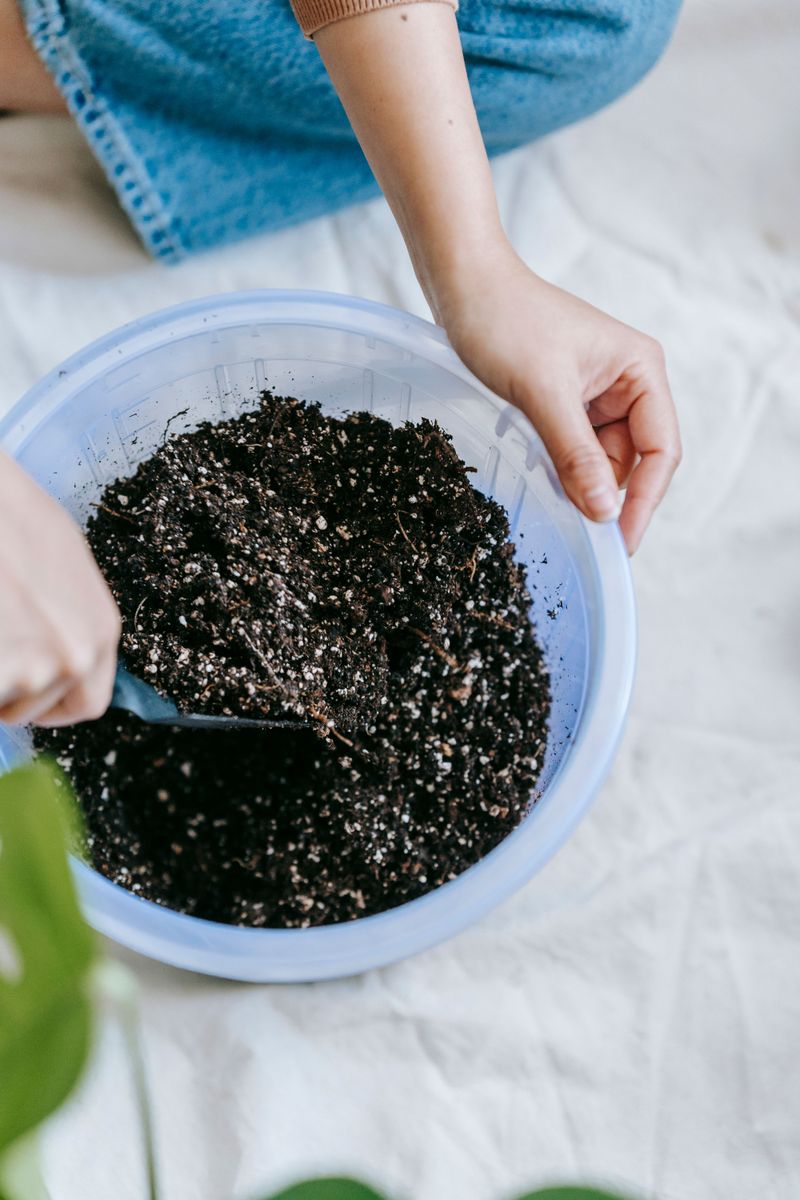
Excess moisture is a common cause of failure for young cuttings. Geraniums like their feet slightly dry, a habit from their sunny South African roots.
Fill your small pots with seed-starting mix or half potting soil and half perlite. The white perlite bits keep air flowing around the stem.
Moisten the mix before planting until it feels like a wrung-out sponge. Dry mix can pull moisture away from the cutting too fast.
Poke a hole in the center with a pencil or chopstick. Making a hole first protects the hormone coating from rubbing off.
Slide the cutting in about one to two inches deep. Make sure at least one node sits below the soil line.
Press the soil gently around the stem so it stands up straight. Firm contact helps tiny roots find their way into the mix.
Give each pot a light drink, just enough to settle the soil. Let any extra water drain away before setting pots on a tray.
You can plant several cuttings around the edge of one larger pot. Some growers report that the edge spot roots faster because it drains better.
Skip the plastic bag covers that work for other plants. Geraniums can rot under trapped humidity, so open air suits them much better.
Water again only when the top inch feels dry to your finger. Steady but light watering helps roots develop.
Wait about three weeks before checking for roots. A gentle tug that meets resistance means your cutting has settled in nicely.
7. Give Cuttings Bright Light And Cool Comfort
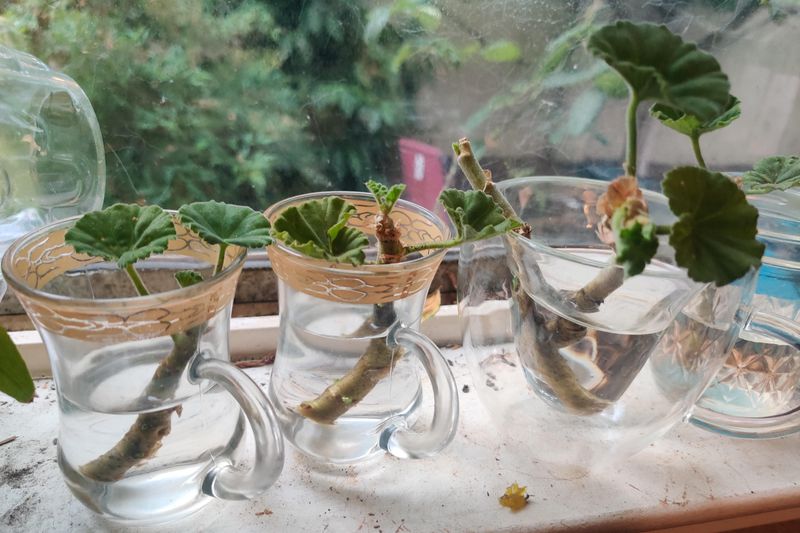
Your cuttings need strong light, which is limited in New York winters. Daylight drops to about nine hours by late December.
Place pots in a south-facing window if you have one. East or west windows work too, though growth may be a little slower.
Not enough sunshine in your apartment? An LED grow light hung at the distance the manufacturer recommends, often six to twelve inches above the pots, can improve growth.
Run the light for about 14 to 16 hours each day. A simple outlet timer makes this easy, even on busy school mornings.
Temperature matters just as much as light. Geraniums prefer days around 65 to 70 degrees and slightly cooler nights.
Keep pots away from clanking radiators, which can bake the soil fast. Cold, drafty windows in January can chill leaves just as badly.
Turn each pot a quarter turn every few days. Otherwise, your plants will lean toward the glass like curious kids at an aquarium.
Long, pale, stretched stems are a sign of too little light. Move the pots closer to the window or add more grow light time.
Once roots form, pinch off the top tip of each young plant. Pinching makes them branch out, giving you bushier plants with more flowers in spring.
Feed them a weak liquid fertilizer once a month starting in February. Half the normal strength keeps growth steady without burning tender roots.
By March, you may spot the first flower buds peeking out. Try not to squeal too loudly, or the neighbors might wonder what happened.
8. Harden Off Young Plants For A May Debut
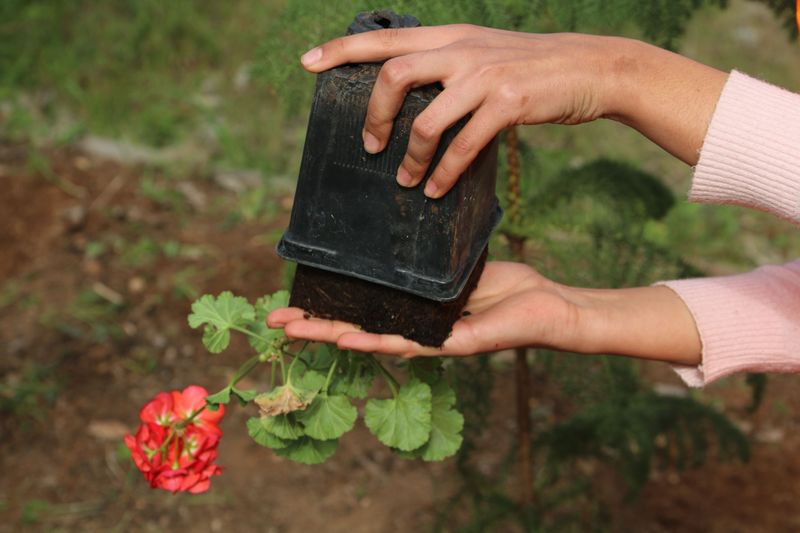
Few moments feel sweeter than carrying your homegrown plants outside on a warm May morning. All those winter weeks of care finally pay off in bright color.
Rushing outdoors too early can undo months of effort, though. In New York City, the last frost typically passes in April, while outer areas may see it into early May.
Upstate areas like the Adirondacks or Catskills may see frost until late May. Many local gardeners wait until Memorial Day weekend just to be safe.
Plants raised indoors need time to toughen up before living outside full time. Gardeners call this process hardening off, and it takes about one to two weeks.
Start by setting pots in a shady, sheltered spot for an hour or two. Bring them back inside before evening temperatures drop.
Each day, add a little more time and a little more sunshine. By the end, your plants can handle a full day outdoors and a mild night.
Strong wind and harsh afternoon sun can scorch soft leaves in the first few days. A balcony corner or a spot beside a fence offers good protection.
Once hardened off, move your plants into window boxes, porch pots, or garden beds. Choose a sunny location with at least six hours of direct light.
Water well after planting, then let the soil dry slightly between drinks. Snip off faded blooms often to keep fresh flowers coming all summer.
Next October, you can take cuttings from these very plants and start again. One porch pot can turn into a lifelong family tradition.