This Is What Texas Hydrangeas Need After They Have Finished Blooming
Growing hydrangeas in Texas takes a little determination. These shade-loving shrubs aren’t big fans of blazing sun, dry spells, or alkaline soil.
When they do bloom here, those big, bold flower heads feel like a well-earned victory. Once the flowers fade, though, many gardeners aren’t sure what to do next.
It’s tempting to grab the pruners and cut everything back for a tidy look. For many hydrangeas, that’s a costly mistake.
The most popular types set next year’s flower buds on this year’s stems, often by late summer or early fall. Cut at the wrong time, and you could remove next spring’s blooms before they ever open.
What happens after flowering also affects how well your plant handles fall dry spells and winter cold snaps.
With a little care now, your hydrangeas can rest, recover, and come back stronger next season.
1. Pruning Right After The Blooms Fade
Timing is everything when it comes to pruning hydrangeas. Ask any Texas gardener who cut their shrub back in October and then waited all spring for flowers that never showed up. That sad story happens far more often than you might think.
Bigleaf hydrangeas are the type most people grow in Texas. They are the ones with big round clusters of pink or blue flowers. These plants make next year’s flower buds on old stems during late summer and fall.
So if you prune late in the season, you are cutting off next spring’s blooms before they ever get a chance.
The plant will still grow leaves, but you may get few flowers or none at all. That can be a big letdown after a whole year of waiting.
The best time to shape your hydrangea is soon after the blooms fade. Try to finish any pruning by midsummer, around the middle of July in most parts of Texas. Once August comes, put the shears away.
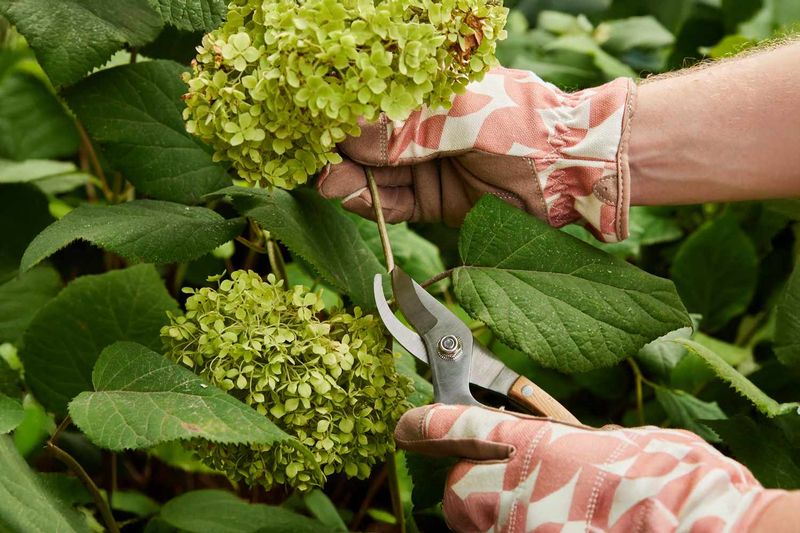
When you do prune, keep it light. Remove any stems that are broken, weak, or crossing over each other. You can also trim a few of the oldest, woody stems right down to the ground to make room for fresh growth.
Try not to give the whole shrub a buzz cut. Taking off too much at once can stress the plant during the hot months ahead. A good rule is to remove no more than about one third of the plant in a single year.
Always use clean, sharp tools. A quick wipe with rubbing alcohol helps stop the spread of plant diseases. Sharp blades also make clean cuts that heal faster.
Follow this simple schedule, and your hydrangea will reward you with plenty of flowers next year.
2. Deadheading Spent Blooms
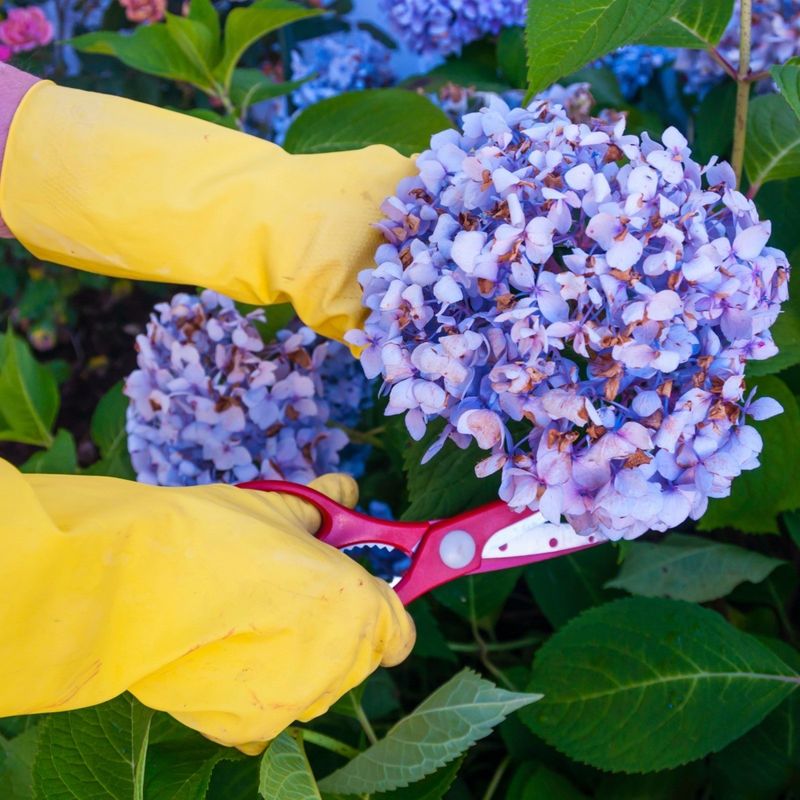
Faded hydrangea flowers have a certain charm. They turn papery, soft green, or even a dusty shade of rose. Still, most people eventually want their shrub to look neat again.
Removing old flowers is called deadheading. It sounds like a big garden word, but it is really just a quick snip. You can do a whole shrub in a few minutes while you sip your morning coffee.
Your Texas Garden Changes Every Week. Your Plan Should Too.
Gardening in Texas changes quickly throughout the season. Every Friday you’ll receive a simple weekly plan showing exactly what to plant, prune, fertilize, harvest, and protect so you never miss the right timing.
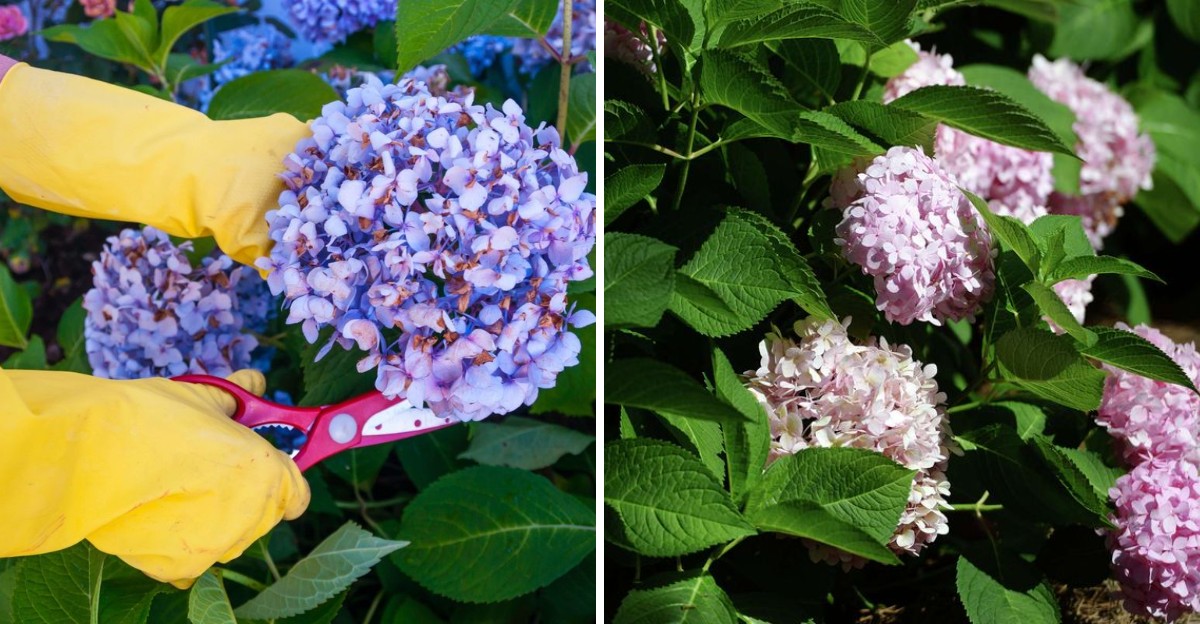
Here is how to do it the right way. Follow the stem down from the old flower head until you reach the first set of healthy, full leaves. Make your cut just above those leaves.
Why stop there? The buds for next year often sit lower on the stem. If you cut too far down, you might snip them off by mistake. Staying close to the top keeps those future flowers safe.
Deadheading has some nice perks. It makes the plant look tidy and fresh. It can also help the shrub put its energy into roots and leaves instead of old blooms.
Some gardeners skip this step completely, and that is totally fine. Dried hydrangea flowers can add texture and interest to the yard in winter. They look especially pretty with a little frost on them during a rare Texas cold morning.
If you choose to leave them, just remember one thing. Do not cut into the stems below the flowers later in the year. You can remove the dry heads in early spring once new growth starts showing.
Fun fact for crafty folks. Dried hydrangea blooms make lovely wreaths and table arrangements. Cut a few when they feel papery, hang them upside down indoors, and enjoy them for months.
3. Deep, Regular Watering Through The Heat
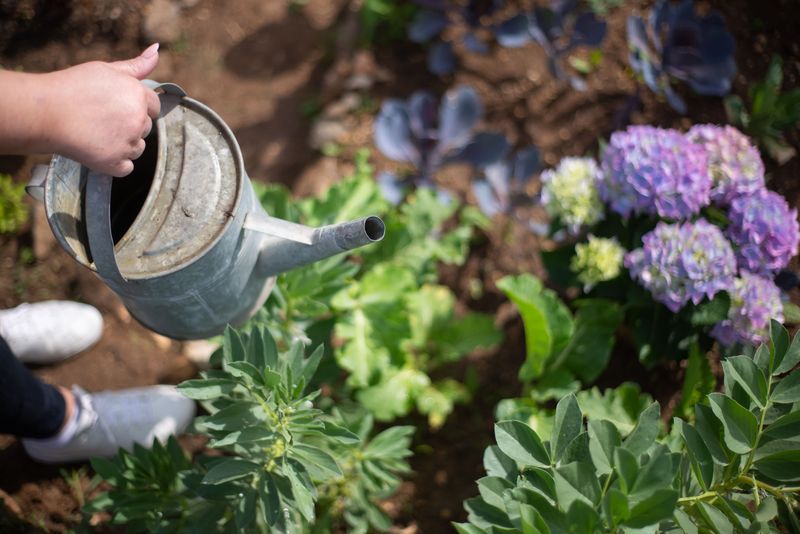
Hydrangeas are thirsty plants, plain and simple. Their name even comes from Greek words that roughly mean water vessel. That should tell you a lot about what they crave.
Texas summers make that thirst even stronger. Once the flowers fade, temperatures often climb into the high 90s or beyond. A hydrangea without enough water will droop fast, with big leaves hanging like wet laundry.
The key is deep watering, not quick sprinkles. A light spray only wets the top of the soil. Roots need water that soaks down several inches so they can grow strong and reach deeper.
Aim the water at the base of the plant instead of over the leaves. A soaker hose or a slow trickle from a garden hose works great. Let it run long enough for the water to sink in well.
Morning is the best time to water. The plant gets a good drink before the hot afternoon sun hits. Leaves also have time to dry, which helps prevent mildew and leaf spots.
Watering in the evening is not ideal. Wet leaves sitting overnight can invite fungus. If you must water late, keep the water on the soil only.
How often should you water? In the peak of summer, two or three deep soakings a week may be needed. Sandy soils dry faster, while clay holds water longer.
Try the finger test. Push a finger about two inches into the soil near the plant. If it feels dry, it is time to water.
A little afternoon wilting on very hot days can be normal. If the plant still looks limp the next morning, it definitely needs a drink.
4. A Fresh Layer Of Mulch
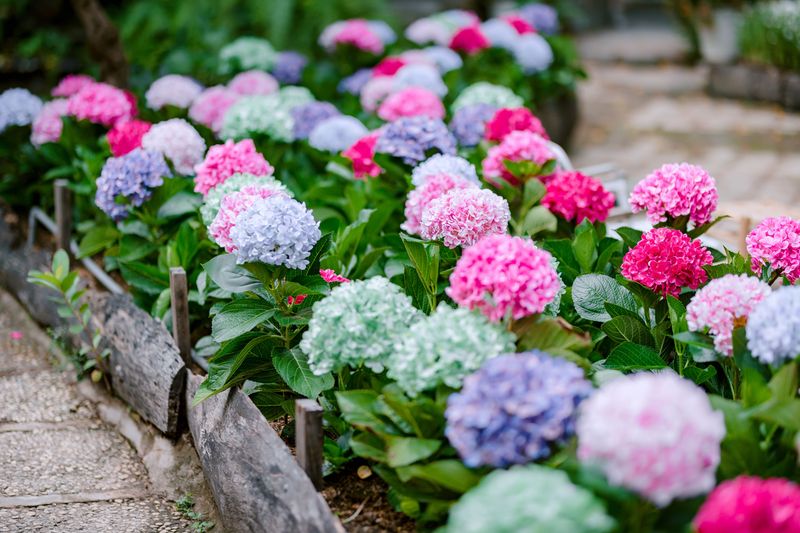
Think of mulch as a cozy blanket and a shady umbrella rolled into one. It works hard all year, and your hydrangea will thank you for it. Best of all, it is one of the easiest jobs on this list.
Texas soil can bake in the summer sun. Bare ground heats up quickly and loses water fast. A layer of mulch keeps the soil cooler and helps it hold on to moisture longer.
That means you may not need to water as often. It also protects tender roots from big swings in temperature. When winter rolls around, that same mulch helps shield roots from sudden cold snaps.
Spread about two to three inches of mulch around the base of the plant. Cover the area out to where the branches reach. Shredded hardwood, pine bark, or pine straw are all good choices.
Pine bark and pine straw have a bonus feature. As they break down slowly, they can make the soil a tiny bit more acidic. That can help a little if you like bluer blooms.
Here is one important tip. Keep the mulch pulled back a few inches from the stems. Mulch piled up against the stems can hold too much moisture and lead to rot.
Some people call that mistake a mulch volcano. It looks like a tall pile around the trunk, and it causes more harm than good. A flat ring shaped like a donut is what you want.
Mulch also slows down weeds. Fewer weeds means less competition for water and food. Check your mulch each season and add a fresh layer whenever it looks thin.
5. A Light Feeding, Then A Break
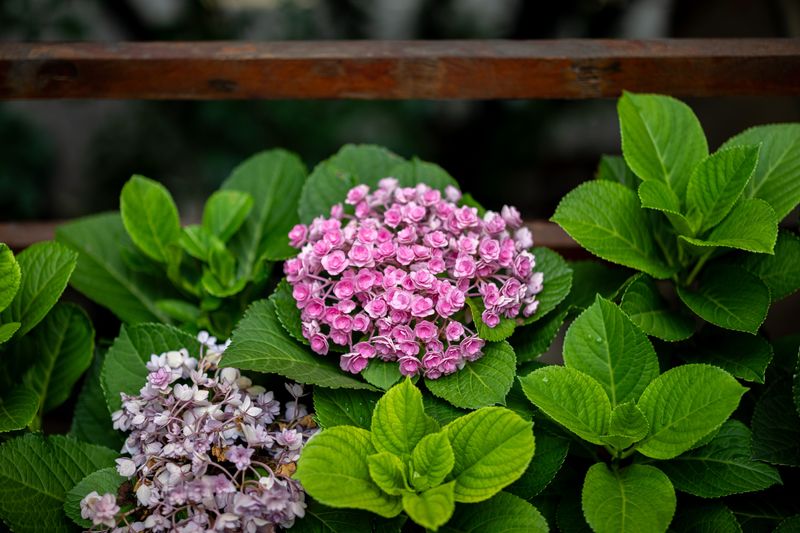
After a long season of making flowers, your hydrangea is a bit like a runner after a race. It needs a snack to recover, not a huge feast. A light feeding is just the right amount.
Right after blooming ends, give your plant a small dose of balanced fertilizer. Look for a product with equal numbers on the bag, such as 10-10-10. A slow-release type is even better, since it feeds the plant gently over time.
Spread the fertilizer around the drip line. That is the area right under the outer edges of the branches. Keep it away from the main stems.
Water well after feeding. This helps the nutrients move down to the roots. It also keeps the fertilizer from burning the plant.
Always follow the directions on the label. More is not better with fertilizer. Too much can burn roots and cause lots of leaves with fewer flowers.
Now comes the break, and it matters just as much. Stop fertilizing by late summer, around August in most of Texas. Feeding later can push the plant to grow soft new shoots.
Those tender shoots do not have time to toughen up before cold weather. An early freeze, which Texas sometimes throws at us without warning, can easily damage them. That can also harm the buds for next year.
Compost is a great gentle option too. A thin layer spread under the mulch adds nutrients slowly and improves the soil. It is hard to overdo, which makes it perfect for beginners.
So remember the simple plan. Feed lightly after blooming, then let your plant rest and prepare for the cooler months ahead.
6. Soil Adjustments For Next Year’s Color
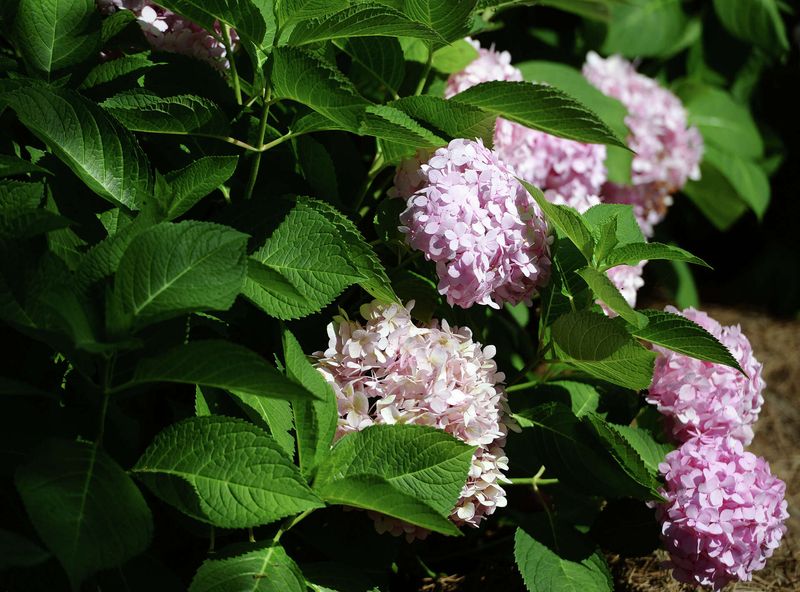
Did you know your soil can act like a paintbrush? Bigleaf hydrangeas change flower color based on the dirt they grow in. It is one of the coolest tricks in the plant world.
In alkaline soil, the flowers usually turn pink. In acidic soil, they often turn blue. Soil in the middle range can give you purple or a mix of shades on the same plant.
Much of Texas has alkaline soil, especially in central and west parts of the state. That is why so many Texas hydrangeas bloom pink. East Texas, with its piney woods, often has more acidic soil and more blue flowers.
Want to change things up? The time right after blooming is perfect. Soil changes work slowly, so starting now gives them months to take effect before next spring.
For bluer flowers, add aluminum sulfate to the soil. It lowers the pH and makes aluminum available to the plant. Aluminum is what actually turns the flowers blue.
For pinker flowers, use garden lime. Lime raises the pH and keeps the plant from taking in aluminum. Your blooms will lean toward rosy pink.
Go slow and follow package directions closely. Too much aluminum sulfate can harm the roots. Small amounts added a few times work better than one big dose.
A simple soil test is a smart first step. Your local county extension office can test soil for a small fee. Then you will know exactly where you are starting.
One note for white hydrangea fans. White varieties stay white no matter what you add. Color changes only work on pink and blue types.