The 3-Ingredient Potting Mix Ohio Gardeners Swear By
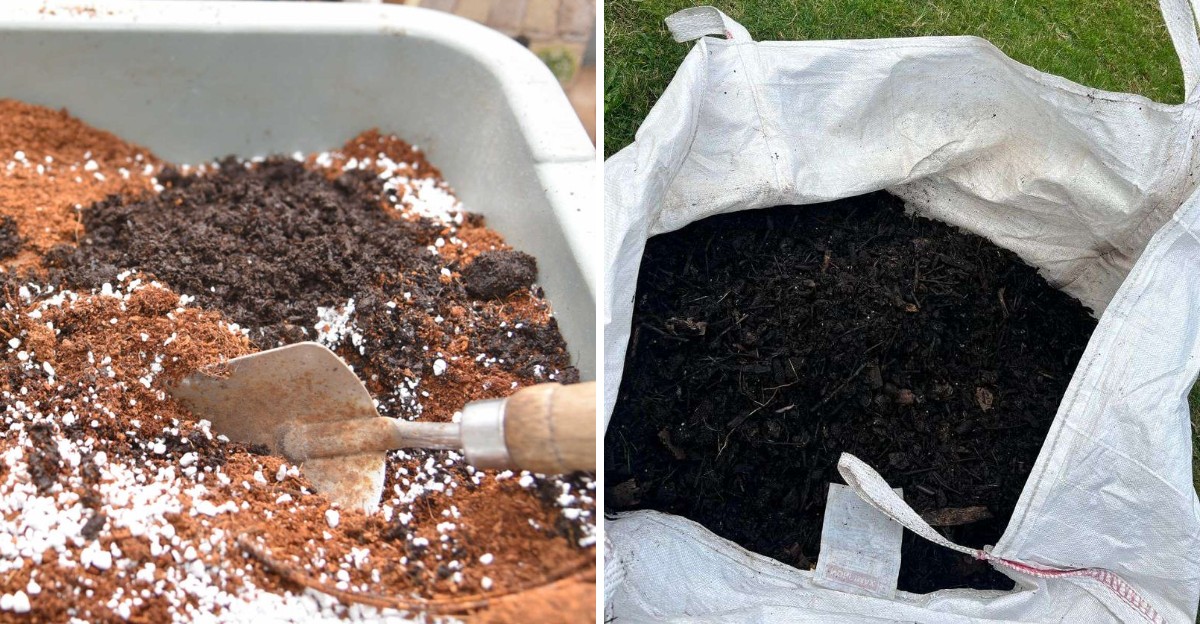
Ever repotted a plant with expensive potting soil, only to watch it struggle a few weeks later? Ohio’s changing temperatures can make container gardening tricky, and the problem may start right inside the pot.
Roots need more than dirt to stay happy, especially when excess water has nowhere to go.
Some gardeners keep things surprisingly simple with a three-ingredient mix that balances moisture, drainage, and root support without a long shopping list. No fancy bags with big promises, no guessing your way through a dozen amendments.
The real trick lies in getting the proportions right. Too much of one ingredient can leave roots sitting in soggy soil, while too much of another can dry the mix out faster than expected.
The same basic formula can be a useful starting point for many container plants, with a few adjustments for specific needs.
Three ingredients, one practical recipe, and a better starting point for your potted plants.
1. The Recipe Is 2 Parts Peat, 2 Parts Compost And 1 Part Vermiculite
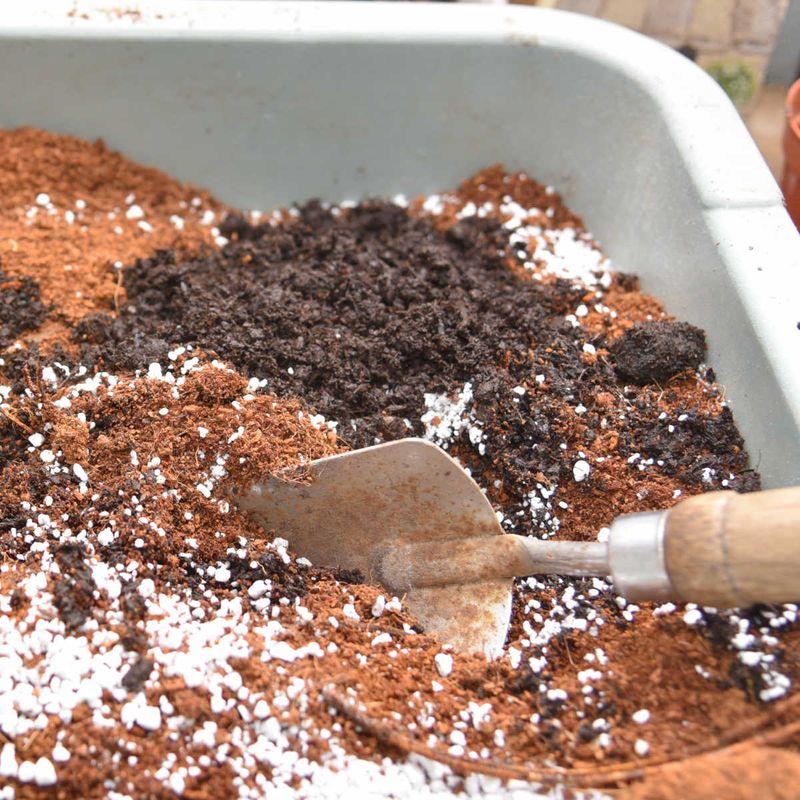
Think of it like a family pancake recipe. Ohio gardeners pass this blend around because it is simple and it works.
Grab any bucket, coffee can, or scoop to use as your part. For a general-purpose container mix, start with two scoops of peat moss or coconut coir, one scoop of finished compost, and one scoop of perlite.
Each piece has a job. Peat or coir helps hold moisture, compost adds organic matter and some nutrients, and perlite creates air spaces that help excess water drain away.
This is a starting point, not a one-size-fits-all recipe, so adjust it for the plants you are growing.
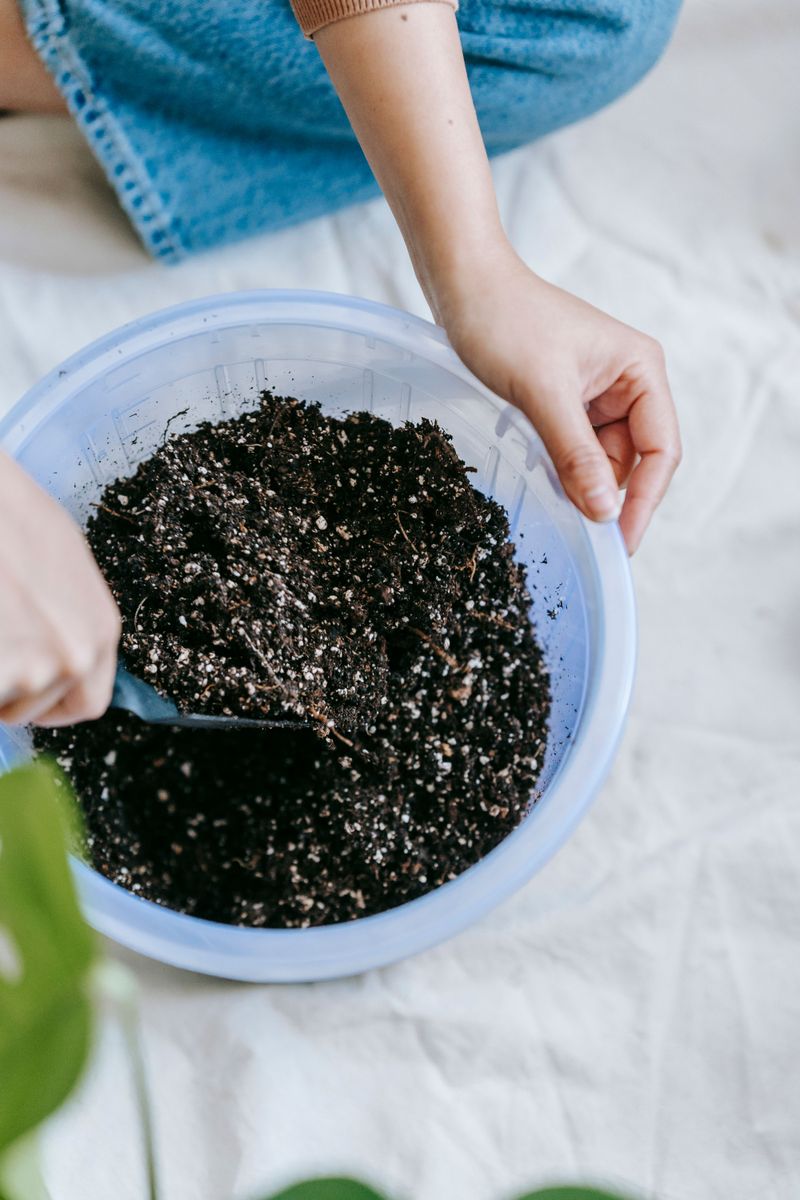
Mix it all on a tarp or in a wheelbarrow. Turn it over with your hands or a shovel until the color looks even and there are no big clumps.
Potting mix recipes vary depending on the plants and ingredients involved. Some use coconut coir instead of peat, while others include perlite or coarse bark to improve drainage.
The best blend is one that holds enough moisture for your plants without leaving their roots waterlogged.
Feel free to tweak the blend for your plants. Herbs and succulents like a bit more drainage, so toss in an extra handful of vermiculite or perlite.
Making your own mix can save real money if you fill lots of pots. A big batch stored in a lidded bin stays fresh for weeks.
Label the bin with the date and recipe. Next spring, you will thank yourself when planting time sneaks up fast.
2. Garden Soil Doesn’t Belong In Containers
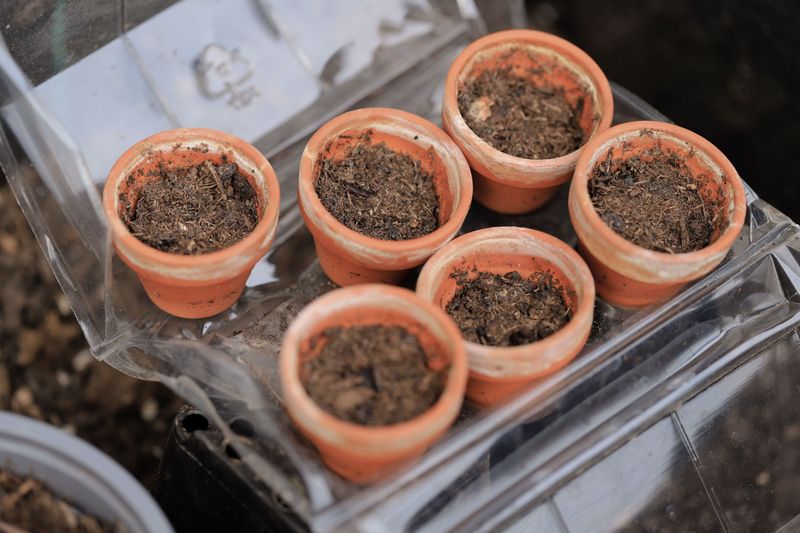
Plenty of folks have tried it. They scoop dirt from the backyard, pack a pot, and wonder why the plant looks grumpy by July.
Here is the problem. Garden soil, especially Ohio clay, is heavy and dense, and it turns into something like a brick once it sits inside a pot.
In the ground, worms, roots, and freezing winters keep soil loose. A container has none of that help, so the soil squeezes tight.
Your Ohio Garden Changes Every Week. Your Plan Should Too.
Gardening in Ohio changes quickly throughout the season. Every Friday you’ll receive a simple weekly plan showing exactly what to plant, prune, fertilize, harvest, and protect so you never miss the right timing.
Packed soil blocks water from draining out the bottom. Roots end up sitting in soggy mud, and that can lead to rot and weak growth.
Air matters just as much as water. Roots need tiny pockets of oxygen, and dense dirt crowds those pockets out.
Backyard soil can also carry hitchhikers. Weed seeds, insect pests, and disease organisms may ride along into your fresh pots.
The pH or nutrient levels in your yard might not suit potted plants either. What works for a maple tree may not work for a basil plant on the patio.
Save your garden soil for garden beds, where it belongs. For containers, reach for a light blend made for the job, and your plants will reward you with happier roots and stronger stems.
3. Potting Mix Isn’t Actually Soil
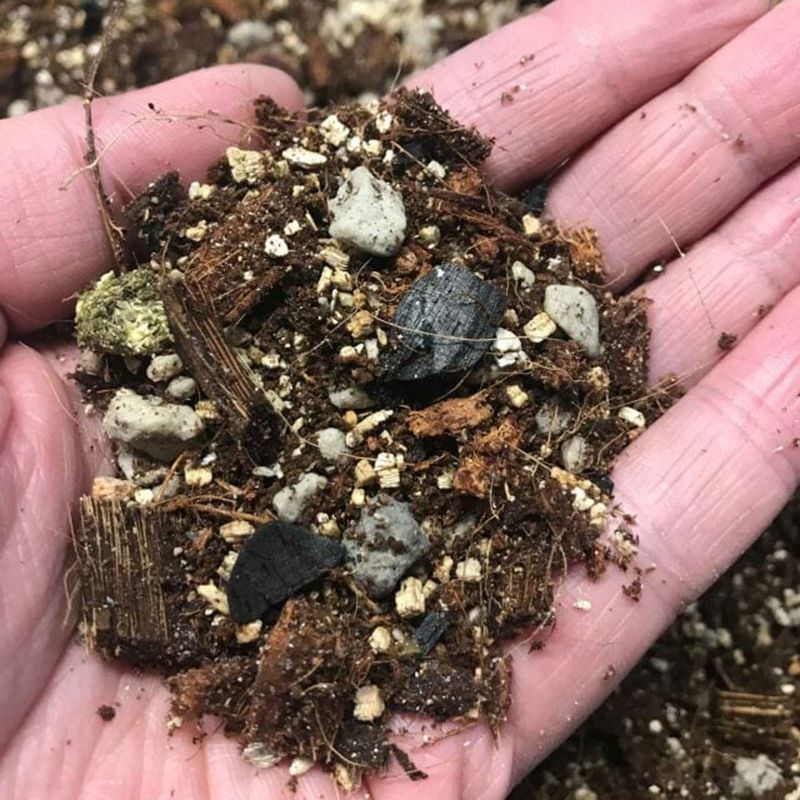
Surprise! That bag labeled potting mix usually has zero dirt inside.
Gardeners often call it a soilless mix for that reason.
Instead, it is a blend built on purpose. Common ingredients include peat moss, coconut coir, pine bark, perlite, and vermiculite.
Why skip real soil? These materials stay fluffy and light, so water flows through while air stays trapped around the roots.
Try a quick test at the store. Squeeze a handful from an open bag, and good mix should feel springy, not sticky or heavy.
Now, here is where shopping gets tricky. Bags called potting soil sometimes contain screened topsoil with a few add-ins.
Those heavier blends can work in raised beds. In smaller pots, though, they tend to pack down and hold too much water.
Read the ingredient list instead of trusting the big words on the front. If you see topsoil listed first, keep looking.
Fun fact: commercial growers started using soilless blends decades ago because they are cleaner and more predictable. Home gardeners caught on once they saw how much better seedlings grew.
So the next time someone calls it dirt, you can smile and share the secret. It is really a carefully designed home for roots.
4. Coir Can Stand In For Peat Moss
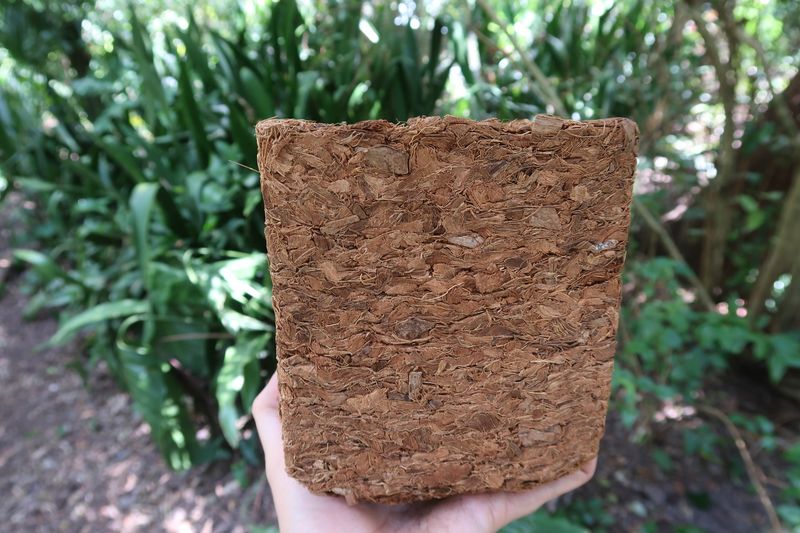
Ever watched a dry brick puff up into a whole bucket of fluff? That little magic trick is coconut coir, and it makes a great swap for peat moss.
Coir comes from the hairy husks of coconuts. Once a leftover from the coconut industry, it now shows up in garden centers all over Ohio.
Many gardeners like it because it feels more eco-friendly. Peat comes from slow-growing bogs, while coir uses a waste product.
There is a practical bonus, too. Dry peat can shed water like a raincoat, but coir soaks it up again with ease.
Its pH sits near neutral, usually around 5.8 to 6.9. Peat is much more acidic, so mixes made with it often need added lime.
Coir also breaks down slowly. That means your mix keeps its fluffy structure longer, giving roots steady air and room to stretch.
To use it, drop a brick in a tub and add warm water. Wait about 15 minutes, then break it apart with your hands.
Swap it into the recipe at the same amount as peat. One tip: some coir holds salt, so pick a rinsed or buffered brand for the best results.
5. Look For The Word Compost On The Label
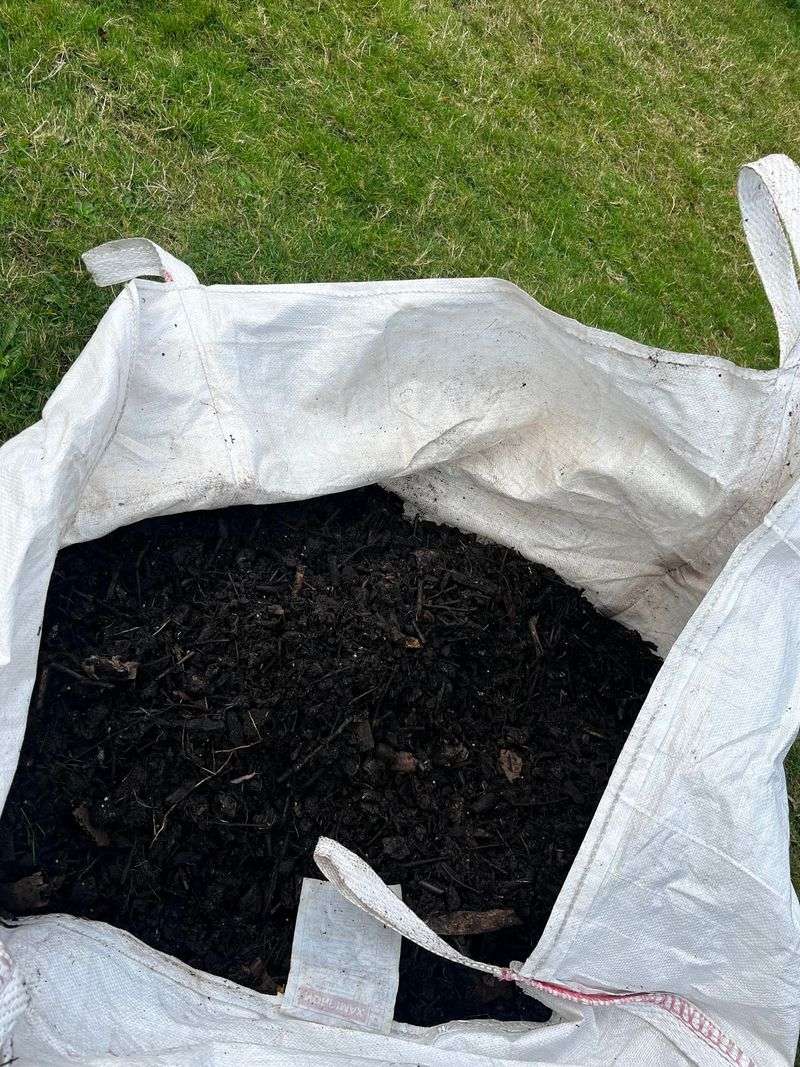
Standing in a garden center aisle can feel like reading cereal boxes. Dozens of bags promise amazing results, but one little word makes a big difference.
Flip the bag over and scan for compost. That ingredient adds rich organic matter and a mix of nutrients plants love.
Compost does more than feed. It improves the structure of the mix, helping it hold both water and air in nice balance.
It also carries tiny helpers. Beneficial microbes in compost release nutrients slowly and help build healthy crumbs in the mix.
Picture compost as a pantry stocked with snacks. The portions are smaller than a bottle of fertilizer, but they add up over time.
Not every label says it plainly. You might see phrases like composted bark, composted manure, or worm castings.
These materials can be useful, but they are not all interchangeable. Check the product label and use finished compost in moderate amounts, since some composts are too rich or salty for a container mix.
Many Ohio towns run yard waste programs that turn leaves into compost. Some offer it free or cheap in spring, so check your city website.
Homemade compost works wonderfully if you have a pile going. Just screen out big chunks and sticks before mixing it in.
A bag with compost often costs a bit more. Your tomatoes and petunias will likely show you it was worth it.
6. Vermiculite Keeps The Mix Light And Airy
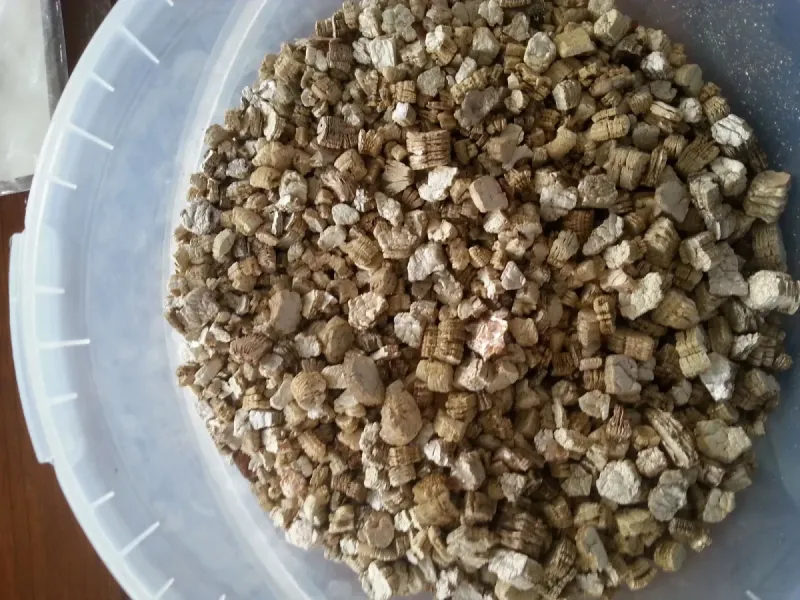
Hold a pinch of vermiculite up to the light and it sparkles like gold flakes. Those shiny bits are a mineral that has been heated until it pops open.
The heat makes it expand into tiny layers, a bit like an accordion. All those folds create air pockets throughout your potting mix.
Vermiculite helps the mix hold moisture and retain some nutrients. It is especially useful for seeds and plants that prefer evenly moist soil.
It does not improve drainage in quite the same way as perlite. If your pots tend to stay wet for too long, perlite is usually the better choice for creating extra air space and helping excess water drain away.
That slow release helps on hot Ohio afternoons. Your pots are less likely to swing between bone dry and soggy.
Here is another neat trick. Vermiculite can hold onto some dissolved nutrients and pass them along to roots later.
Many gardeners sprinkle a thin layer over freshly sown seeds. It keeps them moist and lets tiny sprouts push through easily.
Buy it in coarse or medium grades for potting mix. Fine grades suit seed starting better.
Wear a simple dust mask when pouring a big bag. A light spritz of water first keeps the dust down and makes mixing much more pleasant.
7. Perlite Works In Place Of Vermiculite
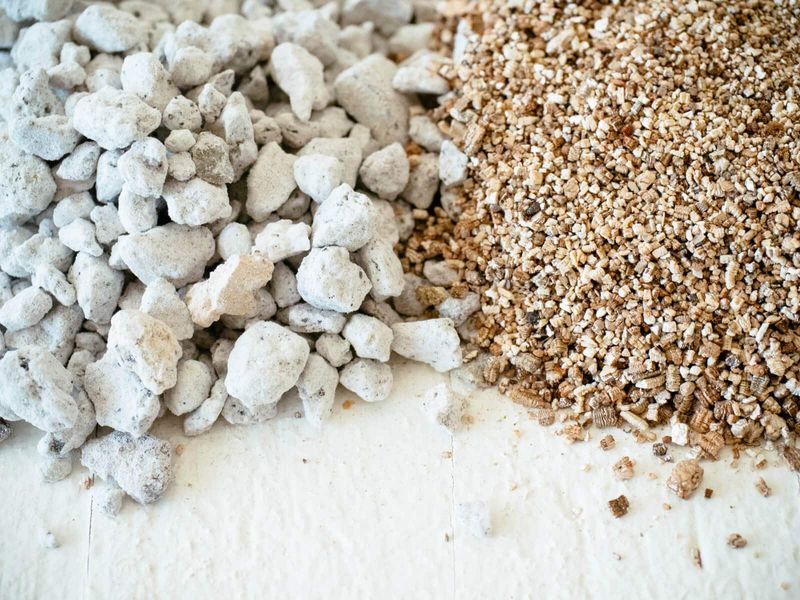
Those little white balls that look like foam? They are perlite, and they are not plastic at all.
Perlite starts as volcanic glass. When heated, it puffs up like popcorn into light, crunchy bits full of tiny holes.
Out of vermiculite? Perlite can be a good alternative, especially for plants that prefer a faster-draining mix.
You may need to adjust the proportions, though, because the two materials behave differently.
Vermiculite holds more moisture, while perlite creates extra air space and helps excess water drain away. Choose the one that best suits your plants rather than treating them as exact substitutes.
Perlite is also sterile and pH neutral. It will not change the chemistry of your blend, which keeps things simple.
So which should you pick? Thirsty plants like ferns and leafy greens enjoy vermiculite, while succulents, cacti, and rosemary prefer perlite.
Many Ohio gardeners just use half of each. That combo gives a nice middle ground for mixed planters and veggie pots.
One small quirk is worth knowing. Perlite is so light it can float to the top after heavy watering.
Gently stir the surface now and then, or add a thin mulch layer. Problem solved, and your roots stay happy.
8. Moisten The Mix Before Filling Pots
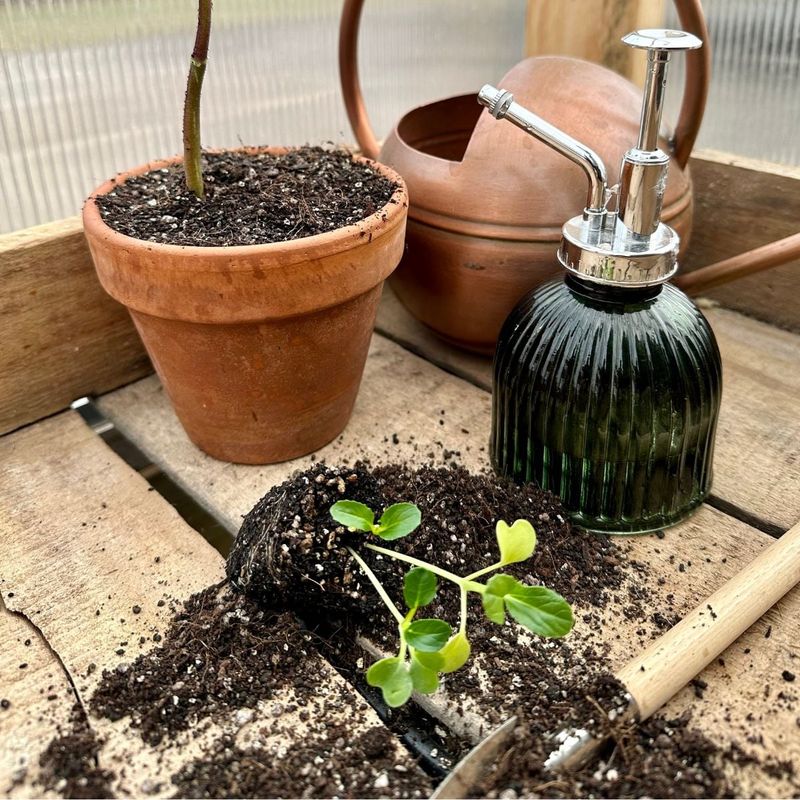
Picture pouring water into a fresh pot, only to watch it race down the sides and out the bottom. The mix stays dusty and dry in the middle.
That happens because dry blends, especially ones with peat, push water away. Wetting the mix first fixes it.
Pour your mix into a tub or wheelbarrow. Add warm water a little at a time and stir with your hands.
Aim for the feel of a wrung-out sponge. Squeeze a handful, and only a drop or two should come out.
Damp mix gives seeds and roots instant contact with moisture. Sprouts come up more evenly, and transplants settle in faster.
Seeds also stay put instead of floating away during the first watering. That saves a lot of frustration.
Moist mix packs into pots more evenly, too. You get fewer air gaps, and the level will not sink much later.
Bonus perk: it cuts down on dust. Your nose and lungs will appreciate that on a breezy porch.
Add water gradually and give the mix time to absorb it. Peat-based blends may need a little extra stirring and a short rest before they become evenly moist.
Some gardeners mix the night before and cover the tub, so everything is ready by morning coffee.
9. Add Fertilizer, Since The Mix Won’t Feed Plants All Season
Even a great potting mix runs low on food. By midsummer, hungry plants can start looking pale and tired.
Most soilless mixes have very little natural fertility. Some bags include slow-release fertilizer, but it usually fades before fall.
Container plants burn through nutrients faster than garden plants. Their roots have a small space to search for food.
Watering plays a part as well. Every time water drains out the bottom, it carries some nutrients with it.
Ohio summers can be hot and sticky, so pots may need water daily. That means nutrients wash away even faster.
A simple feeding plan works well. If your potting mix does not already contain fertilizer, you can add a slow-release product at planting time, following the label directions.
You can also use a water-soluble fertilizer once plants are actively growing. How often you feed depends on the product, the plant, and how frequently you water, so follow the label rather than sticking to a rigid schedule.
Heavy feeders like tomatoes, peppers, and hanging baskets need the most help. Herbs often do fine with less.
Watch your plants for clues. Yellowing lower leaves or slow growth often mean it is snack time.
Follow the label and resist the urge to overdo it. A little steady feeding beats one giant dose and keeps your patio garden thriving until frost.