How To Take Geranium Cuttings Before The First Frost
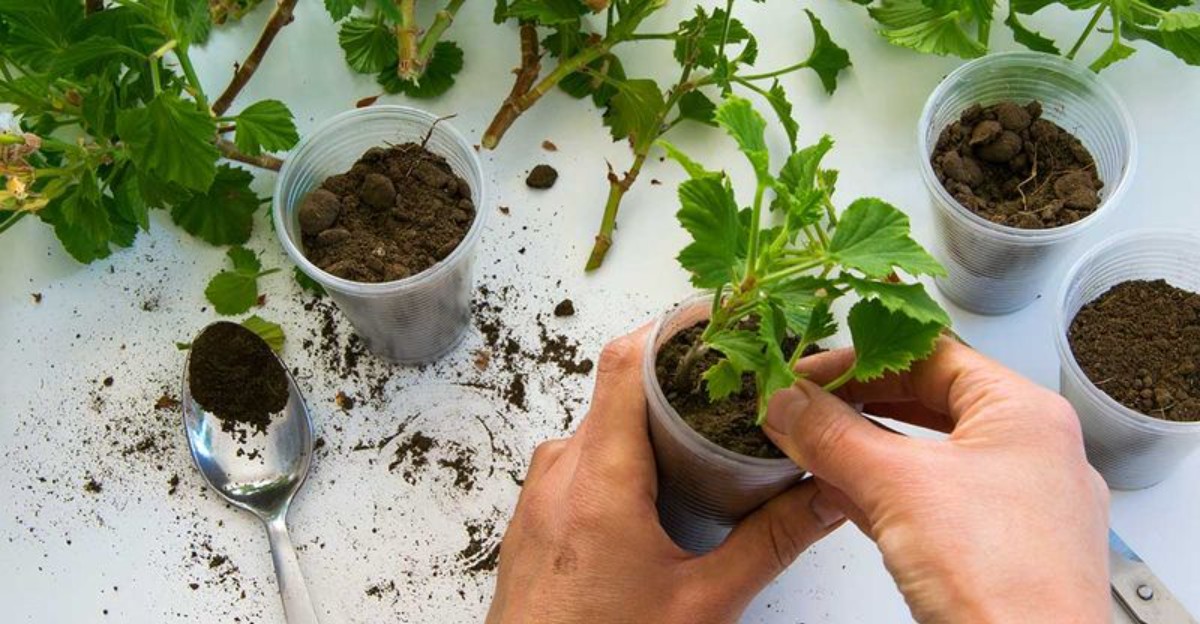
A snipped stem from a summer flower box can grow fresh roots in damp soil within weeks. I still remember grinning at my first tiny white root poking out of the dark dirt.
Those bright blooms on your porch are tender plants that struggle once nights slip near freezing. Many gardeners toss them on the compost pile, but you can carry them indoors in smaller form.
I like how this trick costs almost nothing beyond a clean knife and some small pots. Your windowsill becomes a tiny green nursery, and the leaves smell spicy when you brush them.
Timing matters more than people expect, because chilled stems root slowly and often rot in their pots. You need to act while the plants look healthy and the October afternoons still feel mild.
Come spring, you could have a whole tray of free plants ready for every empty pot. So how many of your favorite colors are you willing to leave out in the cold?
Your Best Window Closes With The First Frost Forecast
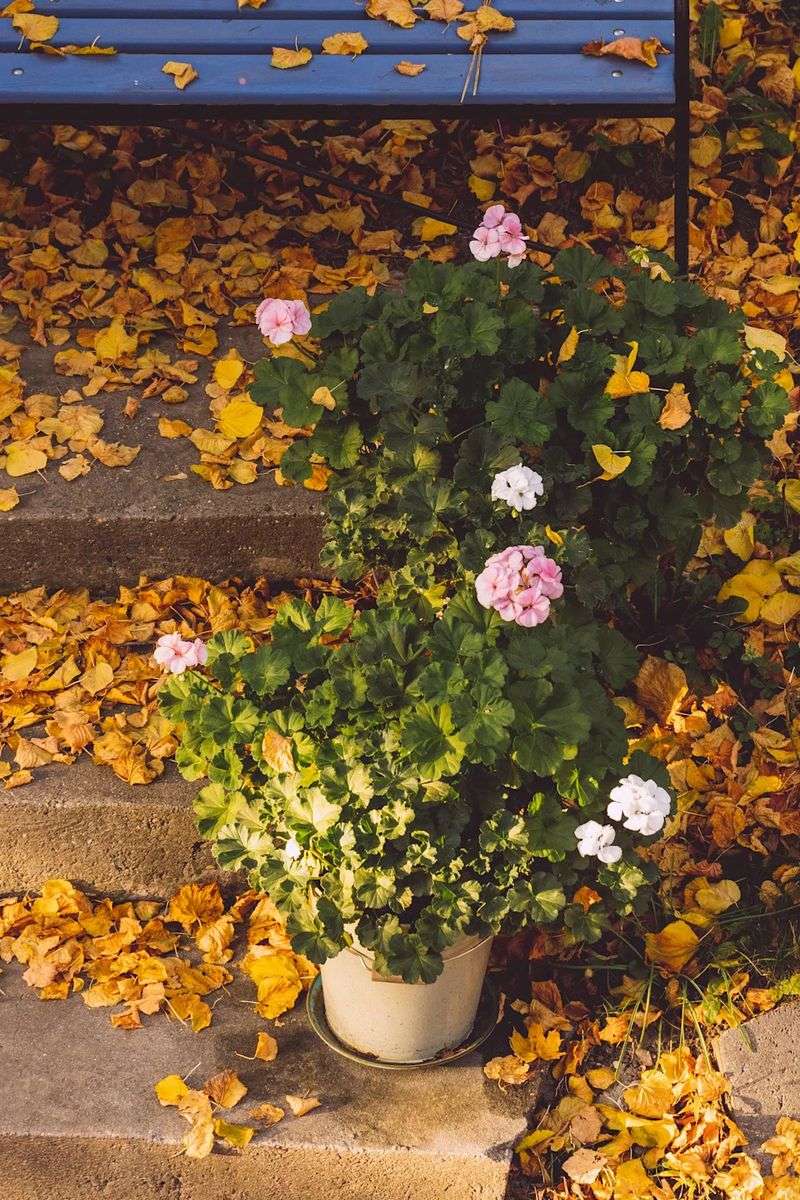
Last October, a sneaky overnight frost blackened my porch planters before I had a single stem tucked safely inside. I learned that lesson the hard way, and now I watch the forecast like a hawk each fall.
Garden geraniums come from warm parts of southern Africa, so their soft stems handle cold weather poorly. University extension experts suggest taking cuttings in late summer or early fall, well before the first hard frost arrives.
In October, that means you should act soon, especially if you live where cold snaps arrive early. Local frost dates vary a lot, so check your county extension office or a trusted weather service.
Healthy stems root faster than tired ones, and a light chill can slow the plant down quickly. Even nights in the upper thirties can leave the leaves looking limp with reddish or purple edges.
Aim for a dry, mild afternoon when the plants are well watered from the day before. Plump, hydrated stems hold up better after cutting, and they wilt less while you work through the batch.
If frost already nipped your plants, look closely at the stem tips for firm green tissue. Stems that feel mushy or look water soaked will rarely root, so skip those and pick sturdier ones.
Getting started a week or two early costs you nothing and can give your cuttings a better chance. Think of it as packing a suitcase before the storm, rather than scrambling after the rain starts.
You Only Need A Few Simple Tools To Start
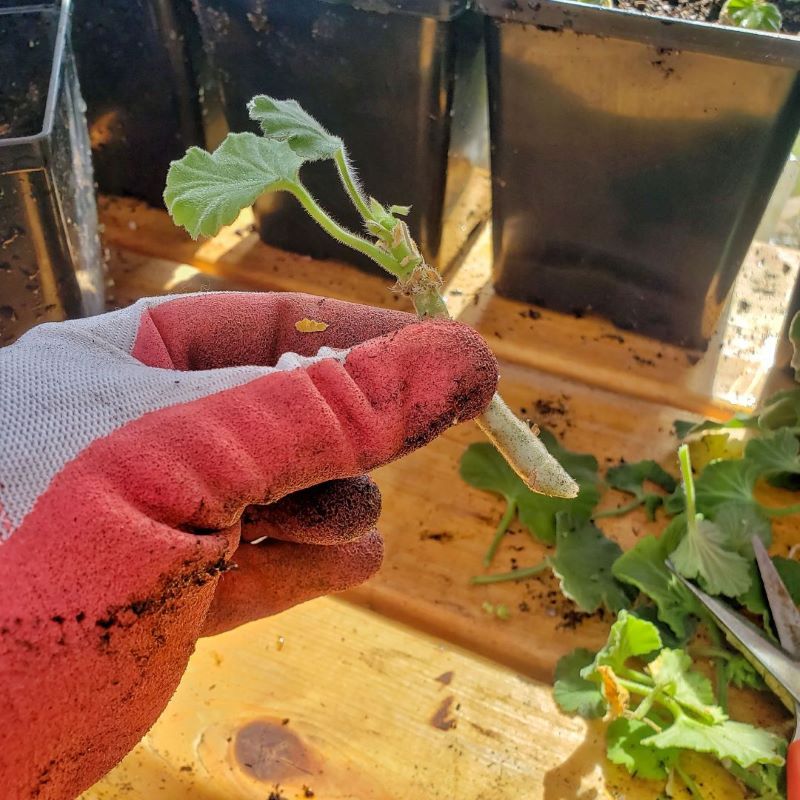
My entire cutting kit fits inside an old shoebox, and nothing in it costs more than a few dollars. You probably own most of these supplies already, tucked away in a garage or kitchen drawer somewhere.
Start with a sharp knife or clean pruners, because a dull blade crushes stems instead of slicing them. Crushed tissue invites rot, while a crisp clean cut heals faster and roots with much less fuss.
Wipe the blade with a household disinfectant or a mild bleach solution before you move to each plant. Cleaning between plants helps reduce the spread of bacterial problems that geraniums can pick up easily.
Next, gather small pots about three or four inches wide, each with holes in the bottom for drainage. Recycled nursery pots work fine, though you should scrub them with soapy water before reusing them.
A bag of fresh seed starting mix or a light potting blend with perlite will do nicely. Skip scooping soil from the garden bed, since it packs down hard in pots and may carry disease.
Rooting hormone powder is optional, since geraniums often root well without any extra help at all. Some gardeners like a light dusting anyway, and it may speed things along by a few extra days.
Finally, grab a pencil for poking planting holes and some masking tape for labeling each color. Trust me, by February you will not remember which pot holds the coral and which holds the pink.
Your Knife Should Land Just Below A Leaf Node
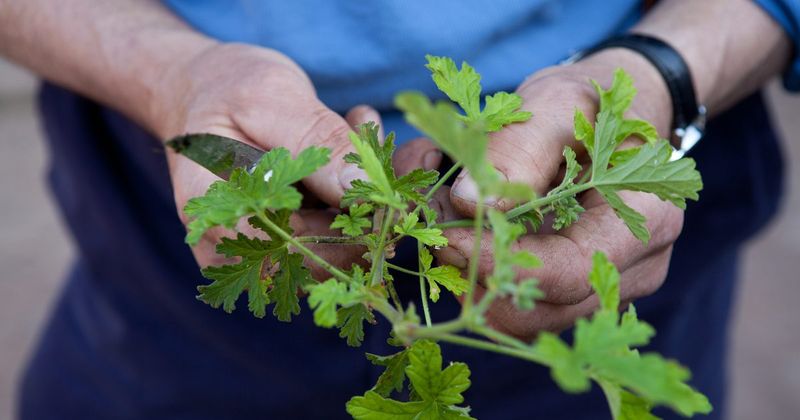
Every geranium stem has little bumps called nodes, and those bumps hold the secret to quick rooting. Nodes are the spots where leaves attach, and they contain cells ready to form brand new roots.
Choose a healthy stem tip that looks green and firm, with no flowers opening at the very end. Most extension guides recommend a cutting about three to four inches long for the best results indoors.
Count down from the tip until you find a node near that length, then line up your blade. Slice cleanly about a quarter inch below the node, keeping the cut straight across or slightly angled.
Leaving a long stub of bare stem below the node can invite rot, so keep it short. That extra bit of stem does little to help rooting, and it often turns soft first.
Avoid woody, brown stems near the base of the plant, since they root much slower than younger growth. Semi soft stems that snap with a gentle bend are the sweet spot for most home gardeners.
Take more cuttings than you think you need, because a few may sulk and fail to root. I usually snip five or six per favorite plant, which leaves plenty of room for a couple of flops.
Your mother plant will barely notice the trim, and it can even look tidier afterward on the porch. Fun fact: those leafy garden geraniums actually belong to the genus Pelargonium, not true Geranium at all.
Strip Those Lower Leaves Before Anything Else
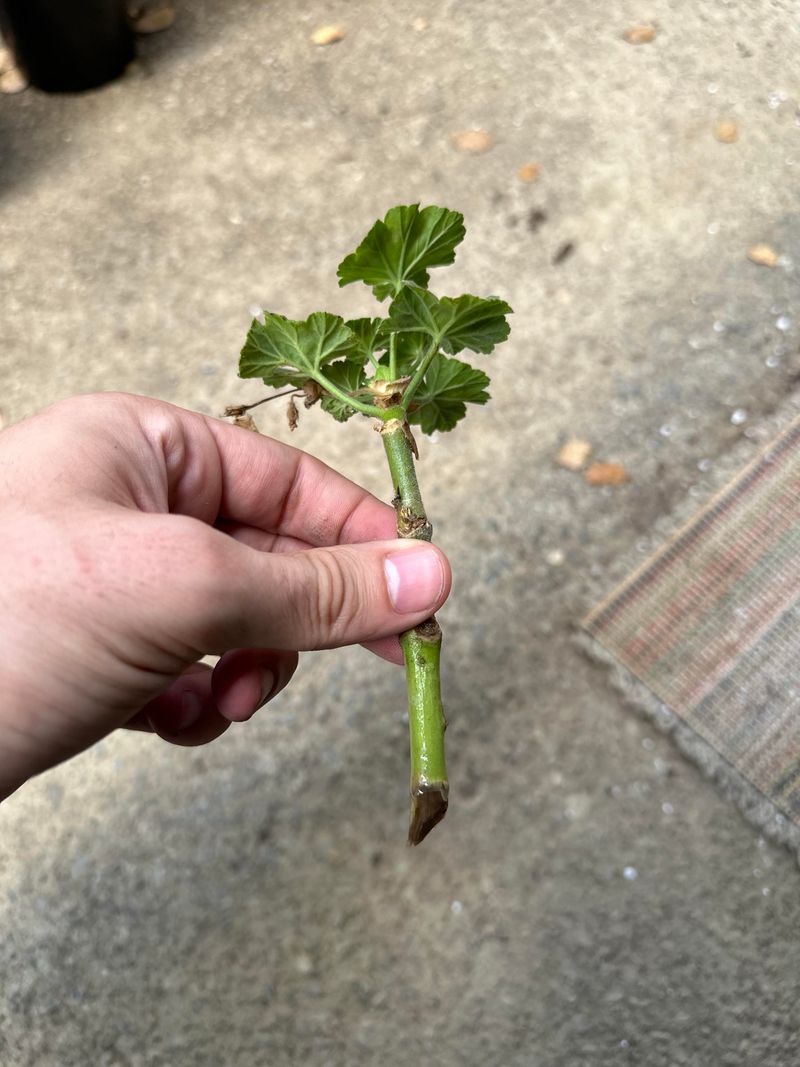
A cutting with too many leaves is like a kid with a full backpack trying to run a race. Without roots, the stem cannot drink much water, so extra leaves pull moisture away faster than it arrives.
Gently pinch or snip off all the leaves on the bottom half of each fresh cutting. Keep two or three healthy leaves at the top, since they still need to make food from light.
Leaves buried in the soil tend to rot, and that rot can spread up into the stem. Clean bare stems slide into the potting mix easily and stay healthier while roots slowly form underground.
Look for the small papery flaps called stipules at each node, and pull those off as well. They tend to hold moisture against the stem, which can encourage mold in a warm indoor room.
Flower buds and blooms need to go too, even though removing them can feel a little painful. A cutting that tries to flower spends its energy on petals instead of building a strong root system.
If the top leaves are very large, you can trim them in half with clean scissors. Smaller leaf surfaces lose less water, which helps the cutting stay perky during its first tricky week.
Toss the trimmed leaves into your compost, unless they show spots or signs of disease on them. Those suspicious leaves belong in the trash, since home compost piles rarely get hot enough to clean them.
Give The Cut Ends A Short Rest Before Planting
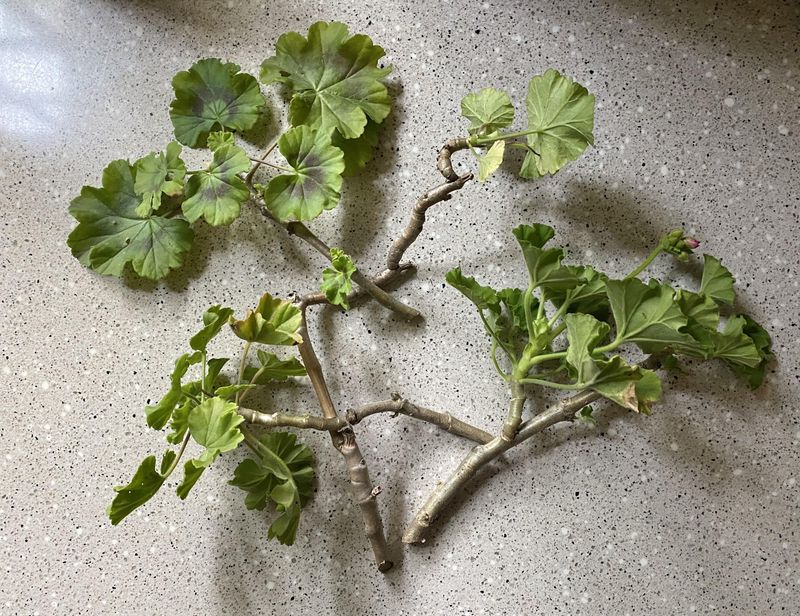
Old time gardeners often let fresh geranium cuttings sit out on newspaper for a few hours before potting. That pause lets the cut end dry slightly and form a thin protective layer called a callus.
Geranium stems are juicy compared to many other plants, so a short drying period can reduce rot. Some extension sources suggest a few hours, while others report good success planting the cuttings right away.
Honestly, both methods can work, so the choice mostly depends on your schedule and your patience. I like a short rest because it lets me prep pots while the stems quietly do their thing.
Lay the cuttings in a shady, airy spot indoors, away from direct sun and warm heating vents. Strong heat or bright light can wilt them fast, which defeats the whole purpose of resting them.
Avoid letting them sit for days, since a shriveled cutting struggles to bounce back after planting. A few hours up to one overnight rest is plenty for most varieties grown in home gardens and patio pots.
If you plan to use rooting hormone, dip the bottom tip right before planting each cutting. Pour a little powder into a separate dish, so you do not contaminate the whole container you keep in storage.
Tap off the extra dust gently, because a heavy coat does not help and may slow things down. That quiet waiting time feels old fashioned in the best way, like letting bread dough rise.
Your Potting Mix Matters More Than You Think
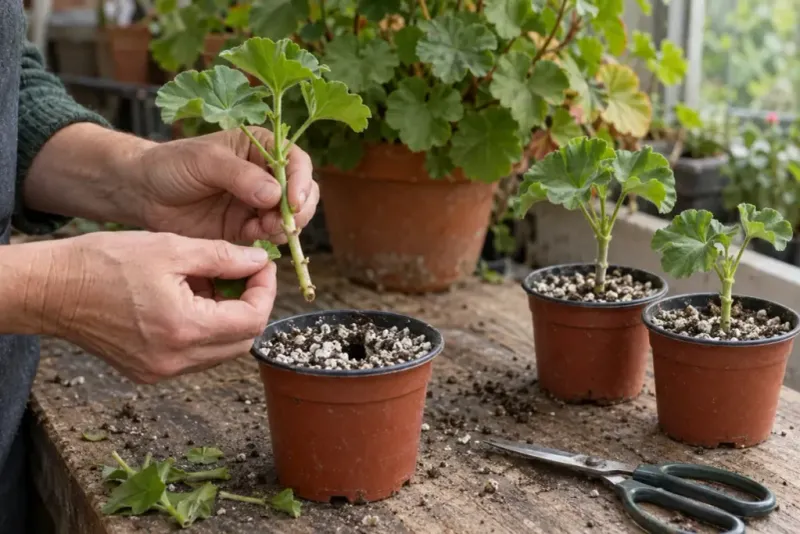
Soggy soil is a common reason geranium cuttings turn black at the base and slump over in their pots. That dark, mushy stem condition is often called blackleg, and it thrives in cool, wet conditions.
Fill your pots with a fresh, sterile mix that drains quickly, such as seed starting mix with perlite. Some gardeners blend equal parts potting soil and coarse sand, which also keeps water moving through nicely.
Moisten the mix before planting, until it feels like a wrung out kitchen sponge in your hand. Poke a hole with your pencil, slide the stem in, and firm the soil gently around it.
Bury the cutting about an inch or two deep, so at least one bare node sits underground. Roots usually sprout from those buried nodes, so covering them gives the plant its best head start.
Unlike many houseplant cuttings, geraniums usually dislike plastic bags or humidity domes placed snugly over their pots. Their fuzzy, fleshy stems store plenty of water already, and trapped humidity tends to encourage rot instead.
Water lightly after planting, then wait until the top of the mix feels dry before watering again. Lifting the pot helps a lot, since a light pot usually means it is ready for a drink.
One cutting per small pot works best, though a few can share a wider container if spaced out. Separate pots make transplanting easier later, because you avoid tearing tangled roots apart in early spring.
Bright Light Will Keep Your New Cuttings Happy Indoors
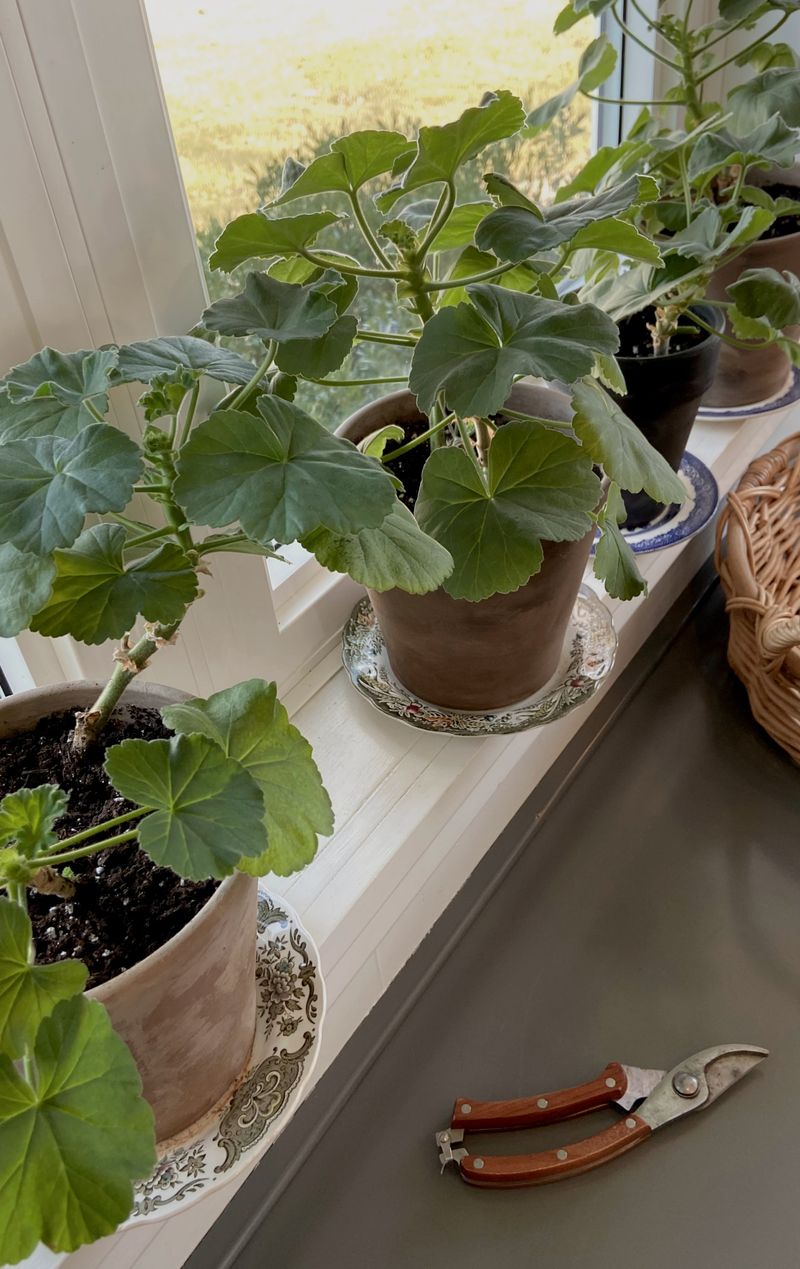
Sunshine is the fuel your little cuttings crave, especially as October days grow shorter and noticeably dimmer. A bright south or west facing window usually offers the best spot in most homes during fall.
Geraniums prefer cool to moderate room temperatures, roughly sixty to seventy degrees Fahrenheit during the day. Keep pots away from chilly glass at night, since cold drafts can slow root growth quite a bit.
If your windows face north or get blocked by trees, a simple LED grow light works wonders. Hang it several inches above the leaves and run it for about fourteen to sixteen hours daily.
Leggy, stretched stems with pale leaves are a clear sign the cuttings want much more light. Rotate the pots a quarter turn every few days, so each side gets a fair share of sunshine.
Most geranium cuttings form roots within three to six weeks, depending on warmth and indoor light levels. Resist the urge to dig them up for a peek, because young roots snap off very easily.
Instead, give a stem the gentlest little tug after about three weeks and feel for resistance. When the cutting pushes back slightly, roots have grabbed the soil, and you can celebrate quietly in your kitchen.
Fresh new leaves sprouting from the top are another happy clue that things are working below ground. Planting in clear plastic cups is a fun trick, since you can watch white roots creep along the sides.
Your Rooted Cuttings Need Gentle Care Through Winter
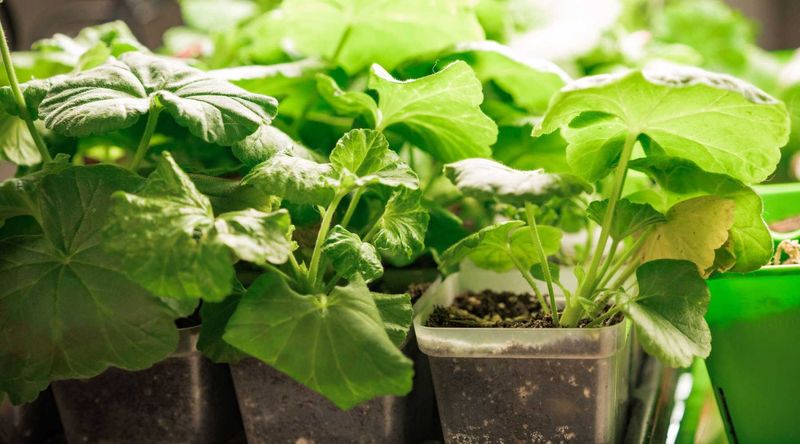
Once roots form, your cuttings shift from survival mode into slow, steady winter growth on the windowsill. Think of them as sleepy houseguests who need a little attention but not constant fussing every day.
Water only when the top inch of soil feels dry, since winter light slows their thirst considerably. Overwatering remains the biggest risk, so empty any saucers that collect extra water after each careful drink.
Once the young plants grow several new leaves, move them into slightly larger pots with regular potting mix. A light dose of diluted houseplant fertilizer every few weeks can help, though winter growth stays modest.
Pinch off the growing tips when stems reach about six inches tall, using your fingers or small snips. That simple pinch encourages side branches, which means a bushier plant with more spots for future blooms.
Keep an eye out for whiteflies or aphids, since indoor plants can attract these tiny pests in winter. A gentle rinse in the sink or a sticky yellow trap usually helps you manage small outbreaks.
Come spring, wait until your local frost danger passes before moving the plants outdoors for good. Harden them off over a week or so, starting with a few hours of bright shade each day.
Seeing those October snippings burst into full bloom by early summer feels like a small garden miracle. You saved your favorite colors for free, and you might even have extras to share with friends.