What To Do With Georgia Dahlias After Frost Blackens The Foliage
Blackened dahlia leaves after a frosty night can make the plant look finished, but the important part may still be underground.
Frost damages tender foliage before it harms the tubers beneath the soil. That difference matters when deciding what to do next.
Resist the urge to dig everything up immediately after the first cold morning.
In Georgia, winter conditions vary so that your location and soil drainage affect whether tubers can remain outdoors. Some gardeners lift and store them, while others protect established clumps outdoors.
Wait until frost has ended active growth, then carefully assess your planting conditions before making a decision this fall.
Whatever approach you choose, avoid leaving tubers in soggy soil where rot can develop. Planning their winter care gives your dahlias a better chance of returning.
1. Blackened Foliage Means The Growing Season Is Finished
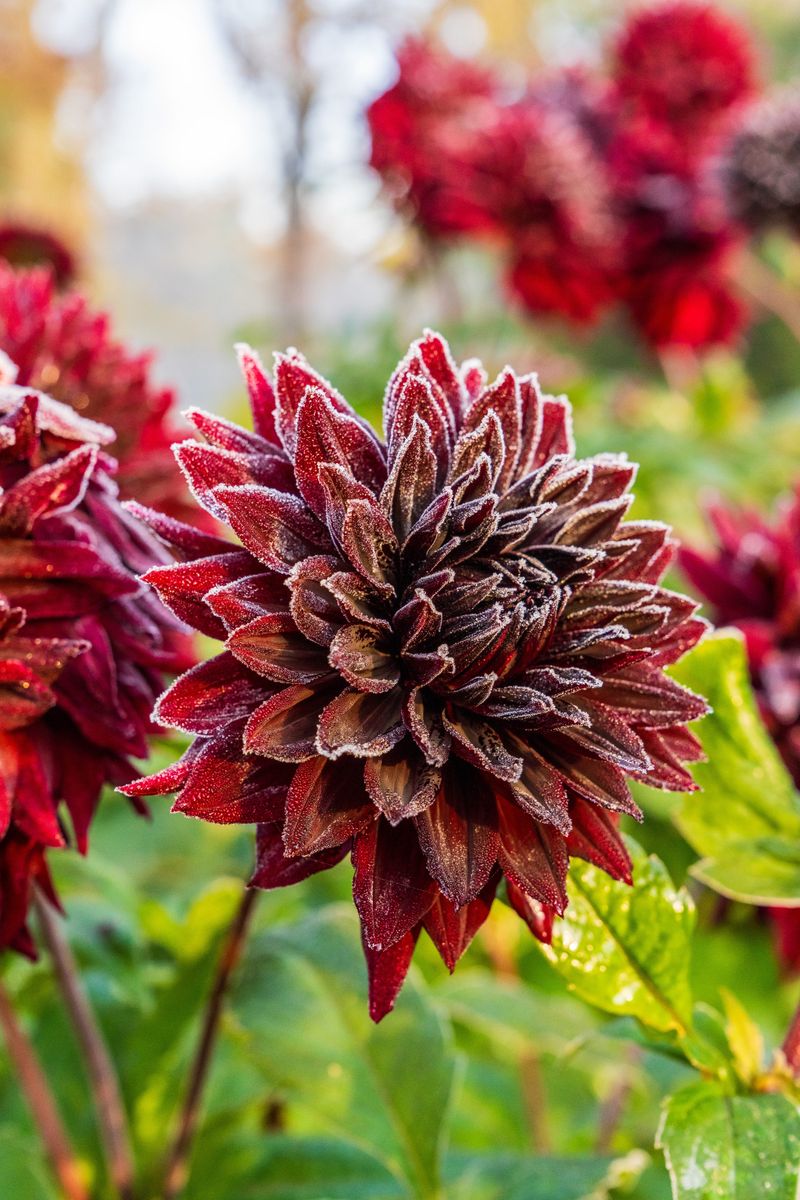
Black, mushy leaves look alarming, but they send a clear and useful message. Your dahlia has stopped growing for the year, and the tubers below are moving into a resting stage.
Frost damages the soft tissue in leaves and stems, which turns them dark and floppy within a day or so.
Timing for that first frost varies quite a bit across Georgia. Mountain areas often see it earlier in fall, while coastal and southern counties may not get a hard frost until later, and some years it arrives unusually early or late.
Many experienced growers actually wait for this moment on purpose. A frost signals the plant to stop pushing out new growth, and the tubers have had the full season to bulk up.
Some gardeners also suggest waiting about a week or two after the frost before digging. That short pause may help the tuber skins firm up a bit, which can make them handle storage better.
Of course, a frost that only nips the top leaves is not quite the same as a hard freeze. If some green growth remains low on the stems, the plant may not be fully shut down yet.
Either way, there is no need to panic or rush outside with a shovel. Take a breath, watch the weather, and plan your next steps calmly.
2. Cut Back The Stems Before Lifting The Tubers
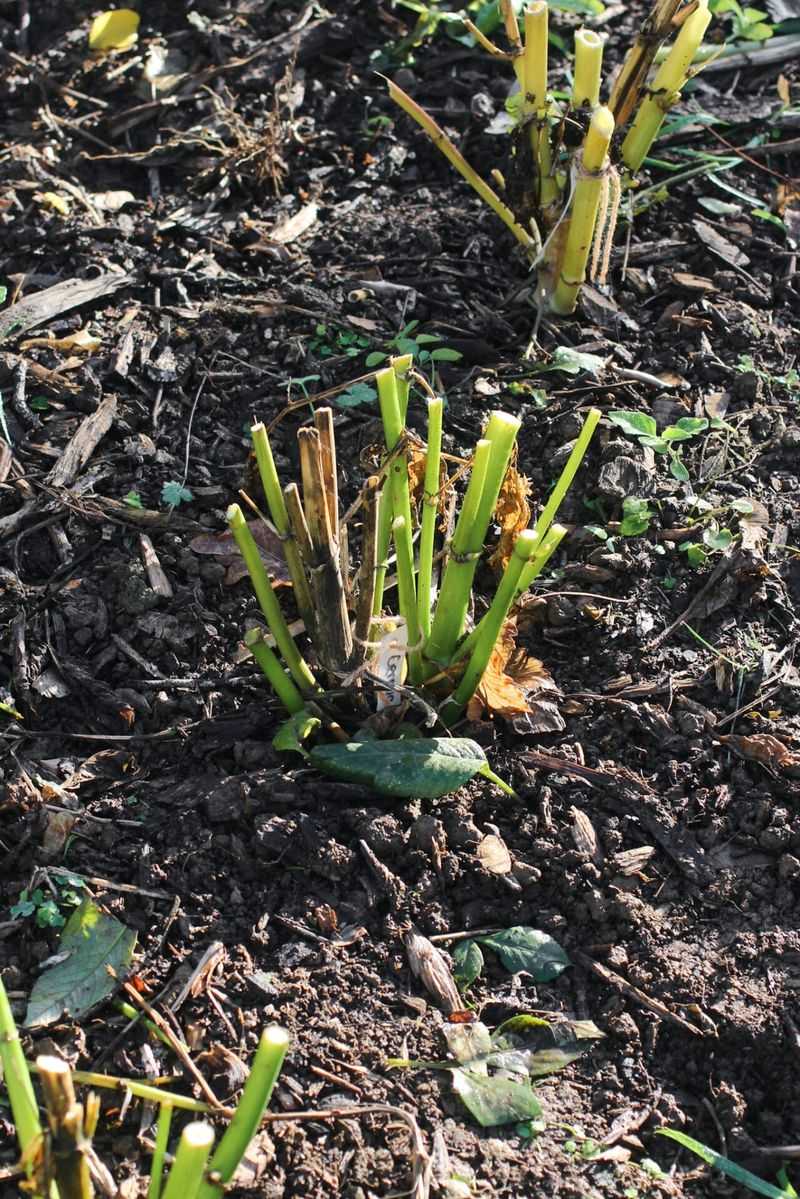
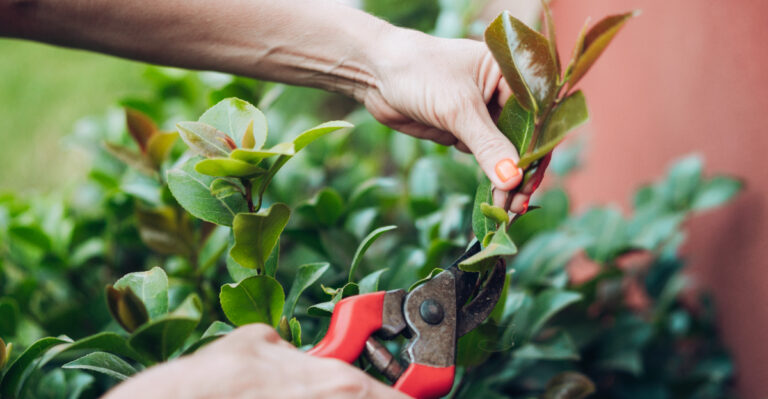
Grab your pruners first, not your shovel. Trimming the stems makes the digging job neater, safer, and much easier on your back.
Most growers cut stems down to a few inches above the soil line.
Leaving a short stub gives you a handy spot to grip later. It also helps you find each plant again if you mark it with a tag or stake.
Hollow stems can be a sneaky problem. Water may collect inside the open tube and run down toward the crown, which could encourage rot in some cases.
To reduce that risk, some gardeners cut at a slant or cover the stub with a bit of foil until digging day. Others simply dig within a few days so water has little time to settle.
Clean, sharp tools matter here too.
Your Georgia Garden Changes Every Week. Your Plan Should Too.
Gardening in Georgia changes quickly throughout the season. Every Friday you’ll receive a simple weekly plan showing exactly what to plant, prune, fertilize, harvest, and protect so you never miss the right timing.
Wiping your blades between plants may lower the chance of spreading disease, especially if one plant looked sickly during summer. A quick swipe with a household disinfectant works fine for most home gardens.
Now is a smart time to label each variety. A plastic tag with the name written in pencil or garden marker will save confusion next spring, when every tuber looks surprisingly alike and memory fades over a long Georgia winter.
3. Dig Carefully To Keep The Tuber Clump Intact
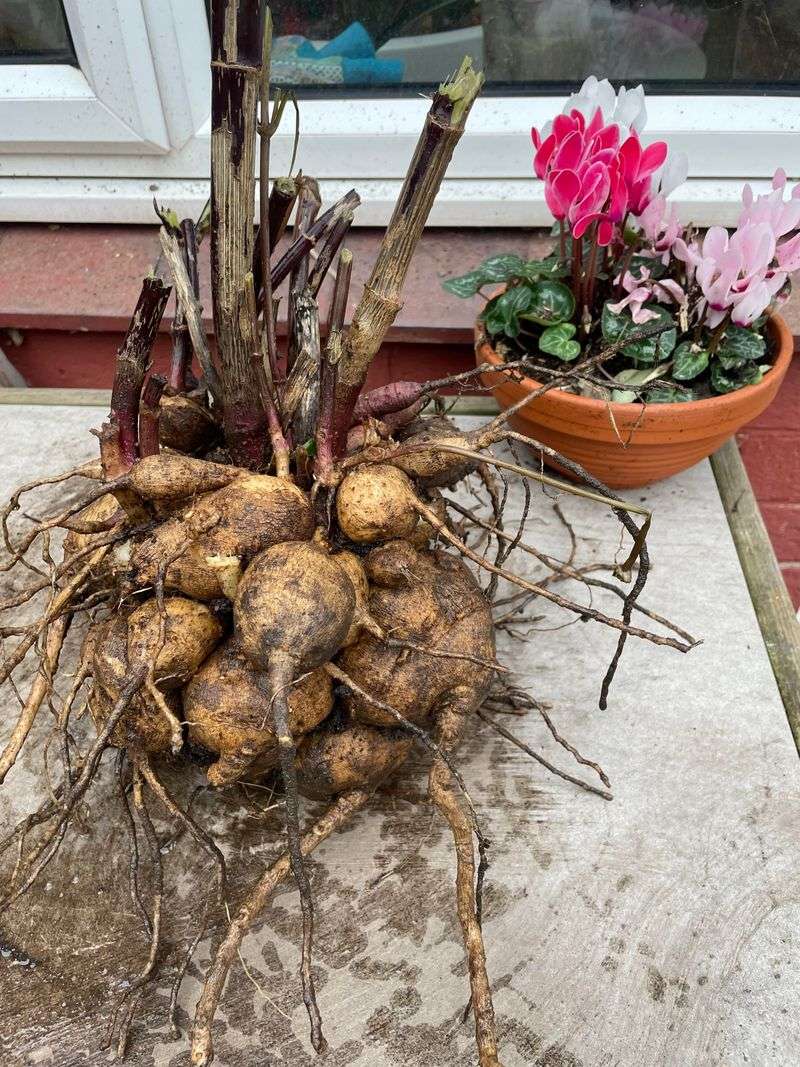
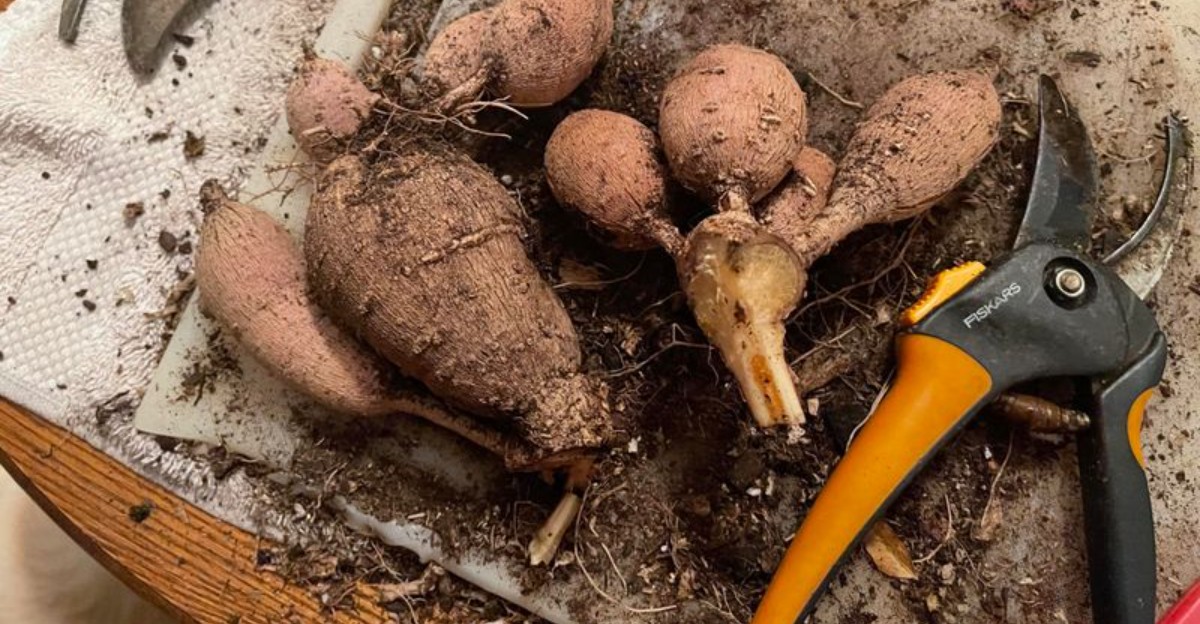
Slow digging saves tubers. A rushed shovel can snap the thin necks that connect each tuber to the crown, and a tuber without a neck usually will not sprout.
Start by loosening soil in a wide circle, roughly a foot or so away from the stem.
A garden fork tends to work better than a sharp spade for this job. Push it down around the plant and gently rock it back and forth to loosen the roots.
Once the soil feels loose, lift the whole clump from underneath. Pulling on the stem stub alone can tear the crown, so support the weight with your hands or the fork.
Red clay, common across much of Georgia, can cling tightly to roots. Let it dry a little or soak it off with a gentle stream from a hose rather than prying it away.
Shake off what loose dirt you can without banging the clump on the ground.
If you spot a broken tuber, set it aside. Small breaks are fairly normal, and losing one or two pieces from a big clump is rarely a big deal.
Work on a dry day if possible, since soggy soil is heavier and messier. It also makes damaged tubers harder to see.
4. Let The Tubers Dry Before Winter Storage
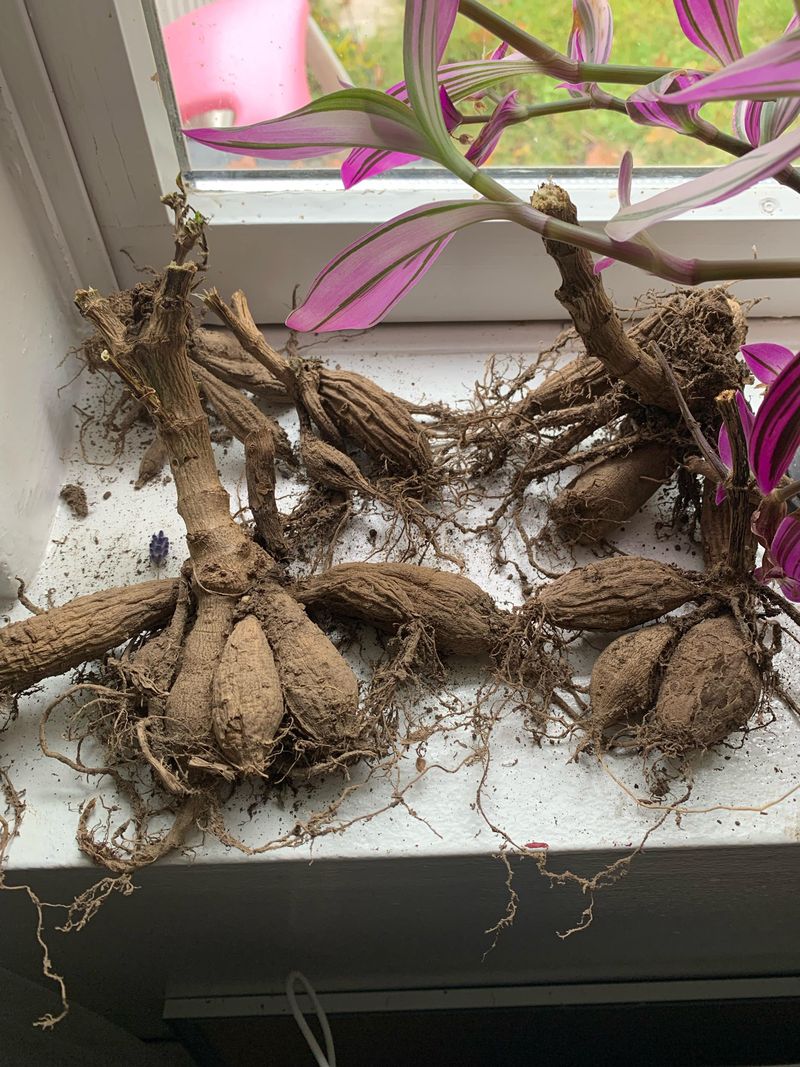
Wet tubers packed into a box are an invitation for mold. A short drying period helps protect all the work you just did in the garden.
After washing, set the clumps somewhere shaded, airy, and out of the rain.
A garage, carport, or covered porch often works well. Avoid strong direct sun, which can dry the skins too quickly and may cause shriveling.
Some growers turn clumps upside down for the first day. That position lets water drain out of the hollow stem stubs instead of pooling near the crown.
How long should they dry? Advice varies, but many gardeners aim for roughly a day to a few days, until the outside feels dry to the touch.
Humidity plays a role here. On a muggy fall day in Georgia, drying may take longer than it would in a drier climate, so check by feel rather than by the calendar.
Overdrying is a real concern too.
Tubers that sit out too long can lose moisture and start to wrinkle before storage even begins. Once the surface feels dry and the skins look firm, you are ready to move on.
Keep the clumps protected from freezing nights while they dry, since cold damage can happen quickly in an open space.
5. Check For Soft Spots And Other Damage
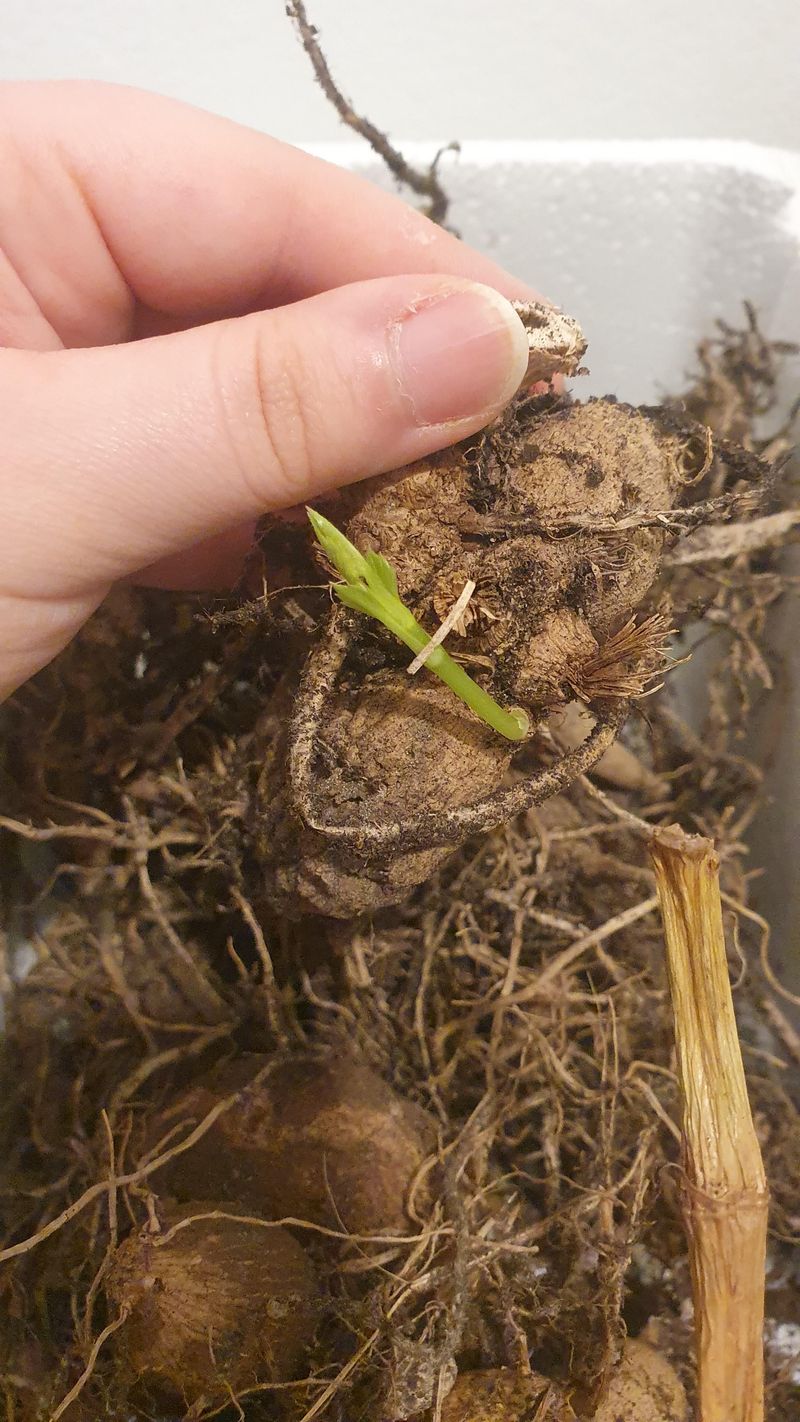
Squeeze gently. Healthy dahlia tubers feel firm, a bit like a fresh potato, and they should not give way under light pressure from your fingers.
Soft, mushy, or foul-smelling spots usually point to rot.
Cut away small rotted areas with a clean knife, slicing back into firm, healthy tissue. If most of a tuber is soft, tossing it is often the better choice.
Look closely at the necks as well. A cracked or broken neck can leave a tuber unable to sprout, even when the body looks plump and perfect.
Some gardeners let freshly cut surfaces dry and form a light callus before storage. That step may reduce the chance of rot spreading to nearby pieces.
Small holes, chewed edges, or strange growths are also worth noting.
Damage like that could come from insects, rodents, or disease, and it is not always easy to tell which. When in doubt, your local UGA Extension office can help identify problems you cannot figure out on your own.
Tossing questionable tubers can feel painful. Still, one rotting piece packed in a box may affect its neighbors over a long winter.
A careful sort now means fewer surprises later, and you will store only the strongest tubers for next season.
6. Store Tubers Somewhere Cool And Frost Free
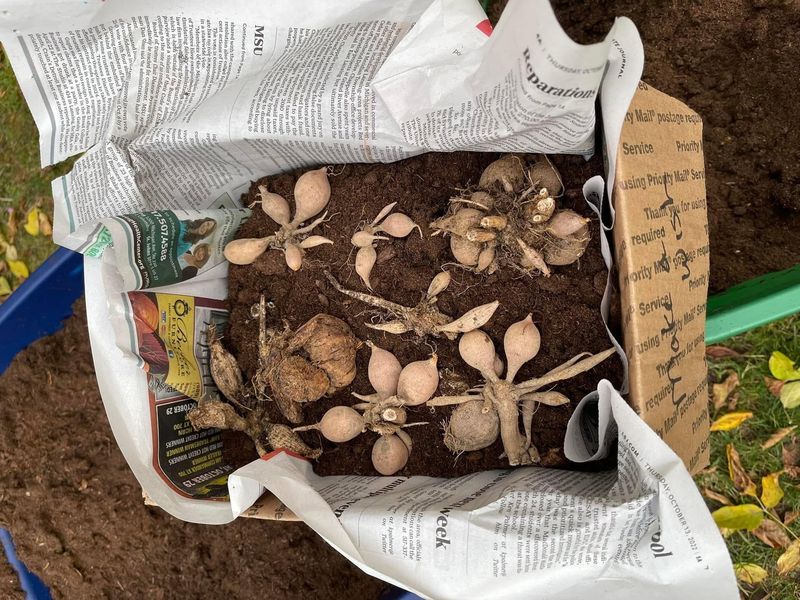
Too warm, and tubers may sprout early or shrivel. Too cold, and they can freeze.
Your goal is a steady, cool spot that stays above freezing all winter.
Unheated basements, crawl spaces, and insulated garages are popular choices.
Many Extension guides suggest a range roughly in the 40s Fahrenheit, though conditions do not need to be perfect. In much of Georgia, garages can swing warm on sunny winter days, so check temperatures with a cheap thermometer if you can.
Packing material helps hold steady moisture around the tubers. Common options include wood shavings, peat moss, vermiculite, or slightly damp sand.
Plastic bins, cardboard boxes, or paper bags can all work. Some gardeners wrap individual clumps in plastic wrap, which may help keep them from drying out.
Leave a little airflow if you use closed containers.
Check your stored tubers about once a month. Look for shriveling, mold, or soft spots, and remove any problem pieces before they spread trouble.
Slight wrinkling can sometimes be fixed by misting the packing material lightly. Mold, on the other hand, often signals too much moisture, so loosen the lid or add dry material.
Results vary from year to year, and losing a few tubers is common even for skilled growers.
7. Wait Until Spring To Divide The Clumps
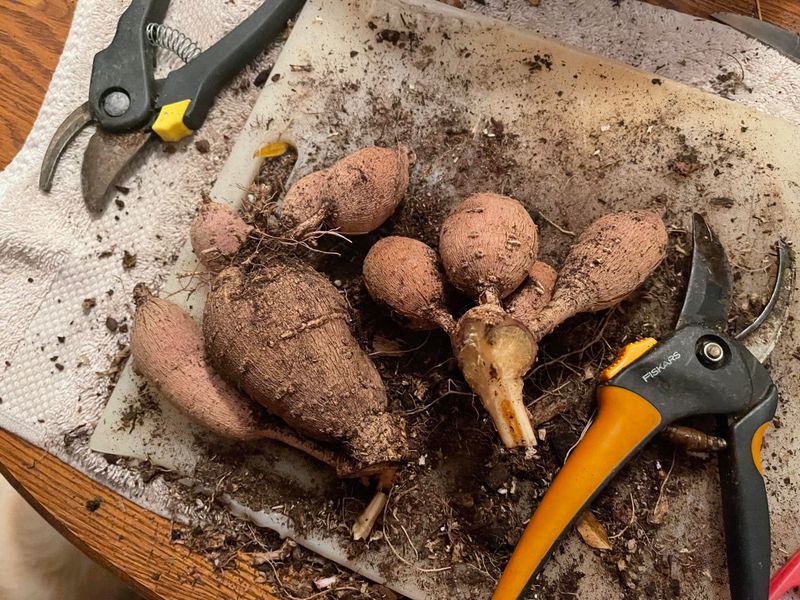
Eyes are the whole secret. Dahlia tubers sprout only from small buds called eyes, which sit near the crown where the old stem joined the clump.
In fall, those eyes can be very hard to see.
Waiting until late winter or early spring often makes dividing easier. As temperatures warm, the eyes swell and turn into tiny bumps that are much easier to spot.
Each division needs at least one eye, a piece of crown, and an intact neck. A plump tuber without an eye usually will not grow, no matter how healthy it looks.
Use a clean, sharp knife or pruners for cutting. Let the cut surfaces dry for a day or so before planting, which may help reduce rot.
Some growers do prefer to divide in fall, when clumps are softer and easier to cut. Both methods can work, so choose the one that fits your schedule and skill.
Planting time depends on where you live in Georgia, and it usually follows the last spring frost once the soil has warmed.
Your Extension office can share typical frost dates for your county. With patience and a little luck, those small divisions can grow into full plants covered in blooms by summer.