Fall Tricks That Help California Clematis Build A Fuller Vine Next Year
October light settles across California fences, and climbing vines start looking untamed. Long stems sway loosely in the breeze, and the ground at their feet often sits bare in the afternoon sun.
That scruffy look rarely signals trouble.
Instead, it hints at an opportunity many gardeners overlook as the season winds down.
Clematis carries a few particular preferences, some aimed upward toward the light and others hidden below the surface.
Mild fall weather makes this a forgiving moment to work with those preferences rather than against them.
A little attention now can shape how the vine looks once spring arrives, from its fullness along the fence to the number of blooms it carries. Small efforts tend to pay off generously.
1. Tie In Long Stems Before Wind Tears Them
One gusty Santa Ana afternoon can undo a whole summer of growth. Loose clematis stems flap, twist, and snap where they bend.
A broken stem means lost buds for next year.
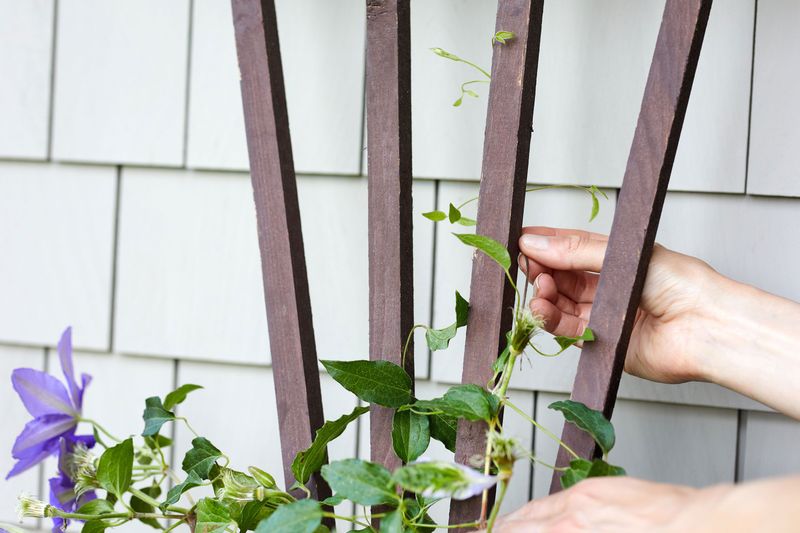
Tying in those long stems ranks as the main fall job. Clematis climbs by wrapping its leaf stalks around thin supports rather than gripping walls the way ivy does.
Once a stem wanders past the trellis, it simply hangs in the air with nothing to hold.
A slow walk along the vine allows each loose stem to be guided gently back toward a support. Soft ties, such as garden twine, cloth strips, or stretchy plant tape, work best.
Wire and thin fishing line can cut into stems as they thicken.
A loose figure-eight tie, with one loop around the stem and the cross between stem and support, allows room to grow.
Clematis stems are brittle and kink easily, so slow bends work far better than sharp turns. A cracked stem may brown above the break, making patience worthwhile.
The support deserves a check during the work. Tendrils hold best to thin supports about pencil width or less, while wide lattice slats or chunky posts offer little grip.
Netting, wire mesh, or thin bamboo stakes give the vine something to hug.
A quick tie-in session now keeps the vine secure through fall wind season and protects the buds already forming.
2. Spread Stems Sideways To Spark Side Shoots
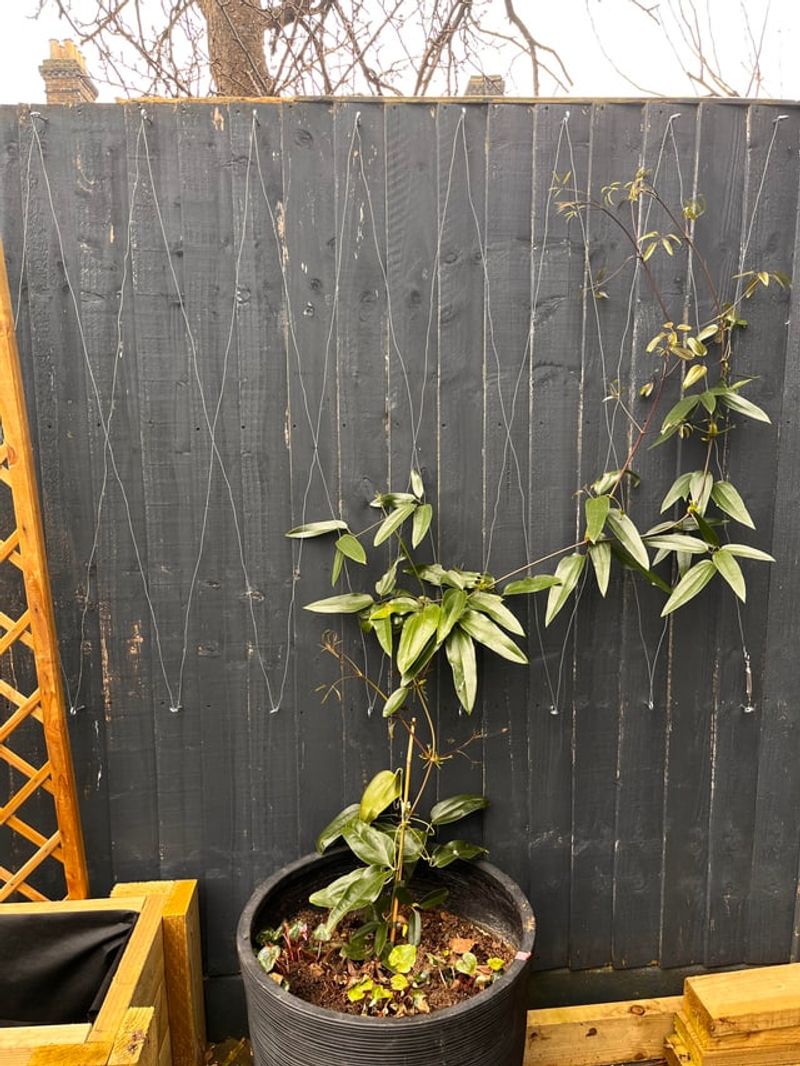
A clematis that shot straight up a post often carries all its flowers at the top, out of reach, while the bottom looks like bare sticks.
Gardeners call it the leggy look, and almost everyone has seen it.
A sideways layout fixes much of that. Rather than letting every stem race upward, fanning them at an angle or laying some nearly flat along a wire spreads growth out.
Plants tend to push the most growth at the tip of an upright stem. Bending a stem toward horizontal wakes more buds along its length, forming side shoots.
More side shoots mean more leaves, more coverage, and more spots for flowers. A fan of stems fills a trellis evenly rather than piling into one tangled column.
Starting low works best. The longest stems get guided left and right, tied every foot or so, with a little space between them for air and light.
Your California Garden Changes Every Week. Your Plan Should Too.
Gardening in California changes quickly throughout the season. Every Friday you’ll receive a simple weekly plan showing exactly what to plant, prune, fertilize, harvest, and protect so you never miss the right timing.
Shorter stems can go up the middle to fill gaps later.
Older, woody stems deserve extra care. Young green growth bends easily, while thick stems may crack if pushed too far.
Those stems can move just a little now, with further adjustment next season.
A wider layout gives the vine a bigger stage, so the spring show spans the whole fence rather than only the top row.
Fall timing helps, since stems stay flexible before winter dormancy sets in.
3. Mulch The Roots And Shade The Base
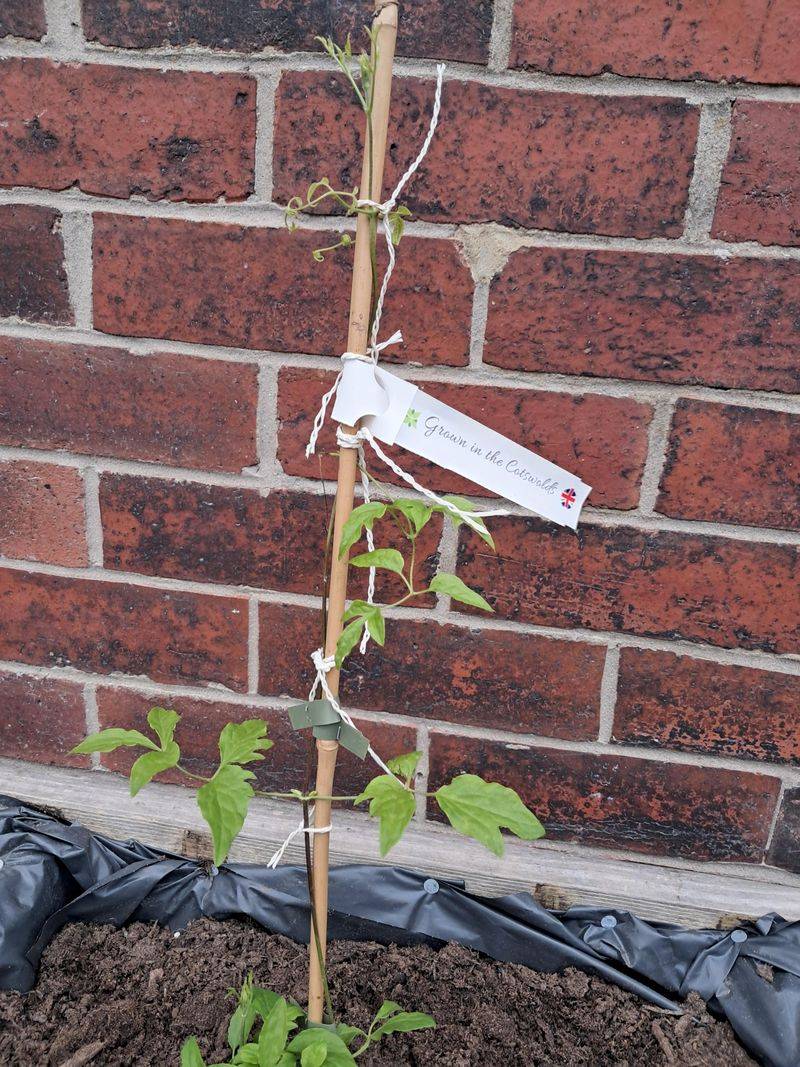
Bare soil near a clematis at 3 p.m. on a hot California day can feel almost too warm for a palm to rest on. Clematis roots dislike that heat.
That explains the old cool roots, sunny tops rule. The vine wants six or more hours of sun on its leaves, while roots do best in cool, moist, shaded soil.
Hot, dry roots can stress the plant and slow growth.
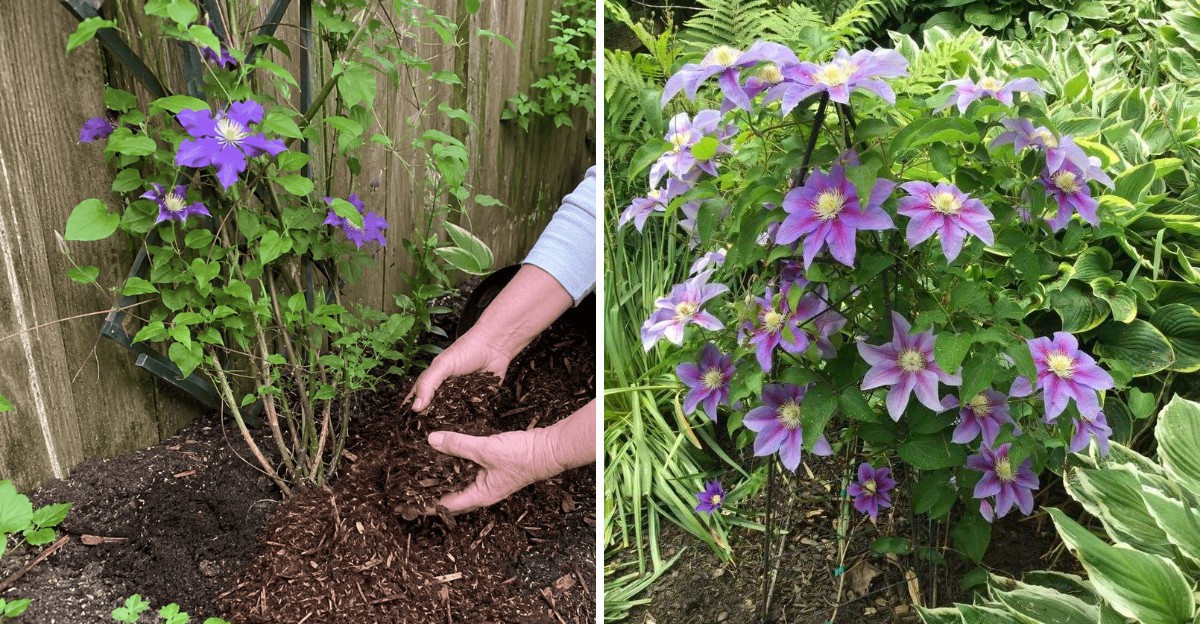
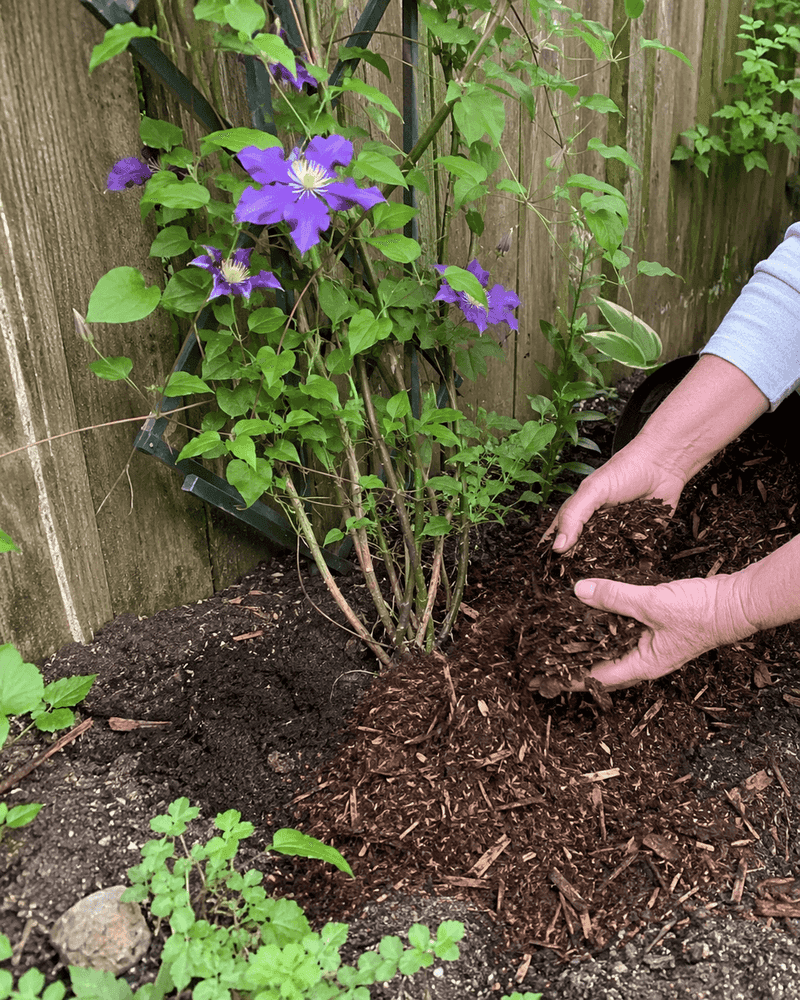
Mulch offers the easiest fix. Two to three inches of organic mulch, such as shredded bark, wood chips, or compost, works well around the base.
Mulch kept a few inches from the stems prevents trapped moisture and rot.
Within five feet of the house in designated fire areas, Zone 0 rules exclude bark and wood chips, so flat stones or gravel work better there.
A good mulch layer shades the soil, slows water loss, steadies soil temperature, and feeds soil life as it breaks down. It also blocks many competing weeds.
Living shade helps too. Low, shallow-rooted plants tucked around the base, such as small perennials or groundcovers, cast shade without crowding the vine.
Aggressive spreaders that hog water are best avoided, since the goal is a shady skirt rather than an underground battle.
Fall suits this job well, since warm soil helps new companion plants settle in.
A flat stone or pot on the sunny side also shades roots in tight spaces.
4. Water Deeply Through Dry Fall Spells
Many California gardeners ease up on watering in October, since days feel cooler and summer seems over. Rain, however, often holds off until November or later.
Dry winds can also pull moisture from soil quickly.
Clematis needs steady moisture to keep roots healthy into winter. Hydrated roots support the buds forming for spring, while a thirsty vine has less energy for that work.
Deep watering beats frequent sprinkles. A quick splash wets only the top inch and encourages shallow roots that dry out easily.
Slow watering that soaks down 12 inches or more works far better. A soaker hose, drip line, or gently trickling hose at the base all do the job.
Letting the top couple of inches dry before the next watering keeps roots comfortable.
A finger or small trowel pushed into the soil near the base answers the timing question. Dry two inches down signals time to water, while damp soil means waiting.
Weather deserves watching too. Once regular rains arrive, irrigation can often pause entirely, since soggy winter soil troubles clematis roots that need good drainage.
Clay soil holds water much longer than sandy soil, so adjustments vary by yard.
Mulch helps here, holding the moisture added. Together, water and mulch keep the root zone cool and comfortable through the dry fall stretch.
Red Flag days with low humidity call for an extra check, since gusty winds dry soil faster than usual.
5. Know Your Clematis Pruning Group
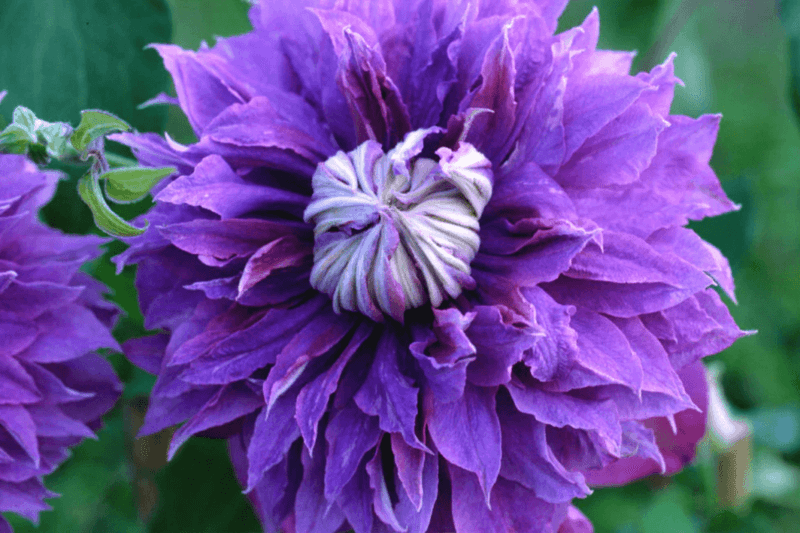
Pruners used in the wrong month can remove next year’s flowers. Clematis isn’t one-size-fits-all, since different types bloom on different kinds of wood.
Each group gets its own timing.
Gardeners sort clematis into three common groups. Group 1 blooms in early spring on stems that grew last year, including Clematis montana, alpina, and evergreen Clematis armandii.
Armandii is especially popular in California. Group 1 types get pruned right after flowering.
Group 2 includes many large-flowered hybrids that bloom in late spring on old wood and often repeat later on new growth.
These need only a light late-winter trim, removing brittle or weak stems and cutting back to a strong pair of buds.
Group 3 blooms in summer or fall on new growth made that same year.
Clematis viticella and many late hybrids fit here, and they can be cut back hard in late winter.
Identifying a vine starts with the plant tag or nursery receipt. A variety name can then be checked through a reliable nursery or university site.
Without a name, bloom timing offers clues. Spring flowers on old stems suggest Group 1, big early blooms with repeats point to Group 2, and summer-to-fall blooms usually mean Group 3.
A note in a garden notebook keeps the answer handy for years to come.
California’s native clematis, such as western virgin’s bower and pipestem clematis, also make lovely, wildlife-friendly options for informal fences.
6. Wait On Pruning Spring Bloomers Until After Flowering
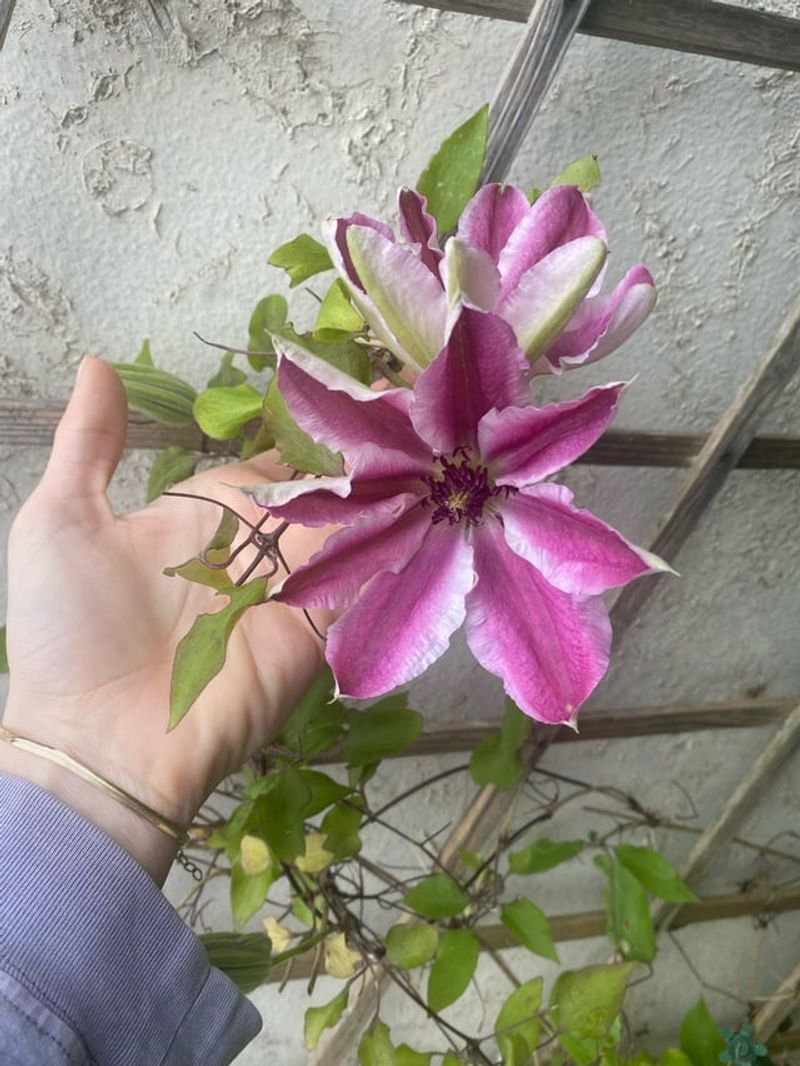
Fall cleanup fever is real. The urge to tidy everything can hit hard in October, and a sprawling spring bloomer looks like an easy target.
Patience serves it far better.
Early-blooming clematis, such as Clematis armandii and Clematis montana, form flower buds on stems that grew this past season. Those buds already sit tucked along the vine.
Cutting stems in fall or winter removes the coming bloom.
The better plan lets the vine flower in spring, with pruning soon after petals drop. That timing gives the plant all summer to grow fresh stems for next year’s flowers.
Pruning these types usually stays light. Broken or tangled stems come out, along with growth that has outgrown its space.
Clematis armandii, an evergreen favorite with fragrant white flowers, can get big and heavy, so thinning after bloom keeps it manageable. Shaping works better than scalping.
Fall still holds jobs for these vines. Tying in loose stems, spreading them along supports, and mulching roots all protect the buds being saved.
Clearly brittle, leafless wood can come out any time, since it carries no flowers.
Clean pruners wiped with household disinfectant help prevent spreading disease between plants.
A few months of restraint earns a generous spring burst of blossoms, sweet fragrance and all, often by February or March.
Late winter, as buds swell, offers a good time to confirm which stems carry flowers.
7. Cut Late Bloomers Back In Late Winter
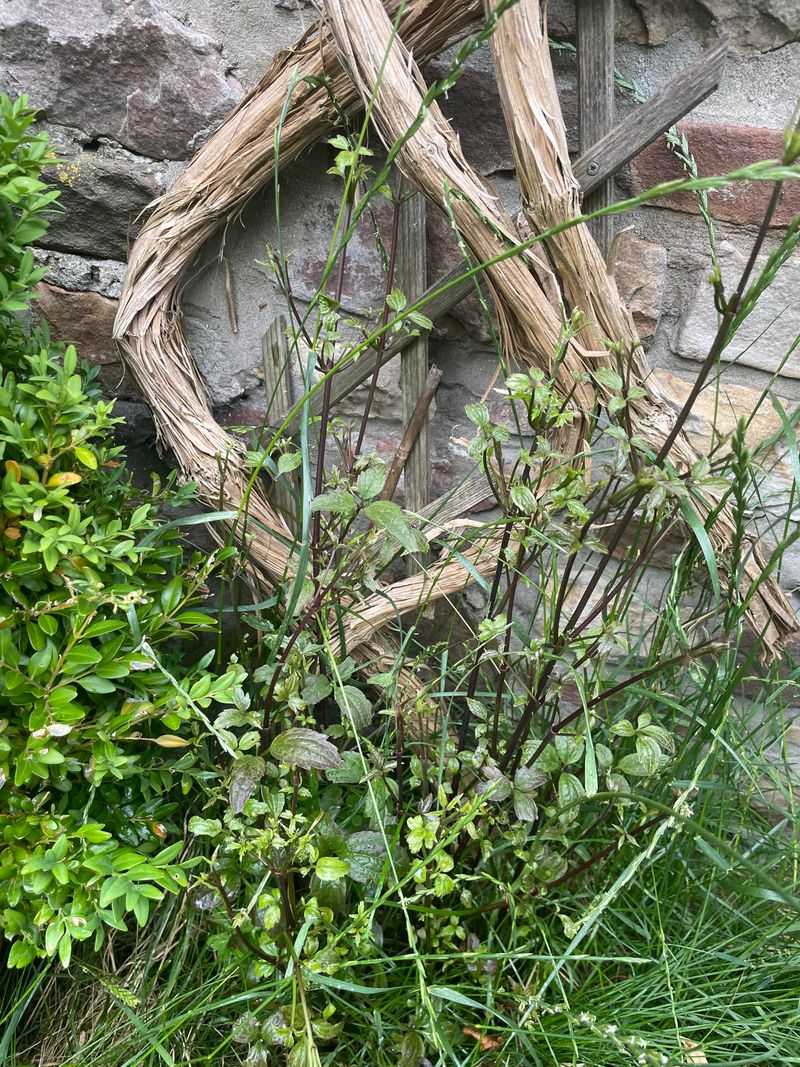
February in much of California brings a quiet window. Vines look scruffy and brown, yet tiny buds start swelling along the stems, guiding late-blooming clematis care.
Group 3 clematis flowers on new growth produced that same season, so old stems from last year won’t carry the summer show.
Cutting them back in late winter clears space and pushes the plant to send up strong, fresh shoots full of flower potential.
The method is simple. Each stem gets followed down from the top to a healthy pair of buds, usually 12 to 18 inches above the soil.
Clean, sharp pruners make the cut just above those buds, and the old tangle comes off the trellis for disposal.
Fall cutting makes less sense. Stems left through winter offer the crown a little protection, and late-winter cuts land right before new growth begins.
That timing gives fresh shoots a fast start once weather warms.
Without this step, Group 3 vines often become a bare-bottomed snarl with flowers only up top. A hard cut keeps blooms closer to eye level.
After pruning, a fresh layer of compost and mulch helps, keeping Zone 0 limits in mind near the house.
Then the fall training habit returns. As new shoots grow, guiding them sideways along the support fills the vine out wide and full from the start.
Healthy trimmings without disease can go in the compost, while any spotted or wilted stems belong in the trash.
8. Plant New Clematis In Fall While Soil Is Warm
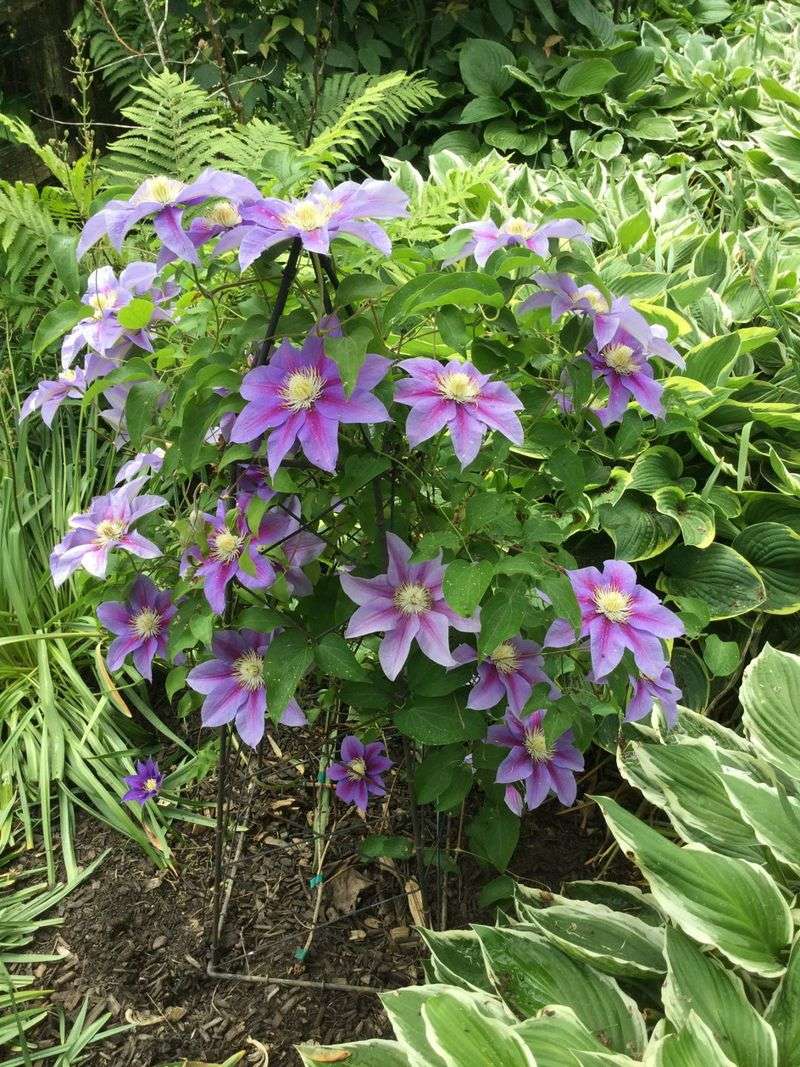
Nurseries often mark down perennials in fall, and clematis makes a lovely sale-table find. Autumn also ranks among the best times to plant in California.
Warm soil lets roots grow quickly while cooler air keeps the top from stressing. Winter rains then help water the young plant.
By spring, roots have settled, and the vine can focus on climbing and blooming.
The ideal spot offers sun for leaves and shade for roots. Morning sun with a little afternoon relief works nicely in hotter inland areas.
Well-drained soil matters, since clematis roots struggle in standing water.
A hole wider than the pot, with compost mixed into native soil, gives roots a strong start.
Many gardeners set large-flowered clematis a couple of inches deeper than it sat in the pot.
Buried stem buds can sprout extra shoots and help the plant recover if the top suffers damage.
The support works best in place before or right at planting time. A small stake guides young stems toward it, with loose ties holding them gently.
Young clematis can grow slowly the first year, so patience counts.
A ring of mulch kept a few inches from the stems, plus a deep drink of water, finishes the job. Lightly moist soil until rains arrive keeps roots comfortable.
The ASPCA lists clematis as toxic to cats and dogs, so curious pets do best kept away.