The Pennsylvania Garden Tasks To Finish Before The Rain Returns Next Week
A few dry days in fall can feel like a gift for Pennsylvania gardeners. The soil is easy to work, the leaves are crunchy instead of soggy, and it’s pleasant to be outside. Once the rain moves back in, that changes fast.
Wet leaves turn into heavy, slippery mats that smother the lawn. Garden beds get muddy and compacted under your boots. Gutters overflow, low spots puddle, and planting projects get pushed back day after day.
That’s why it pays to make the most of this short window. Some jobs are much easier in dry weather. Others are perfectly timed to take advantage of the rain that’s coming.
Newly planted bulbs, fresh grass seed, and transplanted perennials will all get a free, deep watering as soon as the clouds roll in. A little planning now can help you work with the weather instead of racing against it.
1. Pick Every Last Tomato And Pepper
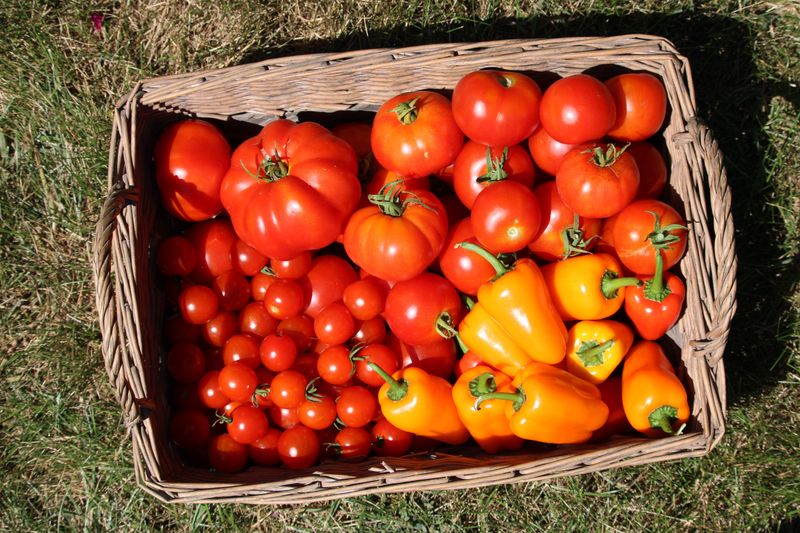
Nothing stings quite like walking out after a storm and finding your best tomato split wide open. Heavy rain makes ripening fruit swell too fast. The skin cannot keep up, so it cracks, and rot moves in quickly.
Get ahead of the weather by picking everything that is ready or close to ready. Tomatoes, peppers, squash, eggplant, and late beans should all come inside.
Even green tomatoes are worth saving. Wrap them in newspaper and keep them in a cool, dark spot, and many will slowly turn red over the next few weeks.
Peppers can be picked green too. They taste a little milder, but they are still great in soups and stir fries. Winter squash and pumpkins need a bit more care.
Cut them with a few inches of stem attached, then let them sit somewhere warm and dry for about a week so their skins harden.
Cooler Pennsylvania nights add another problem. Once temperatures drop into the 40s, many warm-season crops stop ripening well. Add cold rain on top of that, and fruit can turn mushy or moldy right on the vine.
Here is a handy trick for a big pile of green tomatoes. Pull up the whole plant and hang it upside down in a garage or basement. The fruit keeps ripening with energy from the stems.
Once the picking is done, take a moment to clear out plants that look sick or spotted. Toss diseased leaves in the trash instead of the compost.
That small step helps keep problems from coming back next summer, and it leaves your beds neat and ready for the next round of chores.
2. Lift Dahlias And Cannas While The Ground Is Dry
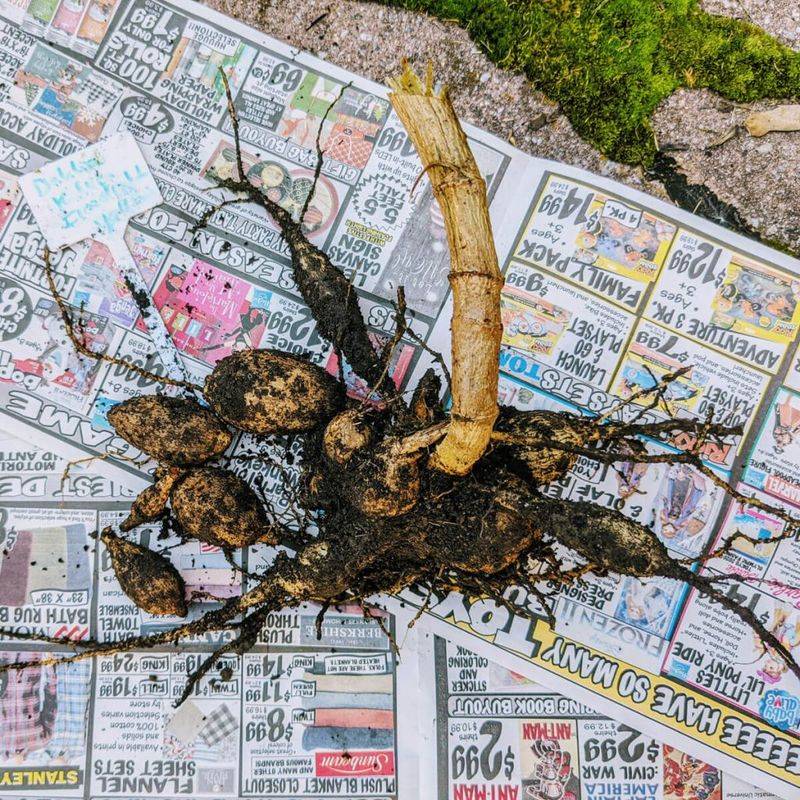
Dahlia lovers know the feeling. You spend all summer enjoying those giant, colorful blooms, and then fall arrives with a big job waiting underground.
Dahlias, cannas, and gladiolus are tender plants. They cannot survive a Pennsylvania winter in the ground, so they need to be dug up and stored indoors.
The trick is timing. When the soil is dry, the tubers and corms pop out easily, and the dirt brushes right off.
Your Pennsylvania Garden Changes Every Week. Your Plan Should Too.
Gardening in Pennsylvania changes quickly throughout the season. Every Friday you’ll receive a simple weekly plan showing exactly what to plant, prune, fertilize, harvest, and protect so you never miss the right timing.
Wet soil is a different story. It clings like clay, weighs everything down, and makes cleaning a sticky mess.
Moisture also causes bigger problems later. Tubers pulled from soggy ground hold extra water, and that makes them hard to dry before storage. Damp tubers often rot or grow mold over the winter.
Start by cutting the stems down to about six inches. Then use a garden fork, not a shovel, and dig a wide circle around each plant. Gently lift the clump from below so you do not slice into the tubers.
After digging, shake off loose soil and let the clumps dry in a shady, airy spot for a few days. A garage or covered porch works well. Keep them out of direct sun and away from frost.
Once they feel dry, pack them in boxes or paper bags filled with peat moss, wood shavings, or shredded newspaper.
Store them somewhere cool, around 40 to 50 degrees. Label each variety with a marker so you remember which color is which.
Fun fact: dahlias are the national flower of Mexico. They grew wild in the mountains there long before gardeners around the world fell in love with them.
3. Tuck Garlic And Spring Bulbs Into The Soil
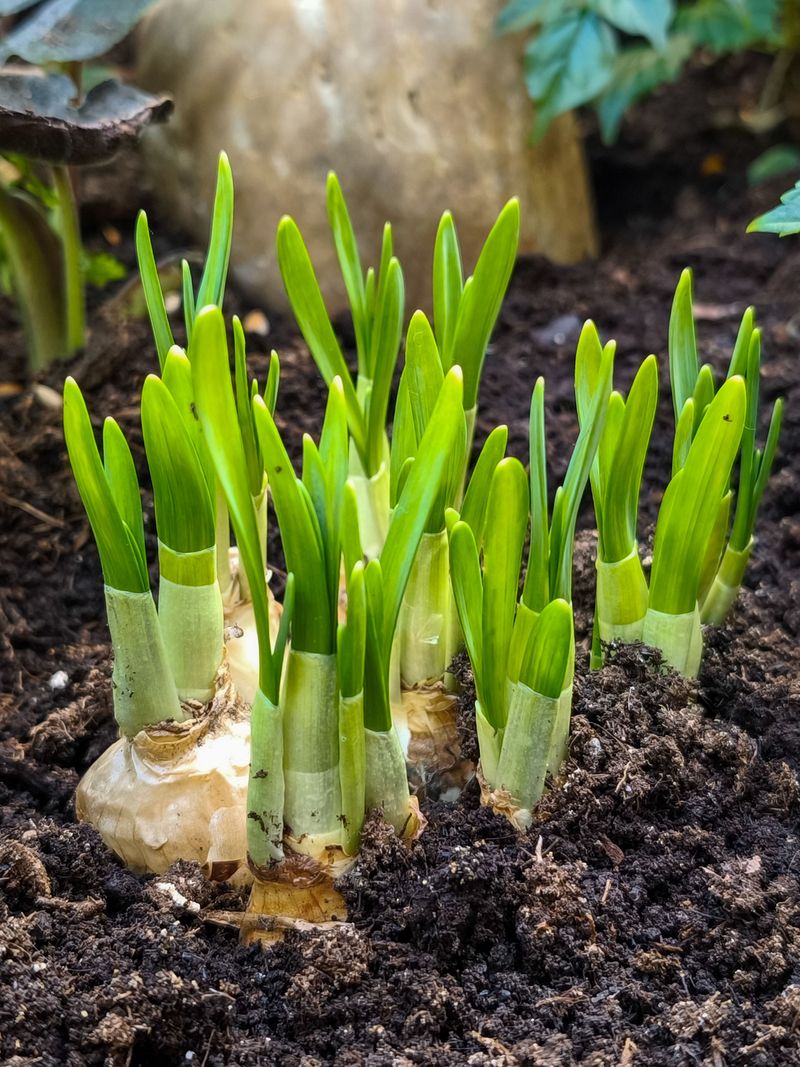
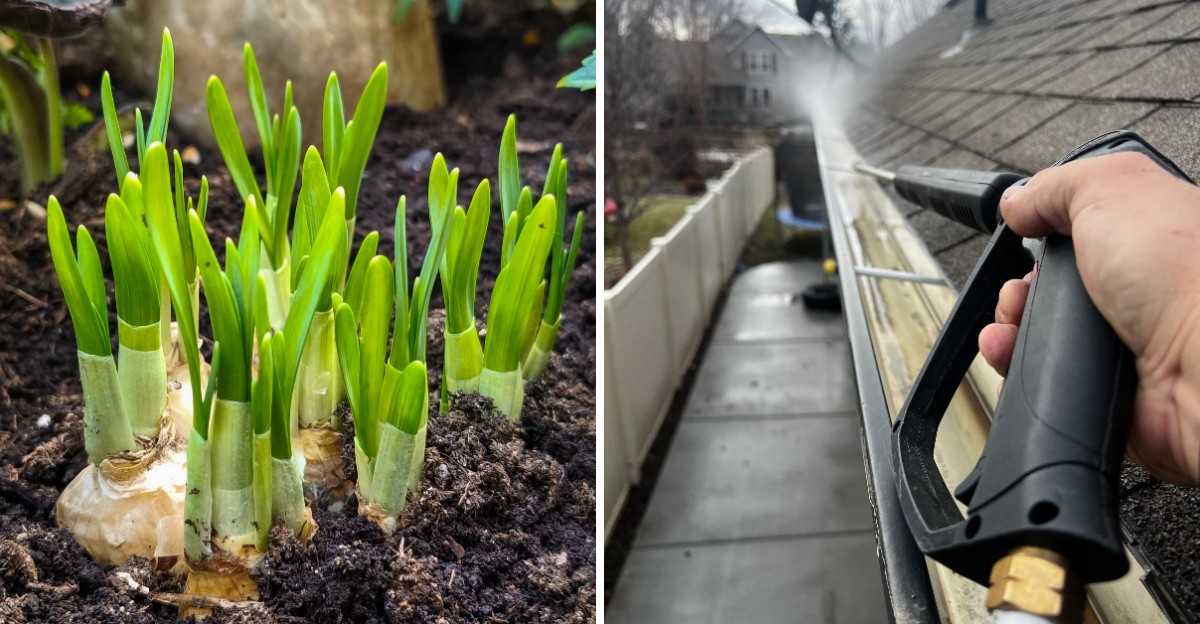
Think of fall planting as a gift you wrap now and open in spring. A few minutes of digging today means bright tulips, cheerful daffodils, and fat heads of garlic months from now.
Timing really matters here. Planting right before a rainy stretch is almost perfect. The rain soaks the soil, settles it snugly around each bulb, and helps roots start growing before the ground freezes. You also get to skip working in sticky mud later, which is never fun.
For garlic, break a bulb into single cloves. Plant each one pointy side up, about two inches deep and six inches apart.
Choose big cloves, since larger cloves usually grow larger bulbs. Hardneck garlic does especially well in Pennsylvania because it handles cold winters like a champ.
Spring bulbs follow a simple rule. Plant them about three times as deep as the bulb is tall. That means most tulips and daffodils go six to eight inches down. Set them with the pointed end facing up and the flat roots facing down.
Squirrels can be a real headache with tulips. They love to dig them up for a snack. Daffodils are a smart choice if critters are a problem, since animals usually leave them alone. You can also lay chicken wire over tulip beds until spring.
After planting, add a few inches of shredded leaves or straw on top. The mulch helps keep soil temperatures steady through freezing and thawing.
Here is a fun bit of history. Back in the 1600s, tulips were so prized in Holland that a single bulb could cost more than a house. Lucky for us, they are much cheaper today.
4. Turn Crunchy Leaves Into Garden Gold
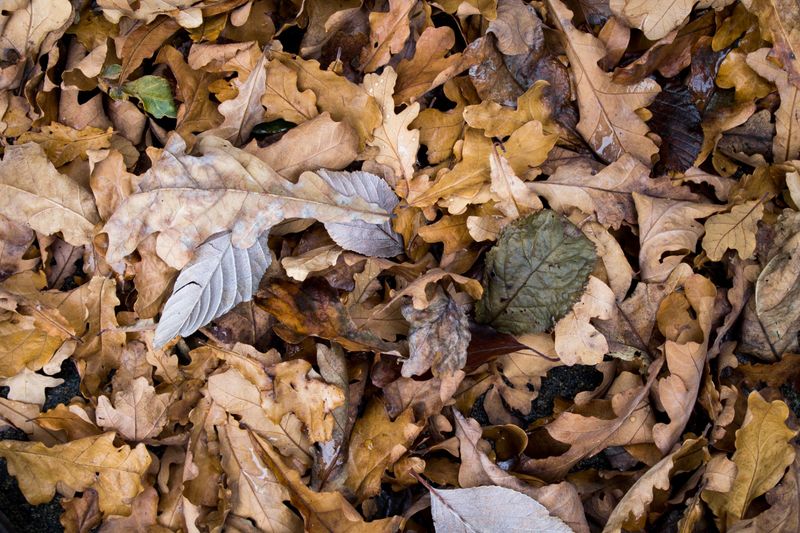
Crunch, crunch, crunch. That happy sound under your boots means the leaves are dry, and dry leaves are your best friend right now.
Once rain hits, everything changes. Wet leaves get heavy and slippery. They stick together in flat, soggy mats that are a pain to rake.
Worse, those mats can sit on your lawn and block sunlight and air, which leaves ugly bare patches by spring.
So grab the rake or fire up the mower while the weather is on your side. Mowing over leaves is one of the easiest tricks around.
A mulching mower chops them into tiny bits that fall between the grass blades. Those pieces break down and feed your lawn naturally, so a thin layer can stay right where it is.
Got a lot of trees? Then you probably have more leaves than your lawn can handle. Rake or bag the extras and put them to work.
Shredded leaves make wonderful mulch. Spread a few inches around shrubs, perennials, and empty vegetable beds. The layer protects roots from the cold and keeps weeds down.
They are also a great addition to your compost pile. Leaves count as brown material, which balances out green stuff like kitchen scraps and grass clippings. Shredding them first helps them break down faster.
Some gardeners even save a few bags of dry leaves in the garage. Come summer, those leaves are handy for mixing into compost when brown material runs low.
Did you know a single big oak tree can drop over 200,000 leaves in one fall? That is a lot of free garden help just waiting on your lawn.
5. Unclog Gutters, Downspouts, And Yard Drains
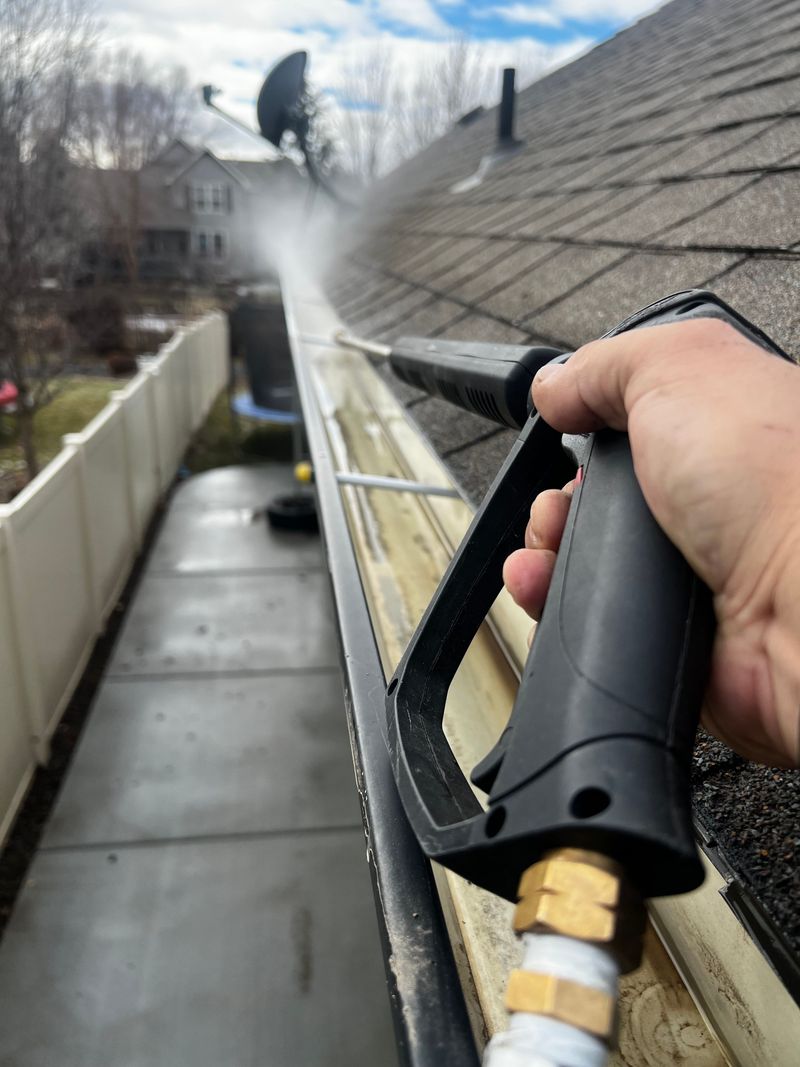
Here is a chore nobody brags about, but everyone is glad they did once the storm hits. Clogged gutters can turn a simple rain shower into a soggy disaster.
When leaves pile up in gutters, water has nowhere to go. It spills over the edges and pours straight down next to your house.
That flood can wash out mulch, drown plant roots, and dig little trenches in your garden beds. Over time, it may even cause leaks in your basement.
Start with safety. Use a sturdy ladder on flat ground, and have someone hold it steady if possible. Wear gloves, because gutter gunk can hide sharp twigs and bits of metal.
Scoop out leaves and dirt by hand or with a small plastic scoop. Drop everything into a bucket or onto a tarp below. Many gardeners toss the soft material right into the compost pile.
Next, flush the gutters with a garden hose. Watch how the water flows. If it backs up, the downspout is probably clogged. Try spraying the hose up from the bottom or using a plumber’s snake to push the blockage free.
Do not forget the ground level. Check yard drains, ditches, and storm grates near your property. Clear out leaves and sticks so water can move away from your garden.
Look at where each downspout empties too. Ideally, water should flow at least a few feet away from your foundation and flower beds. A cheap plastic extension or splash block can make a big difference.
Many Pennsylvania homes sit under tall oaks and maples, so gutters fill fast. Checking them twice each fall is a smart habit.
6. Patch Bare Spots With Fresh Grass Seed
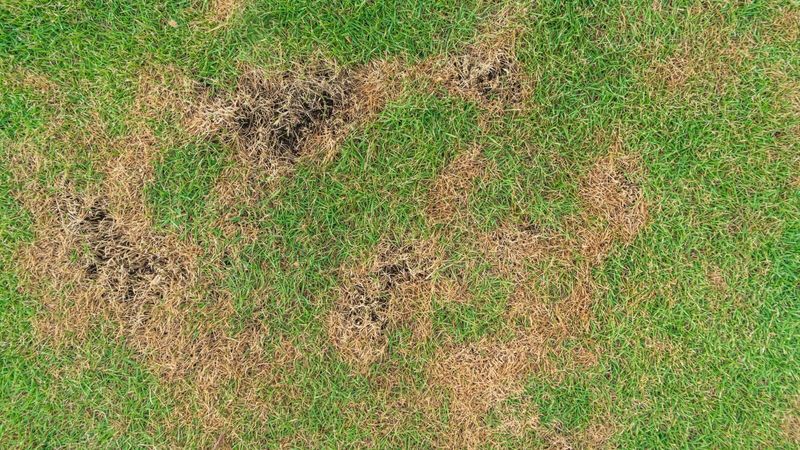
Ask any lawn expert in Pennsylvania, and they will tell you fall is the best season to grow grass. Warm soil and cool air create a perfect setup for new seedlings.
Bare or thin spots are easy to fix right now. The big secret is moisture. Grass seed must stay damp to sprout, and a light rain does the watering for you. Spread seed a day or two before a gentle shower, and nature takes care of the rest.
Watch the forecast carefully, though. A soft, steady rain is great. A heavy downpour is not. Hard rain can wash seed into clumps or carry it right off slopes and hills.
Getting good results starts with prep. Rake the bare area firmly to loosen the top layer of soil. Seed needs to touch dirt, not sit on top of dry grass or thatch.
Choose a seed that fits your yard. Tall fescue is tough and handles both sun and some shade.
Kentucky bluegrass and perennial ryegrass are popular cool-season choices here too. Many stores sell blends made for the Mid-Atlantic region.
Spread seed evenly, then lightly rake it in. A thin sprinkle of compost or straw on top helps hold moisture and keeps birds from snacking. On slopes, a seed mat or erosion blanket keeps everything in place.
After the rain passes, keep the soil damp if the weather turns dry. Water lightly once or twice a day until the new grass is about two inches tall.
Try to stay off the area for a few weeks. Tiny grass plants are fragile, and footsteps can crush them quickly.
7. Blanket Empty Beds With Cereal Rye
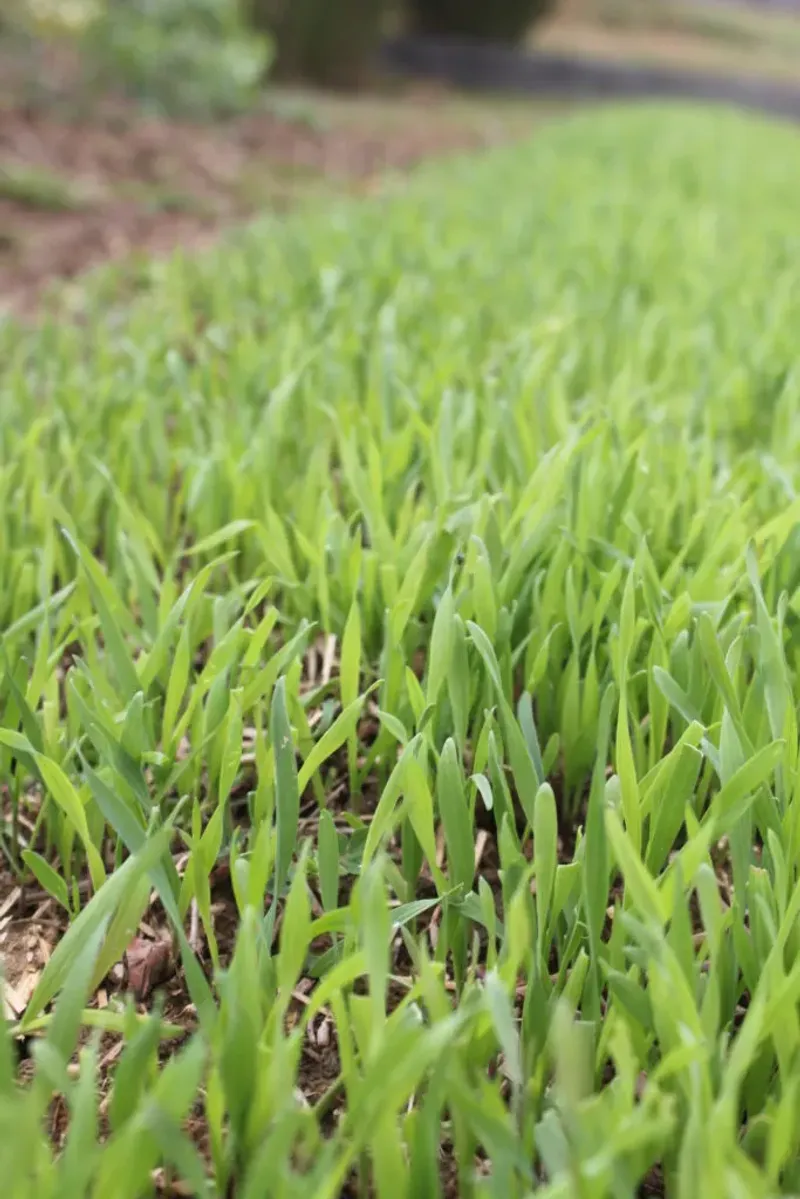
Bare soil all winter is like leaving your front door wide open during a storm. Wind and rain can carry away the rich topsoil you worked so hard to build. A cover crop closes that door.
Cereal rye is a favorite among Pennsylvania gardeners and farmers. It is one of the toughest cover crops around.
It can be sown later in fall than most others, often into October or even early November. An upcoming rain helps the seed sprout fast, so now is a great time to plant.
Planting is simple. Clear out old plants from your vegetable beds. Loosen the top inch of soil with a rake. Then scatter the seed by hand, about a quarter pound for every 100 square feet.
Rake lightly to cover the seeds, and let the rain handle the watering.
Within a week or two, you will see a fuzzy green carpet popping up. Rye keeps growing on mild winter days, and its thick roots grip the soil tightly. Those roots also break up hard ground and leave little channels for air and water.
Come spring, the rye does even more good. Cut it down a few weeks before you plan to plant vegetables.
You can chop it with a mower or string trimmer, then let it break down on top of the bed or turn it into the soil. As it rots, it adds organic matter that feeds worms and helpful microbes.
One tip to remember is to cut rye before it forms seed heads. Otherwise, it can sprout everywhere next year. A little timing keeps this helpful crop working for you, not against you.