Save Your Pumpkin Seeds Now, And Grow Next Year’s Jack-O’-Lanterns In Your Virginia Garden
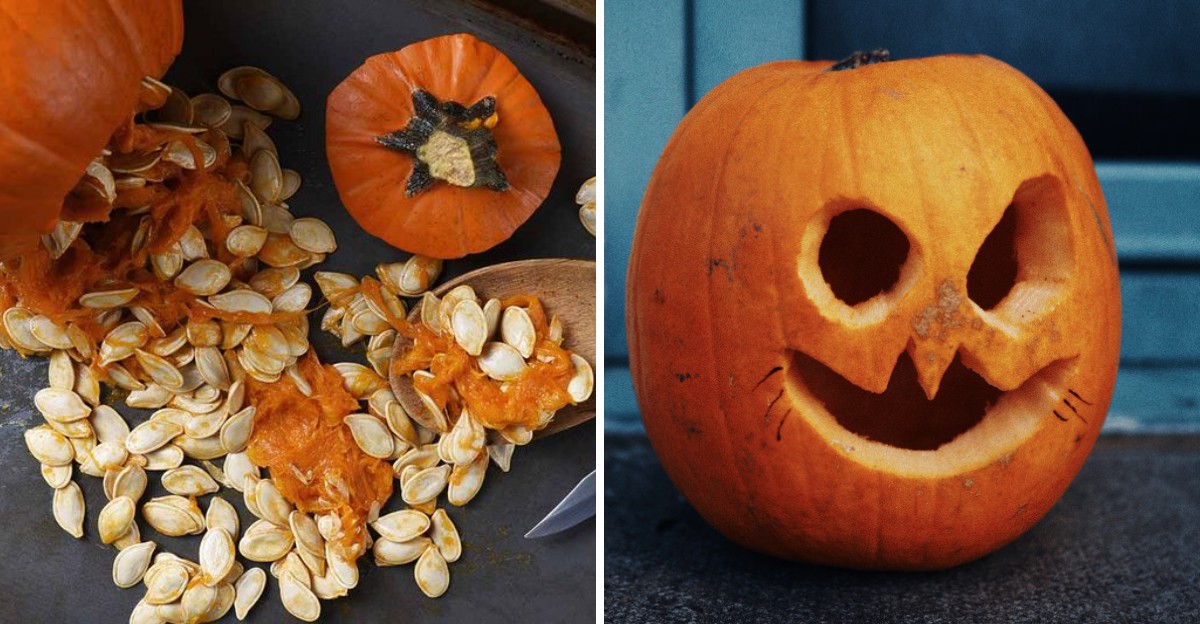
The orange giant on your porch is hiding a few hundred tiny passengers. Every one of those slippery seeds could become a sprawling vine by next summer.
Carving favorites can carry a long history, too. One classic variety is often traced back to seeds that Native American farmers grew long before the 1700s. Your front step decoration might share roots with that story.
I love how seed saving turns a Halloween decoration into a free garden plan. You scoop, rinse, dry, and wait while winter does its thing. In Virginia, those seeds can rest in a paper envelope until warm soil returns next year.
There is one catch, and it starts with the fruit you picked up this fall. Certain seeds grow true to their parent, but a few hand you a lumpy green mystery.
So which kind is sitting on your porch right now?
That Carved Pumpkin On Your Porch May Not Grow Back The Way You Expect
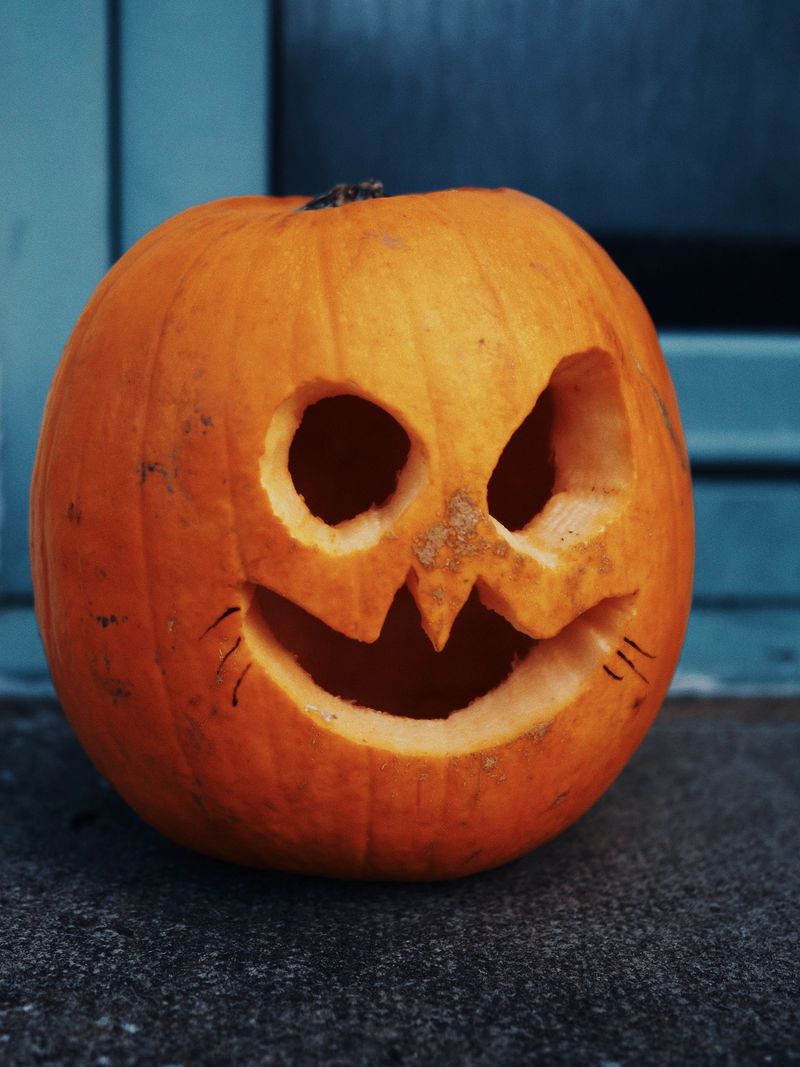
Last fall, a friend planted seeds from a perfect round pumpkin. By August, her vines were covered in pale, lumpy fruit that looked like a cousin nobody invited.
Genetics, not bad luck, caused that surprise.
Many pumpkins sold at big stores are F1 hybrids. A hybrid is a cross between two different parent lines, so its seeds can grow plants that look like either parent, or something in between.
You might get great pumpkins, or you might get odd ones.
Open-pollinated and heirloom types are the safer bet. Varieties like Connecticut Field, Howden, Small Sugar, and Jack O’Lantern usually grow true to type when they are not crossed with other plants.
If you bought your pumpkin at a farm stand, ask the grower what variety it is.
Bees add another twist. Pumpkins, zucchini, acorn squash, and yellow summer squash often belong to the same species, Cucurbita pepo, and insects carry pollen freely between them.
A crossed flower still makes a normal pumpkin this year, but the seeds inside carry mixed traits.
Serious seed savers separate varieties by a long distance or hand-pollinate flowers and tape them shut. For a backyard gardener, a little mystery can be fun.
Just plant a few extra seeds and keep notes on what shows up.
Fully Ripe Pumpkins Hold The Plumpest Seeds
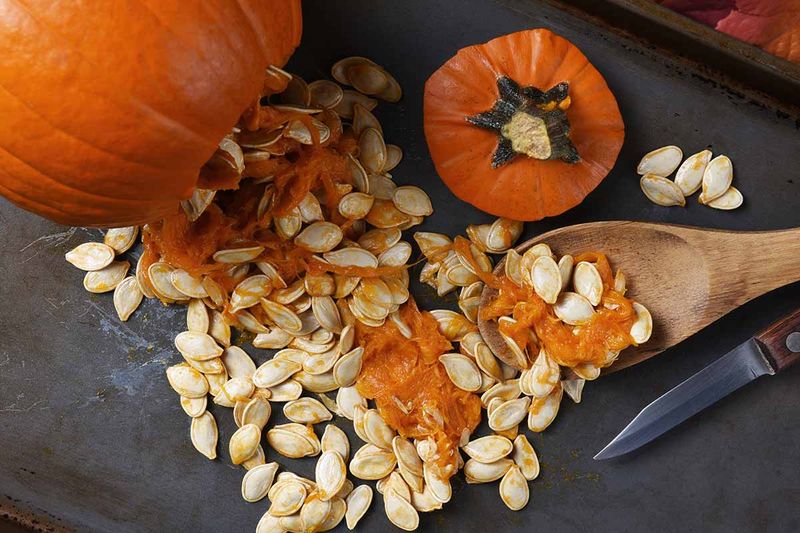
Patience pays off before you ever pick up a spoon. Seeds keep filling out as long as the pumpkin keeps ripening, so a fruit picked green often holds flat, weak seeds that struggle to sprout.
Look for a few signs of ripeness. The rind should show deep, even color and resist a firm press from your thumbnail.
A dry, woody stem is another strong clue that the fruit finished growing on the vine.
Many experienced savers let their pumpkins sit indoors for two to four weeks before opening them. That extra rest gives the seeds time to mature a bit more inside the shell.
A cool room or garage works fine, as long as the pumpkin stays dry and away from freezing temperatures.
Your Virginia Garden Changes Every Week. Your Plan Should Too.
Gardening in Virginia changes quickly throughout the season. Every Friday you’ll receive a simple weekly plan showing exactly what to plant, prune, fertilize, harvest, and protect so you never miss the right timing.
Carving night changes the plan a little. Once you cut into a jack-o’-lantern, scoop the seeds that same day.
A carved pumpkin starts to soften and mold quickly, especially on a mild fall porch.
Fun fact for curious kids: a large carving pumpkin can hold several hundred seeds, which is far more than most families could ever plant. That means you can be picky.
Choose a healthy, good-looking pumpkin from a vine you liked, since strong parents give you the best shot at strong babies next season.
Rinsing Slimy Pumpkin Seeds In A Colander Goes Faster Than You Think
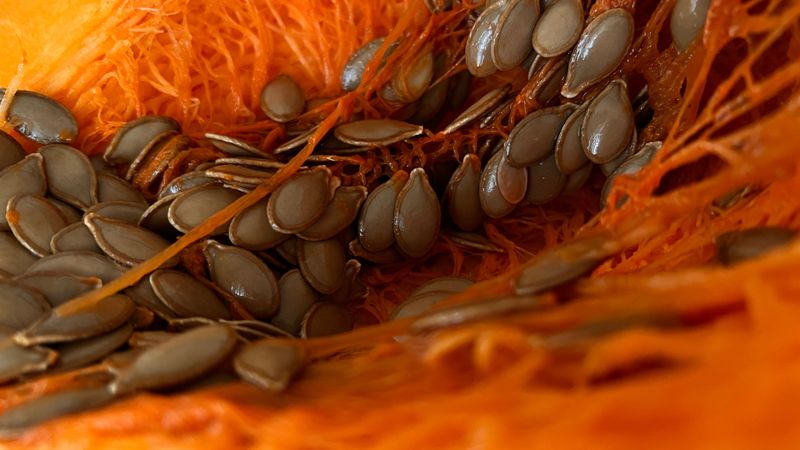
Grab a big bowl and roll up your sleeves, because this part gets gloriously messy. The stringy orange goo clings to every seed like it has nowhere else to be.
Start by scooping everything into a colander. Run cool water over the pile and pull the seeds free with your fingers.
A bowl of water helps too, since good seeds often settle while bits of pulp float to the top.
Some gardeners give their seeds a quick wash in mild soapy water, then rinse well. Either way, the goal is clean seeds with as little slime as possible.
Leftover pulp holds moisture, and moisture invites mold during drying.
Now play judge. Keep the biggest, fattest seeds that feel firm between your fingers.
Toss any that look flat, cracked, soft, or shriveled, because they rarely sprout well.
You do not need hundreds of seeds. A small home patch might use only a dozen or two, so save a generous handful and roast the rest.
Toasted pumpkin seeds with a pinch of salt make a pretty great reward for all that scooping.
One quick tip from experience is to keep pets close by but out of the bowl. A curious dog can clear a cookie sheet of seeds faster than you can say trick or treat.
A Few Weeks On A Drying Screen Keeps Pumpkin Seeds Mold Free
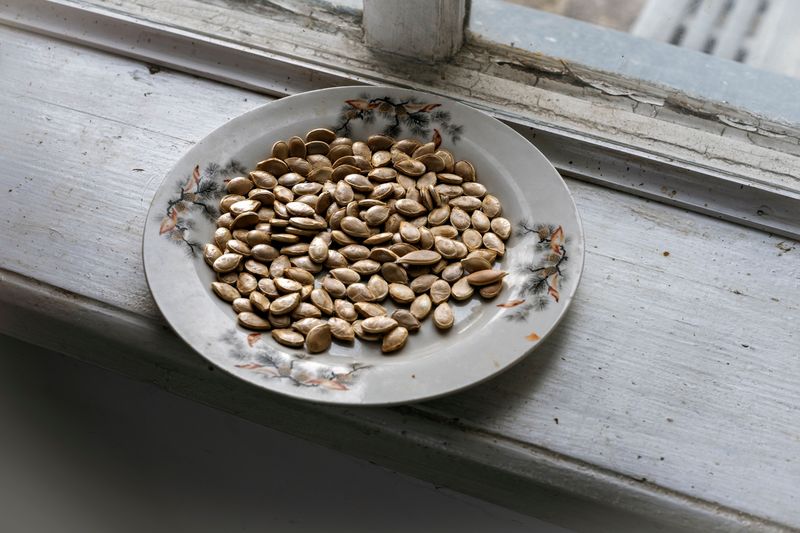
Drying is where seed saving succeeds or quietly fails. A seed can feel dry on the outside in a day, yet still hold plenty of water inside.
Spread your cleaned seeds in a single layer on a window screen, wax paper, or a plate. Paper towels work, but seeds sometimes stick to them, so check often.
Leave a little space between each seed so air can move around it.
Pick a cool, dry, airy spot out of direct sun. A spare room or kitchen shelf away from the stove does nicely.
Give the seeds a stir every day or two so every side gets a turn.
Plan on at least one week, and two to four weeks is even better. Fall humidity in many parts of the state can slow things down, so a small fan nearby can help on muggy days.
Skip the oven, since heat can damage the tiny plant inside each seed.
How do you know they are ready? Try the snap test on one seed.
A properly dried seed breaks cleanly when you bend it instead of folding like rubber.
Do one last sorting before storage. Pull out any seed with fuzzy spots, dark patches, or a musty smell, since one moldy seed can spoil a whole envelope.
Labeled Paper Envelopes Beat Plastic Bags For Storing Pumpkin Seeds
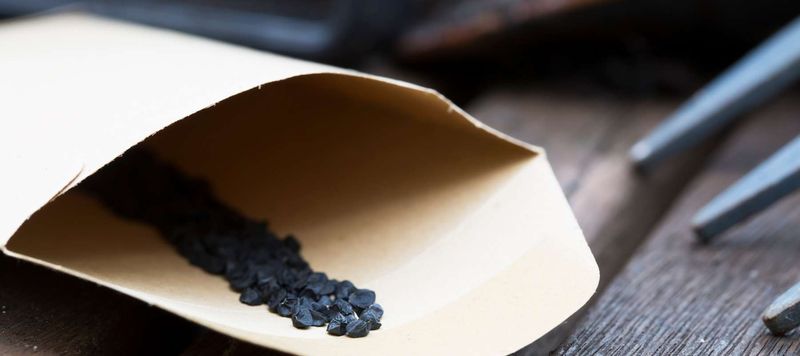
My first batch of saved seeds went into a zip bag, and by March it smelled like a gym locker. Lesson learned the hard way.
Paper envelopes let seeds breathe and help pull away any leftover moisture. Plastic bags tend to trap humidity, which encourages mold and rot.
Small coin envelopes or folded paper packets work great and cost almost nothing.
Write the details on every packet before you forget them. Include the variety name, the date you saved the seeds, and where the pumpkin came from.
A quick note like grocery store, maybe hybrid, will save you confusion next summer.
Store the envelopes somewhere cool, dark, and dry. A closet, basement shelf, or pantry corner is fine.
Some gardeners tuck the packets into a container in the back of the refrigerator, which keeps temperatures steady through winter.
A small packet of silica gel or a spoonful of dry rice in the container can soak up extra moisture. Keep the storage spot away from mice, too, because they find pumpkin seeds just as tasty as we do.
Stored well, pumpkin seeds often stay viable for four to six years. Germination slowly drops as they age, so plant a few extra seeds from older packets just in case.
Virginia Pumpkin Planting Dates Shift From The Blue Ridge To The Coast
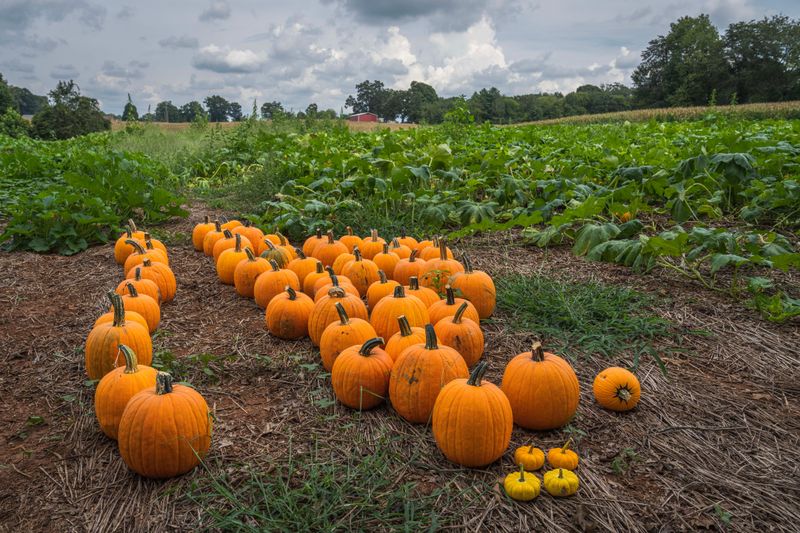
Timing is the secret most first-time growers miss. Plant too early and your pumpkins may rot on the vine by mid-September, long before anyone carves them.
Pumpkins are warm-season plants that need frost-free weather and soil near 70 degrees. Most carving varieties take about 90 to 120 days from seed to harvest.
Count backward from late October, and you land in early summer.
Virginia guidance generally breaks down by region. In the cooler mountains, aim for late May through mid-June.
Piedmont and Northern Virginia gardeners can plant from about mid-June into early July, while the warmer Tidewater area has a window from late June into mid-July.
Choose the sunniest spot you have, with at least six to eight hours of direct light. Pumpkins are heavy feeders, so mix several inches of compost or aged manure into the soil.
Clay benefits from that organic matter, and so do sandy coastal soils.
Plant three or four seeds about an inch deep in raised hills, then thin to the strongest two or three seedlings. Give each hill plenty of room, since vines can run 10 feet or more.
Water deeply at the base, about an inch or two per week, and try to keep leaves dry to discourage disease.
Squash Vine Borers And Powdery Mildew Love Pumpkin Patches Too
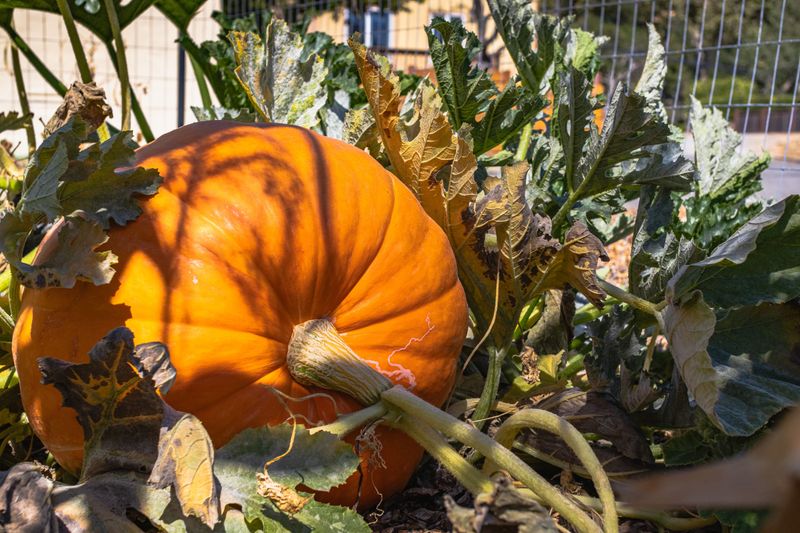
Nothing stings quite like a healthy vine that suddenly flops over on a July afternoon. Squash vine borers are a common reason, and they hit plenty of Virginia gardens.
The adult is a red and black moth that looks a bit like a wasp. It lays eggs near the base of the stem, and the larvae tunnel inside.
Look for wilting leaves and sawdust-like frass near the soil line.
Squash bugs and striped or spotted cucumber beetles also show up regularly. Cucumber beetles can spread bacterial wilt, so check leaves and flowers often.
Hand-picking squash bugs and scraping their bronze egg clusters off leaf undersides helps a lot in a small patch.
Later in summer, powdery mildew coats leaves in white dust. It is extremely common by August, and downy mildew can be a bigger issue in the humid Tidewater region.
Good spacing, morning watering at the base, and resistant varieties keep problems smaller.
Clean up vines and fallen fruit after harvest. Old plant debris gives several pests and diseases a cozy place to spend the winter.
Planting in mid to late June, which lines up nicely with Halloween timing, may also help you miss some early cucumber beetle pressure. Your local Extension office can identify mystery bugs for free.
Next Fall’s Jack-O’-Lanterns Pass The Thumbnail Test On The Rind
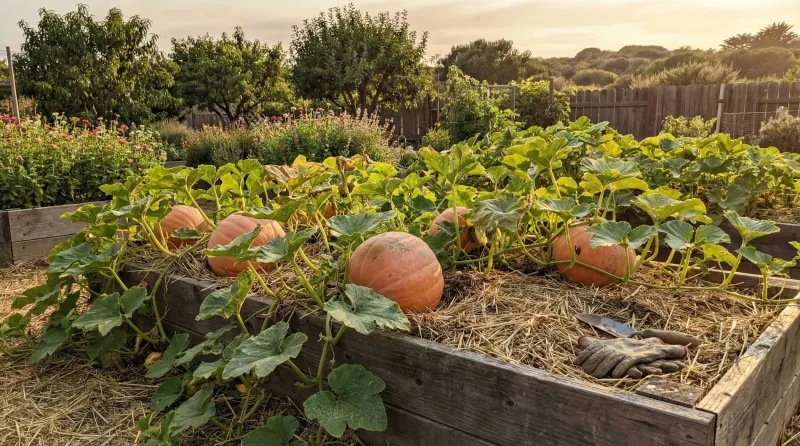
Picture-perfect pumpkins earn their spot on the porch through one simple test. Press your thumbnail into the rind, and if it barely leaves a mark, you have a winner.
Ripe pumpkins also show full, even color and a stem that has turned dry and corky. The vine nearby may be fading by then, which is normal.
Harvest before a hard frost, since cold can damage the fruit and shorten its life.
Use sharp pruners or a knife and leave three to four inches of stem. Resist the urge to carry pumpkins by the stem, because a broken handle invites rot.
A short cure in a warm, dry spot for about a week toughens the skin.
A board or a thick layer of straw under developing fruit earlier in summer helps too. Keeping pumpkins off damp soil reduces soft spots on the bottom.
Then the fun loop begins again. Pick your favorite pumpkin of the year, maybe the roundest or the one with the best color, and set it aside for seed saving.
Over a few seasons, choosing the best fruit each fall can help shape a strain suited to your own garden.
Share extra seeds with neighbors, too. A homegrown jack-o’-lantern tastes a little sweeter when it started on your kitchen counter.