The Simple Curing Step That Makes Sweet Potatoes Taste Sweeter
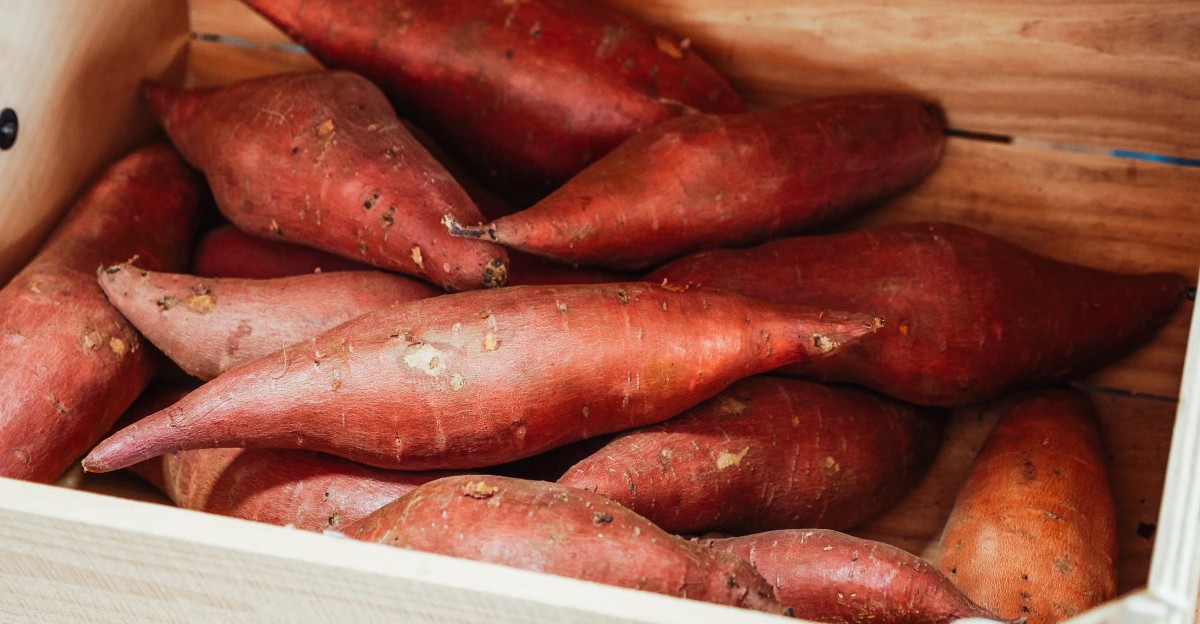
A freshly dug root from your garden can taste bland, starchy, and a little disappointing on day one.
Give it a week in a warm, steamy spot, and the flavor changes in a big way. Hidden enzymes wake up and start turning starch into sugar. The skin even patches its own scrapes with a waxy, cork-like layer.
I love how this feels like a small kitchen miracle that happens before you ever turn on the oven. You did the hard work of planting, weeding, and digging. Now the harvest wants a few quiet days of rest.
I learned this the hard way after roasting a batch straight from the soil, and it tasted more like a plain potato than a holiday treat. So what happens during those warm, humid days, and how can you copy it at home without fancy gear?
Those Freshly Dug Sweet Potatoes Are Not Ready For Dinner Yet
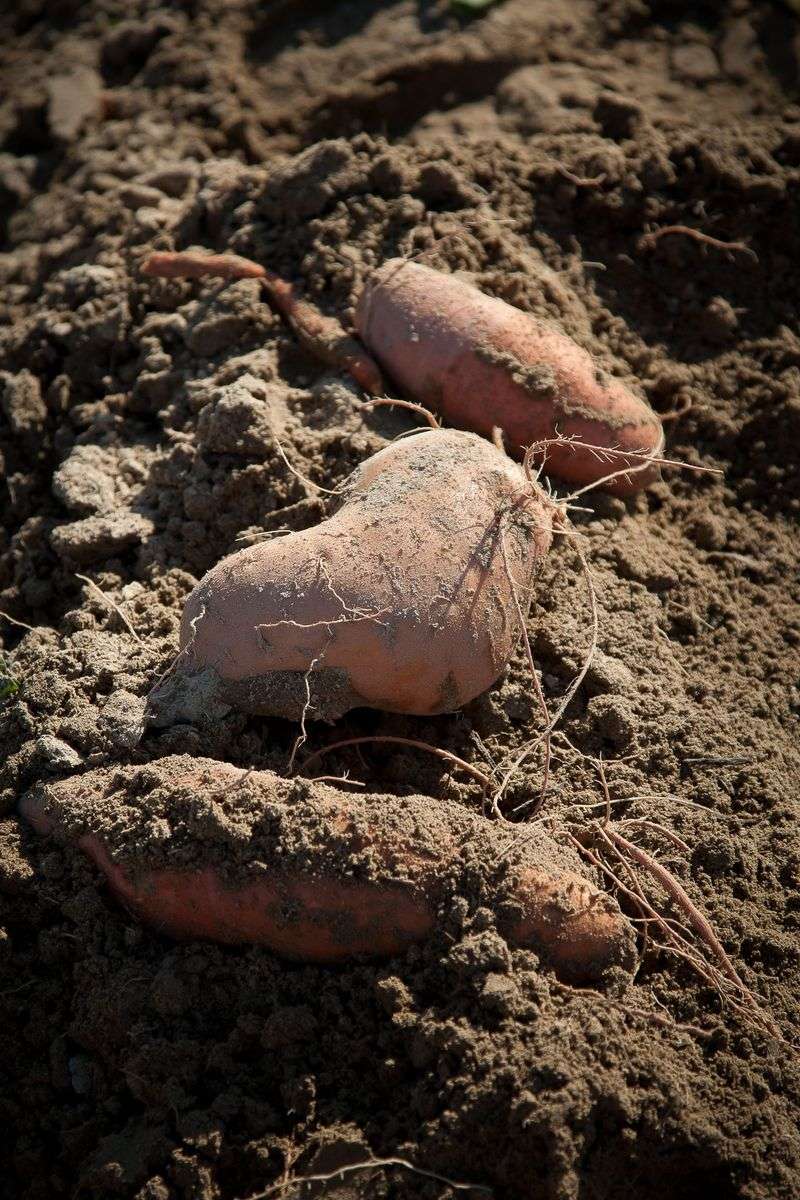
Plenty of gardeners get a surprise the first time they roast a sweet potato right out of the ground. The texture can feel dry, and the flavor tastes oddly flat.
Sweet potatoes are not naturally at their sweetest at harvest. Inside each root, most of the energy is stored as starch, not sugar. That starch waits for the right conditions before it changes into something tastier.
Fresh roots also have thin, tender skin. Digging leaves tiny scrapes, nicks, and bruises, even when you work slowly. Those small wounds let moisture escape and give mold and rot an easy way in.
So the problem has two parts. The roots need more sweetness, and they need protection. One simple step handles both jobs at the same time.
Extension experts at schools like North Carolina State University and the LSU AgCenter call this step curing. Farmers have relied on it for generations, and commercial growers still cure almost every crop before it reaches stores.
I find it comforting that the fix is so low-tech. You do not need chemicals or special tools. Mostly, you need warmth, moisture, a bit of patience, and a willingness to wait about a week before that first bite.
Warm, Humid Rest Turns Sweet Potato Starch Into Sugar
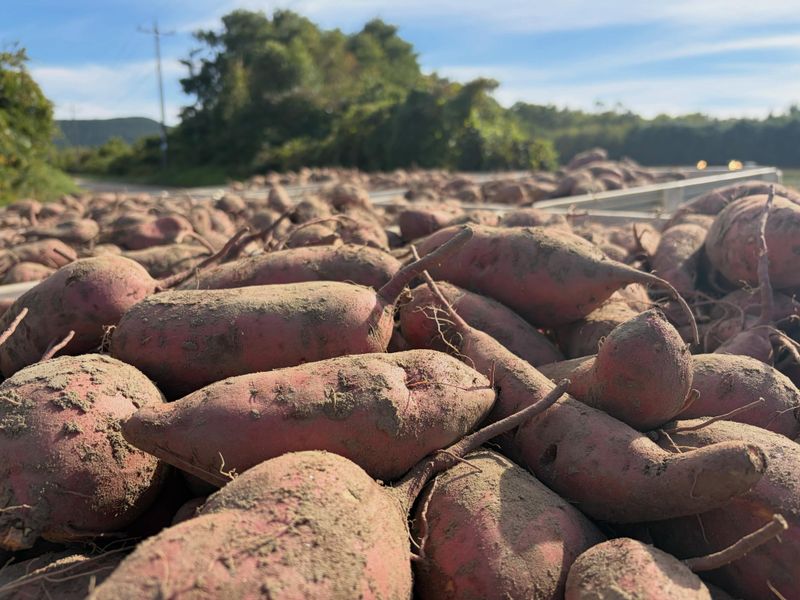
Curing sounds fancy, but it really means giving your sweet potatoes a cozy, tropical vacation. Keep them warm and humid for several days right after harvest.
During that time, natural enzymes called amylases get busy. They break down starch into sugars, mostly maltose. Cooking boosts that process even more, which is why a cured sweet potato tastes rich and candy-like after roasting.
Curing also improves texture. Cured roots usually bake up moister and creamier, while uncured ones can seem dry or stringy. Many cooks notice a stronger, more pleasant aroma too.
Meanwhile, the skin starts healing. The root forms a fresh layer of cork cells over scrapes and coats them with suberin, a waxy material. Think of it like a natural bandage that seals in moisture.
Research has also linked curing and proper storage to higher carotenoid levels over time. Carotenoids are the pigments that give orange sweet potatoes their bright color.
Here is my favorite part. Those healed roots can store for months instead of just weeks. Under ideal conditions, some last close to a year, which means homegrown sweet potato pie in late winter.
Aim For About 85 Degrees And Steamy Air For Your Curing Sweet Potatoes
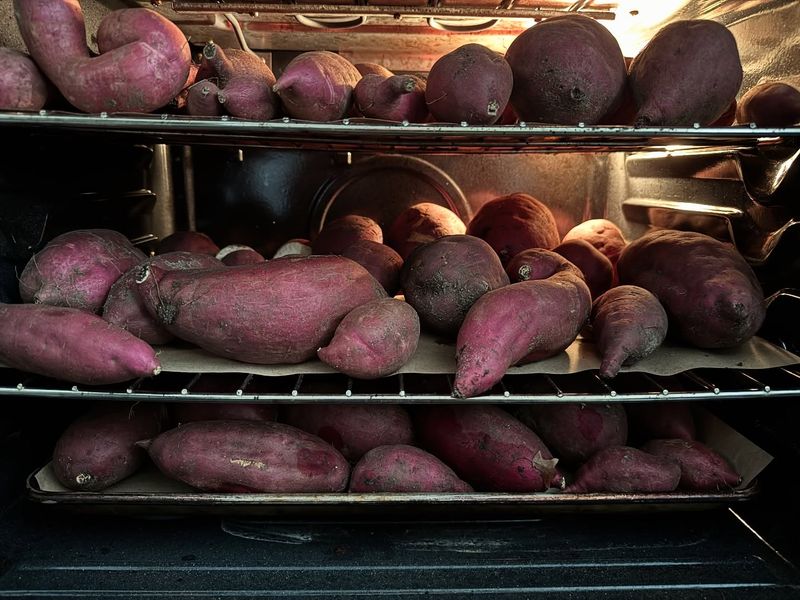
Numbers matter here, so grab a cheap thermometer and humidity gauge if you have them. They take the guesswork out of curing.
Most university guides recommend temperatures between 80 and 90 degrees Fahrenheit. Many point to about 85 degrees as the sweet spot. Relative humidity should stay high, roughly 80 to 90 percent.
Plan on curing for about 5 to 10 days. At the cooler end, around 80 degrees, the process runs slower, so stretch it to 10 to 14 days.
Airflow is the quiet hero. Without some ventilation, moisture can collect on the skins and invite mold. Carbon dioxide can also build up in a tightly closed space. A small fan running on low or a few gaps in your setup usually solves that.
Start curing as soon as possible after digging. The fresher the wounds, the better the healing works.
I like to check my setup once or twice a day, just like peeking at bread dough while it rises. If the air feels cool or dry, add warmth or moisture. If you spot droplets pooling on the roots, open things up for better air movement.
Put Down The Hose And Brush That Garden Soil Off Gently
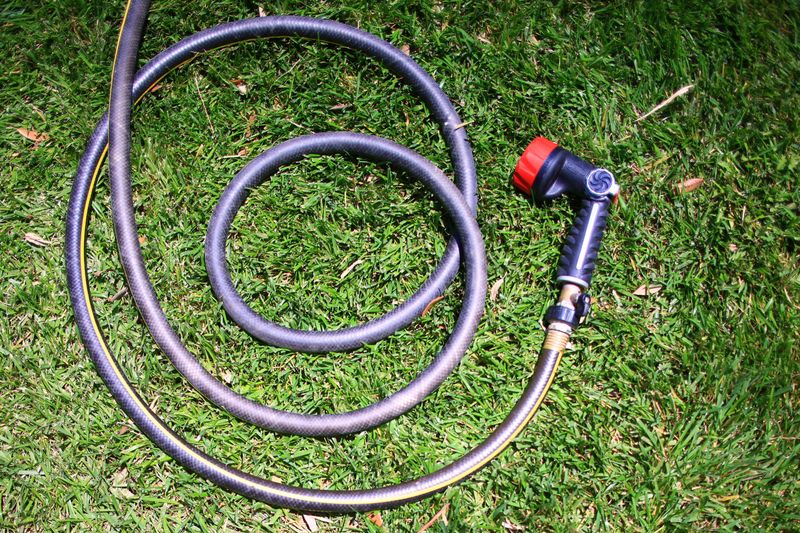
Washing seems like the tidy thing to do after harvest. For sweet potatoes, it causes more trouble than it solves.
Water can scuff that delicate young skin and leave the roots damp. Damp, damaged skin gives fungi and bacteria a welcome mat. That can shorten storage life by a lot.
Instead, let the roots dry on the soil surface for an hour or two if the weather is dry and mild, since longer sun exposure can scald the skin. Then gently rub or brush off loose clumps of dirt. A little soil left behind is perfectly fine.
Handle every root like a carton of eggs. Avoid tossing them into buckets or stacking heavy piles. Each bump creates bruises that may turn soft or dark later.
Sort as you go. Set aside badly cut, cracked, or insect-damaged roots and eat those first, since they rarely store well.
My own trick is to dig with a garden fork placed well away from the plant crown. Sweet potatoes can spread farther than you expect, and a stray stab ruins a beautiful root. Slow digging feels tedious, but your future self will thank you every time you pull a perfect spud from storage.
A Space Heater And Humidifier Can Turn A Spare Room Into A Curing Spot
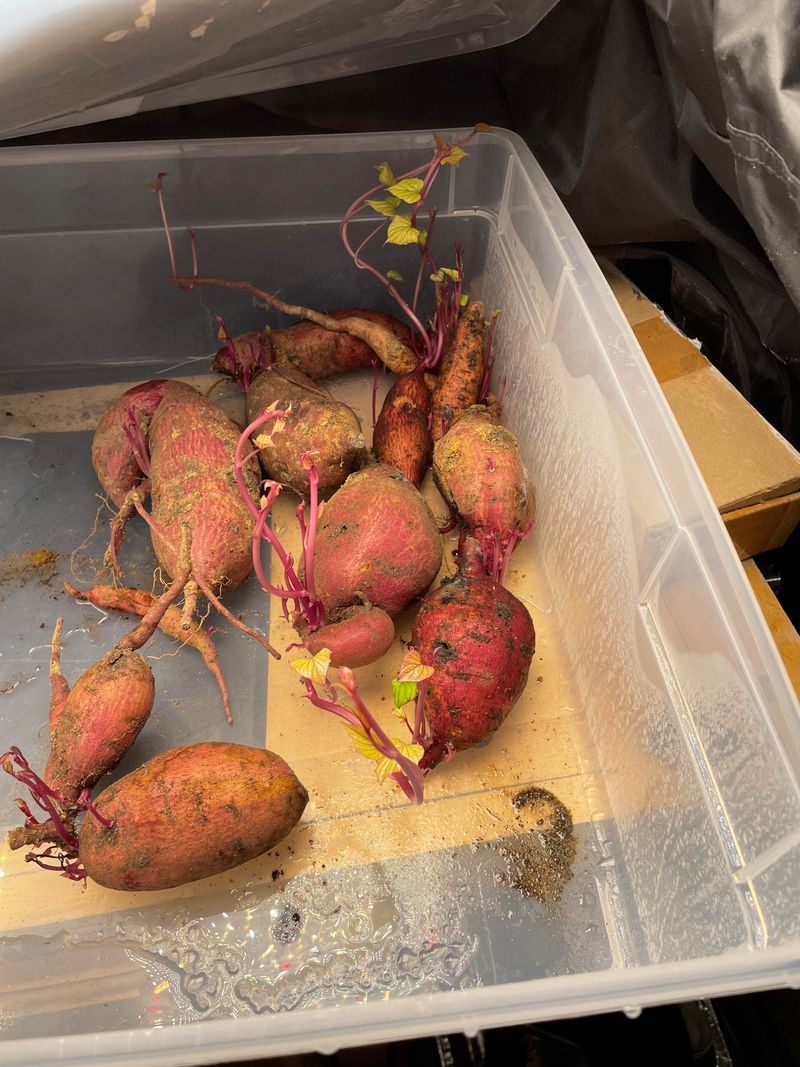
Commercial farms use special curing houses, but you can fake one with stuff you may already own. A small room, closet, or bathroom works surprisingly well.
Set a space heater on low to hold the temperature near 85 degrees. Add a humidifier to keep the air moist. Spread the sweet potatoes in a single layer on shelves, trays, or racks so air reaches every side.
Safety comes first, so follow your heater’s instructions carefully. Keep it away from cardboard, cloth, and anything that could catch fire. Never leave an unsafe setup running unattended.
Greenhouses are another great option in early fall. Pans of water or a heavily watered floor raise the humidity nicely. Just make sure the space stays warm overnight, since temperatures can drop fast after sunset.
Grow tents are handy too. Their enclosed walls hold heat and moisture, especially with a small humidifier nearby.
Honestly, I think a tiny bathroom with the door closed is underrated. It is small, easy to warm, and naturally holds moisture. Just remember to keep a little airflow going so the roots stay dry on the surface while the air around them feels steamy.
Milk Crates And Damp Towels Work Great For Small Sweet Potato Harvests
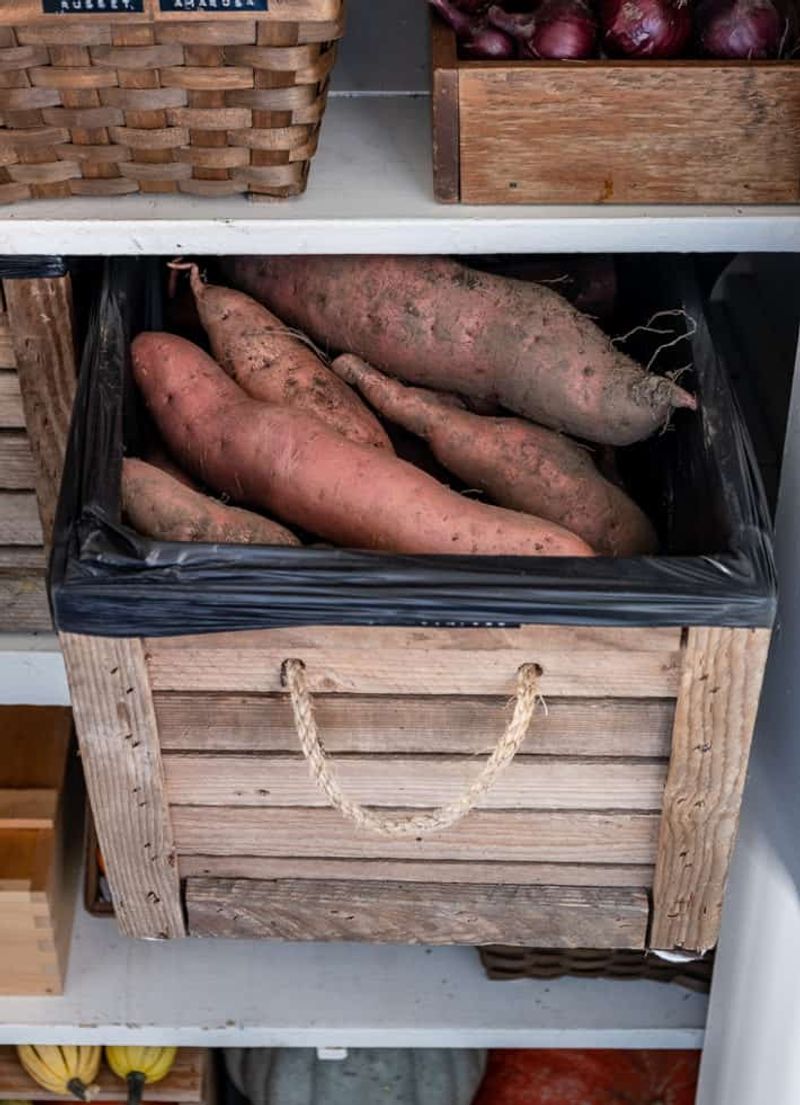
Got just a few plants in a raised bed? A small harvest calls for a small, clever setup.
Milk crates are a favorite trick among home gardeners. Lay sweet potatoes in a single layer inside the crate, then drape a damp towel over the top. The open sides let air flow, while the towel holds in moisture.
Place the crate somewhere warm and shady, like a garage in early fall. Check the towel daily and dampen it again if it dries out. Keep it moist, not dripping.
Burlap sacks topped with a moist towel can work the same way. Perforated plastic bags are another choice. Poke several holes in the bag, tie it shut, and set it in a warm spot to create a mini greenhouse effect.
Watch closely if you use plastic bags. Too much trapped moisture can lead to mold, so open them if condensation builds up.
I adore this method because it feels like a science fair project with tasty results. Kids enjoy helping too. Let them lift the towel each day and look for signs of trouble, like soft spots or fuzzy growth.
Keep Cured Sweet Potatoes Out Of The Fridge After Curing Ends
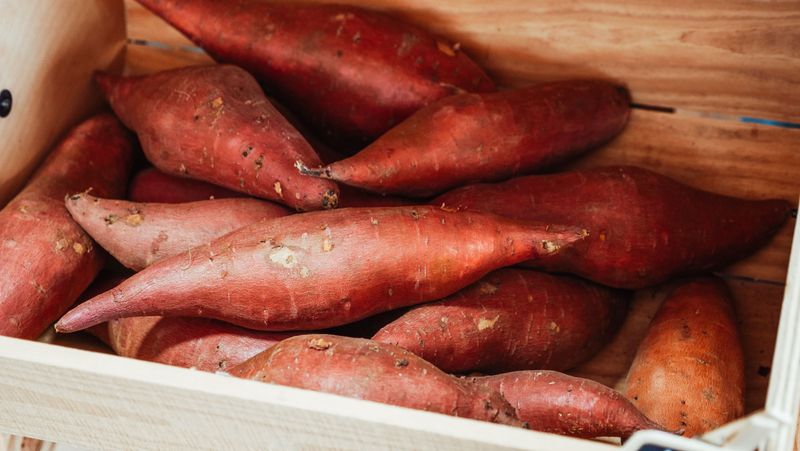
Once curing wraps up, your sweet potatoes need a whole new climate. Warm and steamy worked before, but now cool and calm wins.
Store cured roots at about 55 to 60 degrees Fahrenheit with fairly high humidity, around 80 to 90 percent. A dark, well-ventilated spot keeps them happiest. Think of an unheated spare room, a cool closet, or a basement corner that stays mild.
Skip the refrigerator. Temperatures below about 50 to 55 degrees can cause chilling injury. That damage may show up as discolored flesh, hard centers after cooking, and strange flavors.
Too much warmth causes problems as well. Storage above roughly 60 to 65 degrees for long stretches can trigger sprouting, shriveling, and dry, pithy flesh.
Wrapping each root in newspaper or tucking a few into paper bags helps at home. Paper buffers temperature swings and holds a bit of moisture without trapping it.
Check your stash every couple of weeks. Pull out anything soft or moldy so it does not affect its neighbors. I keep a small basket by the kitchen door for roots that need eating soon, which makes meal planning easier.
Patience Pays Off When You Finally Roast That First Cured Sweet Potato
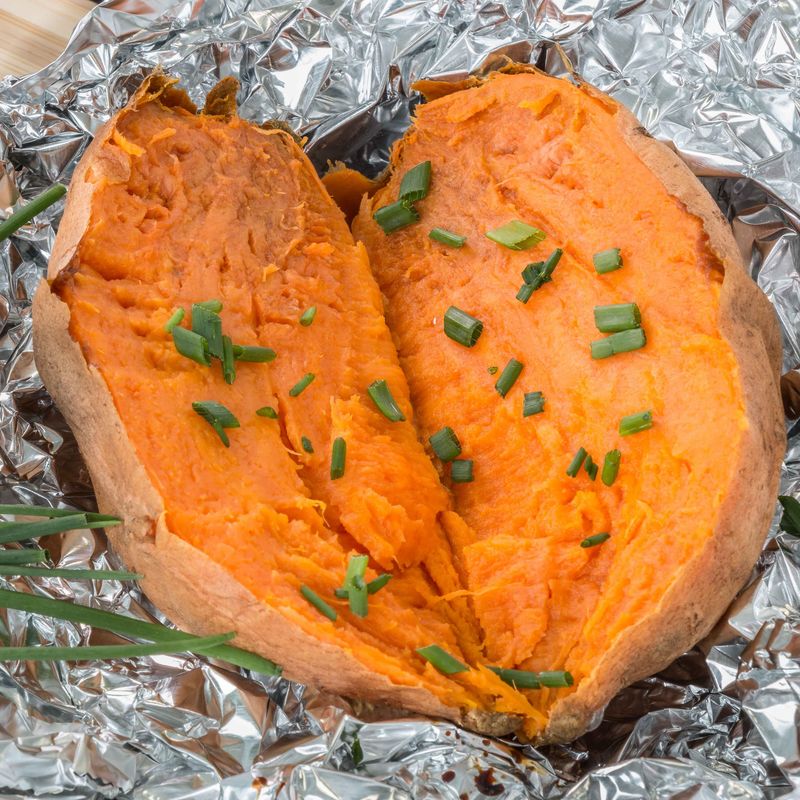
After all that waiting, the payoff tastes worth it. Roasting a cured sweet potato brings out sticky, caramel edges and deep, sweet flavor.
Many growers even suggest waiting a few extra weeks in storage before eating. Sugar development can keep improving after curing, so flavor often peaks later. Some gardeners save their best roots for Thanksgiving for this reason.
Slow cooking helps too. Baking at a moderate temperature gives those enzymes more time to convert starch into sugar before heat stops them. Microwaving works in a hurry, but the result is often less sweet.
For next season, jot down a few notes. Record your harvest date, curing method, temperatures, and how long the roots stored. Those notes help you fine-tune your setup year after year.
Fun fact for your next dinner party: sweet potatoes are not true potatoes at all. They belong to the morning glory family, while regular potatoes are related to tomatoes.
My biggest takeaway is simple. Digging is only halfway to the finish line. Give your harvest a warm week of rest and a cool home afterward, and you will taste the difference in every forkful.