Texas Azalea Tasks To Do In Fall To Protect Next Year’s Blooms
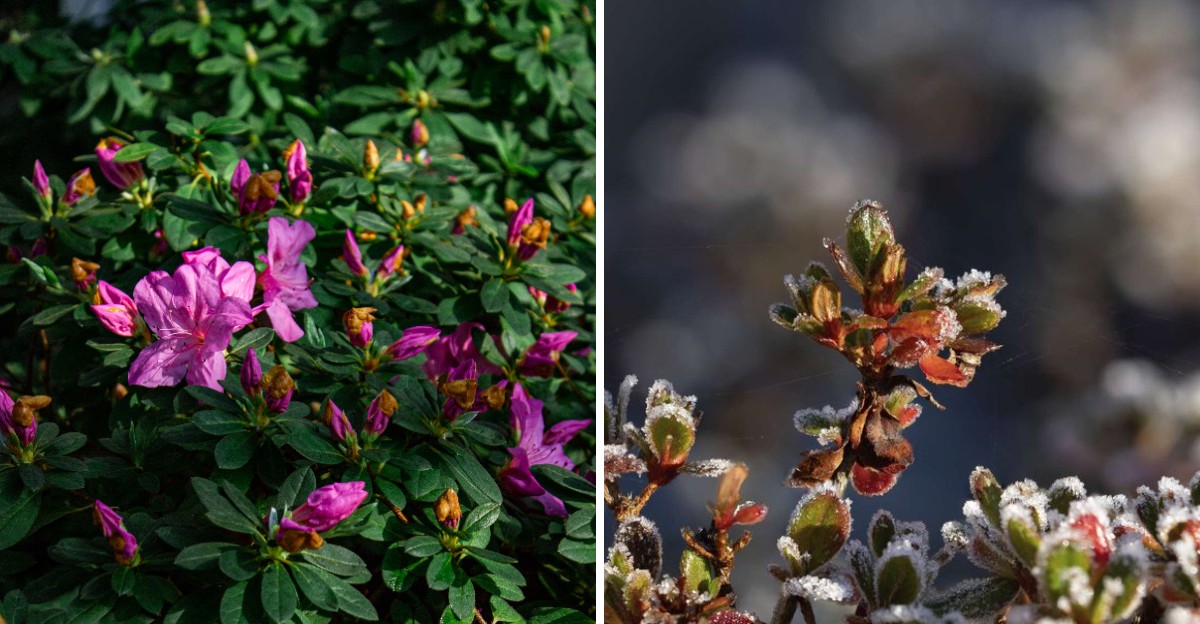
Next spring’s flowers are already tucked inside fat little buds at the tips of your shrubs this very minute. Those buds formed back in late summer, long before most of us started thinking about cooler weather.
I find it fascinating that a single careless snip in October can erase a whole season of color. Plenty of Texas gardeners learn that lesson the hard way, staring at bare green branches every April.
The way I see it, autumn is the backstage season when the spring show gets set up. Cooler air across Texas finally gives tired roots a chance to grow and recover after brutal summer heat.
You might be surprised by how small and easy most of these chores feel once you actually get started.
So which simple fall habits make the biggest difference for those blooms waiting patiently inside every bud?
1. Hold Off On Pruning Your Azalea Branches
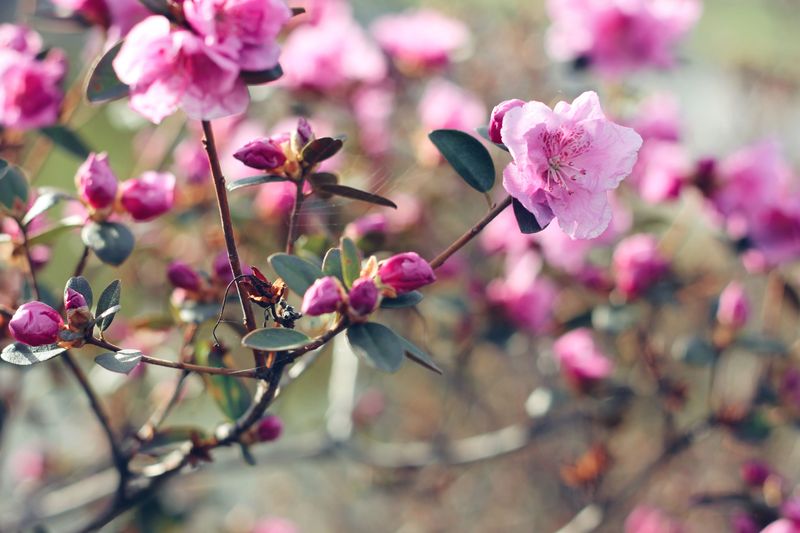
Those plump buds at the end of every azalea twig hold next spring’s entire flower show, packed and waiting. One quick trim with the hedge shears right now can send that show straight to the compost pile.
Most spring-blooming azaleas set their flower buds during mid to late summer, shortly after the new growth matures. By fall, those buds are fully formed, so any branch you cut takes its future flowers along with it.
I have a soft spot for tidy shrubs, but I tolerate a little shagginess this time of year. A few wild shoots sticking out now look far better than a shrub with no flowers next spring.
The best window for shaping is right after the spring blooms fade, usually by late spring or early summer. Cutting then gives the plant plenty of time to grow fresh stems and set new buds before fall.
Small fixes are still fine, though, so go ahead and remove broken limbs or branches that look clearly diseased. Clip those back to healthy wood with clean, sharp pruners to keep problems from spreading through the shrub.
Reblooming types like the Encore series follow slightly different rules, since they often flower again in the fall season. Even so, their growers suggest pruning soon after the spring flush ends, not while fall buds are opening.
Late pruning also triggers tender new shoots, and those soft stems often struggle when the first cold front arrives. Keep the shears in the shed for now, and your patience will pay off come spring.
2. Water Thirsty Azalea Roots During Dry Fall Spells
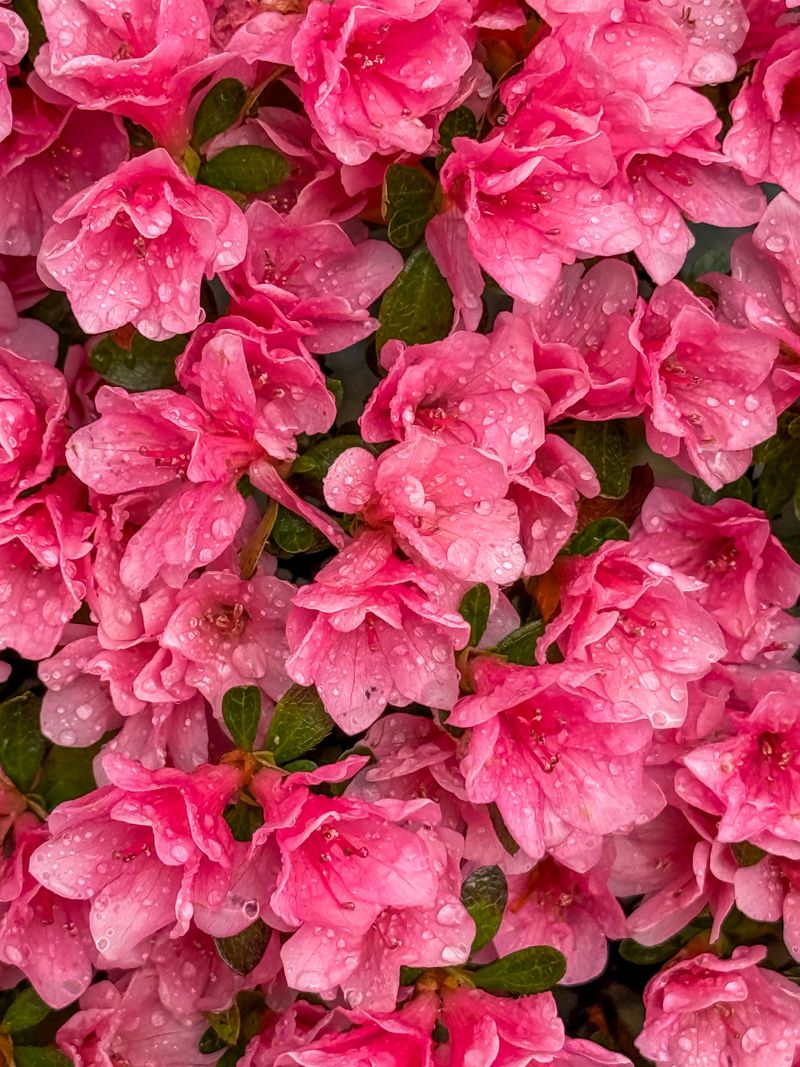
Azalea roots are surprisingly shallow, often hugging the top foot of soil like a fine, tangled mat of hair. That shallow mat dries out fast, and a parched shrub heading into winter is a shrub asking for trouble.
Fall rain can be wonderfully generous one year and frustratingly stingy the next across much of Texas. Check the soil with your finger every few days, and water when the top inch or two feels dry.
I’m a big fan of slow, deep soaking with a soaker hose instead of a quick sprinkle. Deep watering encourages roots to spread out, while light splashes mostly wet the mulch and evaporate before helping much.
Established shrubs usually do well with a thorough drink every week or ten days when the weather stays dry. Newly planted azaleas need closer attention, since their small root balls dry out much faster than the surrounding soil.
Here’s something worth knowing about freezes, too, because well-watered plants often handle cold snaps better than thirsty ones. Moist soil holds more warmth than dry soil, so a good soaking before a predicted freeze can help.
Too much water causes its own problems, since azaleas dislike soggy feet and can develop root rot in heavy soil. Aim for soil that feels like a wrung-out sponge, which means damp to the touch but not dripping.
Try watering early in the morning so leaves dry quickly and fungal problems have less chance to settle in. Your future flower buds depend on steady moisture now, even if the shrub looks perfectly calm on the surface.
3. Spread Pine Straw Mulch Around Azalea Roots
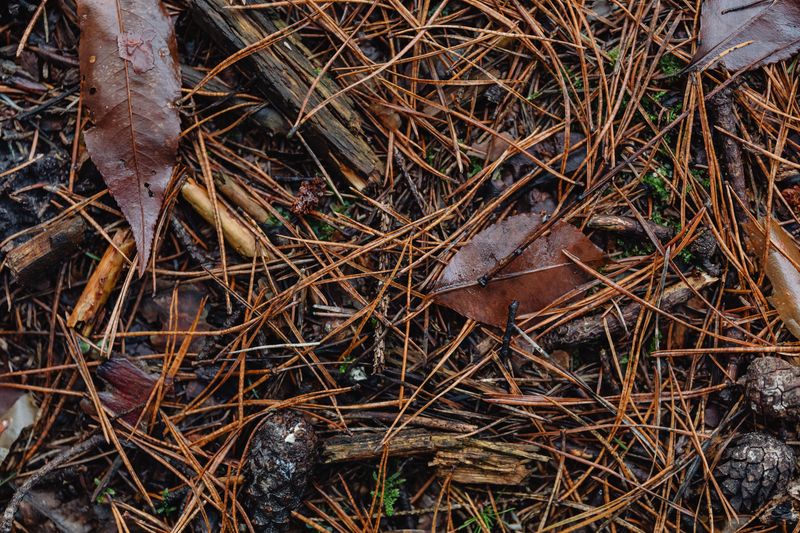
Pine straw makes any garden bed look finished, with its warm copper color and soft crunch underfoot. Azaleas love it too, because it shields their shallow roots from both summer heat and winter chill.
Most experts suggest a mulch layer of about two to four inches around azaleas, refreshed as it breaks down. Fall is a smart time to top it off, since last year’s layer has likely thinned under summer sun.
Shredded pine bark works nicely too, and chopped oak leaves from your own yard make a free option. As these materials slowly break down, they add organic matter that helps loosen heavy clay over time.
Keep the mulch pulled back a couple of inches from the main stem so the bark stays dry. Mulch piled against the trunk holds moisture there, which invites rot and gives chewing pests a cozy hiding spot.
I’m always surprised by how much mulch helps during fall dry spells, when soil underneath stays noticeably cooler and damper. It also blocks many weed seeds, so fewer greedy competitors steal water from those shallow azalea roots.
Spread the mulch out to the edge of the branches or beyond, since roots often reach farther than expected. A narrow ring around the stem looks neat but leaves most of the root zone exposed to temperature swings.
You might find it hard to believe, but simple pine needles can soften the blow of a sudden freeze. That small buffer keeps roots steadier, which helps the whole plant carry its buds safely toward spring.
4. Skip Late Fertilizer On Your Azalea Shrubs
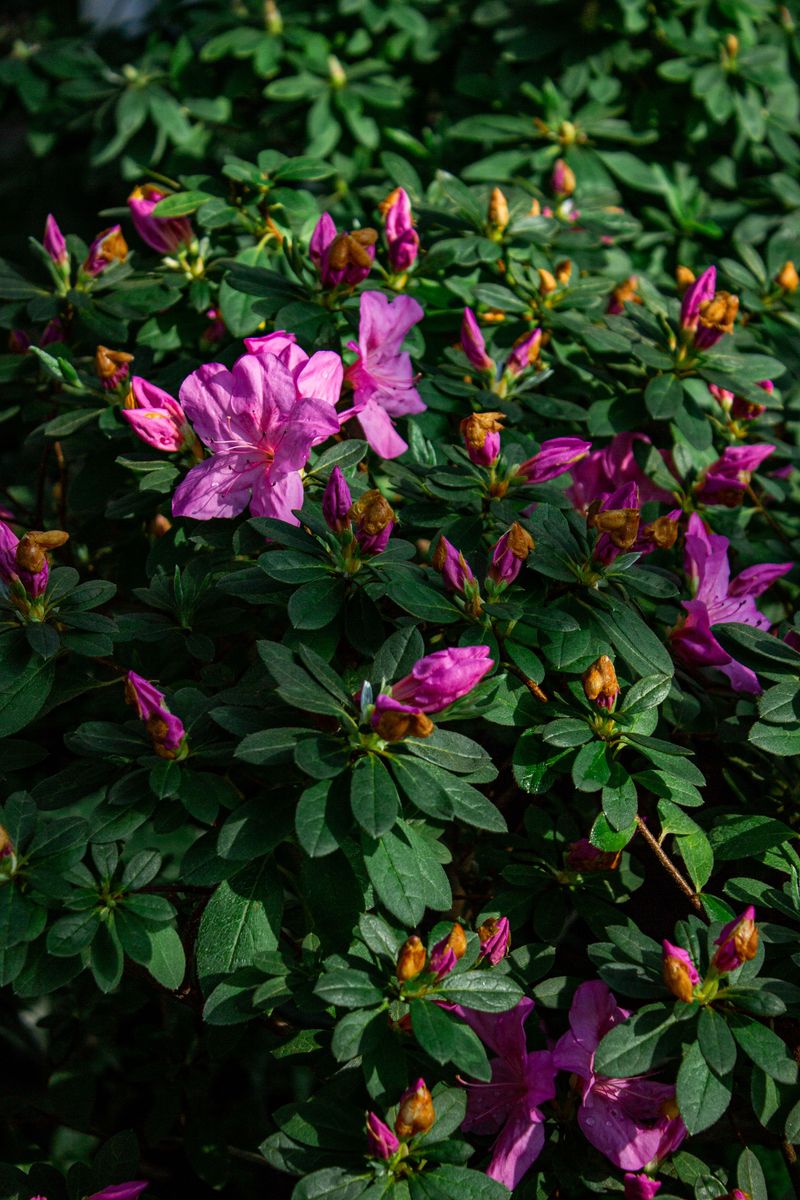
Feeding a plant feels kind, but azaleas often read fall fertilizer as a loud and confusing wake-up call. Extra nitrogen now can push soft new shoots right when the shrub should be slowing down for winter.
Those tender shoots have little time to toughen up before cold nights arrive, so frost damage becomes much more likely. Worse still, the plant spends energy on leaves instead of protecting the flower buds it already worked to build.
Most extension guides recommend feeding azaleas soon after they finish blooming in spring, then stopping by midsummer. A slow-release fertilizer made for acid-loving plants usually gives them a steady, gentle supply without sudden growth spurts.
Established shrubs in decent soil often need surprisingly little fertilizer at all, especially if you mulch with organic material. I wouldn’t necessarily say fertilizer is a bad idea, but guessing at a shrub’s needs rarely ends well.
Fall is a great season for a soil test, available through your county extension office for a modest fee. The results show which nutrients are actually missing, so spring feeding becomes a targeted plan instead of a guess.
Yellow leaves with green veins usually point to iron chlorosis, a common issue when azaleas grow in alkaline soil. Adding more general fertilizer rarely fixes that problem, because the real culprit is soil pH blocking iron uptake.
Save your fertilizer bag for spring, and let your shrubs settle into their natural fall slowdown without interruption. Your restraint now means sturdier stems and a bud set that stays safely intact through the colder months ahead.
5. Acidify Alkaline Soil Around Your Azalea Beds
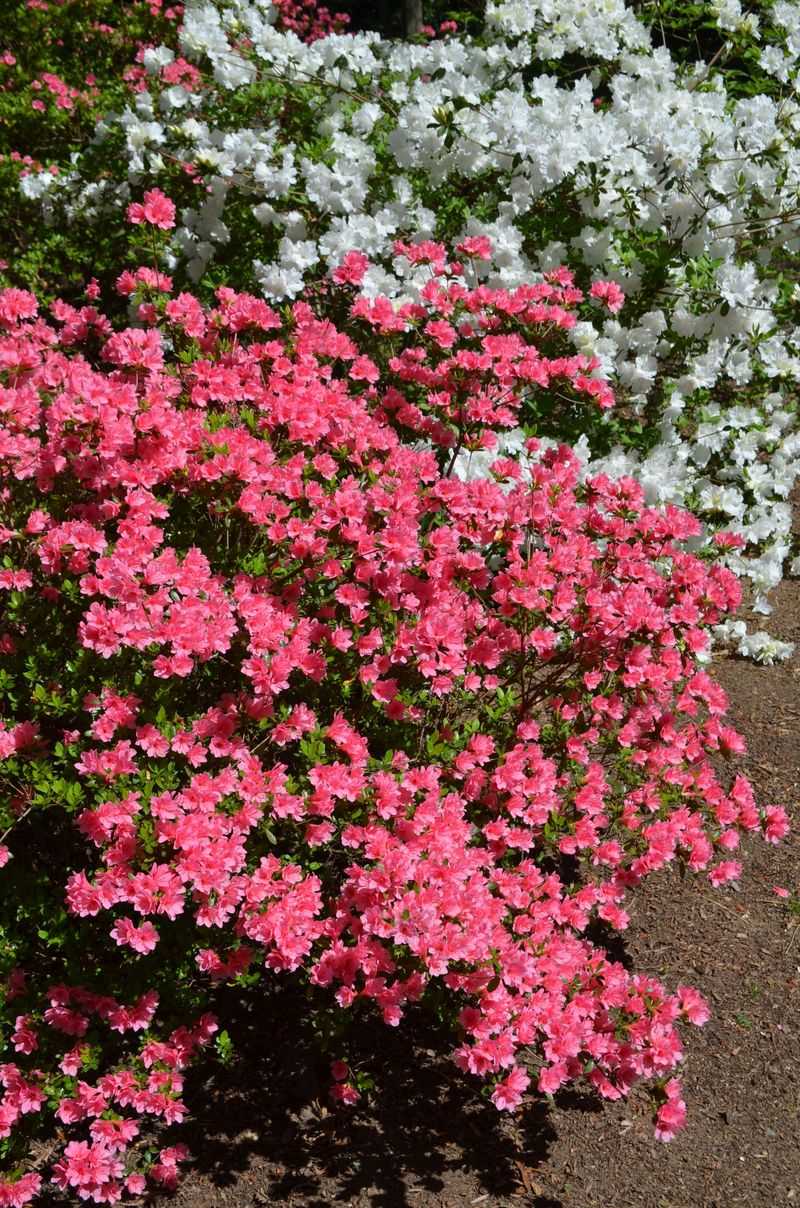
Azaleas are picky eaters, and their biggest demand is soil with a strong acidic tang that many yards lack. Much of central and western Texas sits on limestone, which leaves soil naturally alkaline and tough for these shrubs.
Texas A&M AgriLife recommends a pH of about 5.0 to 5.5 for azaleas, which is quite acidic for most gardens. When pH climbs higher, roots struggle to absorb iron, and leaves turn yellow between the veins.
A soil test tells you where you stand, and fall gives amendments time to work before spring growth begins. Sulfur needs warm, moist soil and soil microbes to change pH, so results usually take several months to appear.
Elemental sulfur is a common choice, but follow label rates carefully, since too much can burn roots. Small, repeated applications spread over time are usually safer than one big dose dumped around the shrub all at once.
What I find interesting is how much organic matter helps, even though it changes pH only a little. Pine bark and composted pine needles improve drainage and keep the root zone loose, which azaleas truly appreciate.
Watering with alkaline tap water can slowly push pH back up, which is a sneaky issue in many towns. Collecting rainwater in a barrel gives you a softer option for your acid-loving plants during dry fall stretches.
In very alkaline areas, raised beds filled with an acidic planting mix often work better than fighting native soil. You can see why many gardeners take that route and simply enjoy healthier shrubs with far less frustration.
6. Inspect Azalea Leaves For Lace Bugs And Spider Mites
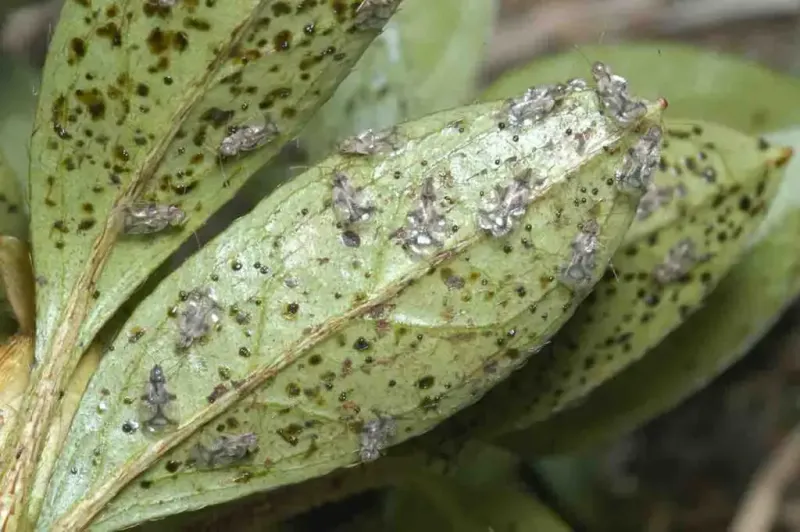
Flip over an azalea leaf and you might find tiny black specks, like someone dotted it with a pen. Those dark, varnish-like spots are droppings from azalea lace bugs, one of the most common pests on these shrubs.
Lace bugs suck sap from the undersides of leaves, leaving the top surfaces speckled with pale, bleached-looking dots. Heavy feeding makes foliage look washed out and gray, which weakens the plant as it heads toward winter.
Spider mites cause similar stippling, so check for fine webbing and tiny moving specks when you shake a branch. Tapping a leafy stem over white paper is an easy trick, since mites show up as crawling dots.
I could be wrong, but plenty of weak bloom seasons get blamed on weather when pests were the real culprits. Stressed foliage feeds the plant less energy, and that shortfall can show up as fewer flowers next spring.
A strong spray of water knocks many mites off, and insecticidal soap works well when it contacts the pests directly. Coat the leaf undersides thoroughly, since that’s where both lace bugs and mites like to hide and feed.
Watch for fungal leaf spots too, especially after humid stretches, and rake up fallen infected leaves from under the shrub. Morning watering at the soil line instead of overhead sprinkling helps keep leaves drier and less inviting to disease.
Shrubs growing in full afternoon sun often suffer more lace bug damage than those enjoying a bit of filtered shade. If problems keep returning, your local extension office can help identify the pest and suggest a sensible control plan.
7. Cover Azaleas With Frost Cloth Before Hard Freezes
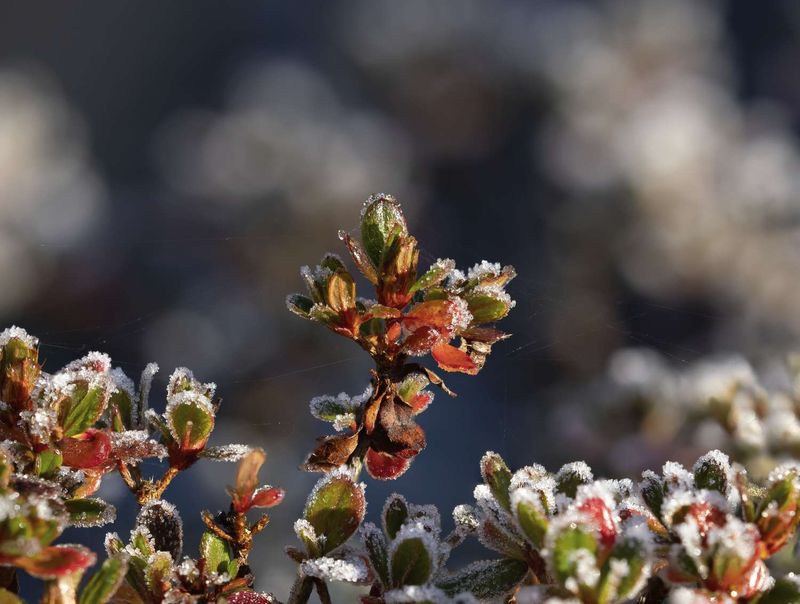
Remember the February 2021 freeze, when single-digit temperatures reached parts of Texas that rarely see more than a light frost? Many azaleas pulled through, but plenty lost branches and buds that could not handle the shock.
Most popular azaleas handle typical winters in much of the state, yet extreme cold snaps can still cause trouble. Flower buds are often more tender than leaves, so a hard freeze may cost you blooms even when shrubs survive.
Keep frost cloth or old bedsheets handy now, so you are not scrambling when a sudden cold front appears. Avoid plastic touching the leaves, because it transfers cold directly and can trap moisture that freezes on foliage.
Drape covers all the way to the ground and weigh down the edges with bricks or rocks. That trick traps warmth rising from the soil, which matters more than simply covering the top of the shrub.
A few stakes create a simple tent, keeping fabric from pressing down and snapping budded branches. Remove the covers once temperatures climb above freezing the next day, so the shrub does not overheat under them.
Potted azaleas face extra risk, since their roots sit above ground and lose warmth much faster than plants in beds. Move containers into a garage or against a sheltered wall during the coldest nights, then return them afterward.
Don’t be surprised if a few leaves bronze or curl after a rough night, since that’s ordinary winter stress. Wait until spring growth begins before trimming anything, because damage often looks worse at first than it really is.
8. Plant New Azaleas In Cool Fall Weather
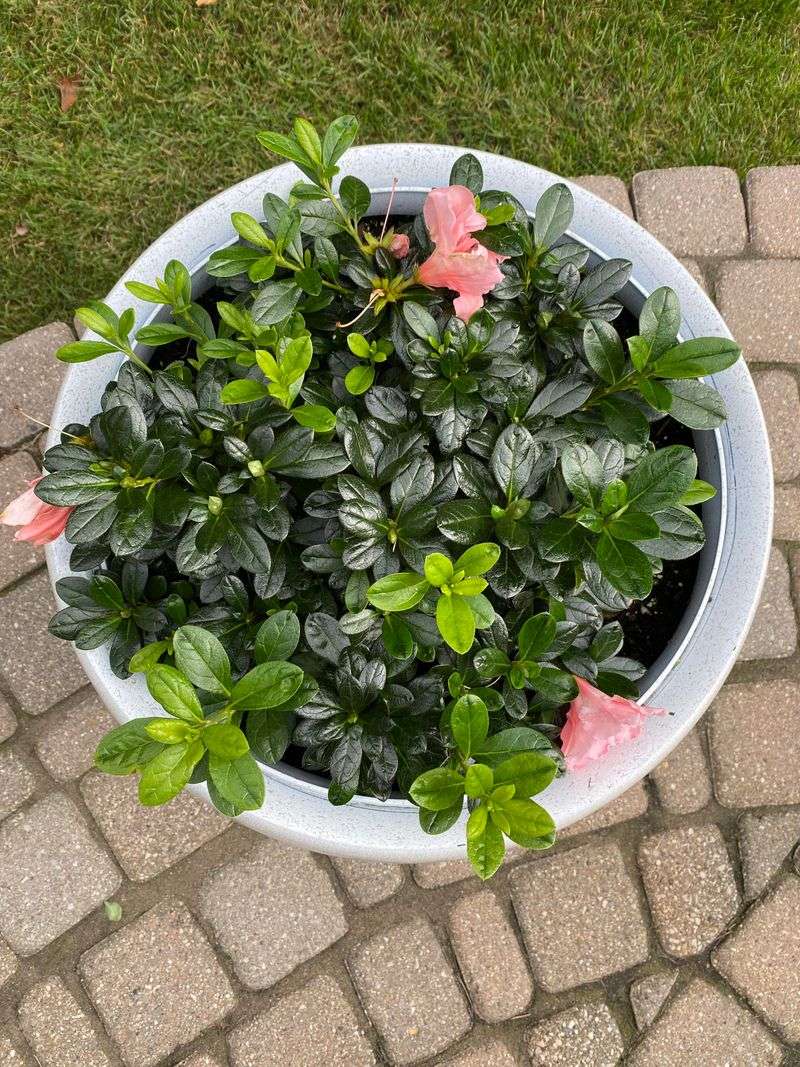
Garden centers often restock azaleas in fall, and that timing is no accident for gardeners in warm southern climates. Cooler air paired with still-warm soil lets roots grow steadily while the leaves face far less heat stress.
Spring-planted shrubs have only a few months before brutal summer heat arrives, which can leave young roots struggling. Fall planting gives them the whole winter and early spring to settle in before facing those blazing afternoons.
I can see why gardeners love this window, because a fall-planted shrub often looks noticeably stronger by its first summer. Choose a spot with morning sun and afternoon shade, ideally beneath tall pines or high-branched oaks.
Drainage matters enormously, since azalea roots rot quickly in soggy clay that holds water after every heavy rain. Many experts in East Texas and beyond suggest planting slightly high, with the top of the root ball above grade.
Loosen circling roots gently with your fingers before planting, because tightly bound root balls often refuse to spread outward. Backfill with native soil mixed with pine bark, then water deeply to settle everything around the roots.
Pick varieties suited to your area, such as Southern Indica types or proven rebloomers like the Encore series. The native Texas azalea, Rhododendron oblongifolium, is another lovely choice for shady, acidic spots in eastern areas.
Finish with a fresh layer of mulch, and keep new plants evenly moist through their first fall and winter. Come spring, you’ll have a shrub with established roots and a far better shot at a generous flower display.