8 Fall Azalea Tasks Pennsylvania Gardeners Should Do For Better Spring Blooms
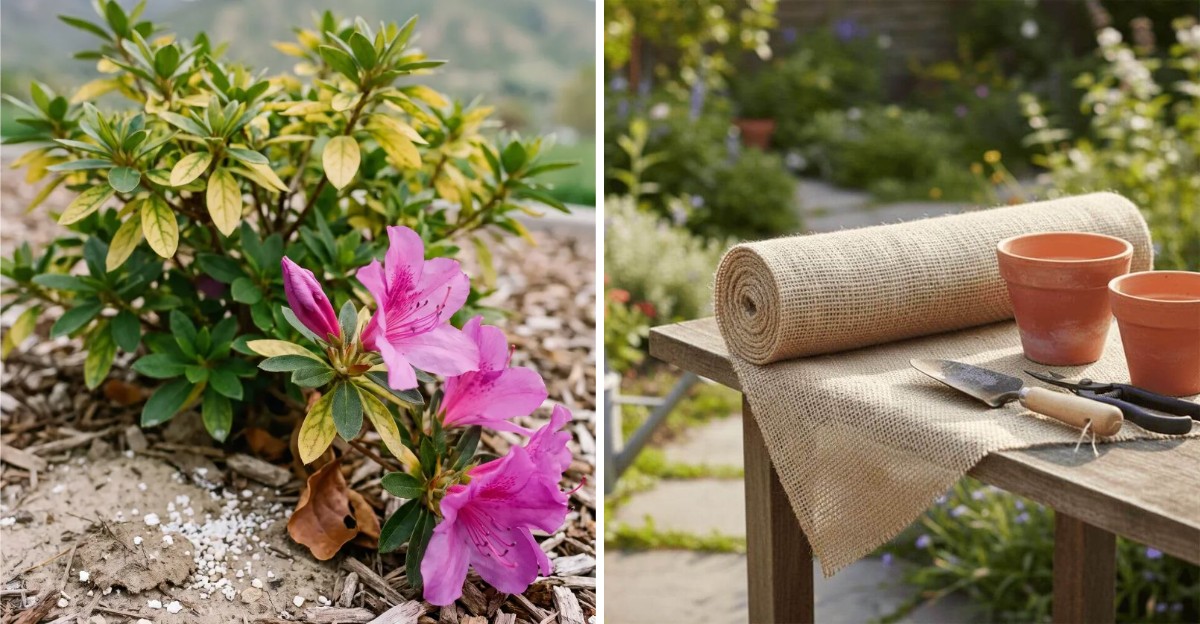
Next spring’s flowers are already sitting on your shrubs, tucked inside fat buds that formed back in late summer. I was surprised the first time I peeled one open and spotted tiny folded petals waiting for April.
That means the real work for a big spring show happens now, while gardens look sleepy and brown. Pennsylvania winters can be rough on shallow roots, especially when dry wind sweeps across bare hillsides.
After I tested a few simple fall habits, my own shrubs came back fuller and far less scorched. You might notice the same thing once you treat autumn as a setup season instead of a cleanup chore.
Some tasks take ten minutes, and one popular habit actually undermines you by snipping off next year’s color. Which Pennsylvania chores belong on your weekend list? The ones you finish before the ground freezes solid.
1. Water Azalea Roots Deeply Before The Ground Freezes
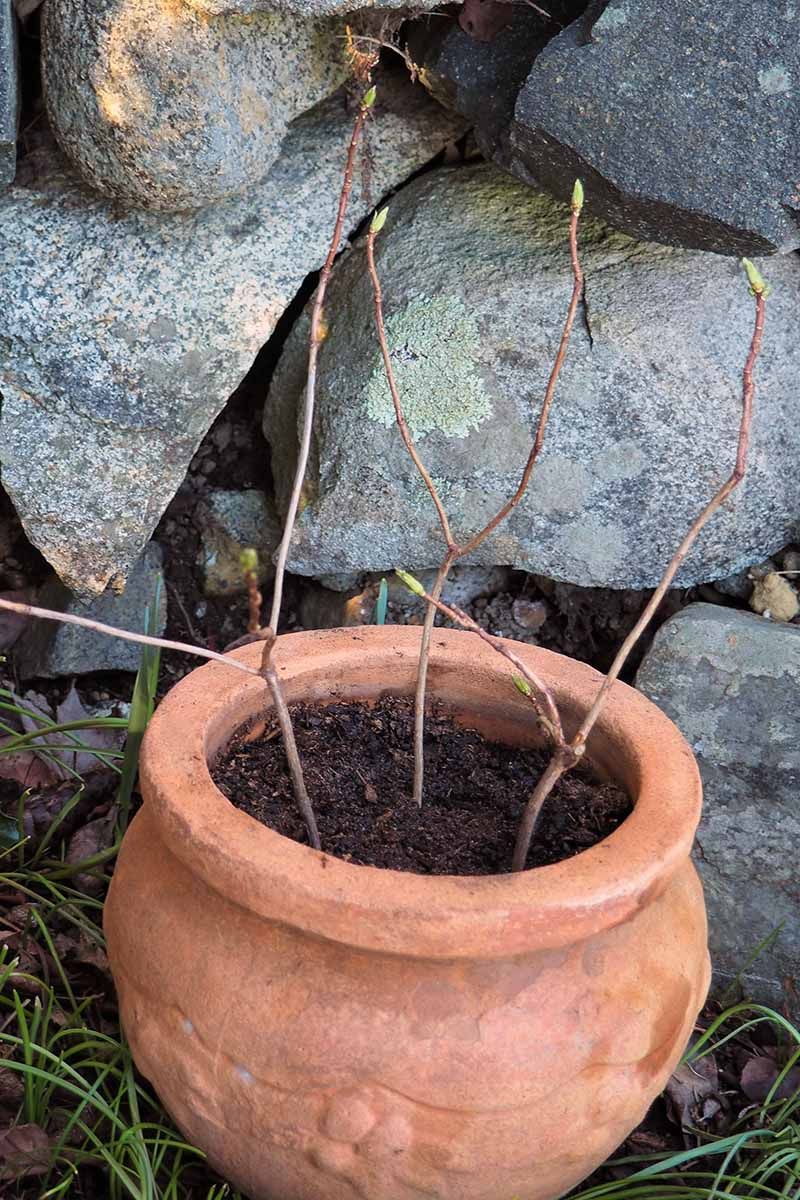
Evergreen azaleas keep their leaves all winter, and those leaves lose moisture even on frosty January afternoons. I learned this after a dry autumn left my shrubs with crispy brown edges by early March.
Their roots sit shallow, mostly in the top foot of soil, so they dry out faster than you expect. A thirsty plant heading into winter has no backup supply once the ground locks up with frost.
Aim for about one inch of water each week when autumn rain falls short in your area. A simple rain gauge stuck in the bed tells you quickly whether nature already handled the job.
Water slowly at the base with a soaker hose or a gently running garden hose for deep soaking. Quick sprinkles wet only the surface, while slow soaking reaches the roots where the real need sits.
Morning is the best time, because leaves and soil surfaces dry before cool evening air settles in. Damp foliage overnight invites fungal trouble, so keep the spray off the leaves whenever you can.
Newly planted shrubs need extra attention, often a drink every two or three days for the first month. Check by pushing a finger into the soil, and water again if it feels dry an inch down.
Keep going until the ground freezes, which often happens sometime in December across much of Pennsylvania. That last deep drink helps leaves stay plump through windy weeks when roots cannot pull up water.
2. Spread A Cozy Layer Of Pine Bark Mulch
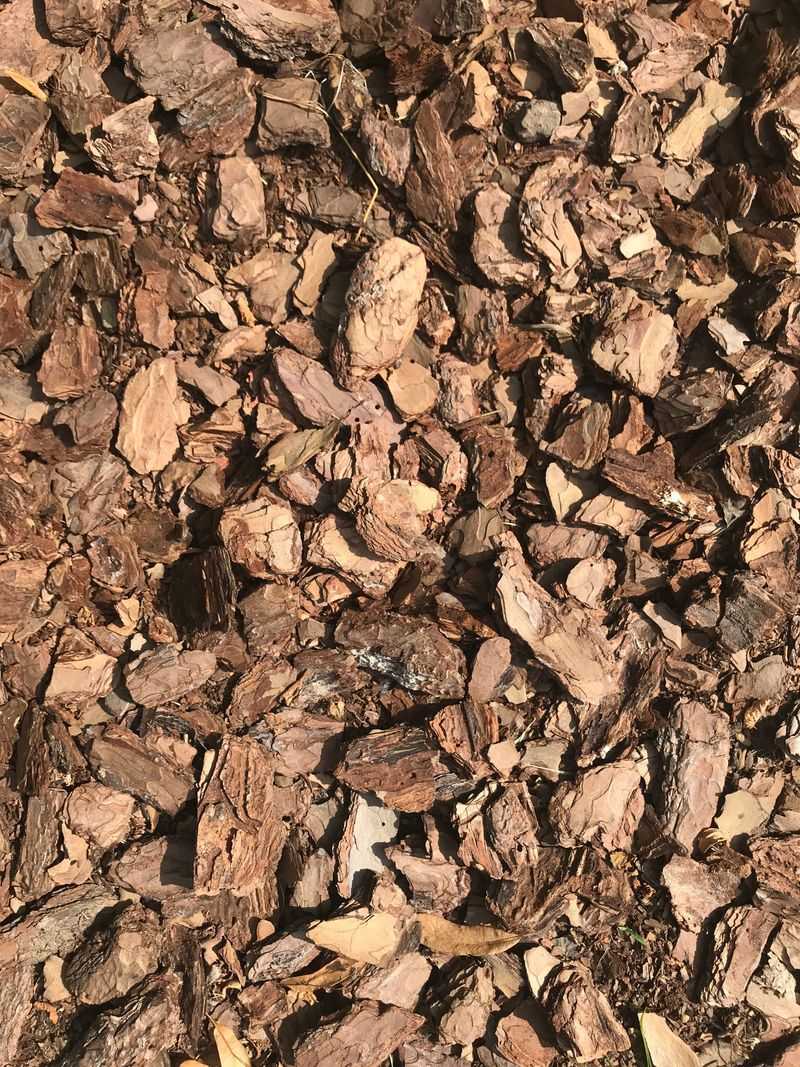
A blanket of pine bark around an azalea works like a wool hat on a cold winter morning. It holds warmth in the soil and slows the wild swings between thawing and freezing that heave roots.
That is a real concern in Pennsylvania, where winter temperatures can bounce above and below freezing for weeks at a time.
Spread two to four inches of organic mulch, like pine bark or shredded leaves, across the root zone. Pine needles also work nicely, and they let rain slip through without forming a soggy mat.
I like to extend the mulch out to the drip line, where the outer branches end. Roots spread wider than most people guess, so a skinny ring right at the trunk misses most of them.
Leave a gap of a few inches between the mulch and the stems to avoid trapped moisture. Mulch piled against bark can lead to rot and gives chewing critters a hidden spot to work.
Organic mulch slowly breaks down over time, adding helpful material to the soil as it softens. University extension experts agree azaleas love woodsy, organic soil, and mulch mimics that forest floor nicely.
Penn State Extension, for one, is a good resource for Pennsylvania gardeners who want local guidance on caring for acid-loving shrubs.
Wait until the soil cools a bit in mid to late fall before topping up the layer. Mulching too early can keep the ground warm and moist, which sometimes invites rodents to nest underneath.
You will also notice fewer weeds next spring, since mulch blocks light from many sprouting seeds. That means less pulling in April and more time admiring buds as they swell with color across Pennsylvania gardens.
3. Rake Up Fallen Azalea Leaves And Spent Debris
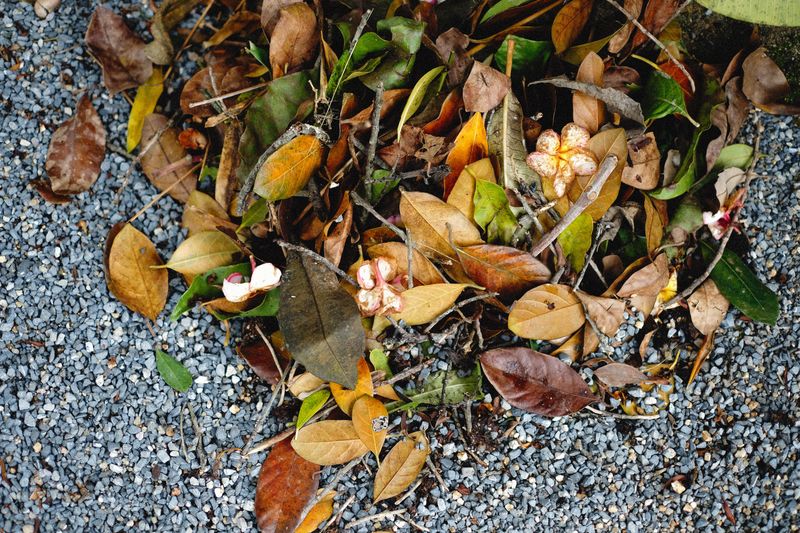
Those crunchy leaves piled under your shrubs might look harmless, but they can shelter troublemakers all winter long. I used to leave them as free mulch until a leafminer problem showed up two springs in a row.
Azalea leafminer caterpillars feed inside the leaves, then often pupate tucked within rolled or folded leaf edges. Raking up fallen, damaged foliage removes some of those hideouts before warm weather wakes them again.
Fungal spores behave in a similar way, waiting on old leaves and petals for rainy spring days. Leaf spot and petal blight both spread more easily when infected debris stays right under the plant.
Use a gentle hand rake or your fingers, since azalea roots sit close to the surface. Heavy metal rakes can tear those fine roots, which sets the shrub back right before winter.
Bag diseased material rather than tossing it into a cool home compost pile that may not heat up. Healthy leaves from nearby oaks can go back down later as mulch, which azaleas generally appreciate.
While you work, look closely at the undersides of leaves for speckling or tiny dark spots. Pale stippling often points to lace bugs, which you can mention to your county extension office.
A tidy base also lets you see the soil line clearly before you spread fresh mulch. Ten minutes of careful raking now saves you from squinting at chewed, spotty leaves next June.
4. Put Down The Pruners And Save Those Flower Buds
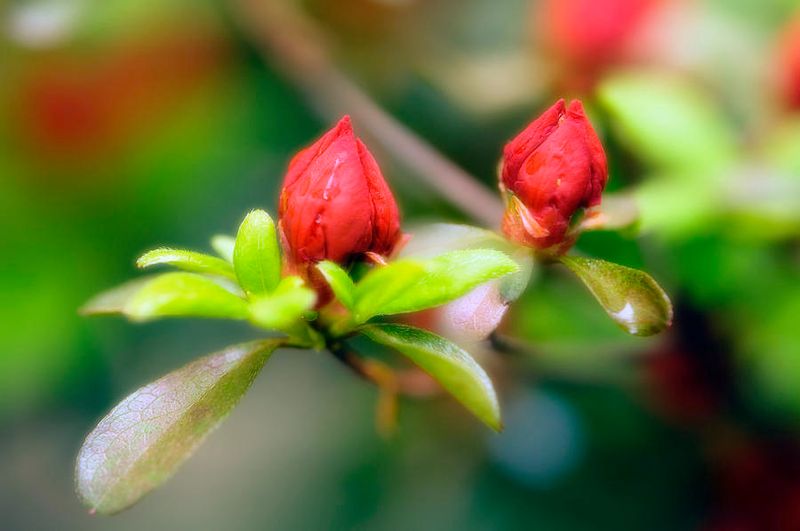
Every fat, rounded bud at the tip of an azalea branch holds next spring’s flowers already packed inside. Snip those tips now and you are basically tossing your April show into the yard waste bin.
Azaleas set their flower buds in late summer, mostly between July and September, according to many growers. By the time leaves start turning on the maples, those buds are formed and waiting for spring.
I confess I once gave my shrubs a neat fall haircut and got about five blooms the next year. Lesson learned, and now my pruners stay in the shed from August until the flowers fade.
The best time to prune is right after spring blooms drop, ideally finished by early July at latest. That timing gives the plant plenty of weeks to grow new shoots and set fresh buds.
You can tell flower buds from leaf buds fairly easily if you look closely this season. Flower buds are plump and rounded, while leaf buds look slimmer and more pointed along the stems.
There is one exception, since broken or diseased branches can be removed any time of year safely. Cut them back to healthy wood so the wound stays small and the plant can seal it.
Overgrown shrubs that block windows can wait a few months for a proper trim after flowering. Patience now pays off with branches loaded with color instead of a bare, tidy green shrub.
5. Skip The Fertilizer Bag Until Spring Arrives
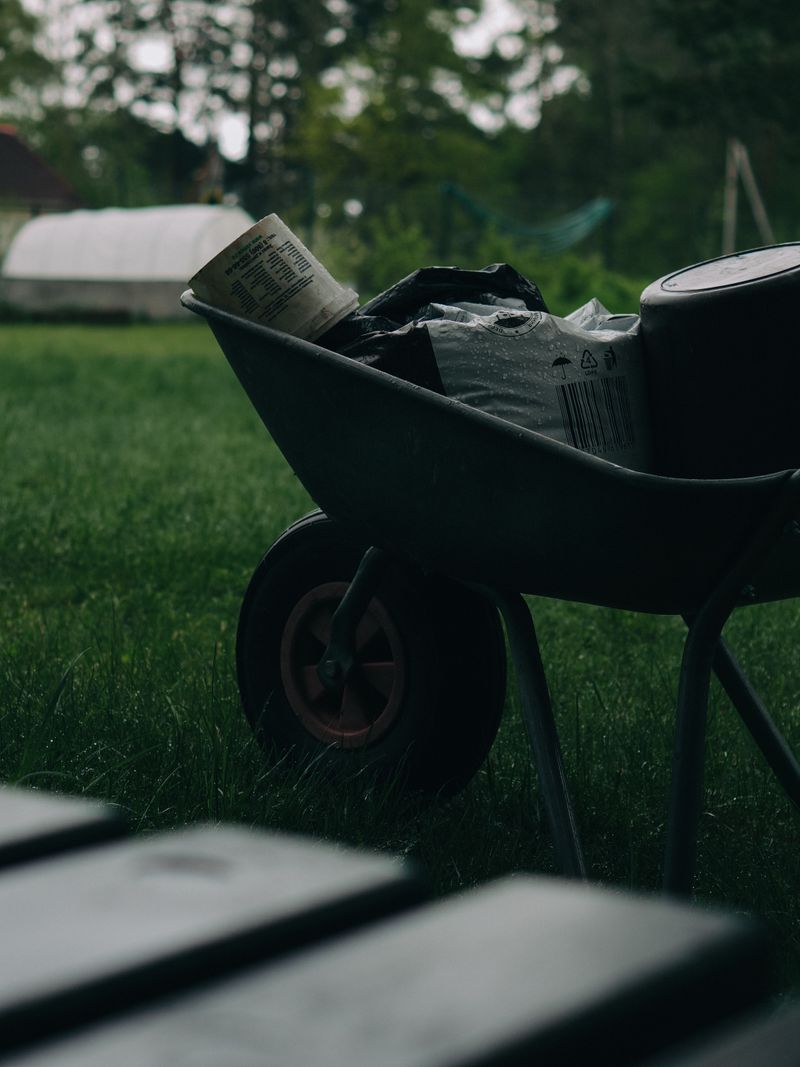
Feeding a hungry-looking azalea in October feels kind, yet it often does more harm than good. Fertilizer can push soft new shoots that simply have no time to toughen up before frost.
Gardeners call that toughening process hardening off, and plants need several weeks of cooling weather for it. Tender growth that misses the window often turns brown and mushy after the first hard freeze.
I admit the urge is strong when leaves look a little pale and tired in late summer. Still, I have learned to jot a note on my calendar and wait patiently for spring instead.
Established azaleas usually need very little feeding, especially when they sit under a thick organic mulch. As that mulch breaks down, it releases modest nutrients that match the plant’s slow, steady appetite.
When you do feed, choose a product made for acid-loving plants and follow the label carefully. Late winter or early spring, around the time buds swell, is the timing many extension experts recommend.
Yellow leaves with green veins can signal an iron issue tied to soil pH rather than hunger. Adding more fertilizer will not fix that problem, so a soil test is a smarter first step.
Think of fall as rest time, when roots grow quietly underground while the top settles down. Leaving the fertilizer bag closed lets your shrub focus on getting ready for a sparkling spring.
6. Wrap Burlap Screens Around Exposed Azaleas
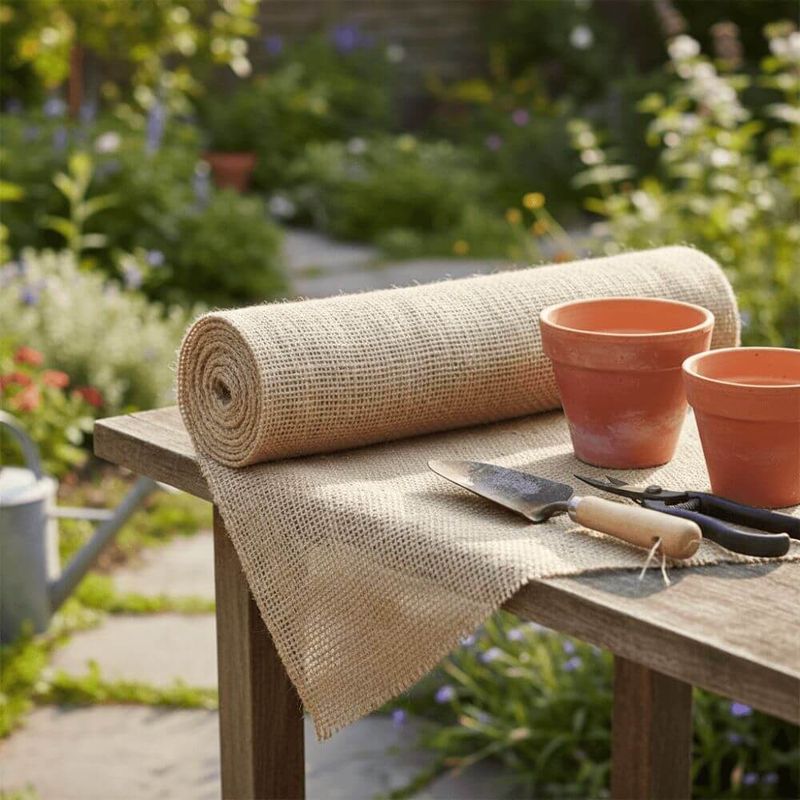
Winter wind can scorch evergreen azalea leaves as badly as any summer heatwave, just in slower motion. Leaves lose moisture to dry gusts while frozen roots cannot replace it, leaving brown, curled edges.
Gardeners in the colder Pennsylvania spots, roughly zones 5 and 6, tend to see this damage most often. Shrubs on open corners or windy hillsides also take more damage than ones tucked against a house.
A simple burlap screen makes a huge difference, and you can build one in an afternoon. Pound three or four wooden stakes around the shrub, then staple burlap to them like a little fence.
Leave space between the fabric and the leaves, because direct contact can rub or damage foliage. Keep the top open so light and air still reach the plant during sunny winter days.
Teepee frames help where heavy snow slides off roofs, since they shed the weight away from branches. I once lost a lovely limb to a roof avalanche before I started building these simple shields.
Potted azaleas are more exposed, because their roots sit above ground with little insulation around them. Move containers into an unheated garage or a sheltered spot near the house once nights turn cold.
Avoid wrapping plastic around shrubs, since it can trap heat on sunny days and cause problems. Remove the burlap in early spring once harsh winds ease, letting new growth stretch out freely.
7. Move Struggling Azaleas To A Better Spot
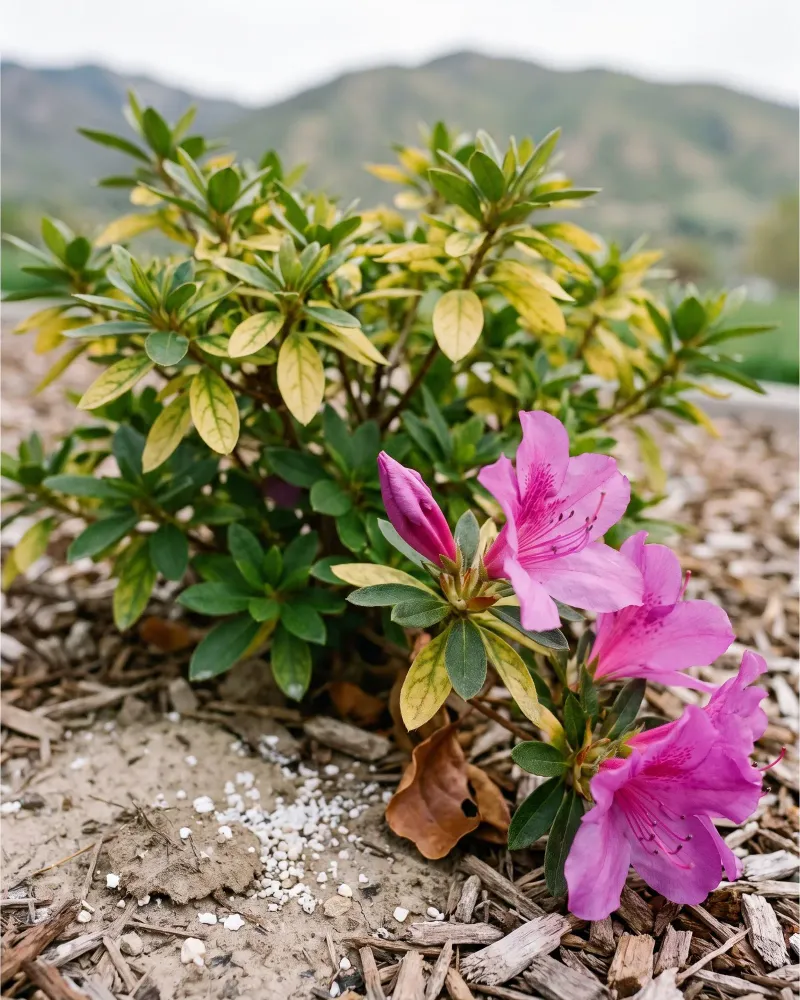
Early fall might be the sweetest moving day an azalea ever gets, with warm soil and cool air. Roots keep growing while the top rests, giving the shrub a head start before the ground freezes.
Wait until daytime temperatures stay mostly below 80 degrees, which often arrives in September across much of Pennsylvania. Aim to finish several weeks before your usual hard freeze so roots can settle into their new home.
I moved a sulking azalea from a baking south wall last fall, and it finally bloomed beautifully. Azaleas prefer morning sun with afternoon shade, so harsh western exposure often explains a cranky plant.
Water the shrub well a day before digging, which helps the root ball hold together during the move. Azalea roots form a compact, shallow mat, so they usually lift out more easily than you might expect.
Dig the new hole about twice as wide as the root ball but no deeper than before. Set the plant slightly high, since azaleas resent sitting low where water pools after heavy rains.
Mix compost into the backfill and firm it gently, then water deeply to settle the soil around roots. Keep watering every two or three days for at least a month while new roots reach outward.
Finish with a layer of mulch, keeping it a few inches back from the stems to prevent rot. Expect a few missing flowers next spring, since moving can stress a shrub before it bounces back.
8. Test Your Soil For The Acid Azaleas Crave
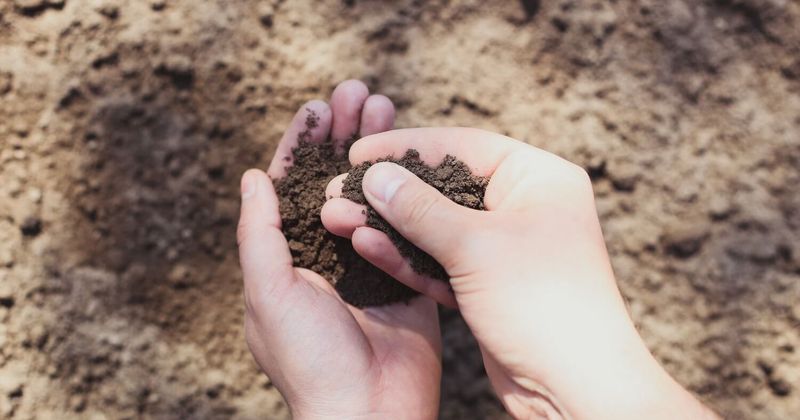
Azaleas are picky eaters, and soil pH decides whether they can actually reach the nutrients around them. They thrive in acidic soil between about 4.5 and 6.0, which many lawns and foundation beds miss.
Concrete foundations and nearby sidewalks can leach lime into the soil, nudging pH higher than azaleas like. I was surprised to find my bed by the front steps tested well above my backyard beds.
Penn State Extension sells affordable soil test kits through county offices and online for state residents. Fall is a calm time to mail a sample, since labs tend to be less busy than in spring.
Collect soil from several spots around the shrub, about six inches deep, and mix it in a bucket. Follow the kit directions closely, because a sloppy sample can give you confusing or misleading results.
If the pH runs too high, elemental sulfur is a common choice for gradually lowering it over months. Aluminum sulfate works faster but can harm roots when overused, so many experts prefer sulfur instead.
Organic matter helps too, and pine needle mulch or compost slowly improves soil structure over time. Changes happen gradually, so retest in a year or two rather than adding more amendments each season.
A good test also reveals nutrient levels, so you avoid guessing and wasting money on the wrong products. Healthy, acidic soil sets the stage for bigger, brighter flower clusters when spring finally rolls around.