The November Task That Decides If Your North Carolina Camellias Bloom This Winter
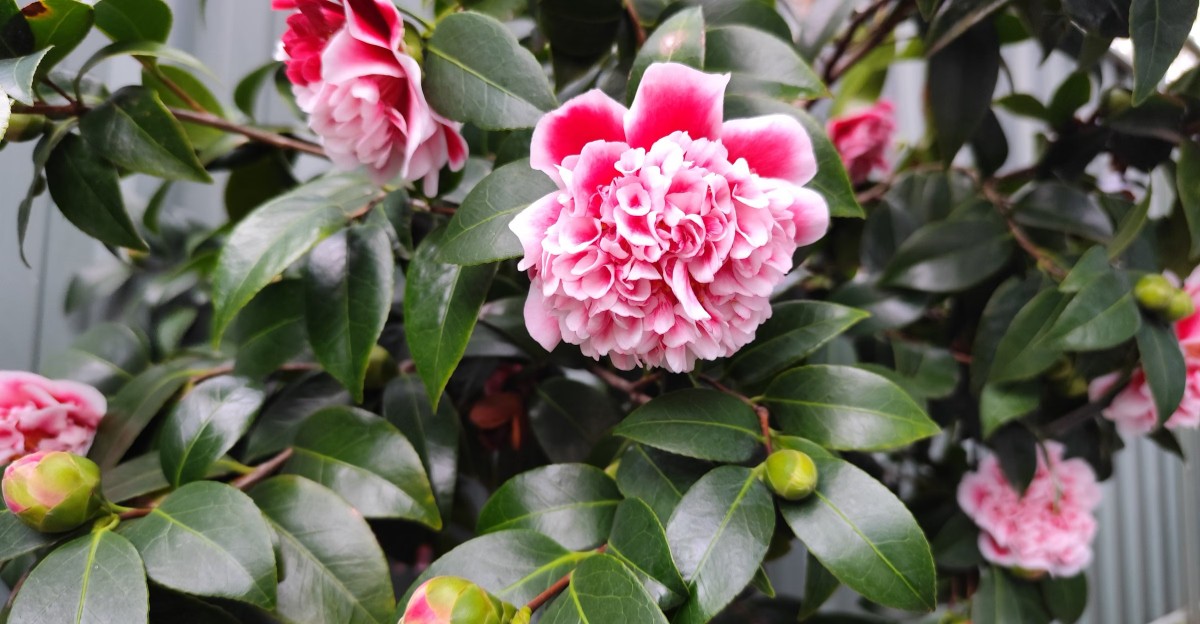
A flower bud can drop weeks after the real trouble happened. That means the bare shrub you notice in January may have been set up for failure back in the fall.
I find that a little sneaky, and a little thrilling too. The plant in question forms its buds months ahead, then holds them through chilly North Carolina nights like a kid clutching a lunch box.
You can see those fat buds right now if you look closely. Some are round and firm, while others hide among glossy evergreen leaves.
Like many gardeners, I used to think winter blooms were mostly luck. They are not. A simple job done this month, plus a few smart habits, can shape what opens when the rest of the yard looks gray.
So what quiet chore is standing between you and a shrub full of pink, red, and white blossoms?
Those Plump Camellia Buds Are Already Counting On You
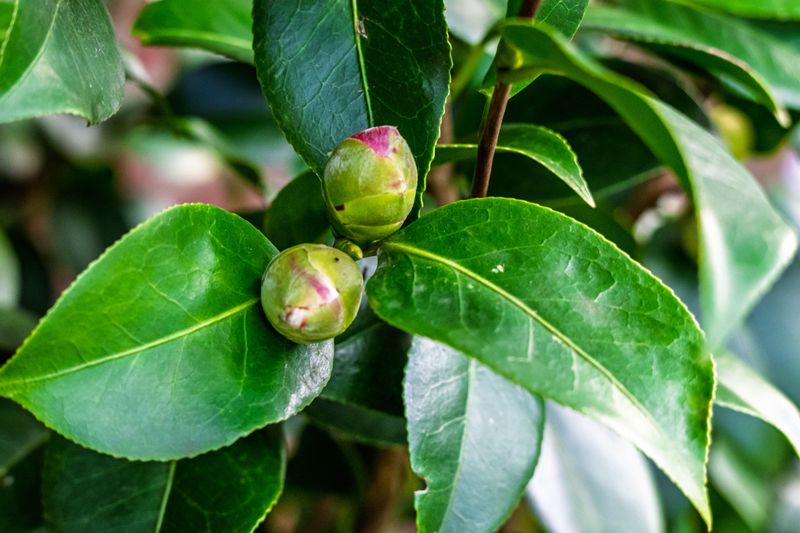
Walk out to your shrub and gently squeeze a bud. If it feels firm and full, the flowers you want are already sitting there.
Camellias set their buds from summer into early fall. By November, the hard part of making flowers is mostly done. What happens next depends on whether the plant can keep those buds healthy until they open.
Many gardeners blame a cold winter when buds fall off. Cold can play a role, but researchers and camellia growers often point to a quieter problem first. Dry roots during the bud stage stress the plant, and it may let go of buds weeks later.
Bud drop can feel personal, I know. You wait all year, then little brown balls end up scattered on the mulch.
The encouraging part is that you still have influence this month. Your shrub can’t move to a better spot or fetch a drink. You can help with both water and soil protection, which is exactly where this story goes next.
Take a quick count of buds on a few branches now. That simple check gives you a baseline, so you can tell later whether your care made a real difference.
A Deep Drink Plus Fresh Pine Straw Mulch Is the Big November Job
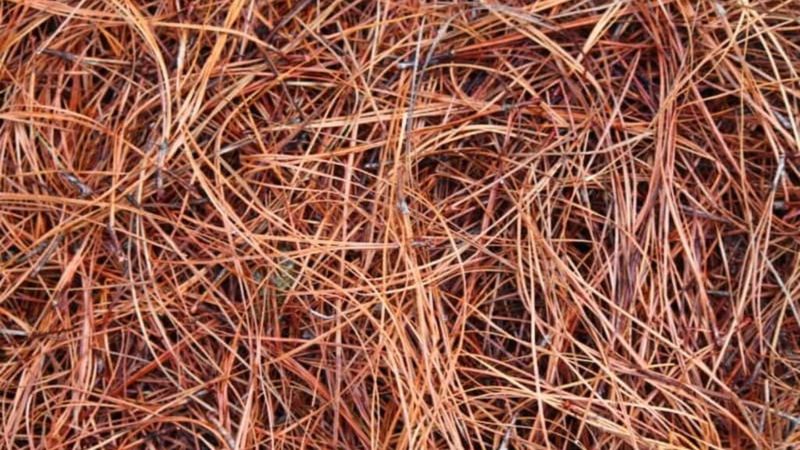
Here it is, plain and simple. Water your camellias deeply, then tuck a 2 to 4 inch layer of organic mulch over their roots.
That pairing does a lot of heavy lifting. Steady moisture keeps buds plump, and mulch holds that moisture in place while softening temperature swings in the soil. Camellia roots grow fairly shallow, so they feel dry spells and cold snaps faster than you might expect.
Pine straw is a favorite across much of the South, and for good reason. It is light, easy to spread, and breaks down slowly. Shredded bark or chips work well too.
Keep the mulch a few inches away from the trunk. Piling it up against the stem traps dampness and can invite rot or critters.
Aim to soak the root zone rather than sprinkle the leaves. A slow trickle from a hose for several minutes reaches deeper than a quick splash.
I like doing this job on a mild, calm afternoon. It takes maybe twenty minutes per shrub, and it feels like tucking a blanket around something you care about.
Soil That Feels Damp, Not Soggy, Keeps Camellia Roots Happy
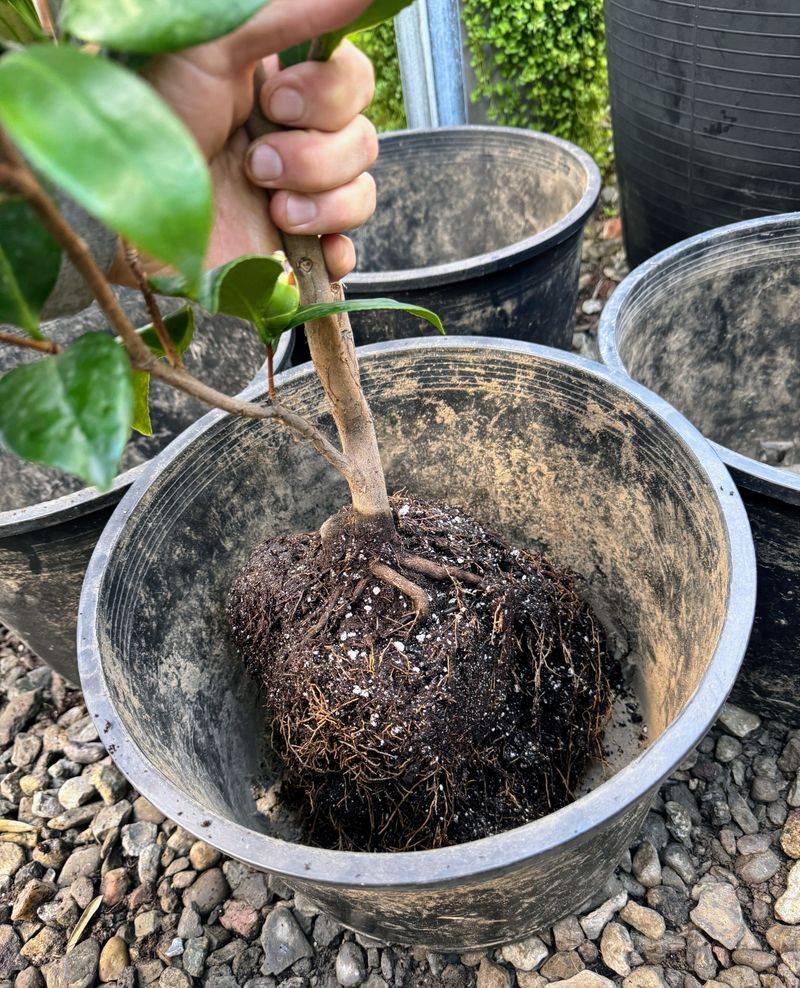
Your finger makes a better moisture gauge than any fancy gadget. Push it about two inches into the soil under the shrub and pay attention to what you feel.
Cool and slightly damp is the sweet spot. Dusty and dry means it is time to water. Wet and sticky means back off for a while.
Camellias like steady moisture, but they really dislike sitting in soggy ground. Waterlogged soil squeezes out air, and roots begin to struggle. Poor drainage is a known cause of bud drop, just like drought.
Heavy red clay is common in the Piedmont, so drainage can be a real issue there. Sandy Coastal Plain soils tend to dry faster and may need more frequent checks.
Fall rain can be unpredictable. A few dry weeks in November happen often enough, and many of us forget about watering once the heat fades.
A simple rule helps here. Check every week or so, especially during dry stretches, and water only when that top couple of inches feels dry. Consistency matters more than volume.
Water Before a Hard Frost Hits Your Camellia Bushes
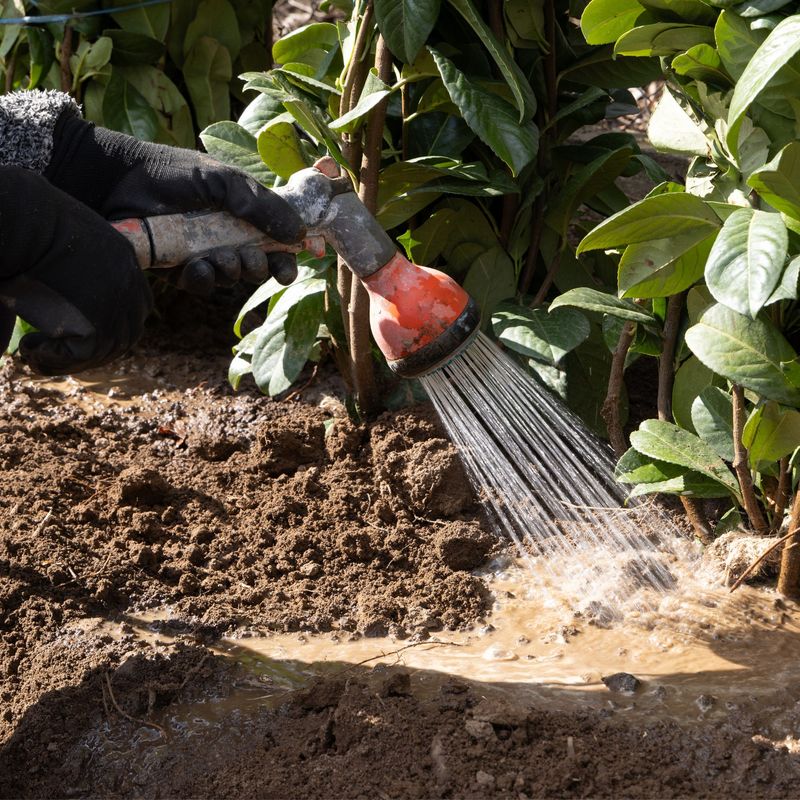
Ever notice how weather forecasters love a dramatic cold front? When one shows up on your weather app, your camellias deserve a heads-up.
Well-watered plants handle freezing nights better than thirsty ones. Moist soil holds heat more effectively than dry soil, and hydrated tissue copes better with cold stress. Extension experts recommend watering before a cold snap, especially for young or potted camellias.
Timing helps. Water a day or two ahead, during the warmer part of the day, so the moisture soaks in before temperatures plunge.
Wild temperature swings are a classic bud troublemaker. A balmy 70 degree afternoon followed by a hard freeze can shock developing buds. The damage often shows up weeks later as browned petals or buds that fall without opening.
You can’t control the weather, sadly. You can give the plant its best defense.
For extra protection on the coldest nights, drape a frost cloth or old sheet over smaller shrubs. Let it reach the ground to trap soil warmth, and remove it the next morning so the plant can breathe and soak up sunlight.
Put Down the Pruners Until Your Camellia Finishes Flowering
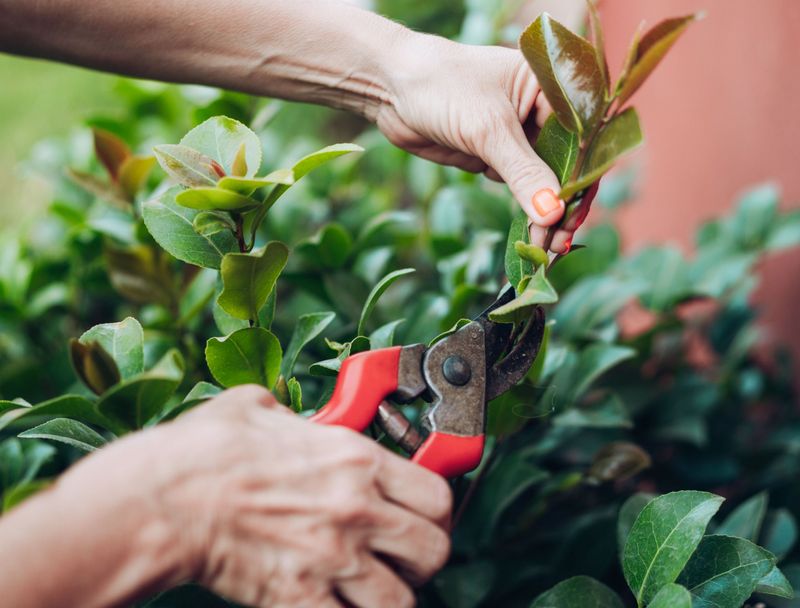
Fall cleanup fever is real. Leaves are dropping, beds look messy, and those pruning shears start calling your name.
Leave your camellias alone for now. Camellia buds form on growth made earlier this year, and they are already sitting at the branch tips. Every snip right now could remove a future flower.
The best time to shape a camellia comes right after its main flowering wraps up. Sasanquas typically finish by January, so late winter works for them. Japonicas often bloom into early April, so spring pruning suits them better.
Pruning soon after bloom gives the shrub plenty of months to grow new stems and set fresh buds for next year.
A few small exceptions make sense anytime. You can trim out broken, diseased, or rubbing branches as you spot them. That kind of light cleanup won’t cost you much bloom.
Honestly, I find this rule kind of freeing. It means one less chore on a chilly weekend, and it rewards patience with more flowers. Your shrub may look a bit shaggy for a while, but the payoff is worth it.
Late Fertilizer Can Trick Camellias Into Growing Tender Shoots
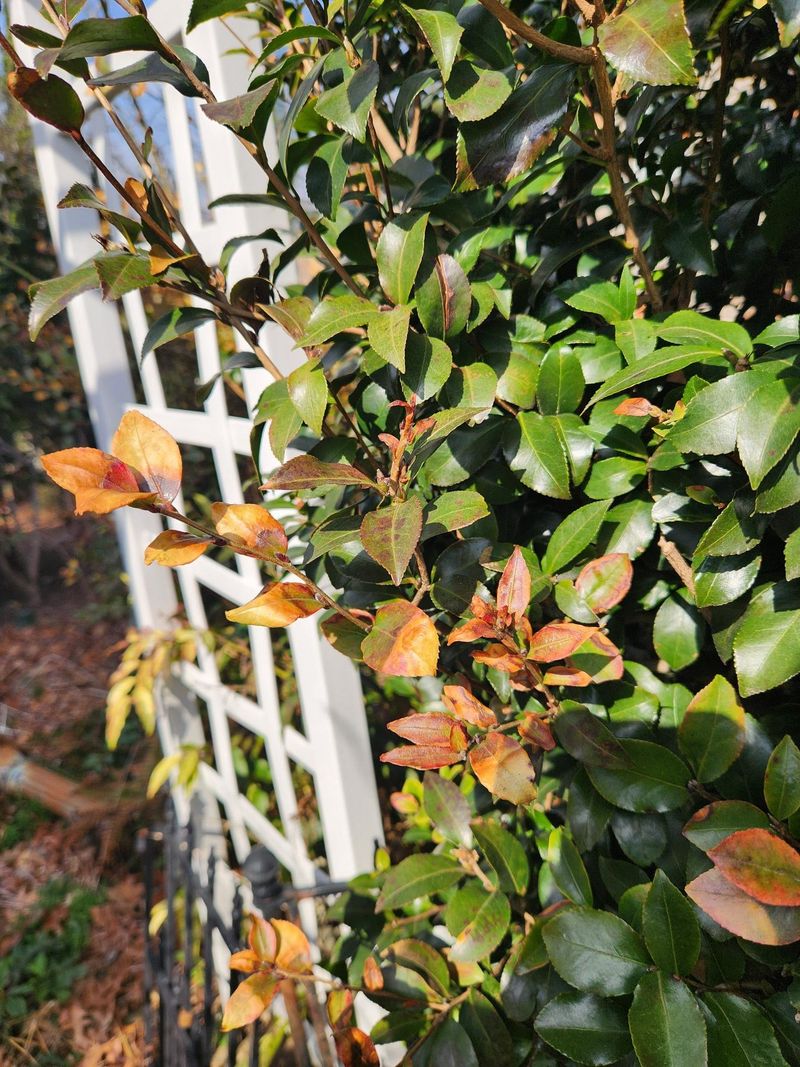
Feeding a plant sounds kind, right? With camellias in fall, it can backfire.
Fertilizer, especially nitrogen, pushes fresh leafy growth. When that happens late in the season, the new shoots stay soft and may not harden before frost. The plant also spends energy on leaves instead of supporting its buds.
Experts generally suggest wrapping up camellia feeding by midsummer, and no later than late summer, depending on your area and variety. Mountain gardens in cooler zones lean toward the earlier end. Warmer coastal areas have a little more wiggle room.
So skip the fertilizer bag this month. Your shrub has stored what it needs for winter.
Spring is the time to feed, right after blooming ends. Choose a product made for acid-loving plants, like those labeled for azaleas and camellias, and follow the label rates.
Too much nitrogen is also linked to bud drop. More is not better here.
A soil test through the North Carolina Department of Agriculture can tell you exactly what your ground needs. Late fall is a great time to send a sample, since lab turnaround is usually quicker before the busy winter and spring season.
Sasanqua and Japonica Camellias Keep Different Bloom Calendars
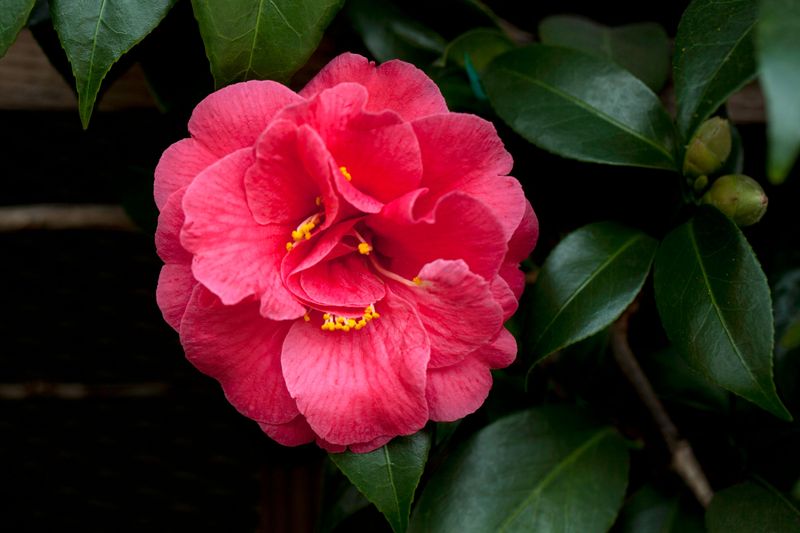
Two camellias can sit side by side and act like they live in different time zones. That comes down to species.
Camellia sasanqua is the early bird. It often starts flowering in fall, keeps going into early winter, and usually finishes by January. The blooms are smaller and often lightly fragrant, and the petals tend to fall one by one.
Camellia japonica runs on a later schedule. Some varieties begin in late fall, but flowering often picks up in mid to late January and can last into early April. Blooms are larger and showier, and spent flowers usually drop whole.
Knowing which type you have changes your expectations. If your sasanqua is bursting with color in November, it is right on time. If your japonica just has buds, that is normal too.
Fun fact for you. Japonica camellias are relatives of the tea plant, Camellia sinensis, which is grown on a small scale in a few Southern spots.
Not sure which you own? Check leaf size. Sasanqua leaves are usually smaller and narrower, while japonica leaves look bigger and glossier.
A Sheltered Spot and a New Camellia Can Set Up Years of Blooms
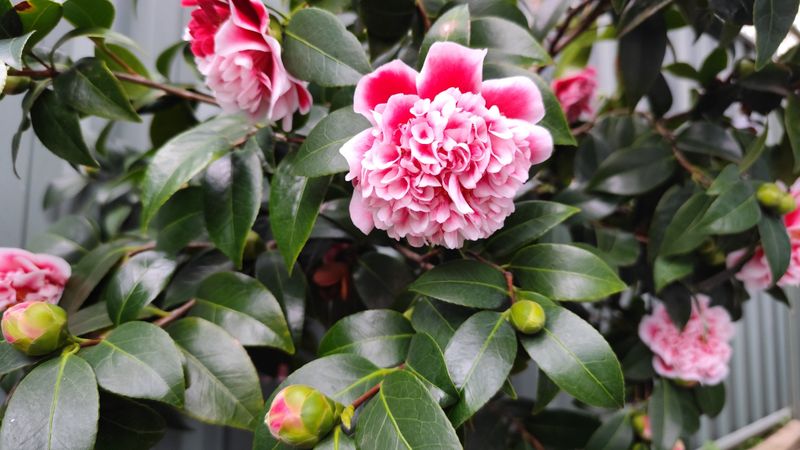
Location quietly shapes everything. A camellia in the wrong spot can struggle no matter how carefully you water.
These shrubs prefer partial shade with protection from harsh winter wind. Morning sun on frozen buds can cause damage, since rapid thawing stresses the tissue. An eastern exposure without shelter is often the trickiest spot.
A north or west side of a house, or a spot under tall pines, usually works nicely. Buildings and evergreen trees block cold, drying winds.
Thinking about adding another one? November through February is a good planting window across much of the state. Roots settle in during cool weather before summer heat arrives.
Camellias grow well in USDA zones 6 through 9, which covers most of North Carolina. Gardeners in the higher mountains should choose cold-hardy varieties and pick sheltered spots.
Plant at the same depth as the nursery pot, or slightly higher in heavy clay. Water well, mulch, and keep the soil evenly moist through winter.
My takeaway is simple. Water, mulch, and patience this month, plus a smart spot for any newcomers, give you the best shot at a yard full of flowers when winter turns gray.