7 Steps to Turn Michigan Fall Leaves Into Rich Leaf Mold for Your Garden
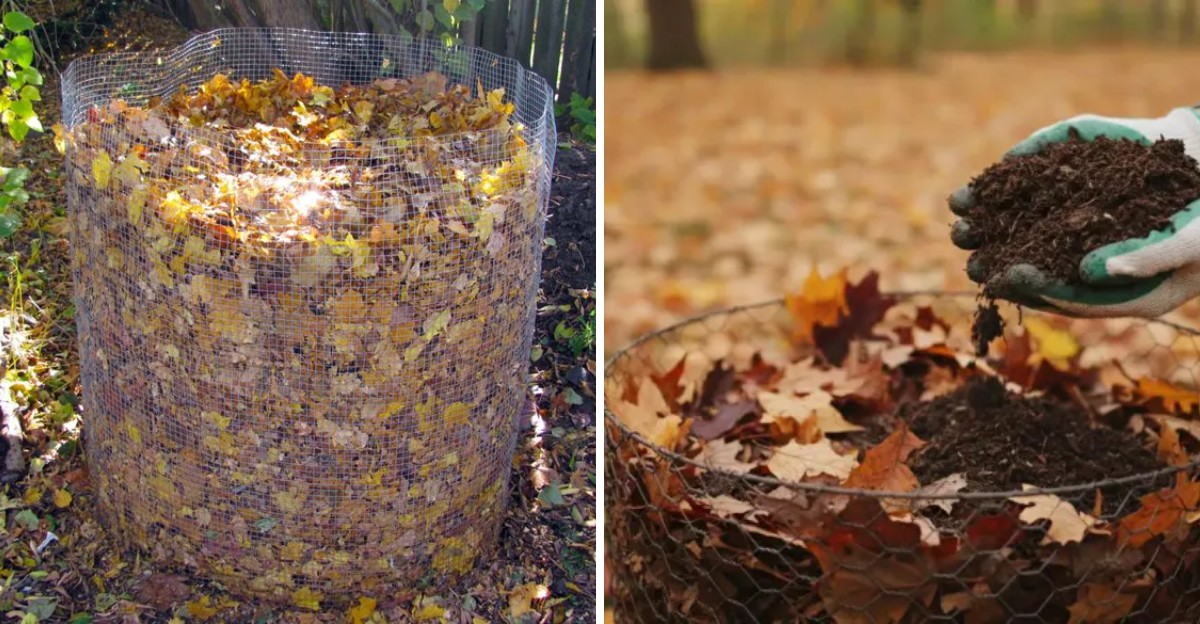
A single mature oak can drop hundreds of thousands of leaves in one autumn, and most homeowners bag them up. I used to haul mine to the curb too, feeling proud of my tidy lawn every November.
Old forests have been running a quiet recycling program under our feet for thousands of years without any help. Fungi do most of that work, turning crunchy leaves into soft, dark crumbs that smell like a woodland trail.
Here in Michigan, maples and oaks hand us that raw material for free every single fall, piled right in our yards. The way I see it, sending those leaves away is like tossing out a sack of garden treasure each year.
You may be surprised how little effort this takes once you understand what those fungi actually want from you. Ready to find out what your rake and a shady corner can create by the time next fall arrives?
1. Rake Up Dry Maple And Oak Leaves
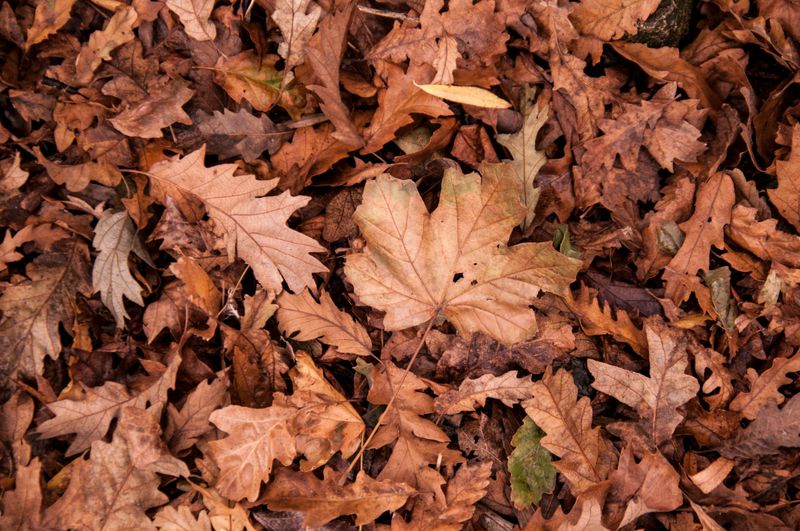
Crunchy, golden maple leaves make the best starting point, and your rake is about to become your favorite garden tool. I love that satisfying crackle underfoot because it tells me the leaves are dry and ready to gather.
Dry leaves are lighter to move and far less likely to clump into soggy, slimy mats inside your pile later. Try raking on a sunny afternoon, a day or two after rain, when the top layer has had time to dry.
Most deciduous trees work well, including maples, oaks, birches, and the fruit trees growing in many Michigan backyards. Oak leaves are tougher and slower to break down, so mixing them with softer maple leaves helps balance the speed.
Skip leaves from black walnut trees if you plan to use leaf mold around tomatoes or other sensitive vegetable plants. Walnuts contain juglone, a natural chemical that can harm certain plants, though many sources say it fades after decomposition.
Avoid leaves gathered along busy roads, since they may carry salt, oil, and other pollutants from passing traffic each season. Leaves showing heavy disease spots, like apple scab, are better left out so you do not spread trouble next year.
Collect more than you think you need, because a big fluffy pile shrinks dramatically as the fungi slowly work through it. In my yard, a waist-high mound usually becomes just a few wheelbarrow loads of dark, crumbly leaf mold.
2. Shred Fallen Leaves With A Lawn Mower
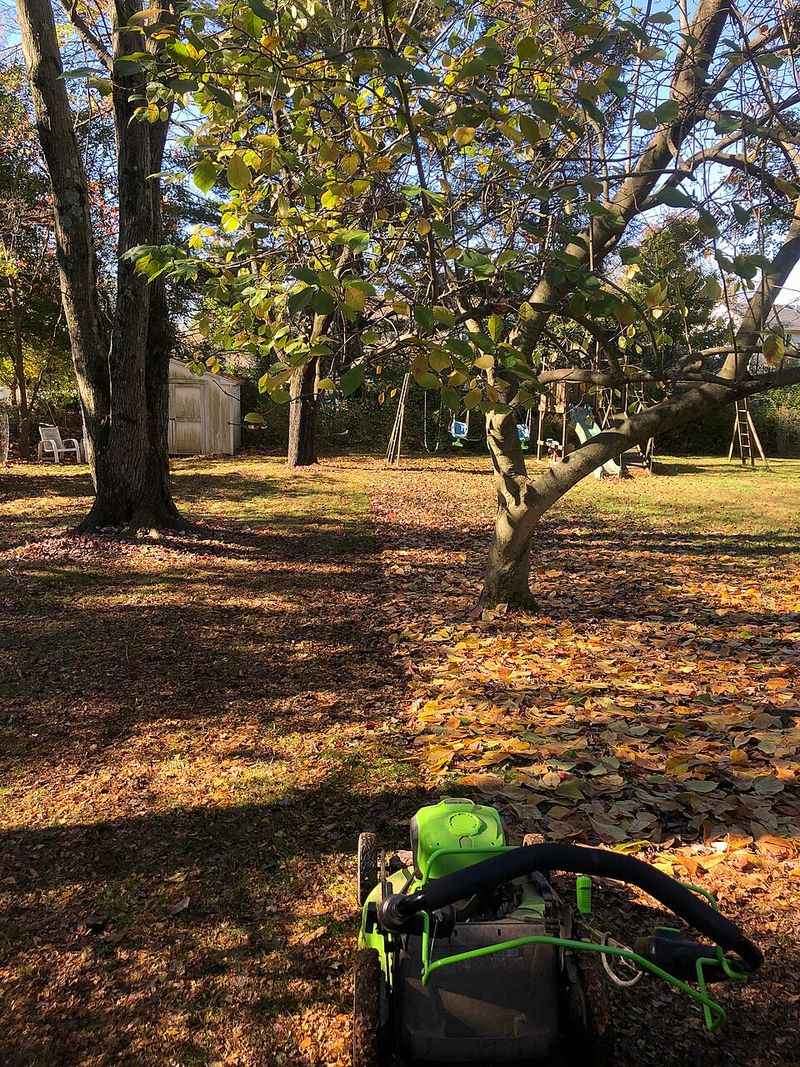
Your trusty lawn mower is secretly the fastest leaf mold machine you already own, sitting right there in the garage. Running over a leaf pile a couple of times turns big, flat leaves into small, confetti-like pieces within minutes.
Smaller pieces give fungi far more surface area to work on, which can shave many months off the waiting time. Whole leaves often take two years or more, while shredded ones can turn usable in roughly one year.
Shredding also stops leaves from stacking into flat, layered mats that block air and water from reaching the middle. I noticed my first unshredded pile stayed dry and papery inside, even after a full summer of rain.
A mower with a bagging attachment makes collection simple, since it shreds and gathers the pieces in one easy pass. Some gardeners prefer a dedicated electric leaf shredder, which handles large amounts quickly and produces a very fine texture.
Another popular trick involves putting dry leaves in a large trash can and running a string trimmer down inside. Wear safety glasses and hearing protection for this method, because bits of leaves and small debris can fly out quickly.
Shred leaves while they are dry, since wet leaves clog mower decks and shredders and quickly turn into a mess. Shredding is optional, so if your time is short, whole leaves will still become leaf mold with extra patience.
3. Build A Chicken Wire Leaf Bin
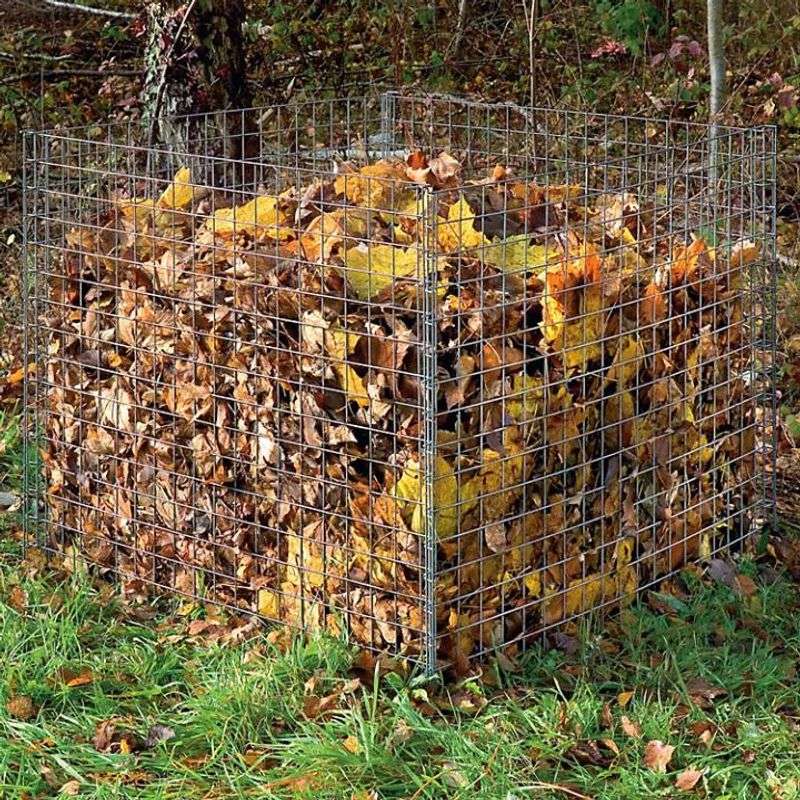
A simple ring of chicken wire might be the cheapest garden project you ever build, yet it works beautifully for leaf mold. Bend a length of wire into a circle about three or four feet across, then secure it with a few stakes.
Wire bins keep leaves from blowing across the yard while still letting fresh air move freely through the sides. Many gardening experts suggest a pile at least three feet wide and tall, so it holds moisture well.
Choose a shady, out-of-the-way spot, because direct sun dries the pile out and slows the fungi doing the work. A corner behind the garage or under a tree is perfect for this patient, low-maintenance project.
Short on space or living in an apartment with a small patio, you can still make leaf mold successfully. Fill heavy black plastic trash bags with damp leaves, tie them shut, and poke holes for airflow and drainage.
Burlap sacks or old breathable bags also work, and they let you tuck several batches neatly behind a shed. The Royal Horticultural Society even suggests using bags, noting they are easy to stack and move when needed.
I keep both a wire bin and a few bags going, which lets me compare how fast each batch develops. The bags often surprise me by finishing sooner, probably because they trap moisture so well throughout the year.
4. Water The Leaf Pile Like A Damp Sponge
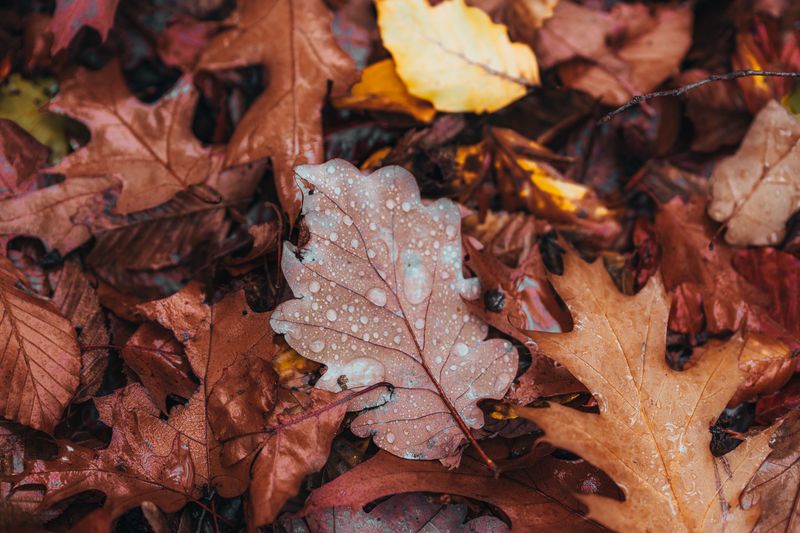
Fungi are thirsty little workers, and dry leaves give them almost nothing to do all season long. Aim for the feel of a wrung-out sponge, damp all the way through without water dripping out when squeezed.
Water each layer as you build the pile, rather than spraying only the top once everything is stacked high. Moisture struggles to soak down through dry leaves, so watering in layers helps reach the center more evenly.
Grab a handful from the middle every few weeks and give it a firm squeeze to check the moisture level. If it feels crispy or dusty, add water with a hose until that sponge-like feel returns to the leaves.
Fall rain and winter snow in Michigan often do much of this watering for you during the colder months. Summer dry spells are when piles most often dry out, so plan a quick check during hot July weeks.
Covering the pile with a tarp, cardboard, or an old piece of carpet helps hold moisture during stretches without rain. Just avoid sealing it so tightly that air cannot reach the leaves, since fungi still need a little oxygen.
Soggy piles can turn smelly and slow, so drain extra water by fluffing the leaves or adding dry ones. I learned this the hard way after a rainy spring left one bag sour, heavy, and oddly slimy.
5. Turn The Leaves With A Garden Fork
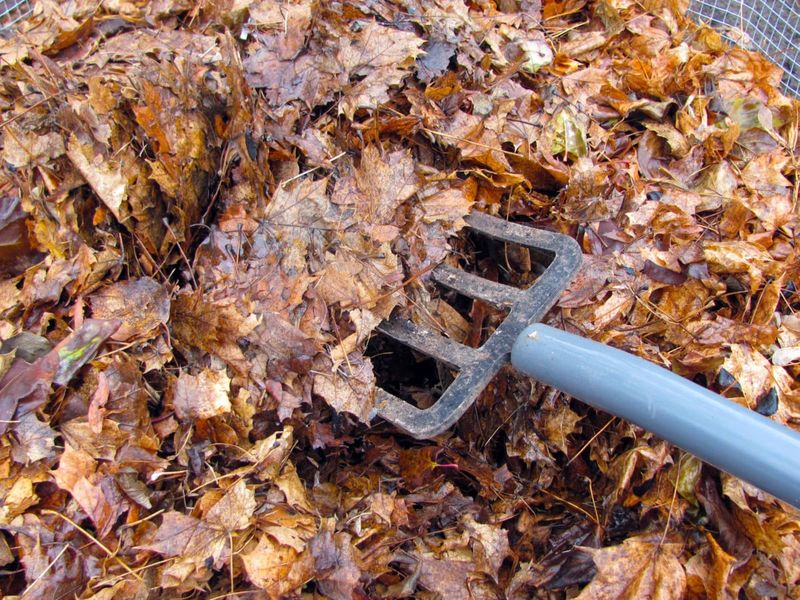
Grabbing a garden fork and tossing your leaf pile feels a bit like fluffing a giant brown pillow in the yard. That occasional stir brings fresh air into the middle and helps every leaf get its fair share of fungi.
Leaf mold is often called a cool process, because fungi handle most of the breakdown instead of heat-loving bacteria. Unlike hot compost, these piles rarely warm up much, so turning is helpful but not strictly required for success.
Turning every month or two during the warmer season can speed things along and create a more even, crumbly texture. If you use bags, simply roll them around on the ground or give them a few good shakes instead.
Check moisture while you turn, because the inside of a pile can feel very different from its outer layer. I usually add a splash of water whenever the middle looks pale and dry compared to darker outer edges.
Those white, threadlike strands you might spot inside are fungal hyphae, and they show the decomposers are busy working. Seeing them always makes me smile, because it means the pile is behaving like a healthy forest floor.
Some gardeners add a few handfuls of grass clippings or finished compost to jump-start activity in a fresh pile. This extra nitrogen can help, though plain leaves left alone will still turn into lovely leaf mold over time.
6. Watch The Leaf Pile Slowly Shrink
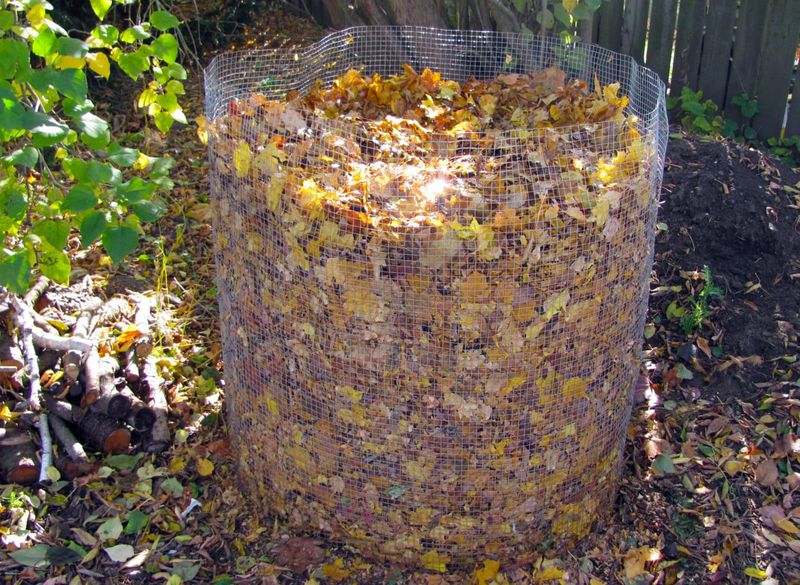
Patience is the secret ingredient nobody can sell you, and leaf mold asks for plenty of it over time. Most piles need about one to two years, while whole oak leaves can take even longer to soften.
Watching the pile sink is oddly satisfying, almost like checking on bread dough that rises in reverse. A towering autumn mound often shrinks to half its size by the next spring, as fungi quietly consume the leaves.
Michigan winters slow fungal activity a lot, so most of the real progress happens from spring through early fall. Do not worry if nothing seems to change during January, because the decomposers simply rest until warmer weather returns.
Partly finished leaf mold, sometimes called young leaf mold, still has value even before it turns fully dark and crumbly. You can spread it as a rough mulch around shrubs while the finer material keeps developing in another pile.
Starting a new batch every fall creates a rotation, so you eventually have a ready supply every single year. I keep two bins side by side, one for fresh leaves and one quietly finishing its slow transformation.
Mark each bin or bag with the date you started it, using a plant tag or a simple marker. That small habit saves guessing later, and it helps you learn how quickly your own yard’s leaves break down.
7. Spread Dark Crumbly Leaf Mold On Garden Beds
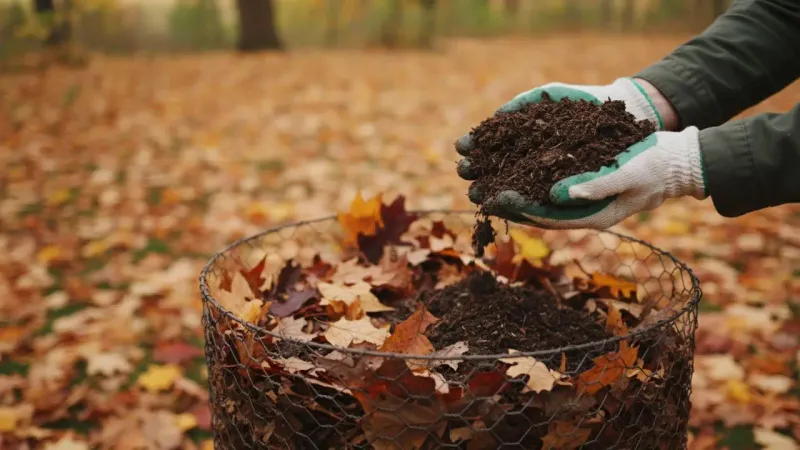
Scooping up that first handful of finished leaf mold feels like holding a piece of the forest in your palm. It should look dark brown, crumble easily, and smell sweet and earthy, much like a shady woodland path.
Leaf mold is famous for holding water, and some sources report it can hold several times its own weight. That sponge-like quality helps sandy soils stay moist and helps heavy clay soils drain and breathe more easily.
Spread a layer about two or three inches thick around perennials, shrubs, and vegetables to help hold moisture in summer. Keep it a few inches away from tree trunks and plant stems, which helps prevent rot and pest problems.
Mixing leaf mold into garden beds improves soil structure and feeds earthworms, which then tunnel and loosen the ground further. Leaf mold adds only small amounts of nutrients, so pair it with compost when your plants need extra feeding.
Sifted leaf mold also makes a lovely ingredient for homemade seed-starting and potting mixes, adding softness and steady moisture. Many gardeners blend it with compost and a little sand, creating a light mix that seedlings seem to enjoy.
In my garden, the beds with leaf mold stay noticeably softer and easier to dig than the ones without. Once you see that difference yourself, those autumn leaves in Michigan will start looking like a yearly gift.