The Pennsylvania Patio Cleaning Mistake That Spreads Moss Faster
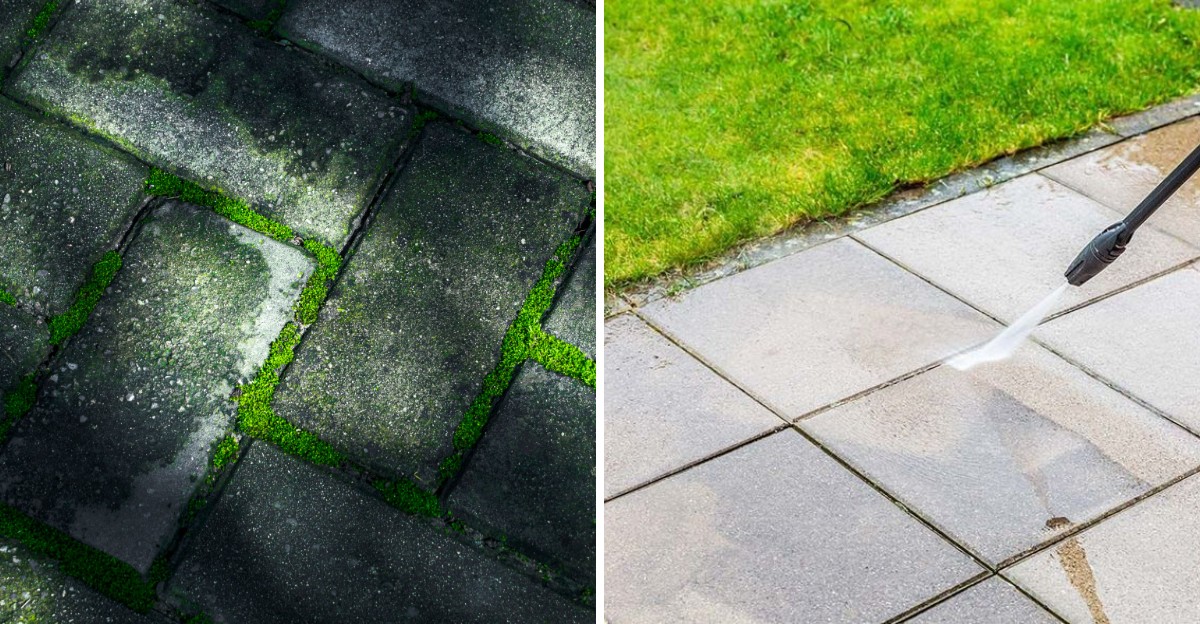
A single clump of moss can hold millions of spores, each one smaller than a speck of dust. Blast that clump with enough force, and you send those tiny travelers across every paver you own.
I learned this the slow, soggy way. My Pennsylvania patio looked spotless for about three weeks, and then a fuzzy green film crept back in places it had never grown before.
Moss has no true roots, no flowers, and no seeds. It still manages to outsmart plenty of determined homeowners, and I suspect you have battled it too. Shady corners, damp joints, and slick steps are its favorite hangouts.
The part that surprised me most was not the moss at all. It was the cleaning habit I trusted, the one that felt powerful and satisfying every single time. Could your favorite weekend chore be quietly planting next year’s green carpet?
1. That Roaring Pressure Washer Might Be Feeding Your Patio Moss
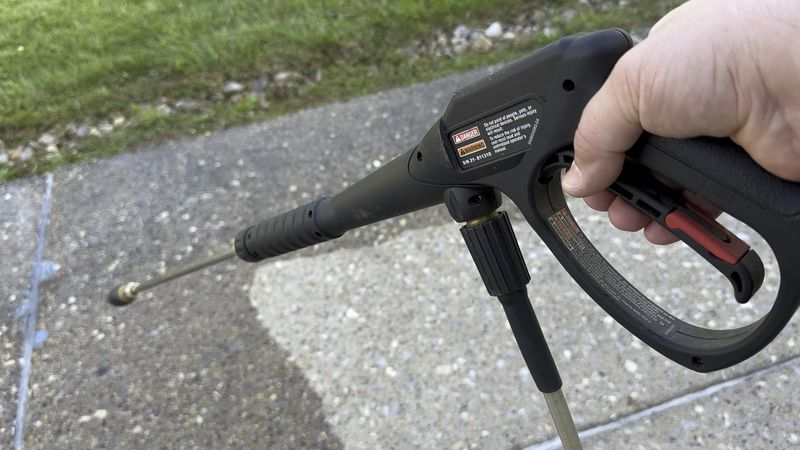
Few chores feel as rewarding as watching a stream of water peel green fuzz off a gray patio. I get it, because I chased that feeling for years. The catch is that a high-pressure blast on its own rarely ends the problem.
Moss clings with thin, thread-like parts called rhizoids, and those often stay tucked inside the tiny pores of concrete, brick, and stone. The visible layer vanishes, but the anchors and embedded spores hang around.
Spray also flings loose moss bits and spores in every direction. Those fragments land in joints, on steps, and along the edges of beds, where many can start new patches.
Moss is good at regrowing from small broken pieces, so scattering them is like handing out free starter kits.
Pennsylvania gives moss plenty of help. Humid summers, frequent rain, and shady yards full of mature trees keep surfaces damp for long stretches.
So the mistake is not owning a pressure washer. The mistake is using strong pressure as your only weapon, without treating the moss first and without changing the damp, shady conditions that invited it.
Fix that combination, and your weekend effort finally starts paying off for more than a few weeks.
2. Treat Patio Moss Before You Rinse It Away
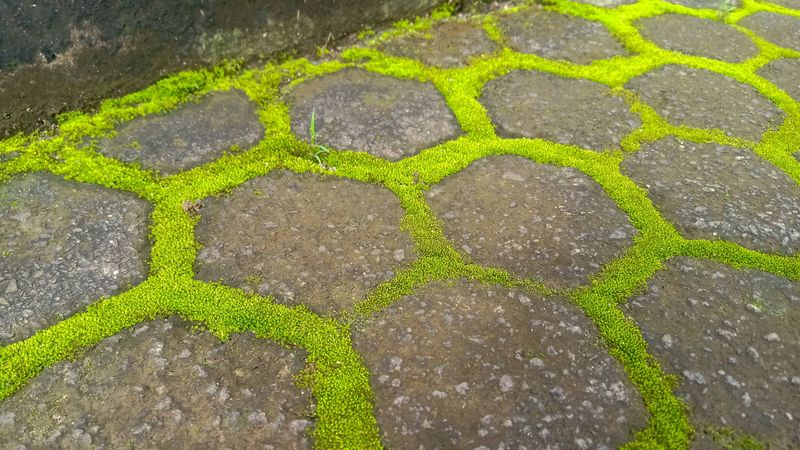
Professional cleaners have a simple rule. Treat first, rinse second. Applying a moss control product or cleaning solution before any rinsing weakens the moss at the cellular level and loosens its grip on the surface.
That means less scattering of live fragments and a cleaner result when you finally wash. Many commercial moss control products work best when you let them sit for one to two weeks before power washing, so read the label and follow its timing.
Soft washing is the method many pros prefer. You spray on a cleaning solution, give it time to work, and then rinse with low pressure instead of a hard blast. Your patio surface stays smoother, and the moss comes off with less fight.
A few safety habits matter here. Test any product on a hidden corner first, because some cleaners can lighten or stain pavers.
Cover nearby plants or wet them down, and keep pets and kids away until everything is rinsed and dry.
Never mix bleach with ammonia or other cleaners, since the fumes are harmful. Personally, I keep one product per job and a notebook with dates, which helps me see what actually works on my patio.
3. Gentle Pressure and a Surface Cleaner Save Your Pavers
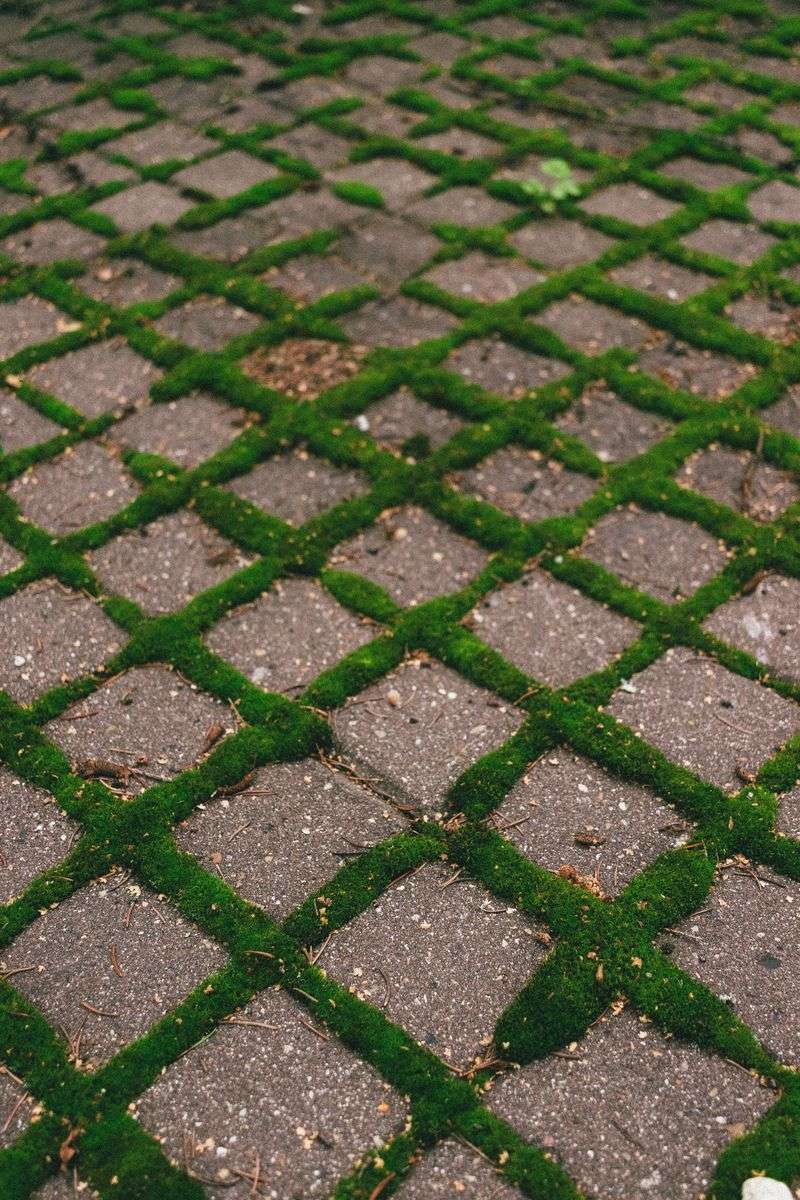
Here is a confession from my early cleaning days. I once held a narrow nozzle so close to a paver that I carved a pale stripe right into it.
Lower pressure is your friend. Many patio cleaning guides suggest staying in a moderate range and switching to a wide fan tip instead of a pinpoint nozzle.
A rotary surface cleaner attachment is even better, because it spreads the water evenly and keeps the spray from digging into one spot.
Distance matters too. Hold the wand about 6 to 12 inches from the surface at a slight angle, and move slowly in steady, overlapping passes. Rushing back and forth leaves streaks and can still chew up softer materials.
Older brick, sandstone, and limestone deserve extra care. Pennsylvania has plenty of patios built with local fieldstone and aging brick, and those surfaces can wear down faster than newer concrete pavers.
Before you start, sweep away loose leaves and grit. Debris turns into tiny sandpaper under a strong spray.
A gentle approach takes a little longer, but your patio stays smoother, holds less water, and gives moss fewer places to grab hold next season.
4. Roughened Concrete Gives Moss a Better Grip
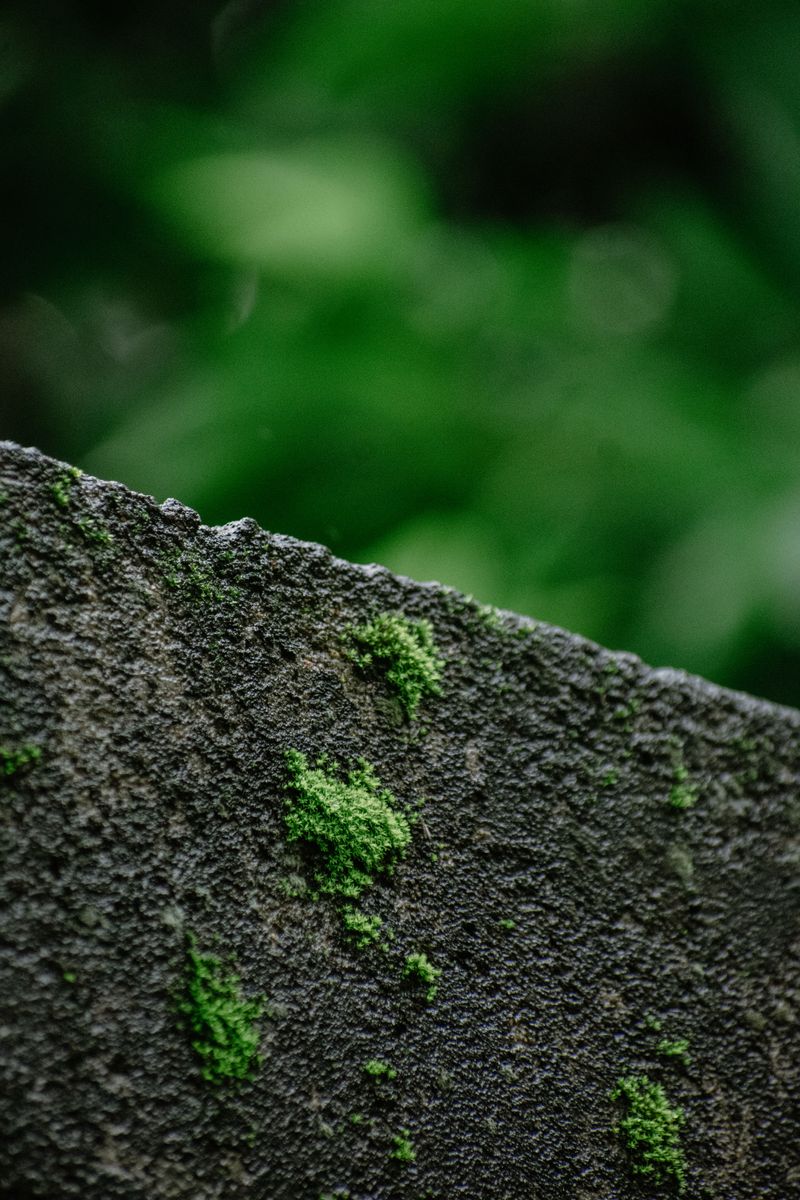
Run your hand across a patio after years of aggressive washing, and you might feel something new. The surface often turns gritty and pitted, almost like coarse sandpaper.
High-pressure water can wear away the smooth top layer of concrete and soft stone. Once that happens, the surface has far more tiny holes and ridges than before.
Those little pockets hold rainwater, dew, and dirt longer, which is exactly what moss loves.
Moss needs moisture to grow and reproduce. A rough surface that stays damp after a summer storm becomes the perfect landing pad for spores drifting in from trees, roofs, and neighboring yards.
Rhizoids also find more places to hook in. A smooth surface lets water sheet off and dry faster, while a scarred one invites moss to settle in and stay.
So what can you do about a patio that is already etched? Clean it gently from now on, and consider a quality penetrating sealer once it is fully dry.
Sealers can reduce how much water soaks into porous materials. Check the product label for your specific surface, since stamped concrete, pavers, and natural stone often need different types.
5. Empty Paver Joints Turn Into Moss Highways
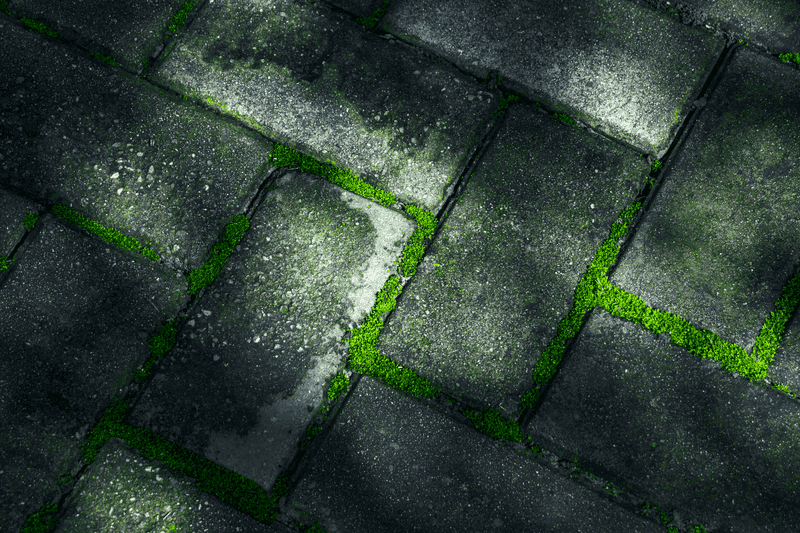
Paver patios have a hidden hero living between the bricks. Joint sand, often polymeric sand, locks pieces together and keeps weeds and moss from settling in.
A strong spray aimed straight into those seams can blow that sand right out. I have watched it happen, and the empty lines look clean for about a day.
After that, the gaps start collecting water, soil, and bits of leaves. Moss spores drift in, find a damp and shady groove, and get comfortable fast. The pavers can also start shifting, wobbling, or sinking as their support washes away.
Fixing this is very doable as a weekend project. Clear the joints with a narrow joint brush or a paving knife, let everything dry thoroughly, and sweep in fresh polymeric sand. Follow the package directions for misting it with water so it hardens properly.
Timing helps a lot. Pick a dry stretch of weather, since most polymeric sands need a rain-free window to set. Late spring and early fall usually offer good options here.
When you wash pavers later, angle the spray across the surface, not into the seams. Your joints will thank you by staying tight and moss-resistant.
6. Vinegar, Baking Soda, and a Stiff Brush Handle Small Moss Patches
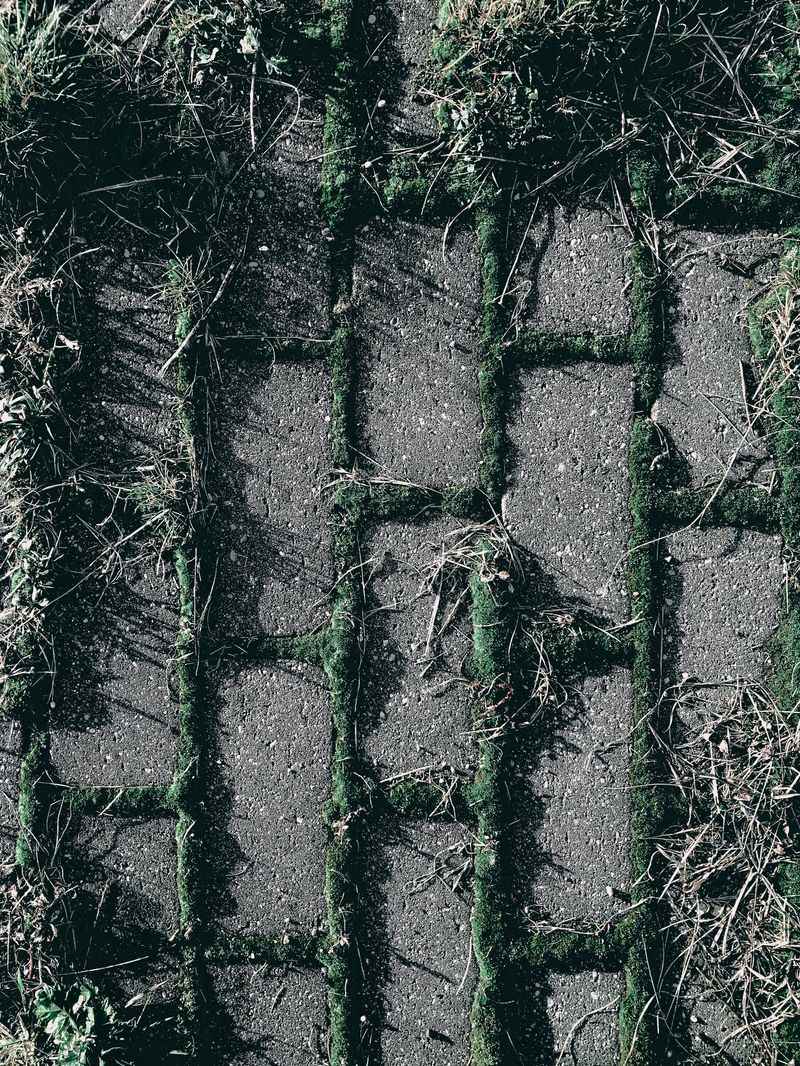
Not every mossy corner needs a machine. My favorite tool for small spots is a plain stiff-bristled brush and a little elbow grease.
White vinegar works well on light growth. Mix equal parts vinegar and water in a spray bottle, soak the moss, wait 15 to 30 minutes, then scrub and rinse.
Vinegar can also harm nearby plants and may etch limestone or marble, so keep it off garden beds and test it first.
Baking soda is another easy option. Sprinkle it right onto damp moss, leave it for two or three days, and then brush the residue away.
Boiling water can help on stubborn bits in cracks. Pour carefully, wear closed shoes, and keep it away from roots you want to protect.
A diluted bleach solution is sometimes used too, usually 1 part bleach to several parts water. It can discolor pavers and hurt plants, so rinse well and use it sparingly.
For tight seams, a wire joint brush or block paving knife scrapes moss out without spraying spores everywhere. Bag what you remove instead of rinsing it into the lawn, and you will see far fewer surprise patches later.
7. More Sunlight and Better Drainage Keep Your Patio Moss-Free Longer
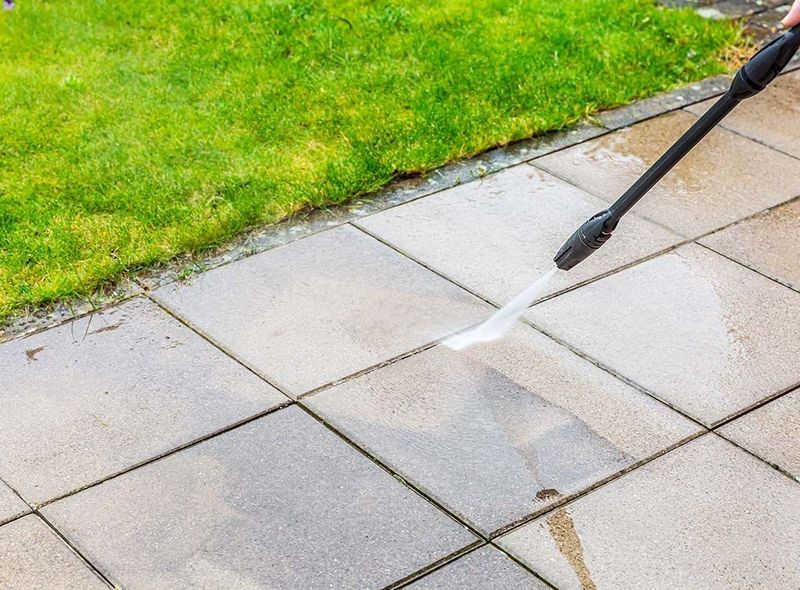
Cleaning removes moss, but conditions decide whether it returns. That realization changed how I care for my patio.
Moss thrives where surfaces stay wet, shaded, and still. North-facing patios, spots under big maples or oaks, and paths tucked beside tall fences are classic trouble zones in Pennsylvania.
Letting in more sun and air helps surfaces dry faster after rain. Start by trimming low, overhanging branches.
Late winter is a common time for many trees, though some species have their own preferred pruning windows, so check guidance from Penn State Extension or a certified arborist for larger jobs.
Drainage deserves a close look too. Watch your patio during a heavy rain and note where puddles linger. Low spots, clogged downspouts, and soil piled against the edges can all keep water sitting where moss loves it.
Simple habits matter as well. Sweep leaves, pollen, and dirt off regularly, especially in fall when trees shed heavily. That organic layer holds moisture and feeds new growth.
You will not banish moss forever in such a damp climate, and that is okay. Treat first, wash gently, and fix the shade and soggy spots, and your patio will stay cleaner much longer.