10 Things You Should Never Do to Orchids in a Florida Yard After November
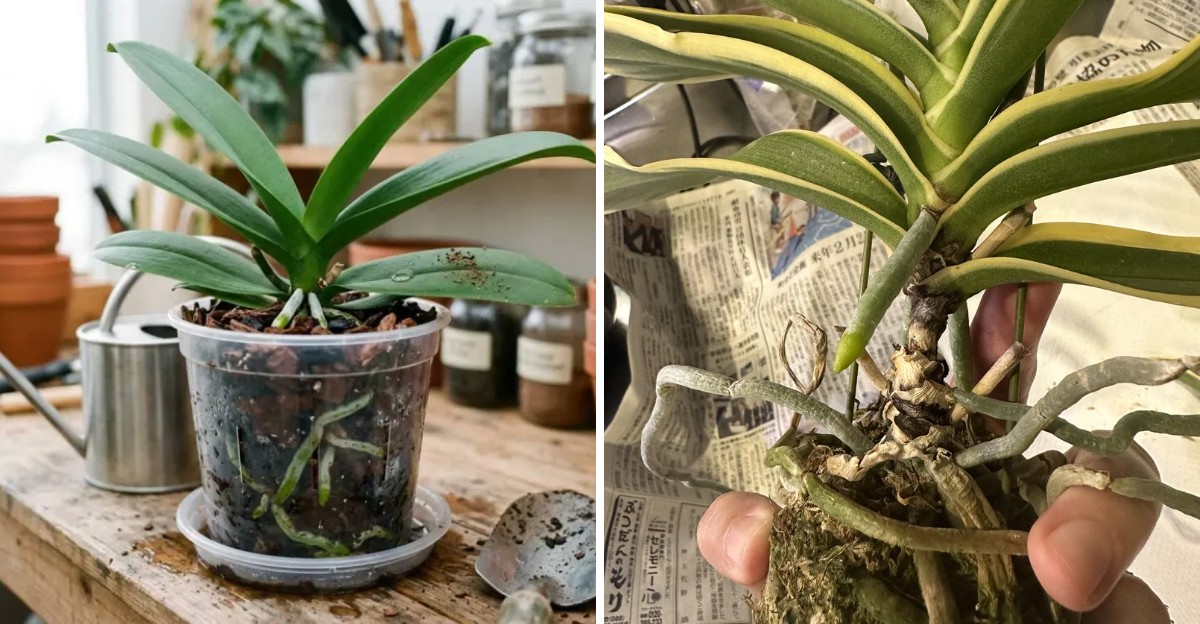
More than a hundred native kinds of one flower family grow wild in Florida, some clinging to cypress bark. The famous ghost version even hides in swamps near Naples and blooms with no leaves at all.
Their cousins in our backyards are tough in summer heat, yet a chilly night can spoil months of patient care. Cold air settles fast after November, and many tropical types sulk once temperatures slip below fifty degrees.
I have to admit my first winter here taught me more lessons than any glossy plant tag ever did. You might notice the damage weeks later, which makes those small seasonal mistakes feel sneaky and frustrating.
Most of those slipups come from habits that worked beautifully back in July and August across the Sunshine State. Some of your best summer routines might be the very thing your orchids dread this winter.
1. Soggy Orchid Roots Rot Fast In Cool Weather
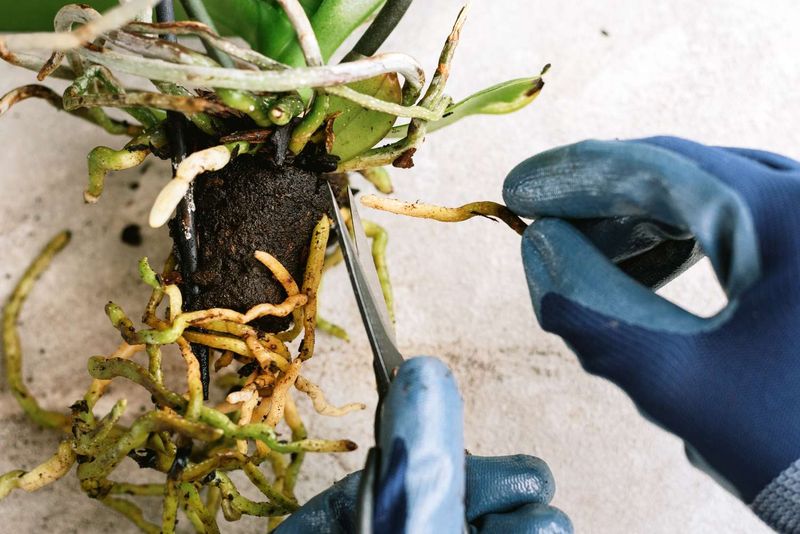
Orchid roots wear a spongy silver coat called velamen, and it soaks up water like a tiny paper towel. That clever coating loves a quick drink, but it doesn’t like sitting wet for days during cool, cloudy stretches.
Growth slows down once nights turn crisp, so your plants simply drink less than they did in summer. Keeping the same watering schedule now leaves the potting mix soggy, and roots start to turn brown and mushy.
Personally, I poke a finger or a wooden skewer into the mix before I even touch the hose. If the skewer comes out damp or dark, I walk away and check again in a couple of days.
Lifting the pot works nicely too, since a dry pot feels surprisingly light compared to a freshly watered one. You will get the hang of that weight difference after a week or two of practice.
Mounted plants on trees or slabs dry faster, so they may still need water more often than potted ones. Rainy cold fronts can handle that job for you, so skip the hose after a soaking shower.
When watering is truly needed, soak the pot well and let every extra drop run out the bottom. That deep drink followed by a drying spell copies the rain and breeze rhythm orchids enjoy in nature.
Healthy roots should look firm and green or silvery, while rotting ones feel hollow when you squeeze them gently. Catching that change early gives you time to trim the bad parts and refresh the mix in spring.
2. Heavy Fertilizer Doses Burn Resting Orchid Roots
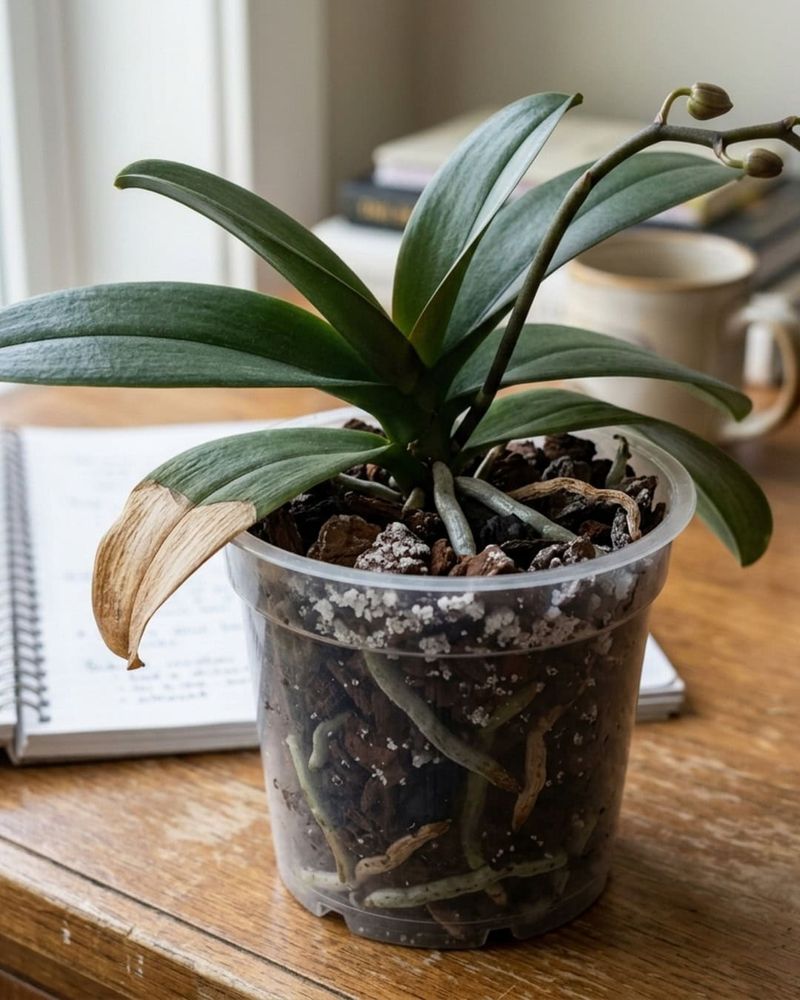
White crusty rings on an orchid pot look harmless, yet they are really leftover fertilizer salts building up. Those salts pull moisture away from root tips, and the damage shows up as brown, crispy edges.
Cooler weather slows growth for most backyard orchids, so they cannot use a heavy summer meal right now. Extra food simply sits in the mix, and that buildup gets worse when plants dry out between waterings.
Many experienced growers follow a simple motto, weakly and weekly, during the active months of the year. In winter, I cut that routine back and feed at quarter or half strength every couple of weeks.
Fancy bloom booster formulas are not required, since a balanced orchid fertilizer works fine for most popular types. Orchid society advice suggests steady, gentle feeding matters far more than any special magic number.
Deciduous dendrobiums and some catasetums are special cases, because they want no fertilizer at all while resting. Learning which type you own helps you skip feeding at the right moment instead of guessing blindly.
Once a month, run plain water through each pot for a minute to rinse those salts away. Rainwater is wonderful for this job, and your orchids seem to perk up after a good flush.
Healthy new growth in spring will reward your patience, and you can bump the dose back up then. Until that happens, think of winter feeding as a light snack rather than a big holiday dinner.
3. Tropical Moth Orchids Suffer On Chilly Winter Nights
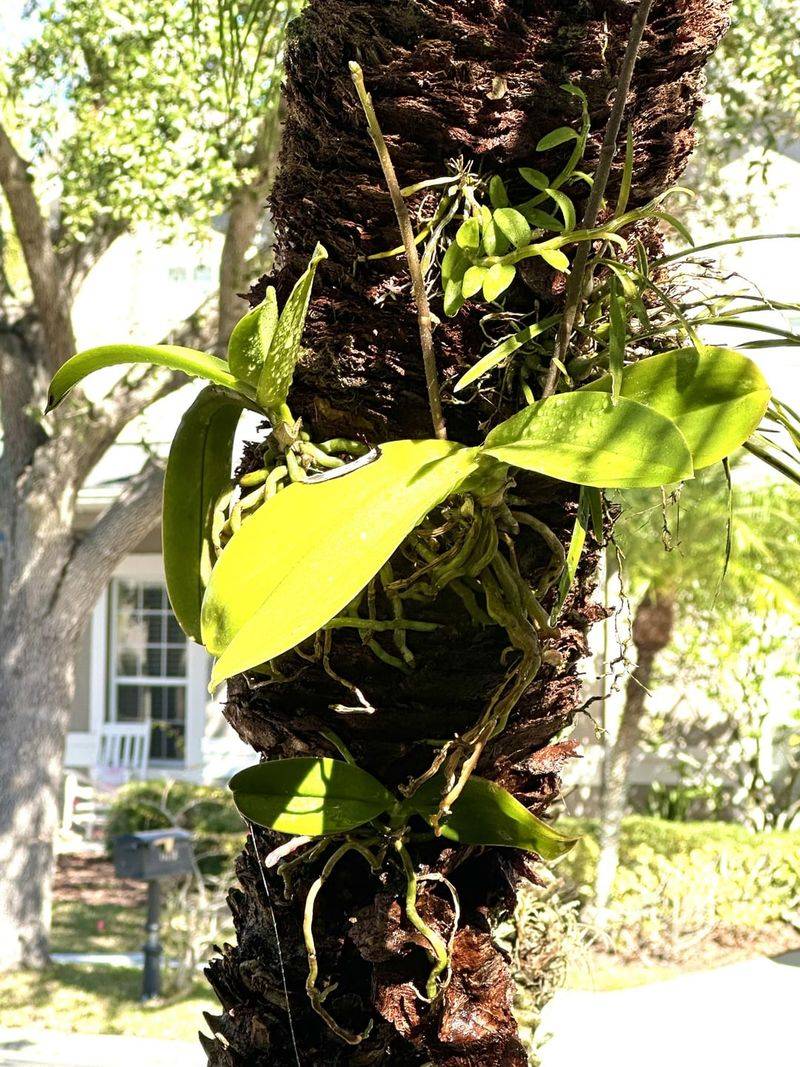
Moth orchids come from steamy Southeast Asian forests, so a forty-degree night feels like a shock to them. Chilled leaves can develop sunken, water-soaked patches that turn tan or black a few days later.
Phalaenopsis and vandas usually prefer staying above fifty-five degrees, while most cattleyas can handle a bit more chill. Cold fronts in Central and North Florida can drop temperatures quickly, even after a toasty afternoon.
I keep a weather app handy all winter and check the overnight low before heading to bed. When the forecast dips toward fifty, my tender plants take a quick trip into the garage or house.
Orchids hanging in trees can be harder to move, so group them under a dense canopy instead. Overhead branches trap some of the warmth rising from the ground, which softens the bite of radiant cold.
Frost cloth draped over a frame helps too, as long as the fabric reaches the ground on every side. Keep the cover from touching leaves, because cold travels right through the cloth where it rests.
Drier plants handle chilly air better than soggy ones, so skip watering the evening before a cold front. Wet tissue chills faster, and that extra moisture can make cold damage spread farther inside the leaves.
Once the sun returns, carry your plants back outside so they keep soaking up bright winter light. A few days of babysitting each season feels like a small price for healthy spring flower spikes.
4. Repotting Orchids In Midwinter Sets Roots Back
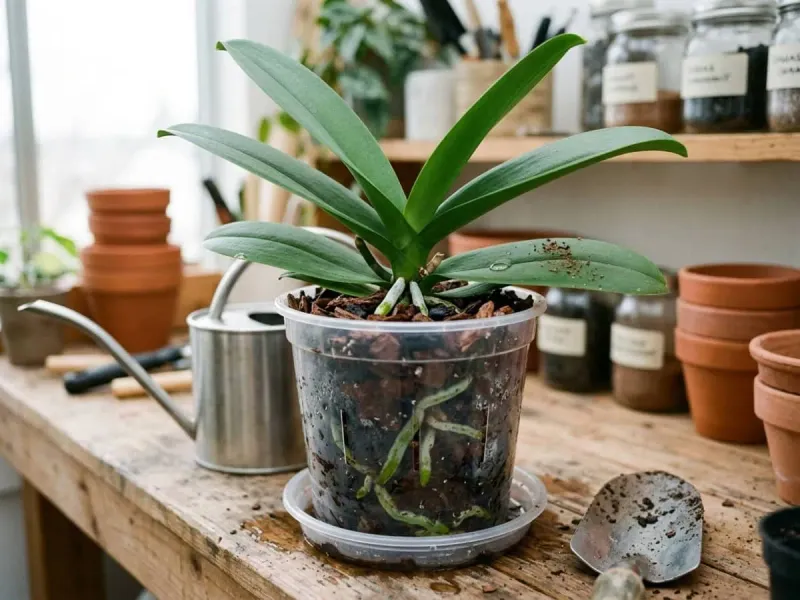
Bright green root tips poking out of the pseudobulbs are the signal orchids give when they want new homes. In the cool months, most plants show no such sign, and that quiet phase matters a lot.
Tearing apart roots now forces the plant to heal wounds while growth is slow and energy is limited. Broken roots also give rot fungi an easy doorway, especially when cool, damp weather lingers for days.
I mark my calendar for spring and wait until fresh roots appear at the base of new shoots. Those eager roots grab onto new bark quickly, so the plant settles in with barely a hiccup.
Moth orchids are a bit different, since growers often repot them right after the flowers fade. Many of them bloom through late winter, so that timing usually lands in spring anyway for most homes.
Emergencies do happen, like a pot that tips over or mix that has broken down into mushy soil. In those cases, gently move the plant into fresh, chunky mix and disturb as few roots as possible.
Sterilize your scissors between plants, because orchid viruses spread easily on dirty blades from one pot to another. A quick flame from a lighter or a soak in a bleach solution handles that chore nicely.
After an emergency repot, keep the plant slightly drier and shaded for a week or so to recover. Patience now pays off later, and I promise that spring repotting session will feel much more rewarding.
5. Crowded Orchid Benches Breed Fungal Leaf Spots
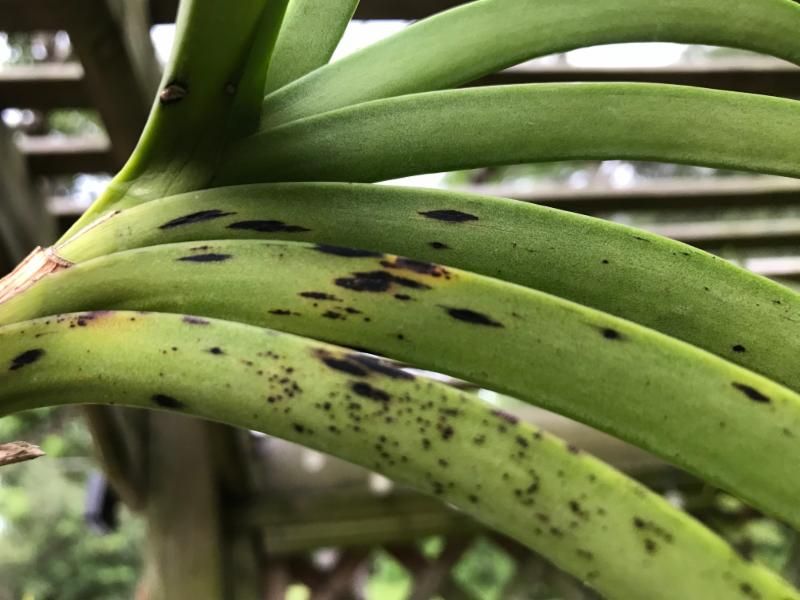
Tiny brown freckles on orchid leaves often start with one sneaky ingredient, which is still, damp air. Fungi and bacteria love a crowded bench where leaves overlap and moisture lingers long after the sunrise.
Winter tempts many of us to huddle plants together for warmth, especially when cold nights sneak in. That cozy cluster helps during a freeze, but leaving it packed tight for weeks invites trouble.
Bacterial brown spot is a really common offender on moth orchids, showing up as soggy, smelly blisters. It spreads quickly through splashing water, so a crowded group can share it within a few days.
I like to leave enough space that a breeze can slip between pots without bumping into leaves. On a screened porch, a small oscillating fan on low keeps the air gently moving all day.
Aim that fan so it sweeps past the plants, not straight at them, or leaves can dry too much. Fallen leaves and old flowers also deserve a quick cleanup, since they hold moisture and feed mold.
When you spot an infected leaf, cut it off with a clean blade and isolate the plant. Keeping that patient apart for a couple of weeks protects the rest of your collection from splashing spores.
Honestly, a little elbow room feels like the easiest disease prevention trick I have ever tried in my yard. Your orchids will look cleaner, and you will spend less time playing leaf doctor until spring arrives.
6. Water Left In Orchid Crowns Overnight Invites Rot
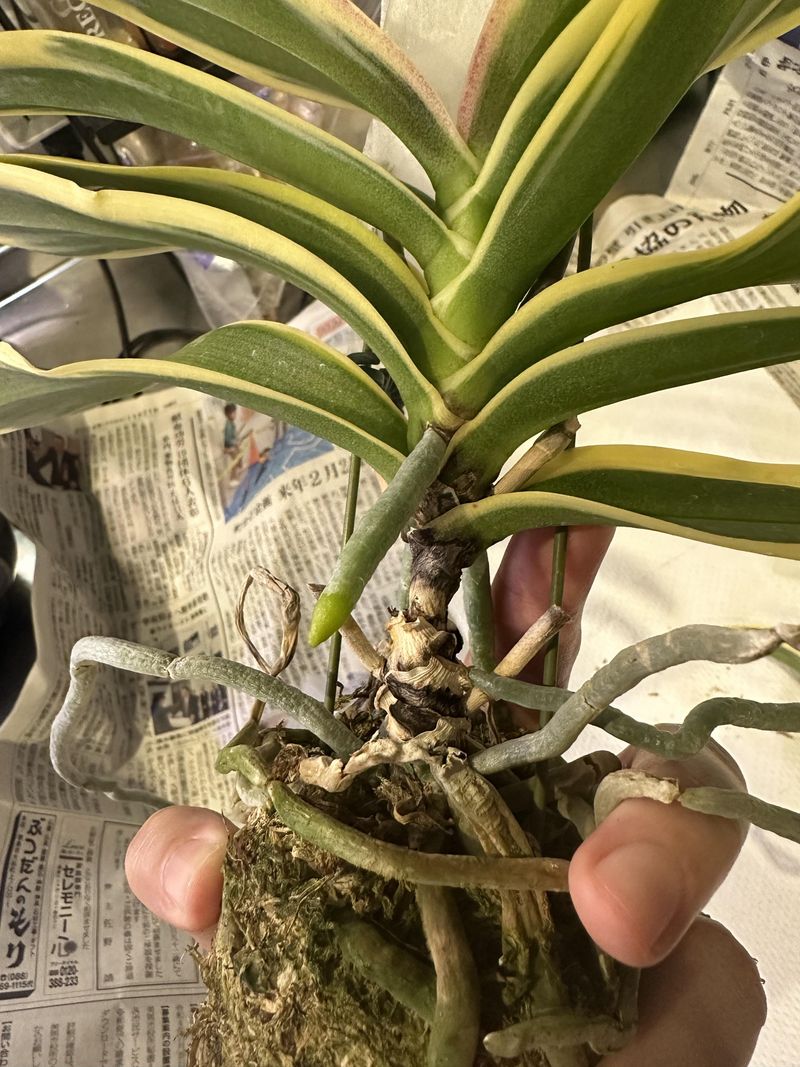
Moth orchids grow with their leaves forming a little cup, and that cup catches water like a birdbath. In the wild, they hang sideways on branches, so rain usually runs right off before trouble starts.
Potted plants sit upright in our yards, which lets water puddle in the center where new leaves form. During cool nights that puddle barely evaporates, and crown rot can turn the growing point to brown mush.
Once the crown rots, a moth orchid usually cannot grow new leaves from the top again. Sometimes it pushes out a side shoot, but that recovery takes a long time and plenty of luck.
My favorite fix is simple, since I water in the morning so the sun can dry everything by dinner. Evening watering feels relaxing after work, yet it keeps foliage damp through hours of chilly darkness.
If water does land in the crown, dab it out with a paper towel or tissue right away. Some growers tilt their pots slightly or mount moth orchids sideways, which copies how they grow naturally.
Pouring water straight onto the mix instead of over the leaves also helps a great deal in winter. A watering can with a long, narrow spout makes aiming at the bark much easier than a hose.
Using room temperature water is kind too, because icy water can leave pale spots on tender moth orchid leaves. Small habits like these feel almost too easy, yet they save so many plants every single winter.
7. Orchid Pots Sitting In Saucers Of Water Drown Roots
Orchid roots actually breathe, and many species evolved clinging to tree bark where air surrounds them day and night. Parking a pot in a saucer full of water takes that air away, and roots suffocate slowly.
Cooler days and slower evaporation mean those saucers stay full much longer than they did in summer heat. Water molds such as black rot thrive in that soggy setup and can spread through a plant quickly.
I learned this lesson with a pretty cattleya that sat in a decorative cachepot for one rainy month. Its roots turned black and soft, and that sad sight still makes me check every saucer twice.
Fancy cachepots look lovely on a patio table, but they often hide a puddle at the bottom. Tip them out after every watering or rain shower, or simply let the plastic pot stand on its own.
Pots with plenty of side slits or drainage holes suit orchids far better than solid ceramic containers. Clay pots breathe through their walls, which helps the mix dry evenly between drinks in cool weather.
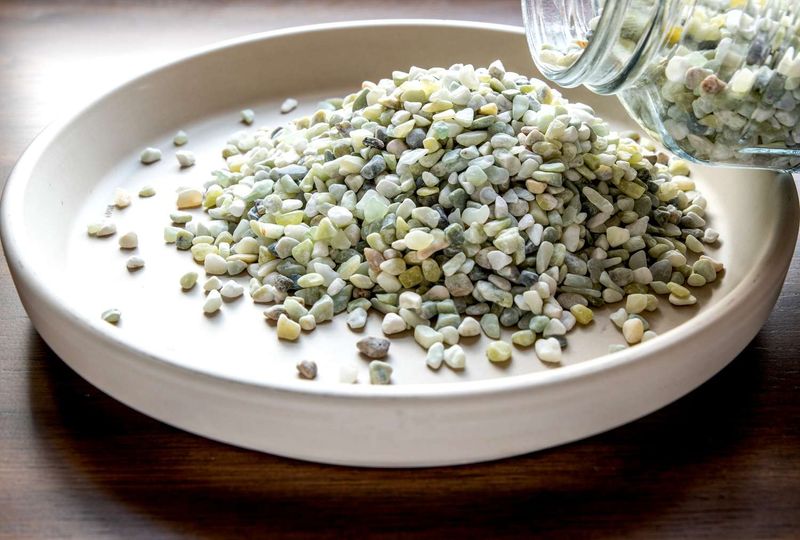
For extra humidity indoors, set pots on a pebble tray with the water level sitting below the stones. The rising moisture helps leaves, while the pot itself stays high and dry above the little puddle.
Outdoor benches made of wire or slatted wood also let water drain away fast after a passing shower. Your roots will stay plump and silvery, which is a lovely sight when you peek through clear pots.
8. Scale Insects Hide On Orchid Leaves In Winter
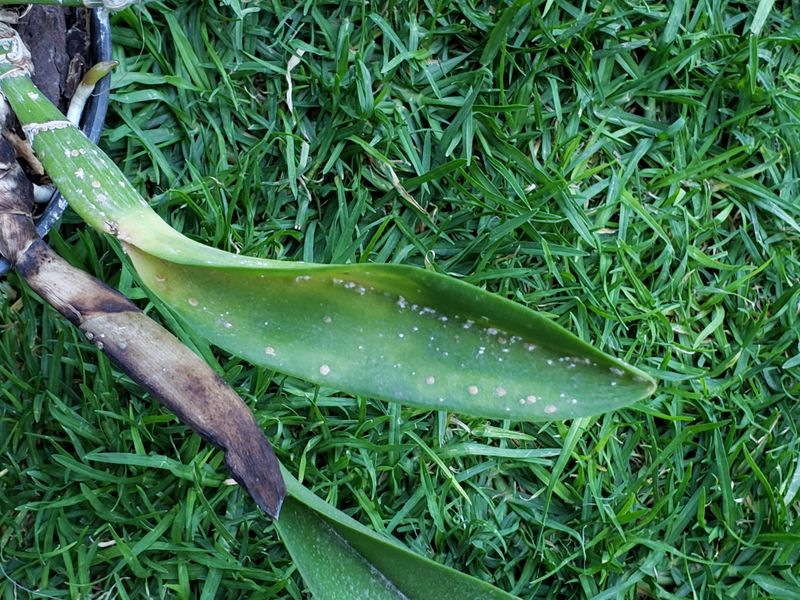
Those tiny white specks on the undersides of cattleya leaves might look like dust, but they are often hungry insects. Boisduval scale is a common orchid pest in Florida, and it loves hiding under papery sheaths.
Pests keep feeding through the cooler months, and stressed plants can show yellow blotches where scale sucks sap. Mealybugs join the party too, tucking their cottony white bodies deep into new leaves and tender flower buds.
Skipping regular inspections lets small colonies grow into big headaches before you even notice anything wrong with the plant. I like doing a slow walk through my collection every Sunday morning with coffee and a magnifier.
Flip leaves over and peek under dry sheaths on pseudobulbs, since scale loves those hidden corners most. Gently peeling away old papery sheaths removes hiding spots and makes future checks much quicker for you.
For light infestations, a soft toothbrush dipped in insecticidal soap scrubs scale off leaves quite nicely. Horticultural oil sprays also smother pests, but apply them on mild days, not right before cold snaps.
Repeat treatments every week or two, because eggs hidden under the scale covers hatch later on. Read the product label carefully, since some orchids react badly to certain sprays on their tender leaves.
Isolating a newly bought plant for a few weeks keeps hitchhikers from moving into your whole collection. That bit of caution feels fussy at first, yet it spares you many weeks of tedious scrubbing later.
9. Cutting Leafless Dendrobium Canes Wastes Future Flowers
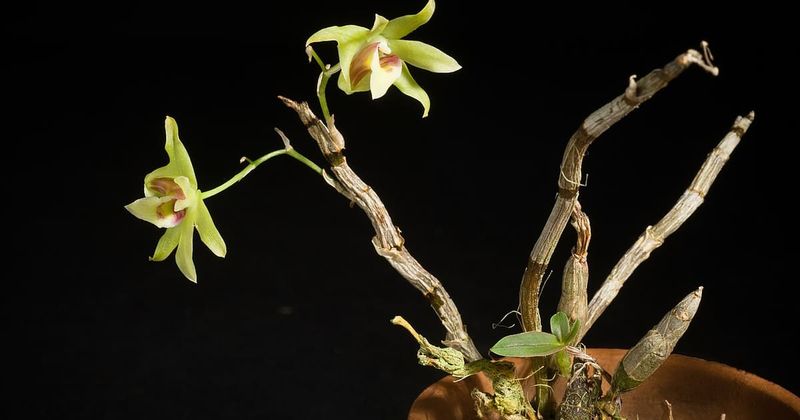
Bare, yellowish dendrobium canes look scruffy by midwinter, and pruning them feels tempting for a tidy gardener like me. Hold that thought, because those leafless old canes are often exactly where next spring’s flowers pop out.
Deciduous types like Dendrobium nobile hybrids drop leaves in fall and then bloom along the bare canes. Those canes also store water and food, which carries the plant through its dry winter rest.
Older canes can keep producing flowers or baby plantlets called keikis for several years in a row. Removing them early takes away stored energy, and the next round of blooms may look skimpy.
Many of these dendrobiums also want much less water now, so treat their winter rest with respect. I mist mine lightly every week or two until fresh growth and buds appear in late winter.
Too much water during this rest often turns flower buds into leafy keikis, which disappoints plenty of growers. Cool nights and dry roots encourage the buds to swell, so give these plants a sunny, sheltered spot.
Only remove a cane when it turns brown and shriveled, feeling hollow or soft when you squeeze it. Even then, use a sterilized blade and cut close to the base without nicking any healthy neighbors.
Cattleya pseudobulbs work the same way, so leave those plump green backbulbs alone after flowers fade. Ugly canes in January can become a stunning wall of purple and white blossoms by early spring.
10. Cutting Green Phalaenopsis Flower Spikes Too Soon
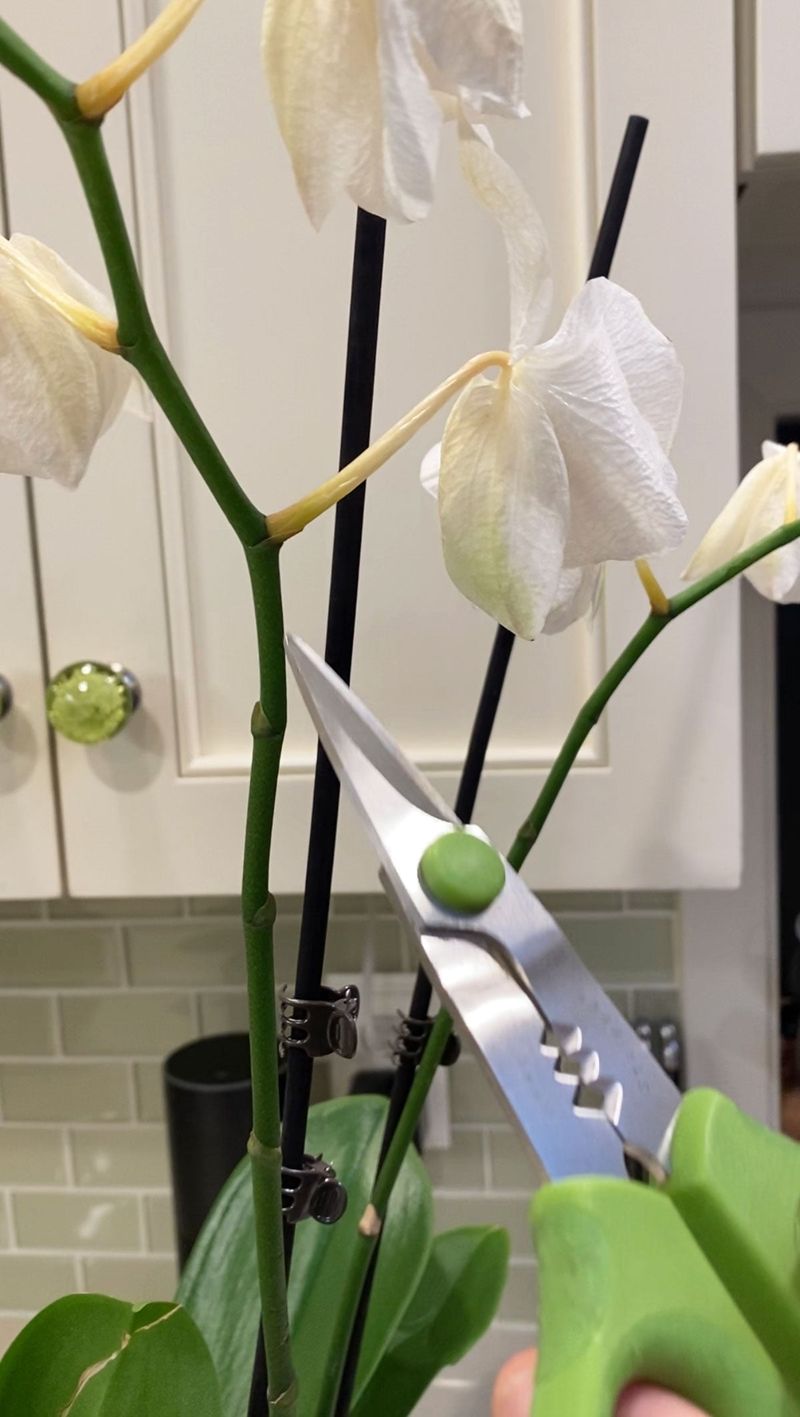
A moth orchid spike can rebloom from a sleeping node, which feels like getting a free bouquet twice. Those little brown bumps along the stem hold backup buds, and they wake up when conditions suit them.
Cool fall nights in the upper fifties to low sixties help trigger new spikes on many Phalaenopsis plants. That means late fall and winter is prime time for flowering, so keep your pruning shears in the drawer.
When the last blossom drops, look closely at the spike color before you grab any tools at all. A green, firm spike can still branch or rebloom, while a brown one has finished its job.
Many growers trim a green spike just above the second or third node below the old flowers. That cut sometimes nudges a side branch to form, giving you a smaller second show within a few months.
Personally, I let young or weak plants skip the rerun and remove the spike to save their strength. Plants with only three or four leaves often need a season of leaf and root building first.
Brand new spikes look a lot like roots at first, but they have a pointed tip shaped like a mitten. Avoid snipping anything green until you know for sure, because a mistaken cut can cost a whole season.
Once a fresh spike appears, keep the plant in the same spot so the buds do not twist around. Moving it around often causes crooked stems, and staking gently helps those graceful arches look their best.