How to Trim a Snake Plant in an Arizona Home Without Hurting It
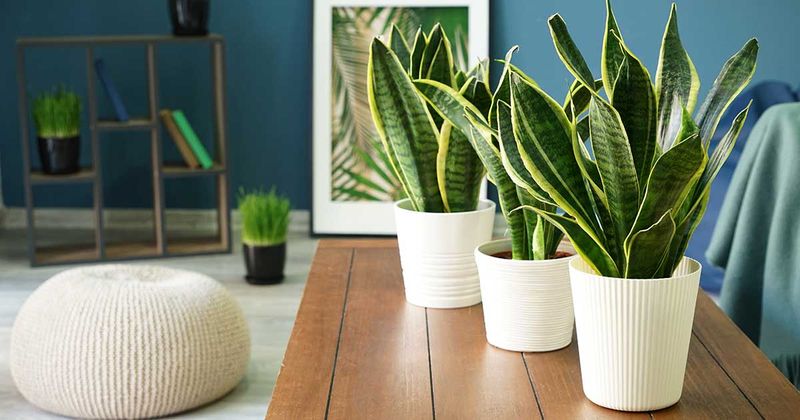
A snake plant can sit through a lot of neglect and still look tough, yet one wrong snip can leave a leaf with a permanent scar. Trimming sounds simple, but a few small choices decide whether you tidy up or just make a mess.
This guide is for indoor plants in Arizona homes, where windows can get hot and bright. You may find that the best cut is sometimes no cut at all.
Decide Whether Trimming Will Help
Snake plants do not need regular haircuts. If your plant is growing happily, you can leave it alone and enjoy the architecture.
Trimming is a choice for looks or for dealing with a leaf that is damaged, floppy, or simply unwanted.
There are two kinds of cuts to think about. One cleans up a brown tip, and the other removes a whole leaf.
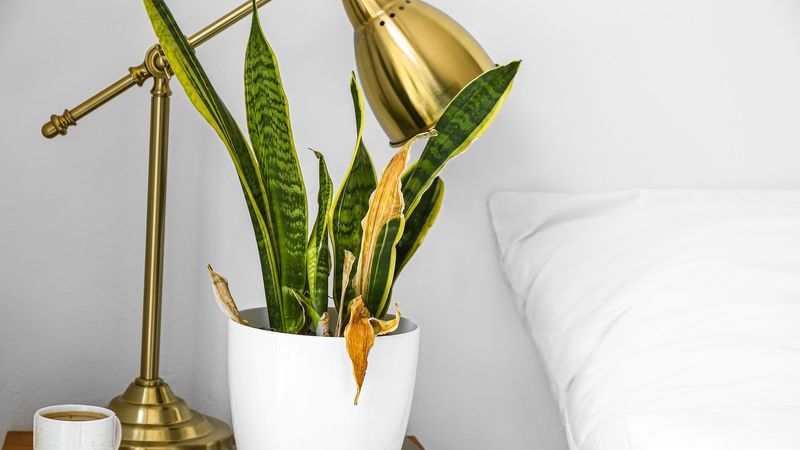
University of Arizona Extension says brown tips and margins can be trimmed back to green tissue, following the shape of the leaf. For a whole leaf, the New York Botanical Garden suggests cutting just above the soil.
Here is the catch. A cut changes how the plant looks, but it does not fix whatever caused the damage.
Picture mopping up a puddle while the pipe still drips. Before you reach for scissors, ask whether the leaf bothers you or whether the plant itself seems unwell.
Looks and health are two separate questions, and only the first one is solved with a snip.
This advice is for a potted plant living indoors. Homes in Arizona vary a lot, so use your own plant as the guide rather than a calendar.
Trim Brown Tips Only If You Want a Neater Look
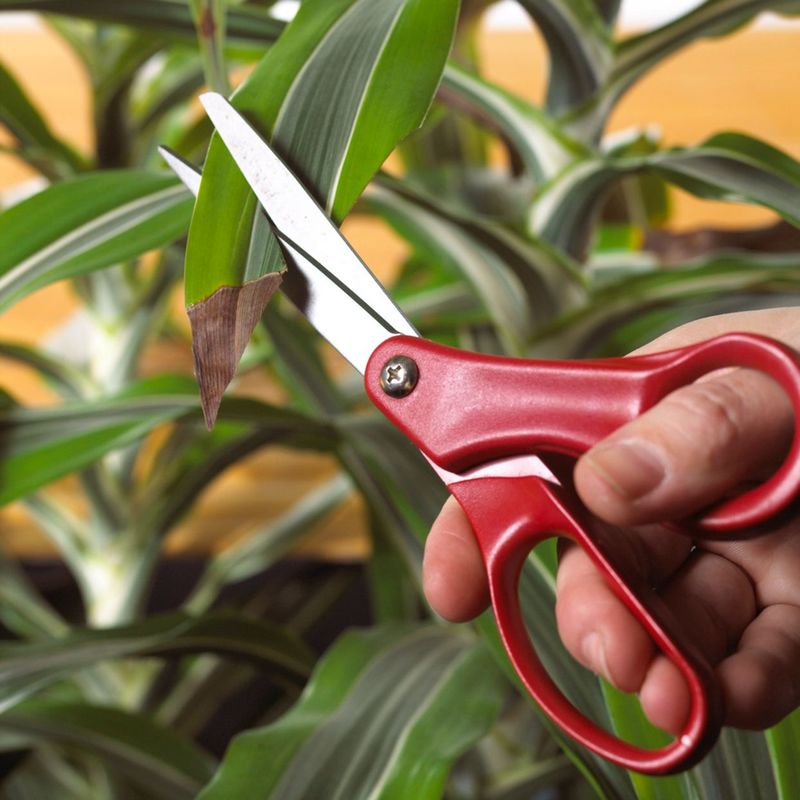
A brown tip is mostly a cosmetic nuisance, so trimming it is entirely optional. If it bugs you, use clean, sharp scissors and remove only the brown part.
Leave the green tissue alone, because every bit of it still works for the plant.
Follow the natural outline of the leaf. Snake plant leaves taper to a point, so angle your cut to echo that shape instead of chopping straight across.
University of Arizona Extension gives this same advice for brown tips and margins on indoor plants.
Keep your expectations modest. The cut changes the outline of the leaf, and the tip will not grow back.
It also will not cure the reason the tip browned in the first place. Iowa State Extension notes that new browning can return if causes like watering trouble, fertilizer salts, or water quality are not addressed.
If new brown tips keep showing up, treat that as a clue about care. A tidy leaf today means little if the same problem repeats next month.
Remove a Floppy Leaf Just Above the Soil
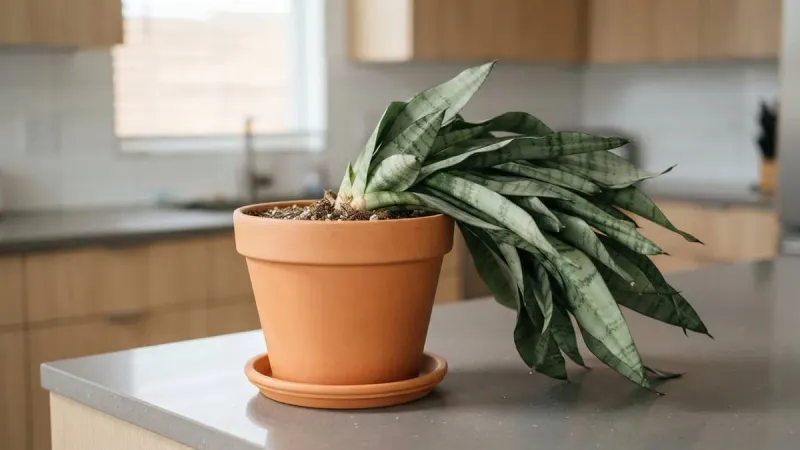
Some leaves flop over, look damaged, or just stick out in the wrong direction. Fixing the tip will not help those leaves much.
Taking out the whole leaf makes more sense, and it is a different choice from a tip trim, because that leaf is gone for good.
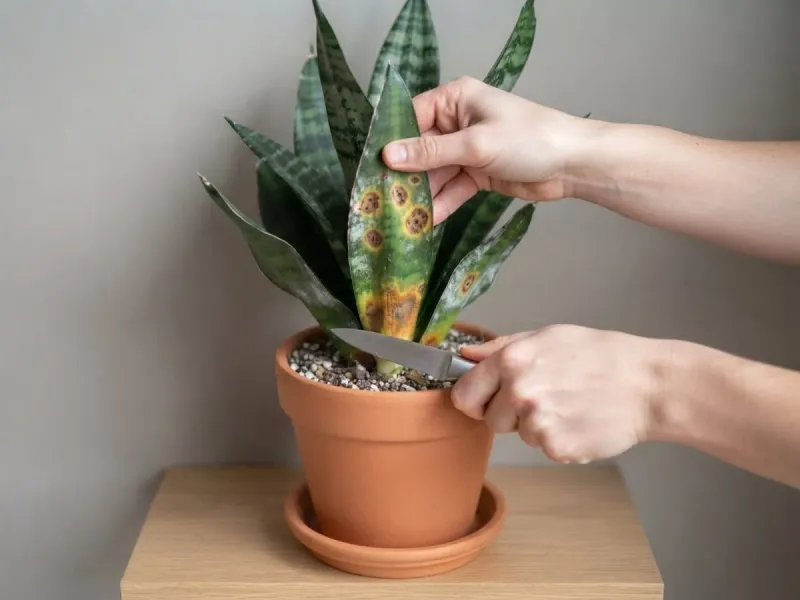
The New York Botanical Garden recommends a sterile cutting tool and a cut just above the soil line. Wipe your blade or scissors with rubbing alcohol first so you are not carrying trouble from another plant.
Then make one clean cut near the base rather than leaving a leafy stump.
Choose the leaf with care. A leaf that is soft, bent, or clearly damaged is a fair candidate, and so is one you simply do not want.
A healthy upright leaf is usually better left in place.
Do not expect the cut to speed up new growth. New leaves come from the plant on their own schedule, and removing one leaf only changes how the pot looks today.
Keep Pruning Conservative
Go easy with the shears. The New York Botanical Garden recommends removing no more than one-quarter of the plant’s total leaf surface at a time.
That is its conservative recommendation, not a universal threshold proven for every plant.
Think of it as a safe habit. If your plant has twelve leaves, taking out a few is plenty for one session.
You can always cut more later, but you cannot glue a leaf back on.
The garden also advises keeping the fresh cut surface dry while it callouses. Skip misting the stump and be careful when you water so the cut area stays dry.
A dry cut gives the plant a better chance to seal over.
Timing matters a bit too. NYBG favors spring for faster recovery, so pruning later in the year may produce slower results.
You do not need to rush, and there is no rule that says you must prune in any particular month.
Check Watering Before Trimming Browning Again
If brown tips keep returning, stop cutting and start checking. Trimming only tidies the leaf, while the real cause may be something in your care routine.
Watering is the first place to look.
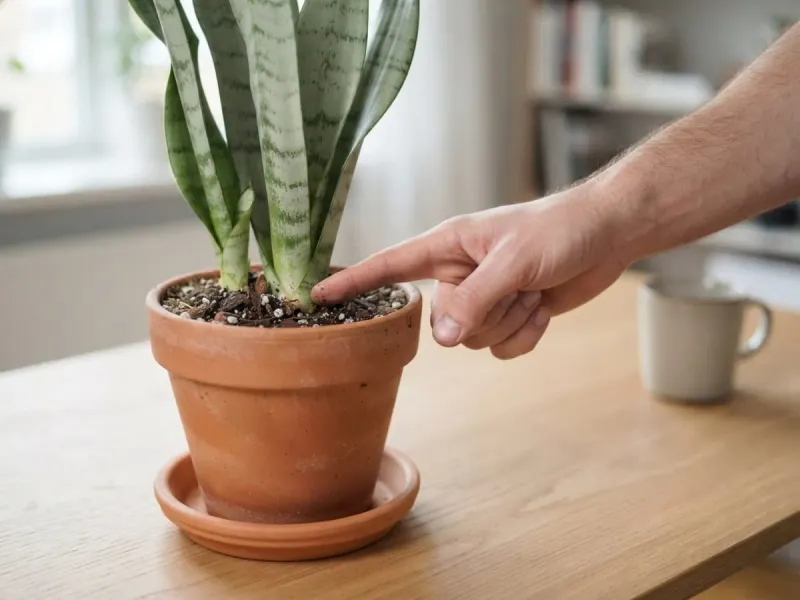
Illinois Extension recommends letting the soil dry between waterings and calls overwatering a common problem with this plant. Poke a finger into the soil before you pour.
If it still feels damp, wait.
Treat these as checks, not a verdict. Brown tips alone cannot prove you overwatered.
Iowa State Extension lists several possible causes for brown leaf tips, including watering issues, excess fertilizer salts, and water quality.
A few practical steps help. Make sure the pot drains well and empty any saucer after watering.
Go lighter on fertilizer if you use it, and watch whether the browning slows over the next few weeks. Change one thing at a time so you can tell what helped.
Check Heat and Light Near Windows
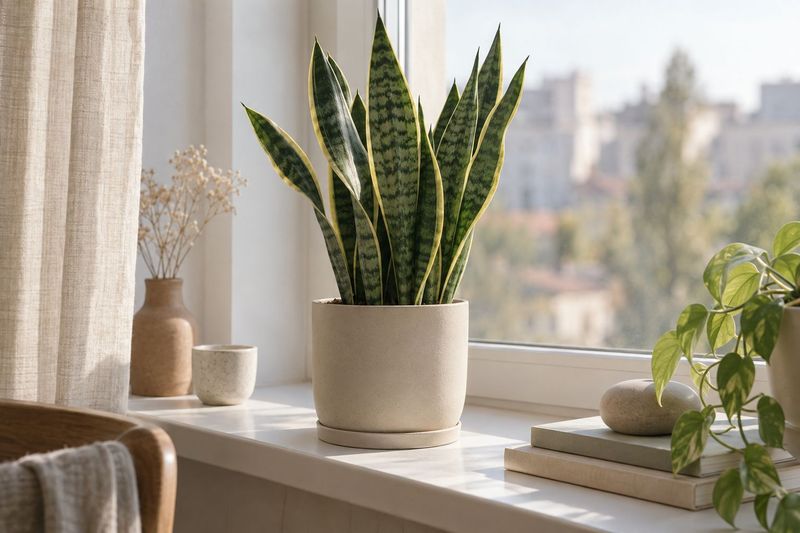
Windows can be tough neighbors for a houseplant. Glass can magnify sun and trap heat, and an Arizona afternoon makes that easy to see.
If leaves look scorched, ask where the plant sits.
University of Arizona Extension advises managing heat and intense sunlight near windows for indoor plants. That could mean a sheer curtain or a spot a little farther from the glass.
Every home is different. Window direction, shade from trees or buildings, and the season all change how much light and heat reach the pot.
A spot that works in one house may be harsh in another, so there is no single placement that suits everyone.
Try a simple test. Hold your hand near the leaves at midday and notice if the air feels hot.
Then look for damage on the side facing the glass. If you move the plant, give it a few weeks before judging the result.
Treat Propagation as a Separate Project
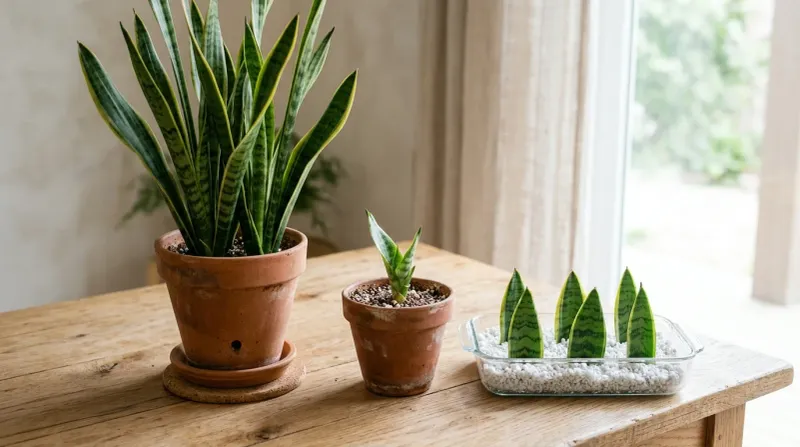
A cut leaf can become more plants, but that is a different job from routine trimming. Propagation is a project you choose to start, not a reason to cut.
Trimming for looks and propagating for new plants have different goals.
Iowa State Extension says snake plants can be propagated from leaf sections. If you have a healthy leaf you already removed, you could try it.
Follow a proper guide so you plant the pieces right side up and give them time.
Variegated plants need extra thought. The same extension notes that many variegated forms may lose their edge coloration when propagated from leaf sections.
Division is the option it gives for keeping the pattern.
So if your plant has golden edges you love, do not count on leaf cuttings to copy them. Dividing the plant keeps the pattern more reliably.
Plain green types are less fussy in this way.
Keep Clippings Away From Pets
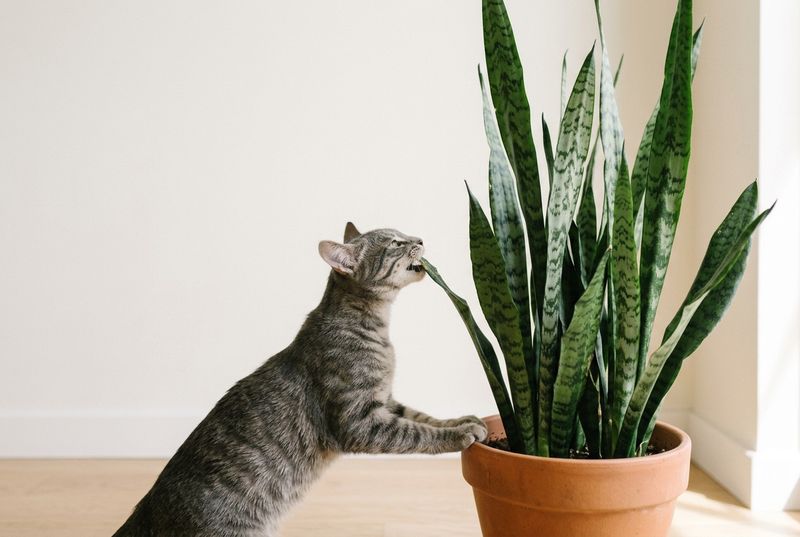
Once you finish trimming, clean up right away. Snake plant clippings should stay out of reach of cats and dogs.
A leaf on the floor can look like a toy to a curious pet.
The ASPCA lists snake plant as toxic to cats and dogs. It names saponins as the cause and says eating it may lead to nausea, vomiting, or diarrhea.
Those effects are tied to ingestion. Ordinary contact, like a pet brushing past the pot, is not described that way.
Still, it makes sense to keep leaves and the plant itself out of nibbling range.
Drop clippings into a covered bin or a bag you tie shut. If a pet chews on a leaf, call your vet or a poison hotline for advice.
A neat plant is nice, but a safe home is nicer.