How Virginia Gardeners Turn Fallen Leaves Into Free Garden Gold
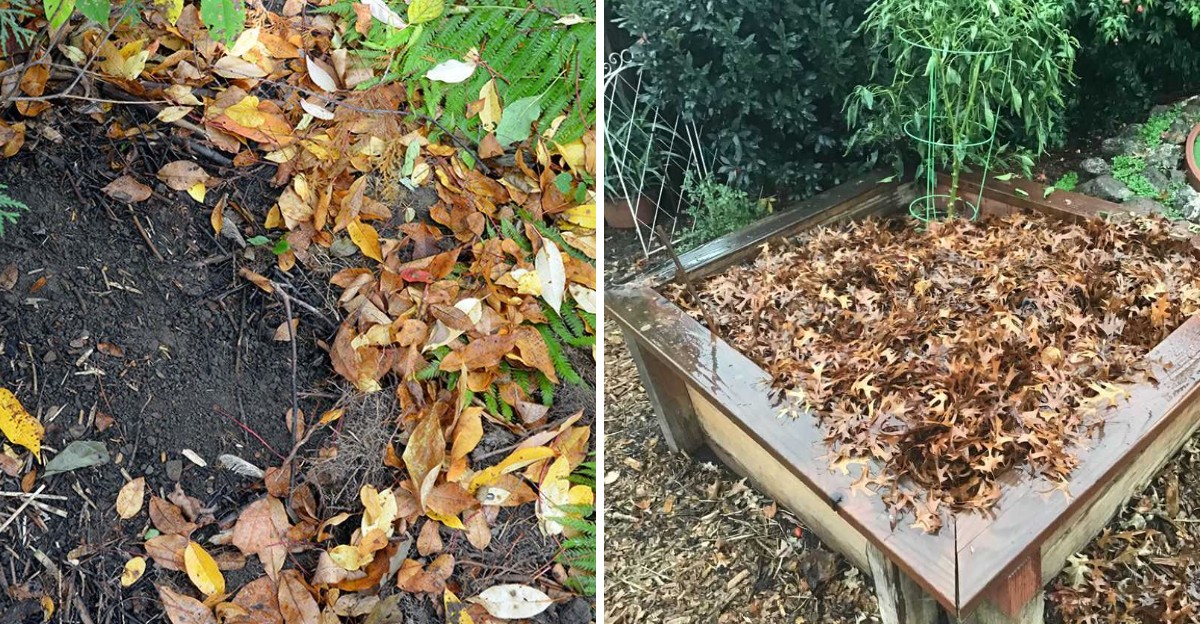
One mature tree can drop thousands of leaves each autumn, and every one holds minerals pulled from deep soil. Those leaves arrive on your lawn as a free delivery that most people pay someone to haul away.
Finished leaf mold can hold three to five times its weight in water, which rivals pricey peat moss.
Bumblebee queens, many moths, and plenty of butterflies spend the cold months tucked into that same papery litter.
I have to admit I once bagged every leaf and set them on the curb like trash. Now I treat my Virginia yard like a bank account, and those piles count as steady deposits for spring.
You might notice your neighbors raking furiously while your beds quietly grow richer underneath a brown blanket. There are more ways to put those fallen leaves to work than you might realize.
1. Run Your Mower Over Dry Leaves On The Lawn
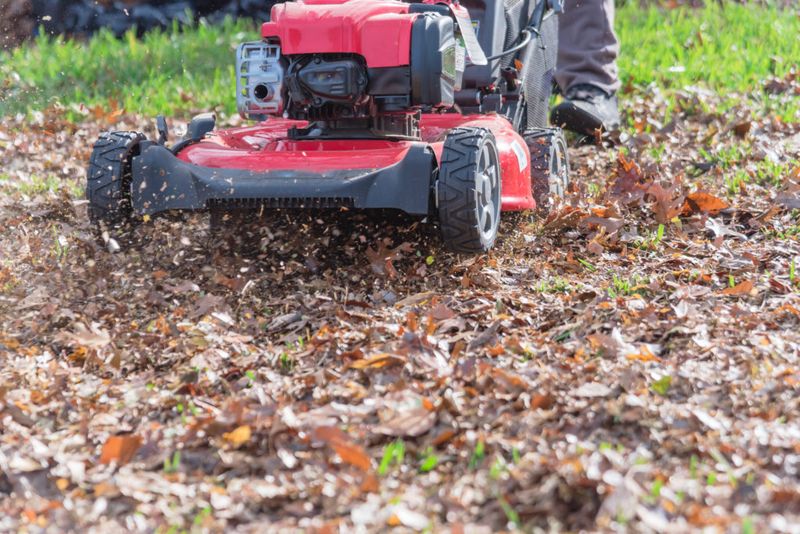
Your lawn mower secretly doubles as a leaf shredder, and it saves you hours of sore raking every single fall. I love how a few quick passes turn crunchy piles into tiny flakes that vanish between grass blades.
Set the mower blade around three inches high, then wait for a dry afternoon before you start.
Wet leaves clump and stick together, so dry ones chop into much smaller and more even pieces.
Make two or three passes until the pieces look about the size of a dime or smaller. You should still see plenty of green grass peeking through once the job is finished on your yard.
Those little bits break down quickly and feed organic matter straight back into the soil under your turf. Some lawns even need less fertilizer over time, which feels like a nice bonus for doing less work.
Thick mats of whole leaves are a different story, because they can smother grass and invite disease. Mow every week or so during heavy leaf drop instead of letting deep layers pile up for weeks.
Personally, I keep a mulching blade on my mower through the whole season for this handy chore.
If you collect clippings in a bag, you can save that shredded mix for beds and compost too.
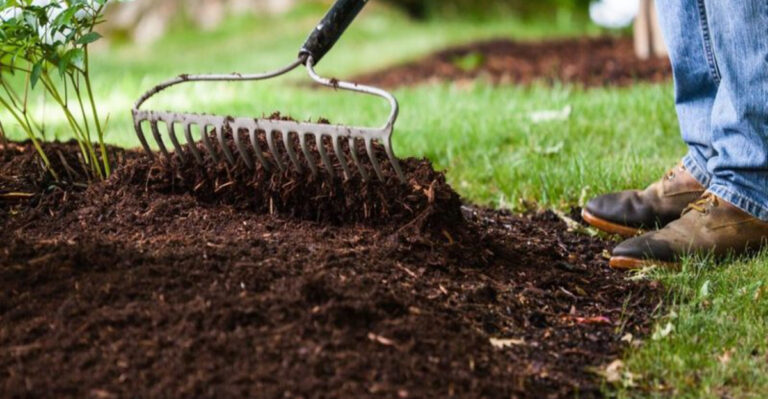
2. Spread Shredded Leaf Mulch Around Shrubs And Perennials
Store-bought mulch costs real money by the bag, yet nearly identical cover drifts down from your own trees.
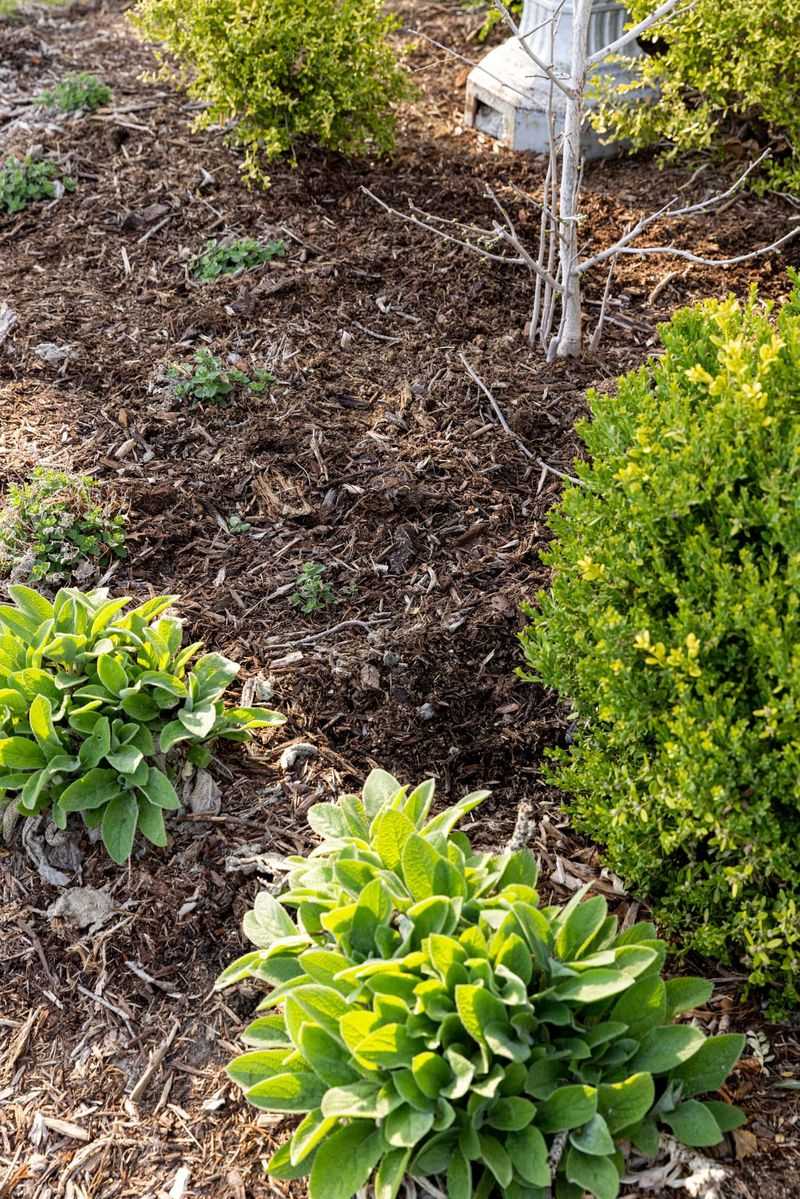
I believe shredded leaves look tidy and earthy, almost like crumbled cocoa spread across a flower bed.
Shredding matters a lot here, because whole leaves can mat into a soggy layer that blocks water. A mulching mower or leaf shredder breaks them into pieces that let rain and air slip through easily.
Spread about two or three inches around shrubs, perennials, young trees, and vegetable rows that you want protected. Keep the mulch a few inches away from stems and trunks so moisture does not sit against bark.
That brown layer blocks sunlight from weed seeds, which means fewer annoying sprouts popping up next spring.
It also holds soil moisture during dry spells, so you might water your beds a little less often.
Black walnut leaves contain juglone, but they can generally be composted or used as mulch once properly decomposed, since juglone breaks down over time.
Leave out leaves from sick plants as well, because diseases can hitch a ride into healthy beds.
As the mulch slowly breaks down, it feeds the soil and earthworms pull bits deeper into the ground. You can top it off each autumn and watch your soil turn darker and softer every year.
3. Turn Damp Leaf Piles Into Crumbly Leaf Mold
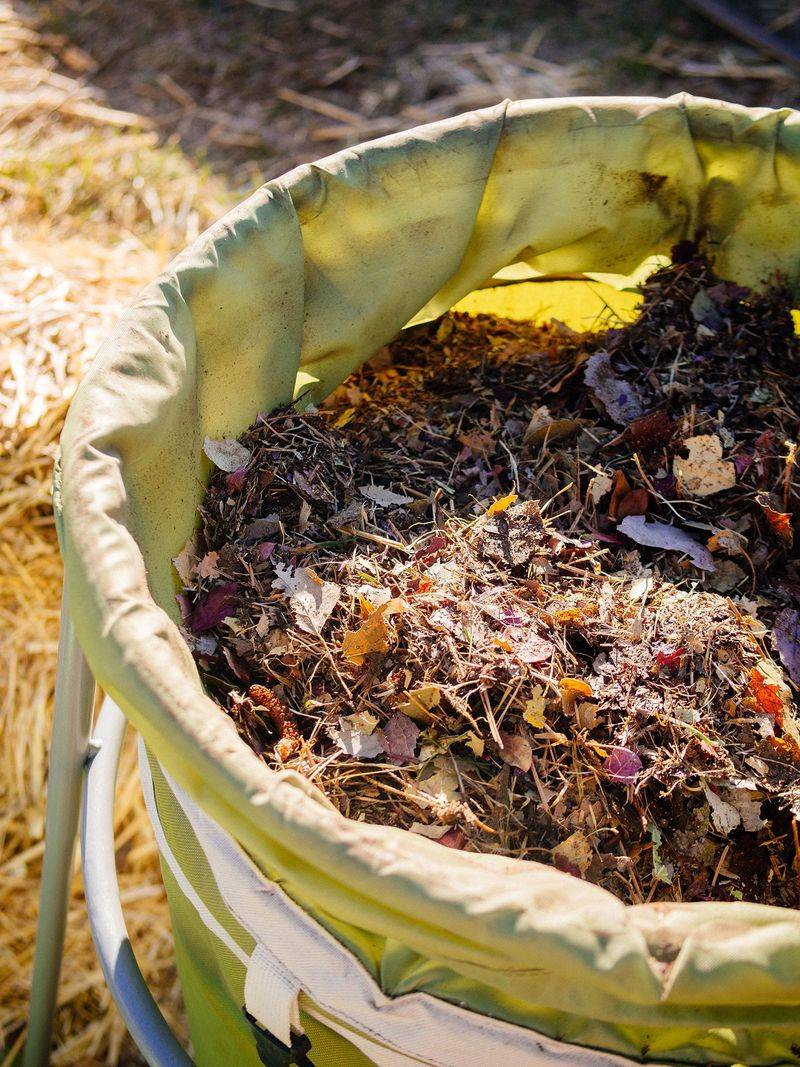
Gardeners in England have prized leaf mold for generations, and they often call it black gold for good reason.
What surprises me most is that fungi do almost all the work while you simply wait and relax.
Unlike regular compost, leaf mold is not really a fertilizer at all for your hungry plants. Instead, it works as a soil conditioner that improves texture and holds three to five times its weight in water.
Gather oak, maple, or beech leaves, then shred them first if you want quicker results by next fall.
Pile them in a simple wire bin or a shady heap tucked behind the garage or shed.
Keep the pile about as damp as a wrung-out sponge, adding water with a hose during dry stretches. Plastic trash bags with a few holes poked in them also work nicely if your yard space feels tight.
Shredded leaves usually become leaf mold in about six to twelve months with steady moisture and patience. Whole leaves take longer, often one or two years, so plan ahead and start a fresh pile annually.
Finished leaf mold smells like a forest floor after rain and crumbles easily between your fingers. I mix it into potting soil and seed beds, where it keeps tiny roots happy and evenly moist.
4. Feed A Backyard Compost Bin With Brown Leaves
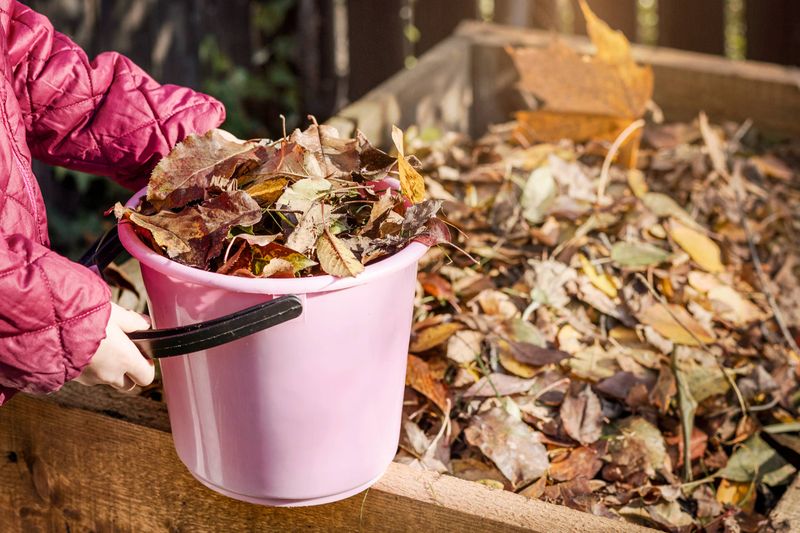
Every compost pile needs a steady supply of browns, and autumn hands you a mountain of them for free.
I like stockpiling bags of dry leaves so my bin stays balanced long after the trees go bare.
Leaves count as a carbon-rich brown ingredient that gives structure and energy to the microbes inside your pile. Pair them with nitrogen-rich greens like fresh grass clippings, coffee grounds, or vegetable peels from your kitchen.
Aim for about three parts browns to one part greens by volume, and adjust if things smell odd.
A stinky pile usually needs more leaves, while a slow, dry pile often wants extra greens and water.
Shred the leaves before adding them, because smaller pieces give microbes more surface area to munch through. Turn the pile with a garden fork every week or two so fresh air reaches the center easily.
Keep everything damp but not soggy, like a sponge you squeezed out after washing your kitchen dishes. Within a few months, you should notice crumbly, dark compost forming near the bottom of the bin.
Your beds get a rich boost of nutrients, and fewer leaf bags end up crowding local landfills. Honestly, few chores feel more satisfying than turning yard waste into food for next season’s tomatoes and peppers.
5. Work Chopped Leaves Into Empty Vegetable Beds
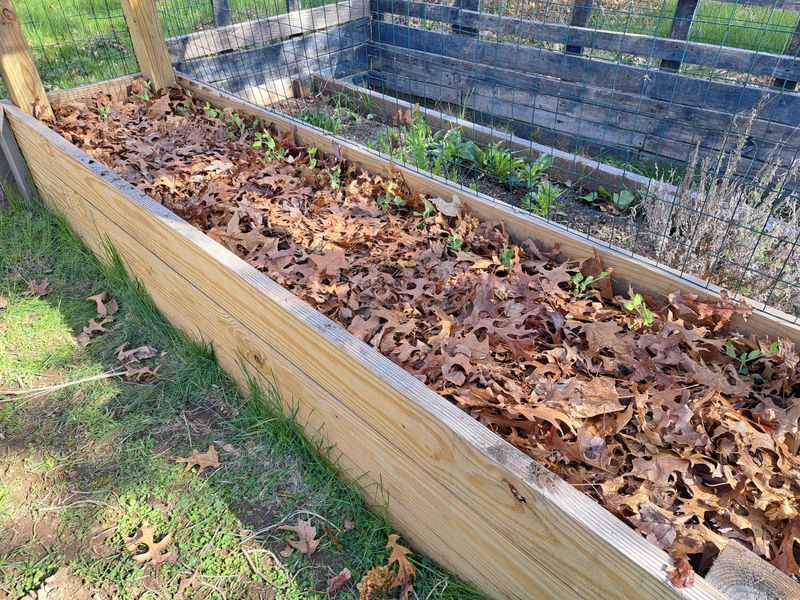
Heavy red clay can feel like modeling dough under your shovel, especially across much of the Virginia Piedmont.
Chopped leaves are one of my favorite cheap fixes, since they loosen clay and help sandy soil hold water.
Once your summer crops are finished, spread two to six inches of shredded leaves over the empty beds. A thinner layer suits small raised beds, while larger in-ground plots can handle a deeper autumn helping.
Use a garden fork to mix the leaves gently into the top few inches of soil without much fuss. Soil microbes and earthworms then go to work through the cool months, breaking pieces down bit by bit.
Timing matters here, because fresh leaves can briefly tie up nitrogen while microbes digest all that carbon.
Fall mixing gives them months to break down before you set out spring transplants or sow seeds.
Check the bed in early spring, and you should see only a few leathery leaf scraps left behind. If plenty of leaves remain, wait a few extra weeks or add some compost before planting anything.
I find that beds treated this way drain better after storms and stay crumbly during long summer heat. You may also notice more earthworms wriggling around when you dig, which signals healthy, living soil.
6. Tuck A Thick Leaf Blanket Around Tender Plants
Winter weather here can swing from mild sunshine to hard freezes within a single week of the season.
Those wild swings cause frost heave, which can push shallow roots right out of the chilly ground.
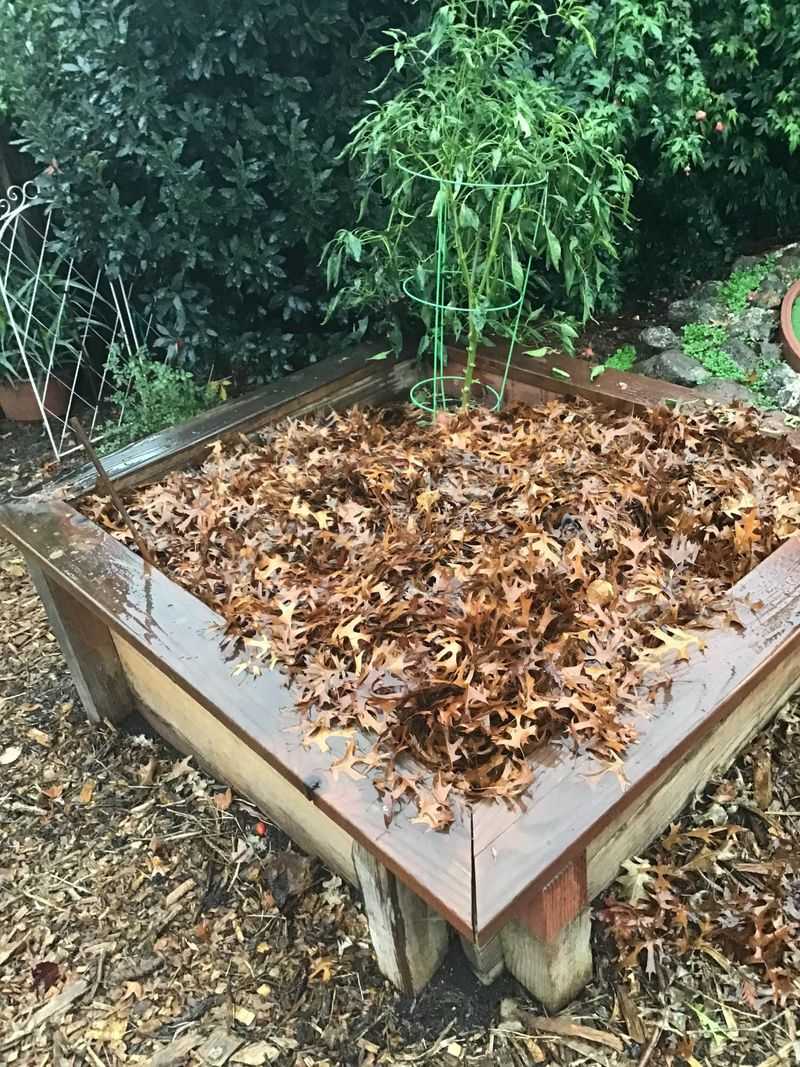
A loose blanket of shredded leaves helps steady soil temperatures, so roots stay snug through the ups and downs. I think of it as tucking a cozy quilt around my favorite plants before the coldest nights arrive.
Wait until the ground freezes, then pile about six inches of shredded leaves around tender perennials and new shrubs.
Carrots and kale also appreciate the extra cover, and you can often keep harvesting through cold spells.
Potted plants benefit too, especially when you cluster containers closely together near a sheltered wall or fence. Pack leaves between and around the pots so the roots inside face fewer harsh freezes and thaws.
Keep an eye out for hungry voles, since thick mulch can give them a hidden place to nibble. Pulling leaves back slightly from stems and crowns makes that cozy spot less tempting for these little critters.
Once new shoots start poking up in early spring, gently rake the thick layer away from the crowns. You can spread those leftover leaves between rows or toss them straight into your compost bin for later.
7. Leave Leaf Litter Under Trees For Bumblebees And Butterflies
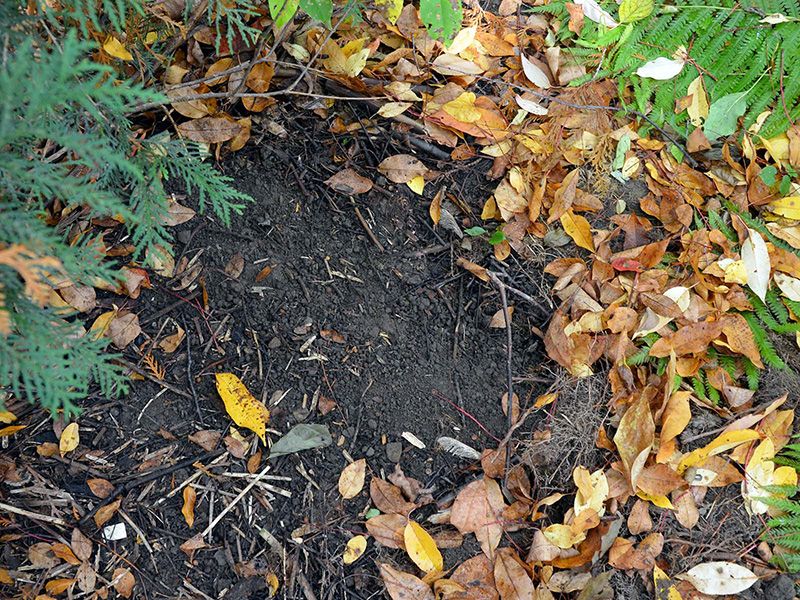
Many bumblebee queens spend winter burrowed just under loose leaf litter, waiting quietly for warm spring days.
Some moth and butterfly caterpillars wrap themselves inside fallen leaves, so a rake can carry them away unnoticed.
I love how simple this method is, because it mostly means doing less and enjoying a lazier autumn. Pick a few spots where leaves can stay put, such as under native trees, shrubs, or woodland edges.
Perennial beds work well too, especially where tall stems and seed heads already offer winter shelter for insects.
Leaving whole leaves in place gives critters the layered hiding spots they naturally depend on in forests.
Birds often flip through leaf litter searching for insects, and toads may hunker down beneath the soft cover. Researchers in nearby Maryland have recorded large numbers of insects emerging from leaf litter each spring.
Worried about a messy look from the street or your next-door neighbors? Edge the area with stones, a low border, or a clean mowed strip, so it looks planned instead of forgotten.
A small sign about pollinator habitat can also spark friendly chats with curious neighbors walking by your yard. Personally, I find watching chickadees forage through those leaves far more fun than bagging another pile for pickup.
8. Build A No Dig Lasagna Bed With Cardboard And Leaves
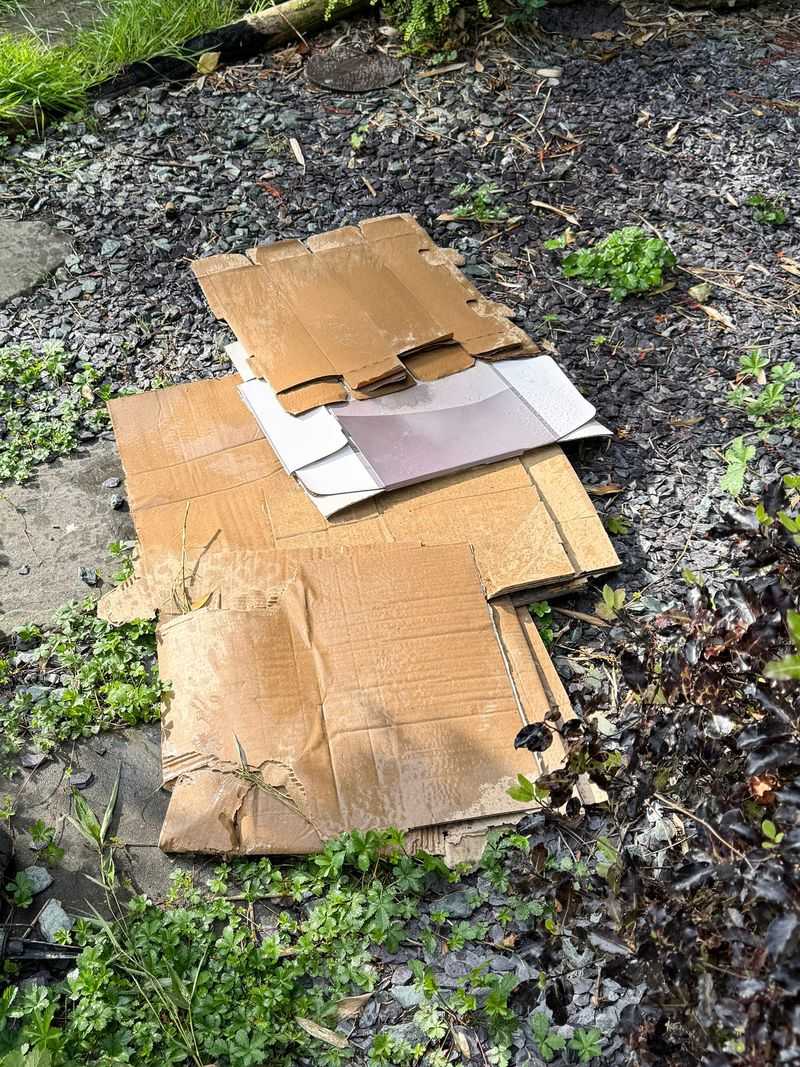
Turning a patch of stubborn lawn into a new garden bed usually means sweaty digging and sore muscles. Sheet mulching, often called lasagna gardening, lets cardboard and fallen leaves handle much of that tough work instead.
Start by laying flattened cardboard or several sheets of newspaper directly over the grass you want gone.
Overlap the edges by several inches, then soak everything with a hose so it settles firmly against the ground.
Next, pile on thick layers of fallen leaves, and add grass clippings, straw, or compost between them. Stack the layers like a tasty lasagna, alternating browns and greens until the bed stands a foot tall.
The cardboard blocks light, so grass and weeds underneath gradually weaken while the layers above slowly break down. Worms move in quickly, tunneling through the cardboard and mixing rich organic matter into the soil below.
Autumn makes perfect timing for this project, since leaves are plentiful and winter gives everything months to settle.
Most beds are ready for planting within about six months to a year, depending on thickness and moisture.
If you feel impatient, add a few inches of compost on top and plant sturdy transplants straight into it. I can’t imagine an easier way to expand my garden using materials that literally fall from the sky.