What You Should And Shouldn’t Do To Roses Before Winter In Virginia
Those little orange fruits left behind on old flowers can actually tell a shrub to slow down for winter. I learned this after years of snipping every faded bloom right up until the first frost arrived.
Gardeners across Virginia often miss this quiet signal when autumn sneaks in with cool nights and shorter days. Plants read light and temperature changes, then begin hardening their stems for the cold months ahead.
I have to admit that my early fall habits once did more harm than good in my own beds.
You might notice weak shoots, blackened tips, or stubborn leaf spots appearing the following spring for the same reason.
A few smart moves before the ground freezes can protect your garden favorites through the chilly season. Which of your current habits are helping, and which ones might be quietly working against your best blooms?
1. Stop Feeding Rose Bushes By Late Summer
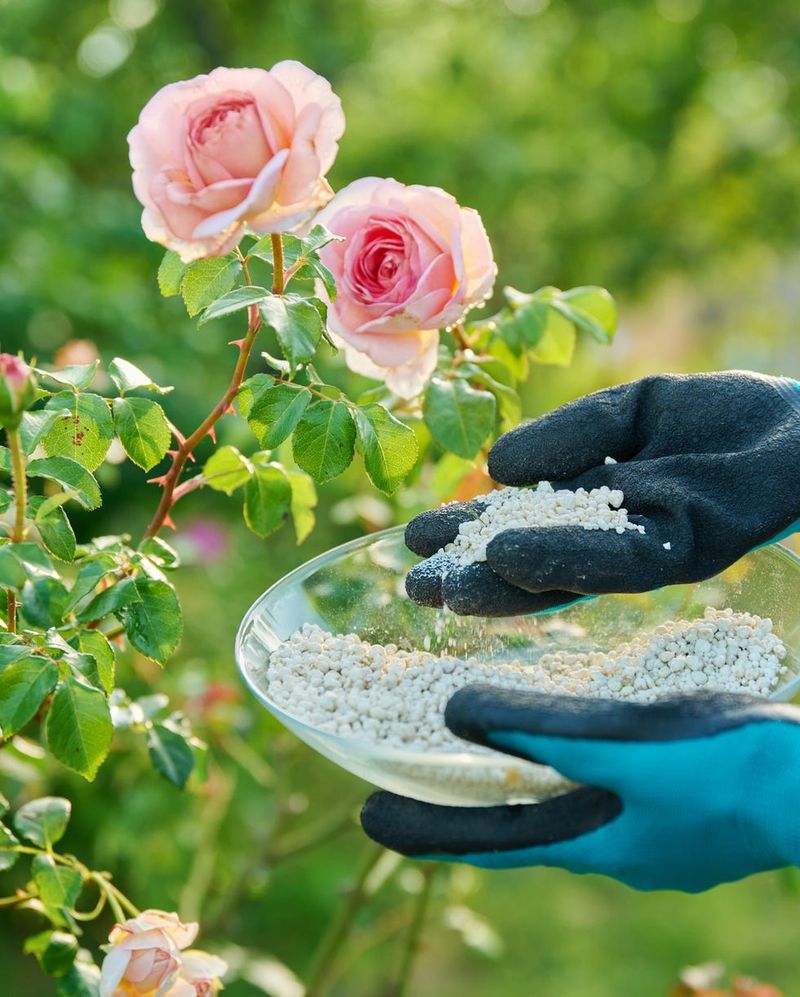
Fertilizer in September feels generous, but your roses may treat it like an invitation to throw a late party.
Tender new shoots appear quickly, and those soft stems rarely toughen up before the first hard freeze.
Personally, I put my fertilizer bag away somewhere around mid to late August each year. Many experts suggest stopping roughly six to eight weeks before your average first frost date arrives in fall.
Frost dates shift quite a bit across the state, so check your local timing before marking the calendar.
Mountain gardens often see frost in early October, while coastal yards may stay mild until November.
Once feeding stops, the plant shifts its energy toward strengthening the canes it already has in place. Those woody stems store food and handle cold far better than fresh, leafy growth that appeared too late.
You might feel tempted when a warm spell brings a final burst of pretty buds in early autumn. Enjoy those flowers, but resist adding more nutrients that would push another round of soft, vulnerable foliage.
Slow-release products applied earlier in summer can keep working longer than many gardeners expect, so read labels carefully. A product lasting three months, applied in July, may still be feeding roots well into October.
I like how this simple pause costs nothing and saves real heartache when spring finally rolls around again.
Healthy canes in March usually mean stronger growth, better flowering, and fewer pruning surprises for you.
2. Rake Fallen Rose Leaves Before Black Spot Returns
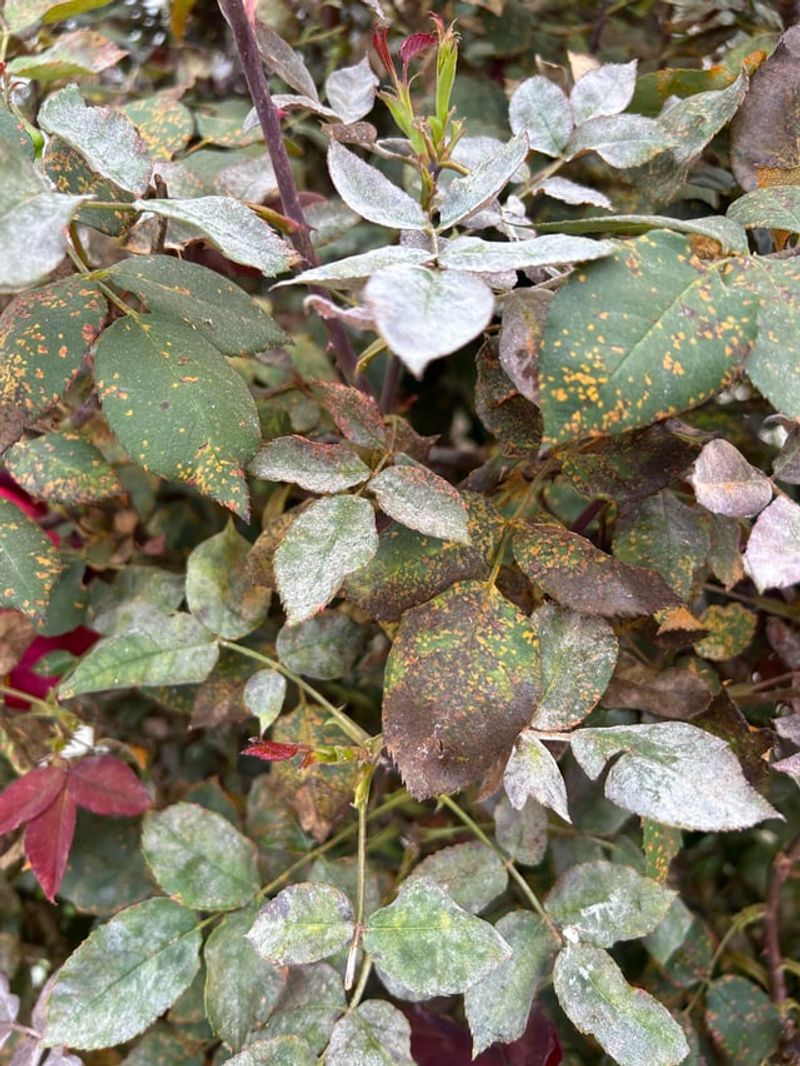
Those spotted yellow leaves scattered under your bushes are more than messy, because they quietly carry fungal spores. Black spot, caused by Diplocarpon rosae, happily spends winter tucked inside fallen foliage on the ground.
When spring rain splashes onto infected leaves, spores bounce upward and land right back on fresh new growth.
I can’t imagine giving that fungus such an easy head start after a long season of fighting it.
Grab a rake and gather every fallen leaf, old petal, and bit of debris from beneath your plants. Pull off any badly spotted leaves still clinging to the canes, since they will drop eventually anyway.
Old mulch deserves attention too, especially if it sat under diseased bushes during a wet, humid summer. Scoop it away and replace it with a fresh layer once the ground has cooled down later.
Bag the infected material or send it out with yard waste instead of tossing it in your compost.
Home compost piles often stay too cool to reliably break down disease spores before you spread the finished product.
Humid summers make black spot a familiar headache for many rose growers in the Mid-Atlantic region each year. A tidy bed in autumn reduces how much fungus is waiting when warm, wet weather returns again.
You might notice cleaner leaves and fewer early outbreaks next season after just one careful autumn cleanup session.
Personally, I find raking under roses oddly satisfying on a crisp afternoon with a warm drink nearby.
3. Water Roses Deeply During Dry Autumn Spells
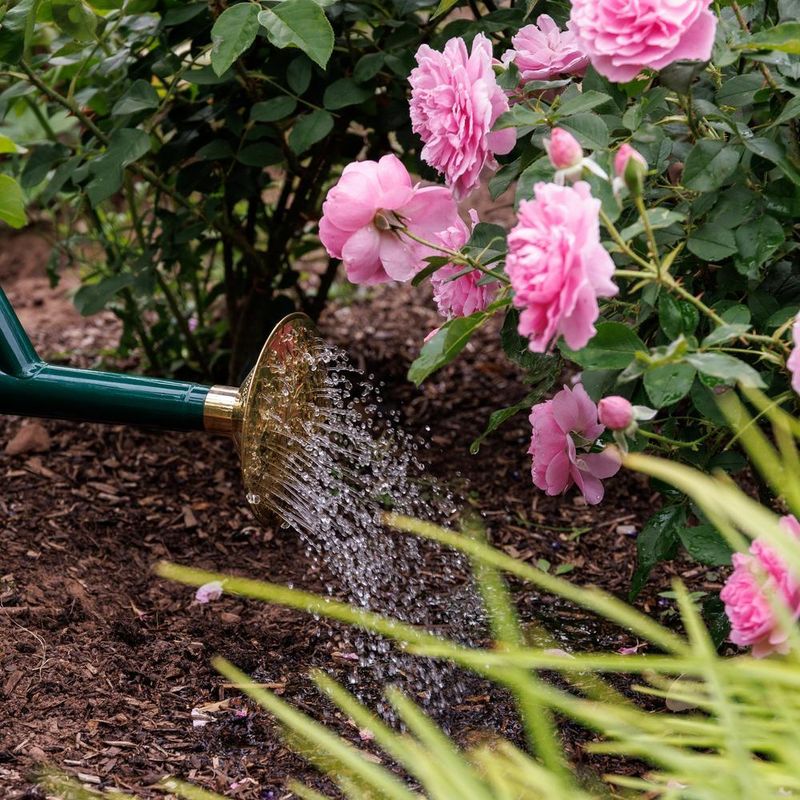
Thirsty roots heading into winter struggle more than well-hydrated ones, even though the plant looks quiet above ground.
Autumn droughts happen more often than many gardeners realize, and dry soil can stress shrubs before dormancy.
I check soil moisture by pushing a finger a few inches down near the base of each bush. If it feels dry at that depth, a slow, deep soak at the roots makes a real difference.
Soaker hoses or a gently running garden hose work better than quick sprinkles that barely wet the surface. Deep watering encourages roots to stay strong and helps the plant hold moisture through cold, windy weather.
Morning is my favorite time to water, because leaves and soil have the whole day to dry out. Wet foliage overnight can invite fungal trouble, so aim the water at the ground rather than the leaves.
Keep an eye on rainfall totals, and only step in when nature has skipped a week or two. Overwatered soil can turn soggy and cold, which roses rarely appreciate during chilly fall nights.
Continue checking until the ground begins freezing, then you can relax and put the hose away for the season.
Mild winter stretches may still call for an occasional drink on warmer days when soil feels dry.
You need to remember that winter wind pulls moisture from canes even when the plant has no leaves. Well-watered roses handle that drying effect much better than bushes going into the cold already parched.
4. Mound Fresh Compost Over The Rose Graft Union
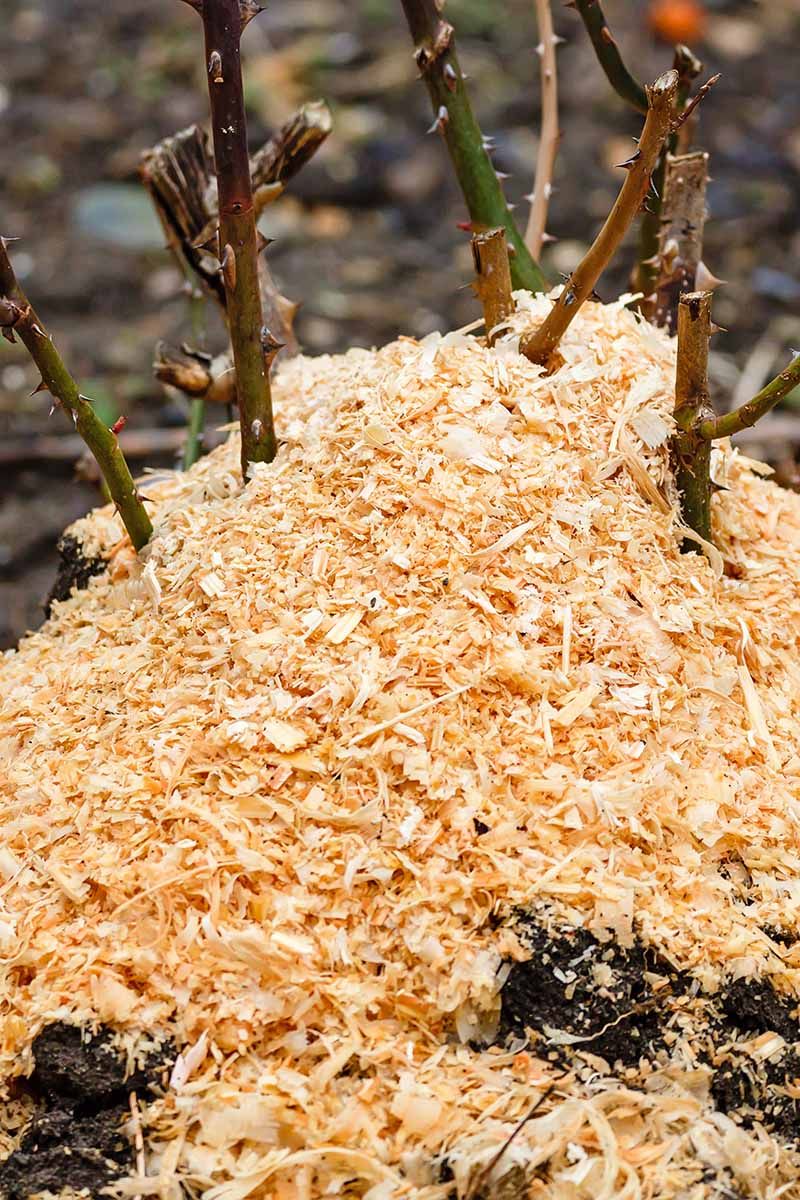
That knobby swelling near the base of many roses is the graft union, and it is surprisingly sensitive. Grafted roses join a chosen variety to sturdy rootstock, so damage at this spot can affect everything above.
After several hard frosts, I pile loose compost or well-draining soil around the base about six to twelve inches high.
The mound acts like a cozy blanket, shielding the crown from wild swings between freezing nights and sunny afternoons.
Repeated freezing and thawing can crack tissue and heave shallow roots, especially in heavy clay soils found statewide. Steadier temperatures under the mound help the plant rest calmly until spring warmth returns for good.
Bring in your soil or compost from another part of the garden instead of scraping it from around the bush. Pulling earth away from the base exposes roots and undoes the protection you were hoping to create.
Own-root roses and many shrub types are hardy across most of the state and may need less fuss. Still, I like giving newly planted roses a protective mound during their first winter in the ground.
Timing matters here, since mounding too early can hold warmth and moisture that encourage rot or late growth.
Wait until the plants are clearly dormant and nights have stayed below freezing for a while.
Spread the mound back gently in early spring once the worst cold has passed and buds begin swelling. You might be surprised how vigorous those protected crowns look when warm days finally arrive.
5. Trim Only Tall Rose Canes Before Winter Winds
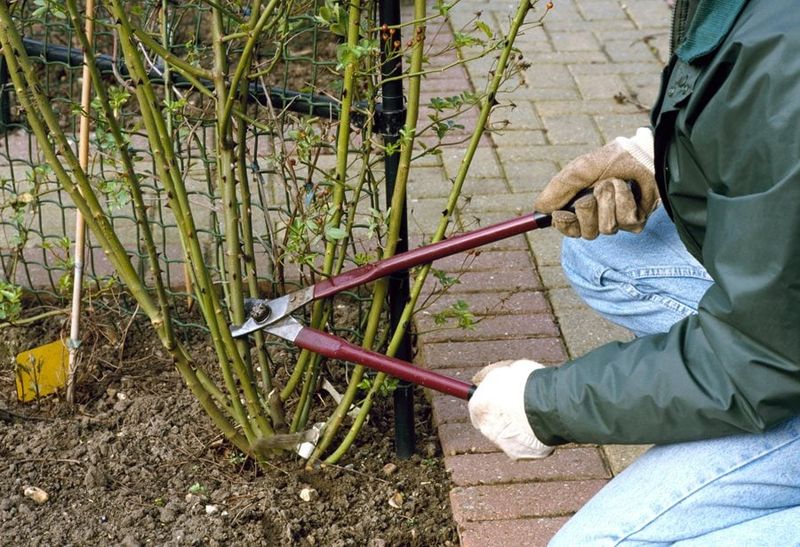
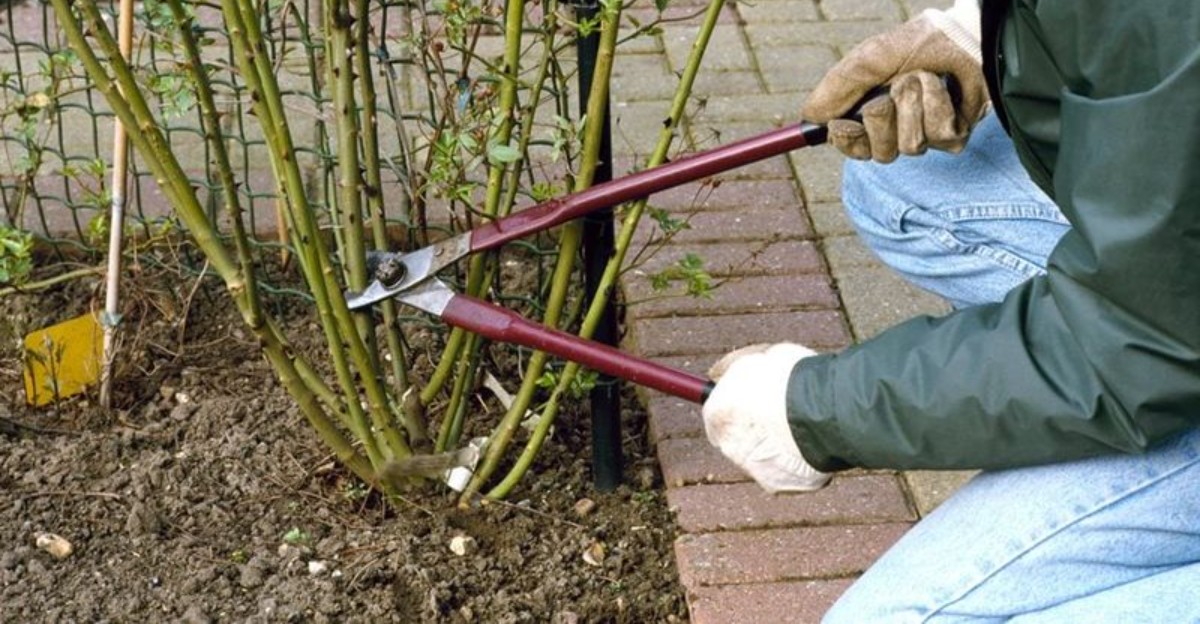
Tall hybrid tea canes waving in a gusty January wind can rock the whole plant loose at its roots. That constant swaying can also snap stems or loosen soil around the crown, leaving gaps where cold air settles.
After a few frosts, I lightly shorten extra-long canes on hybrid teas and floribundas to reduce that top-heavy look.
Removing roughly one third of the height keeps bushes steadier when snow or ice weighs on branches.
Clip out any broken or rubbing stems at the same time, since damaged wood can crack further in storms. Clean, sharp pruners make smooth cuts that seal faster and reduce the chance of spreading disease between plants.
Clean your blades with a household disinfectant according to the product instructions between bushes, especially if black spot showed up earlier. That small habit takes only seconds and helps keep problems from spreading around your garden.
Save the serious shaping for late winter or early spring, when buds begin swelling and growth starts again. Heavy cuts in fall can trigger tender shoots that the first hard freeze will quickly damage.
Many local rose societies suggest the major spring pruning happens around the time forsythia blooms each year.
I love that cheerful yellow shrub acting as a natural calendar for gardeners who forget the exact date.
Personally, I keep my autumn pruning so modest that a passing neighbor would barely notice any change at all. Your roses will thank you with sturdier canes when it is finally time for the real trim.
6. Let Bright Red Rose Hips Ripen On The Bush
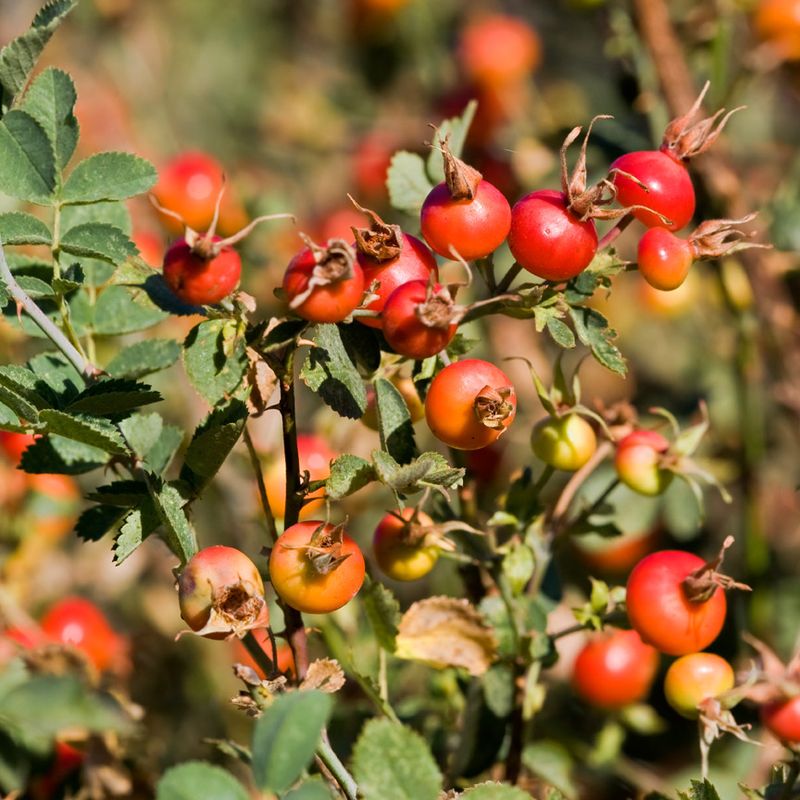
Those glossy red and orange hips forming after the petals fall are the rose’s version of seed pods. Letting them ripen sends a natural message telling the plant its growing season is winding down.
I stop deadheading in early fall, usually around the same time I put away my fertilizer for the year.
Cutting off faded flowers keeps nudging the bush to bloom again, which means more soft growth late.
Once hips start developing, the plant moves energy away from new flowers and toward hardening existing stems. That shift helps canes toughen up gradually before the coldest nights arrive in December and January.
What surprises me most is how pretty the hips look against bare branches on a frosty winter morning. Rugosa and many shrub roses produce especially colorful clusters that brighten an otherwise sleepy garden bed.
Birds such as cedar waxwings and northern mockingbirds sometimes snack on the fruit during the colder months. Watching them visit adds a little life to the yard when most flowers have faded for the year.
Hips are also rich in vitamin C and have long been used in teas, jams, and syrups.
Only harvest from plants that have not been sprayed with pesticides if you decide to try them yourself.
You might feel a little lazy leaving spent blooms in place, but this choice genuinely helps your roses. Sometimes the best garden work involves stepping back and simply letting a plant follow its natural rhythm.
7. Move Potted Roses Into A Sheltered Garage
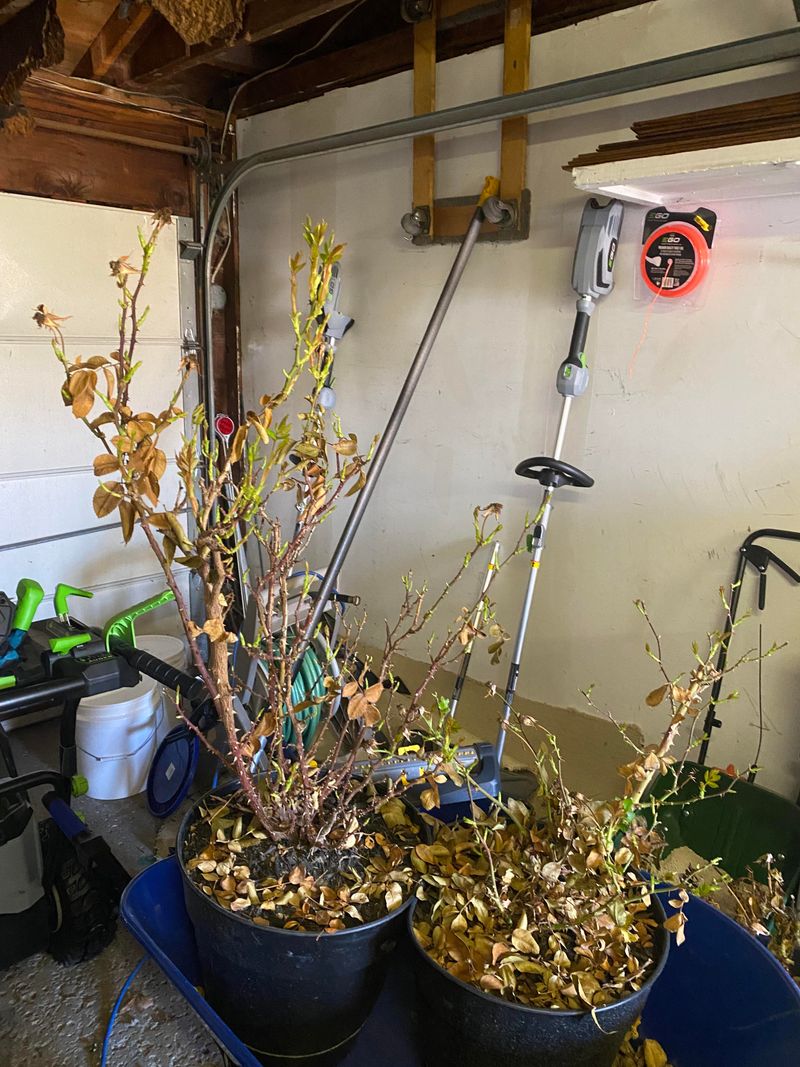
Roses growing in pots face colder conditions than their neighbors in the ground, even on the same patio.
Soil in a container freezes from every side, leaving roots far more exposed than those deep in earth.
Before harsh weather hits, I roll my potted roses into an unheated garage or shed for the winter. These spaces stay cold enough to keep plants dormant while blocking the bitter wind and extreme temperature drops.
Avoid bringing them into a heated home, because warm air can wake the plants up far too early. Roses need a real winter rest, and indoor heat rarely gives them the chilly break they expect.
Pots that must stay outdoors can be clustered together against a protected wall on the sheltered side of the house.
Wrapping containers in burlap or bubble wrap adds another layer of insulation around those vulnerable roots.
Water sparingly through winter, checking only when the soil feels dry an inch or two below the surface. Dormant roses use very little moisture, and soggy containers in a cold garage can lead to root rot.
Ceramic and terra-cotta pots may crack during freeze and thaw cycles, so sturdy plastic or resin containers often fare better. I learned that lesson after losing a favorite glazed pot to a single brutal cold snap.
Bring the plants back outside gradually once spring frosts settle down and buds start showing signs of life. You’re in for a nice reward when those pampered roots push out healthy new leaves again.
8. Tie Climbing Rose Canes Securely To The Trellis
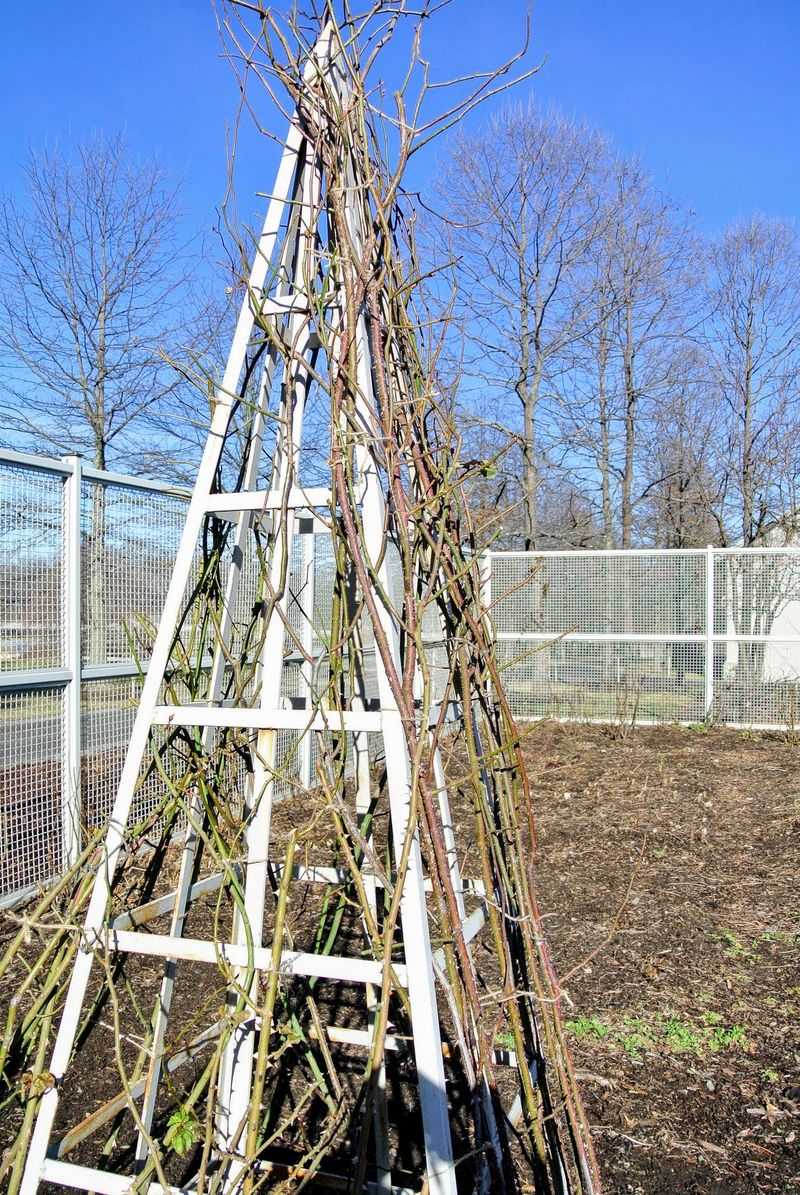
Long climbing rose canes can whip around like jump ropes when strong winter winds sweep across an open yard.
That thrashing can snap stems, scrape bark, and leave wounds where disease might later find an easy entrance.
I gently tie loose canes to their trellis, arbor, or fence using soft garden ties or strips of old fabric. Avoid thin wire or tight knots, because they can cut into the bark as the canes shift.
Leave a little slack in each tie so the canes can flex slightly without rubbing against rough wood. Check them again after big storms, since a single loose tie can let a heavy cane swing free.
Gardeners in the colder western mountains sometimes go further with tender climbers that struggle in harsh winters there. Some carefully lay canes down on the ground and cover them with burlap or light mulch for added protection.
Most climbers handle typical winters in Piedmont and coastal regions without that extra step, so keep things simple there.
Hardy varieties like New Dawn usually come through cold spells just fine with basic tying and support.
Skip heavy pruning on climbers before winter, since many bloom on older wood grown in previous seasons. Cutting them back hard now could mean fewer flowers next spring, which nobody wants after waiting all year.
I love walking past a neatly tied arbor on a snowy morning and knowing those canes are safe. Next spring, that same structure will hopefully disappear under a cloud of fragrant blooms once again.