What To Do With Tomato Cages And Garden Stakes In California In November
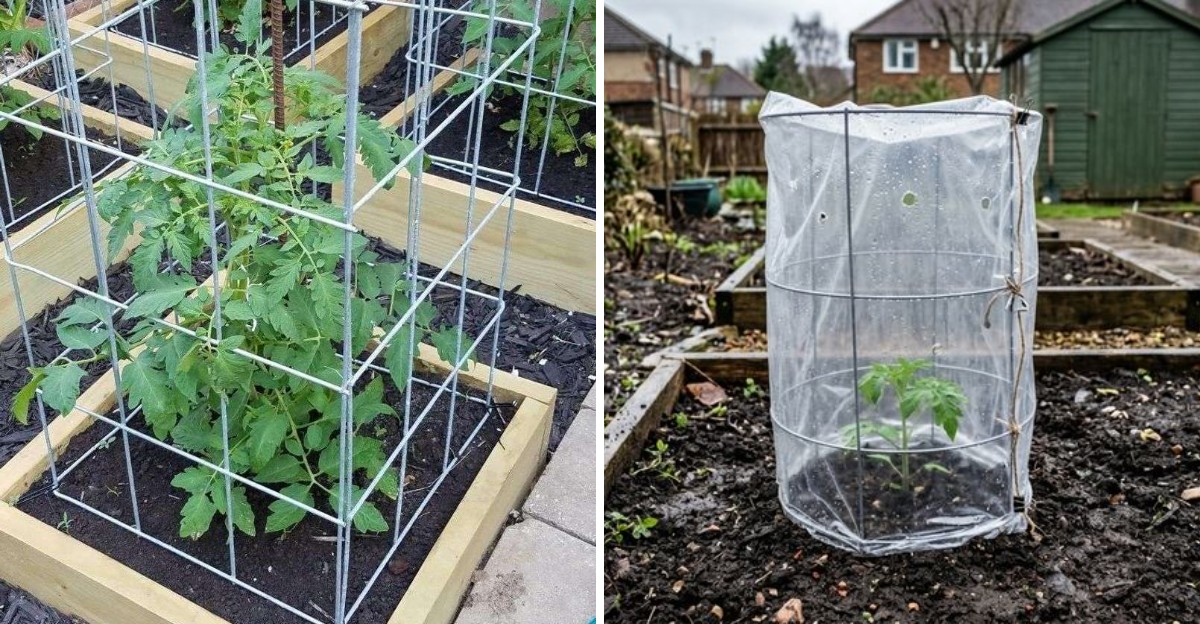
A tomato cage can look perfectly clean after the vines come off, yet tiny traces of last season’s garden problems may still cling to its wires. Soil, dried leaves, and old plant ties can all carry unwanted passengers into next spring.
November is a useful time to give those supports some attention. Across much of California, mild weather offers a comfortable window to clean, inspect, and store garden equipment before winter rain settles in.
A little preparation now can save frustration when planting season returns.
I used to treat cages and stakes as things to pull out and forget until spring. That made for a messy start to the next growing season. Now I see them as reusable tools that deserve a proper cleanup, especially after plants have shown signs of disease.
And they have more uses than supporting tomatoes. Could one become a frost cover frame or even a handy leaf-mold bin?
Those Tomato Cages Might Be Carrying More Than Old Vines
Leaf spots on last summer’s tomatoes were not just bad luck. Many common tomato problems, like early blight and bacterial speck, come from tiny fungi and bacteria that ride along on old plant debris.
When vines dry onto a wire cage or wooden stake, those germs get a cozy place to wait. Soil splashed onto the lower rungs can hold them too. University of California garden experts point to cleanup and sanitation as one of the easiest ways to cut down on disease the next year.
Fusarium wilt is a slightly different story. It lives mostly in the soil for years, but dirt stuck to stakes can still help move it from one bed to another.
Winter does not reset things much in many California areas. Coastal and southern gardens often stay above freezing, so the cold rarely does the cleanup for you.
Take a slow walk around your garden this month and look closely at each support. Brown, crispy leaves, fuzzy stems, or caked mud at the base all count as warning signs. Spotting them now gives you a head start on keeping next year’s plants healthier and happier.
Pull Off Every Dried Vine Before Anything Else
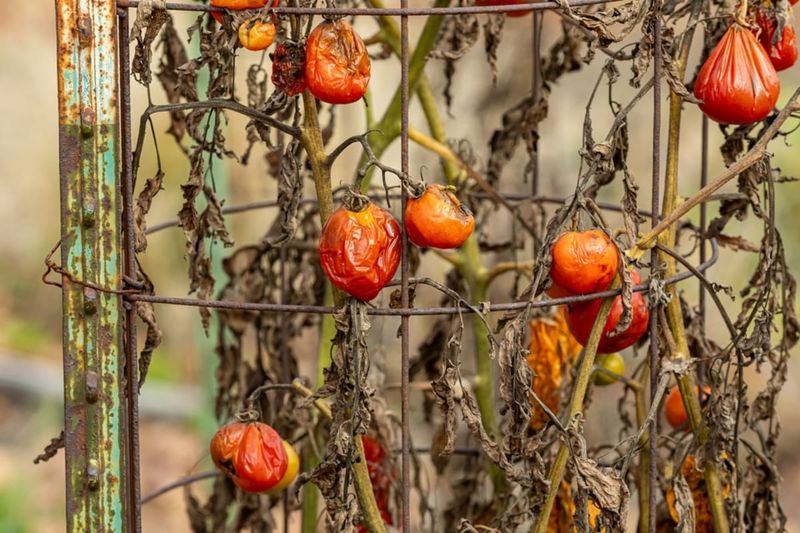
Stripping a cage bare feels oddly satisfying, kind of like peeling off old stickers. It is also the most important step in this whole process.
Start by cutting tomato stems at the base and lifting the cage straight out of the ground. Then pull away every leaf, tendril, and twist of vine still wrapped around the wires. Garden twine and plastic ties should come off too, since germs love to hide in those knots.
Where should the debris go? Skip your home compost pile if the plants showed signs of disease. Most backyard piles do not get hot enough to break down those germs reliably.
Bag diseased material for the trash, or use your city green waste bin if local rules allow it. Large municipal composting sites usually reach much higher temperatures than a home pile can.
Healthy vines are a different case. If your plants looked clean all season, they can go into your compost without much worry.
Knock the dirt off the bottom legs of each cage while you work. A quick tap against a rock or the edge of a wheelbarrow loosens most of it before the real scrubbing begins.
A Bucket And Brush Give Garden Stakes A Fresh Start
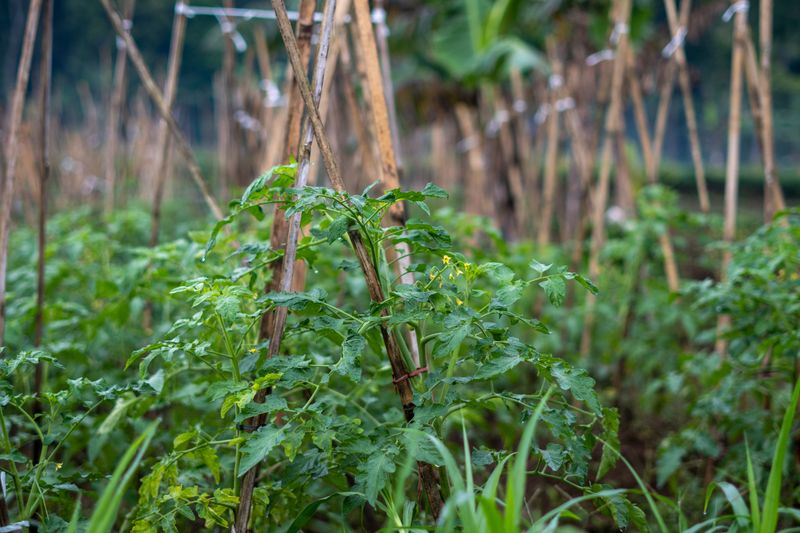
My favorite cleaning tool for this job costs about three dollars. An old stiff scrub brush and a bucket of warm, soapy water handle most of the grime.
Scrub each stake and cage from top to bottom, paying extra attention to the bottom section that sat in the soil. That buried part tends to collect the most dirt and the most germs.
For a deeper clean, many extension services suggest a bleach solution of about one part household bleach to nine parts water. Dip or wipe the supports and let them sit for several minutes. Liquid disinfectant works well for smaller items and spots.
Wear gloves and work outside, away from pets and kids. Rinse metal pieces with clean water afterward, since bleach can speed up rust on bare steel.
Bamboo and wood stakes are trickier because they soak up moisture and have tiny cracks. A good scrub plus the bleach dip still helps a lot.
Let everything air dry in the sun before moving to the next step. A breezy November afternoon in California usually dries things out within a couple of hours.
Stop Rust Before It Eats Your Metal Tomato Cages
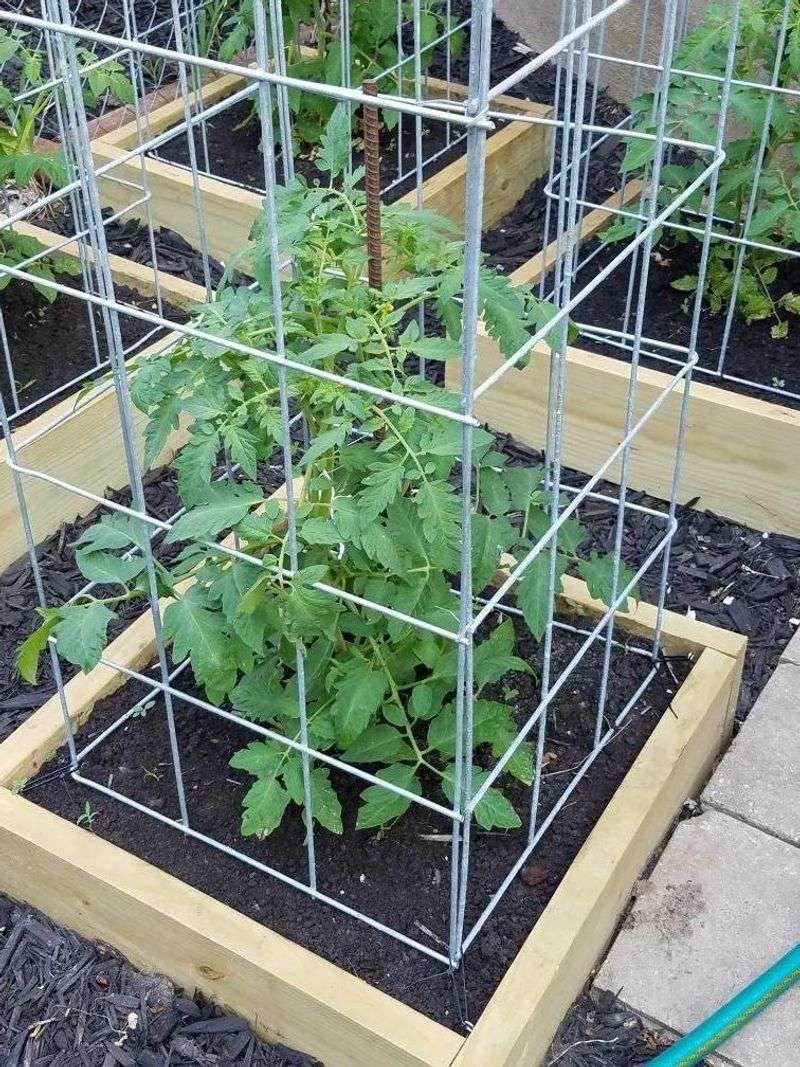
Orange flakes on a cage in spring are a sad sight. Rust weakens thin wire over time, and a few winters of neglect can leave cages wobbly or snapped at the joints.
Once your metal supports are fully dry, rub a light coat of oil over them. Mineral oil, machine oil, or a spray lubricant all create a thin shield against moisture.
Plenty of gardeners love the old sand bucket trick. Fill a bucket with coarse sand and mix in a little oil, then push stakes in and out a few times. The sand scrubs while the oil coats, which saves you a step.
Painted or vinyl-coated cages need less fuss. Just check for chips where bare metal peeks through, and dab those spots with rust-resistant paint.
Wooden stakes appreciate attention too. Boiled linseed oil soaks into dry wood and helps prevent cracks and splitting.
Fun fact: galvanized steel has a zinc coating that protects the metal underneath. Once that zinc wears away in spots, rust moves in quickly. So oiling those worn areas pays off nicely in damp coastal air.
Nest Those Cones And Bundle Stakes For Tidy Winter Storage
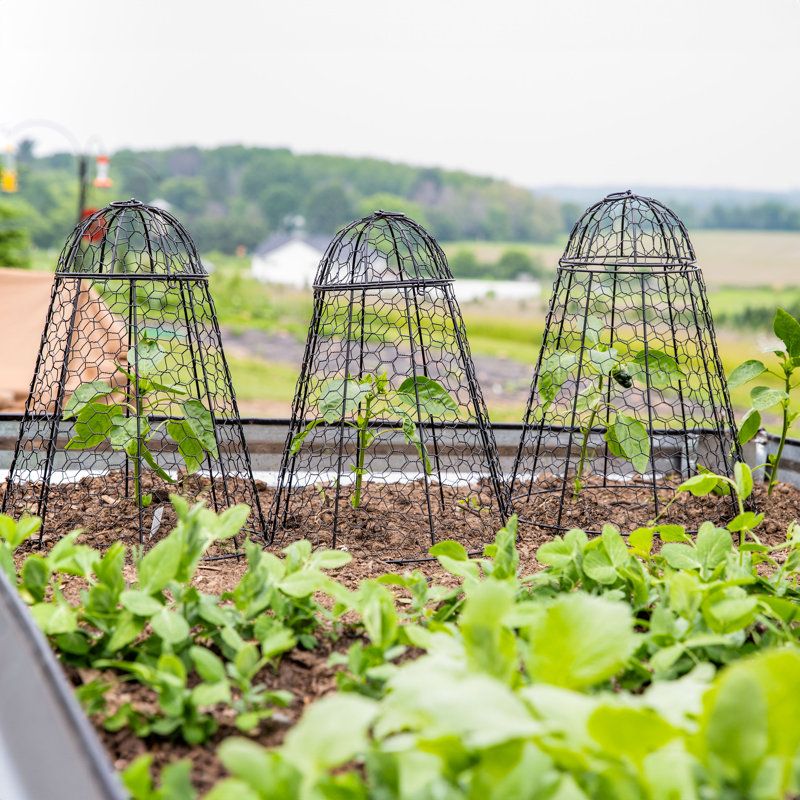
Few things test patience like untangling ten cages that got tossed in a heap. A smart storage plan in November saves you from that mess in March.
Classic cone-shaped cages are made to nest inside each other. Stack them tip down, and a whole season’s worth can fit in a small corner. Folding square cages lie flat, so they slide easily behind a shelf or along a wall.
Gather stakes by height and tie them with a strip of cloth or a bungee cord. Standing them upright in an old nursery pot or tall bucket keeps them neat and easy to grab.
Dry storage matters most. A shed, garage, or covered side yard works great, especially once winter rains roll in along the coast and up north.
Keep everything off bare ground or damp concrete. A simple pallet, shelf, or set of wall hooks lets air move around and slows down rot and rust.
Label bundles if you grow several crops. Short stakes for peppers, tall ones for tomatoes, and sturdy ones for beans make spring planting go much faster.
Wrap A Tomato Cage In Frost Cloth To Shield Tender Plants
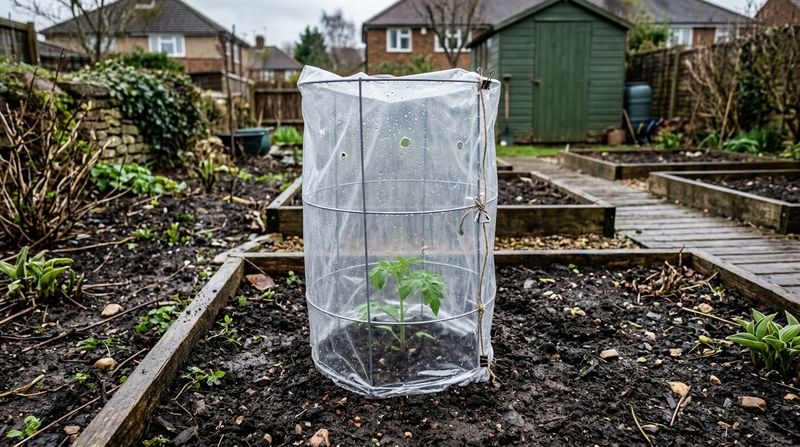
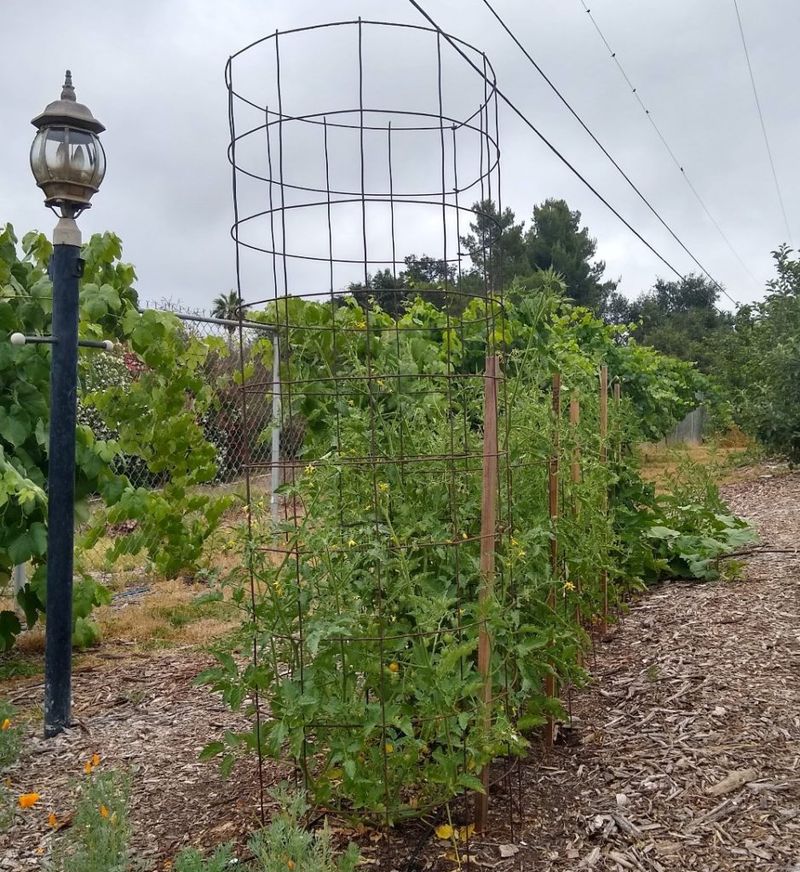
Inland valleys and foothill areas can see surprise frosts by late November. A clean tomato cage turns into a handy frame for plant protection on those chilly nights.
Set the cage over a tender plant, like a young citrus tree, a potted succulent, or a struggling pepper. Then drape frost cloth or an old cotton sheet over the top, letting it reach the ground.
The cage keeps fabric from pressing onto leaves. That small air pocket holds warmth rising from the soil, which matters most on still, clear nights.
Avoid plastic touching the leaves. Plastic can transfer cold right into the plant and may cause damage instead of preventing it.
Clip or weigh down the cloth edges with rocks or bricks. Remove the cover in the morning once temperatures warm, so plants get sunlight and fresh air.
Coastal Southern California gardeners may rarely need this trick. Folks in the Central Valley, high desert, and mountain towns will likely use it often. Keep a couple of cleaned cages near the back door as a quick frost kit, ready whenever the forecast dips near freezing.
Fallen Leaves Love A Wire Cage Bin
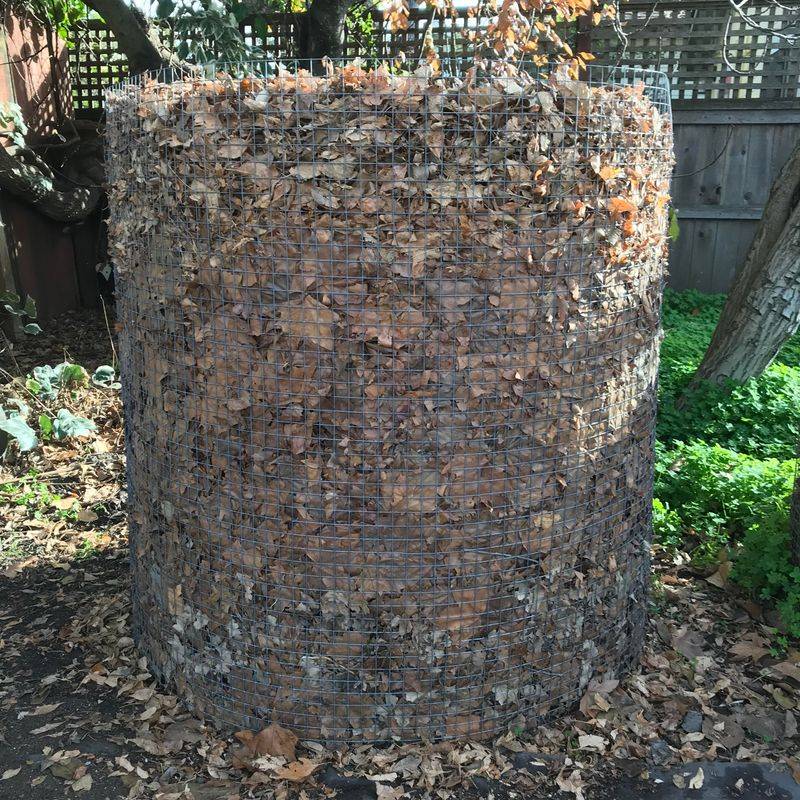
Leaf drop arrives late in many California yards, often peaking in November and December. Sycamores, maples, and fruit trees suddenly scatter piles everywhere.
Instead of bagging them all, set an empty healthy tomato cage in a quiet corner and stuff it full. The wire holds leaves in place, so wind does not blow them back across the lawn.
Over winter, rain and soil microbes start breaking them down. In about a year, you can end up with crumbly leaf mold, a soft material that helps soil hold moisture.
Shredding leaves first speeds things up. Running a lawn mower over a pile works well and takes just minutes.
Wrapping the cage with chicken wire or burlap keeps smaller pieces from sneaking out. Pressing the pile down every few weeks makes room for more.
Only use cages that held healthy plants or were already cleaned. And keep diseased tomato leaves out of this pile, for the same reasons as your compost.
Leaf mold makes a lovely mulch around perennials and vegetable beds. Your garden gets a free soil boost, and your green bin gets a break.