8 Garden Tasks New Yorkers Can Finish During a Late Fall Warm Spell
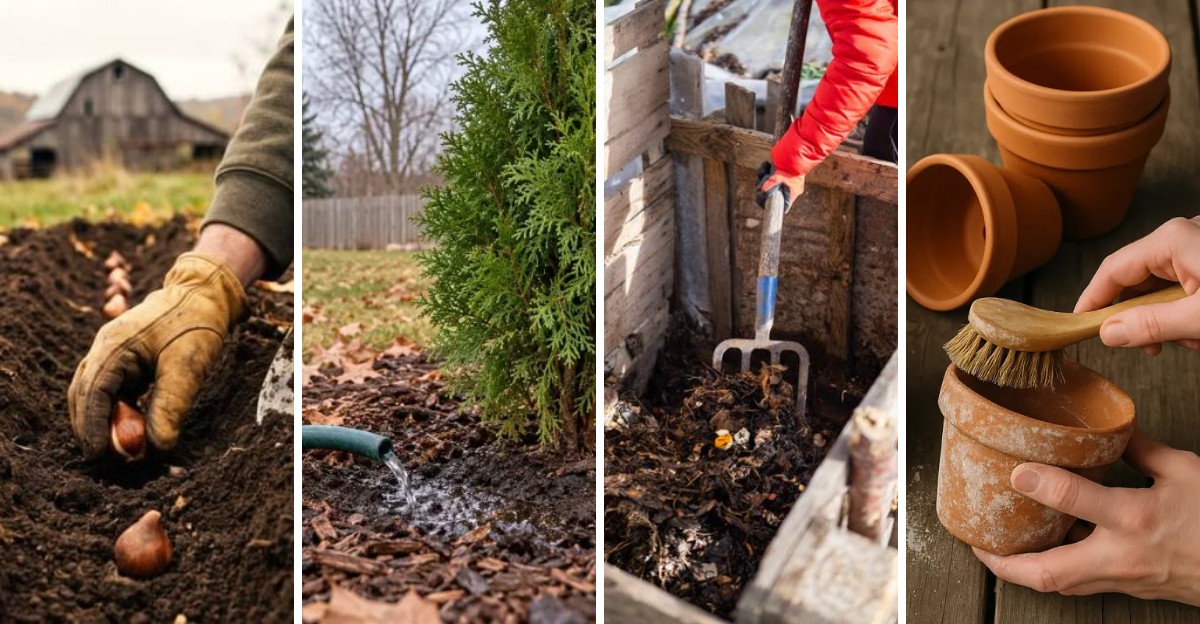
Tulip bulbs need about twelve to sixteen weeks of steady cold before they will push up a single bloom. That chilly countdown means a mild November afternoon is secretly one of the best planting days of the year.
Across New York, a late warm spell often arrives after the first frost has already blackened the tomato vines. Soil stays workable for a while, and your fingers actually bend when you reach for a trowel.
I have to admit that I wasted one of these golden weeks raking nothing and sipping coffee on the porch. By January, I was staring at frozen beds and wishing I had grabbed my gloves instead.
You can squeeze a surprising amount of work into a few soft afternoons before the ground locks up. Which chores deserve your bonus hours across New York, and which ones can safely wait until spring?
1. Plant Garlic Cloves Before The Ground Freezes
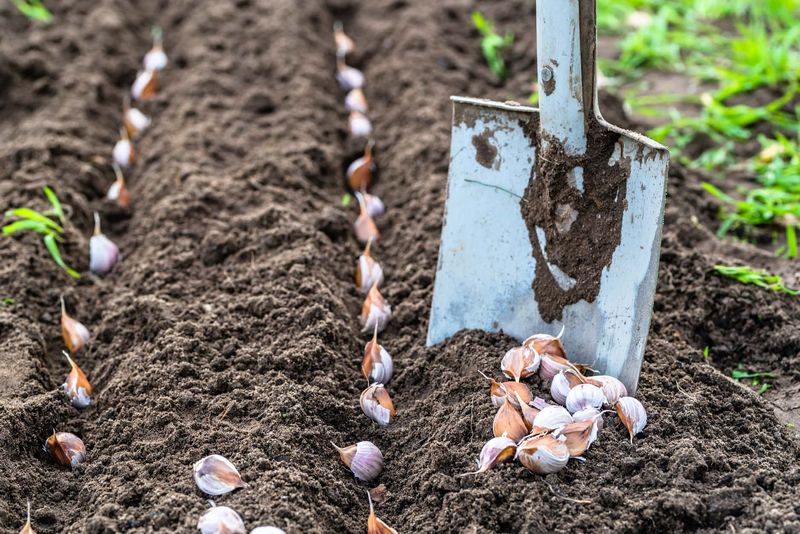
Garlic is one of the few crops you plant as the leaves fall and harvest the following summer. Every clove you push into the soil now can turn into a full, papery bulb by next July.
Cornell experts suggest planting garlic in mid to late fall, so roots form before the ground freezes hard. A warm spell in November can stretch that window a little, especially in milder downstate gardens.
Pick hardneck varieties if you garden upstate, since they handle harsh winters and send up tasty curly scapes. Softneck types store longer in the pantry, though they can struggle a bit in the coldest valleys.
Break the bulbs apart just before planting and save the biggest cloves for the garden bed. Larger cloves usually grow larger heads, so I eat the skinny ones in a weeknight stir fry.
Set each clove pointy end up, about two inches deep and roughly six inches from its neighbors. Rows about a foot apart give you room to weed in spring without bruising the young green shoots.
Once the ground starts to freeze, cover the bed with four to six inches of clean straw. That layer reduces frost heaving, which can push cloves right out of the soil during freeze and thaw swings.
For what it’s worth, my best garlic harvest came from a planting I almost skipped during a lazy November. Pull back most of the straw in early spring, and you will spot green tips poking up quickly.
2. Tuck Tulip And Daffodil Bulbs Into Cool Soil
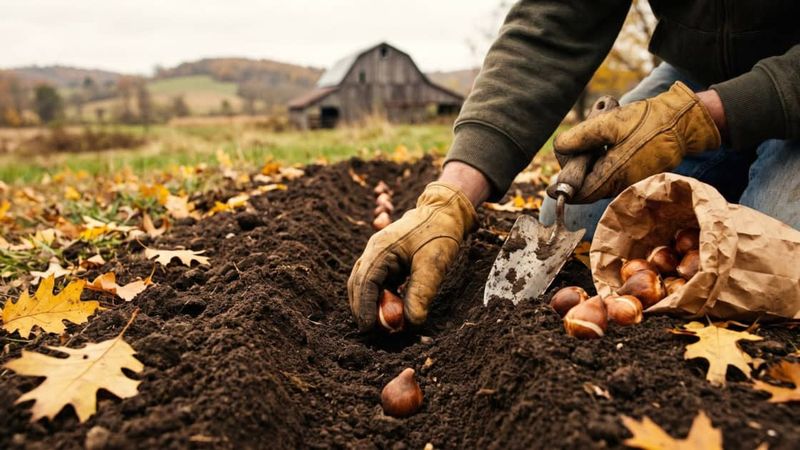
Daffodil bulbs contain a natural compound that squirrels and deer find unpleasant, so they rarely get dug up. Tulips are another story, and I have watched a gray squirrel steal one within minutes of planting.
Spring bulbs need a long cold rest underground, and planting them now lets that chill begin on schedule. Most experts suggest waiting until soil cools below about 60 degrees, which happened weeks ago in most gardens.
Dig each hole about two to three times as deep as the bulb is tall, with the pointed tip upward. A standard tulip lands about six to eight inches down, while small crocus bulbs sit much shallower.
Plant in loose clusters of seven or more instead of single soldier rows, because groups look far more natural. Let’s just say my first tidy line of tulips looked like a runway for very confused airplanes.
Water the bed well after planting so the soil settles snugly around each bulb and roots can start growing. Bulbs can keep rooting in cool soil until the ground freezes solid, which often happens in December.
To discourage diggers, lay a piece of chicken wire over the planted area and cover it with mulch. Leaves and stems can push through the openings in spring, but curious paws usually give up fast.
You might notice daffodil foliage poking up early during mild spells, and that is rarely a serious problem. The flower buds stay tucked safely below ground, waiting for the real arrival of spring weather in New York.
3. Give Evergreens A Deep Drink Before Winter
Rhododendron leaves curl up tight like little cigars when temperatures plunge, which helps them save precious moisture. Evergreens keep losing water through their needles and leaves all winter, even while their roots sit in frozen soil.
That slow drain leads to winter burn, the crispy brown patches that show up on hollies and arborvitae by March. A deep soak during a warm spell gives roots a reserve to draw from during those dry, windy months.
Newly planted trees and shrubs need the most attention, because their small root systems cannot reach very far. Anything you planted this year or last year deserves a spot at the top of your watering list.
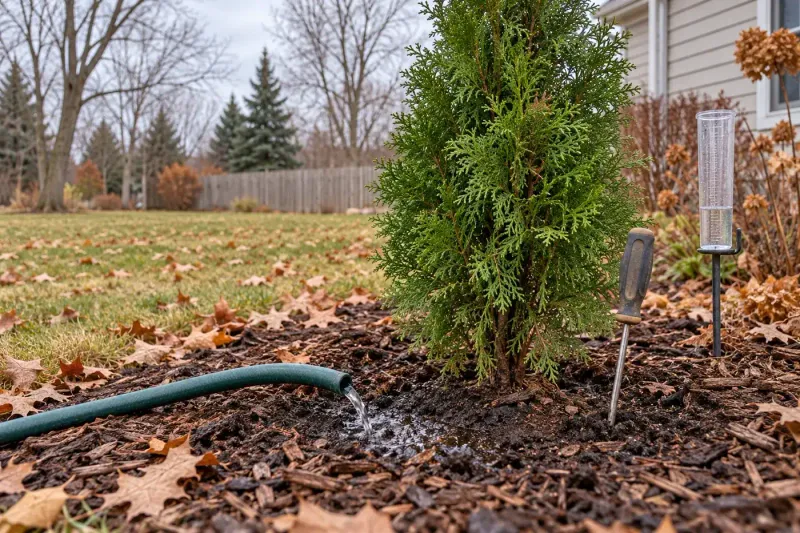
Run a hose slowly at the base for a long time instead of spraying the foliage for a minute. I like a soaker hose snaked around the drip line, which is the outer edge of the branches.
Check the soil with a trowel afterward, because moisture should reach several inches down into the root zone. If the top feels damp but the deeper layer stays dusty, keep the water running a while longer.
Keep watering through late fall whenever rain runs short, stopping once the ground freezes too hard to absorb anything. Watering in the morning or midday works best, since the water can soak in before nighttime cold arrives.
Looking back, I should have soaked my young boxwoods more before one dry autumn left them bronze and blotchy. A few hours with the hose now costs far less than replacing a scorched hedge next spring.
4. Spread Shredded Leaves As Winter Mulch
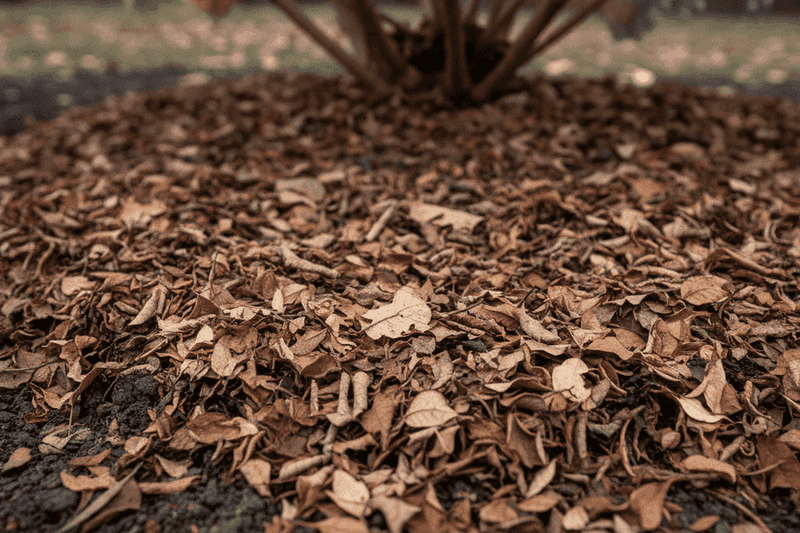
Fallen maple and oak leaves are basically free mulch, delivered right to your yard by the trees themselves. Running them over with a mower turns a soggy pile into fluffy flakes that break down much faster.
Shredded leaves matter because whole ones can mat together and block air and water from reaching the soil. A thin layer of chopped leaves also feeds earthworms, which drag the pieces down and improve your soil.
Timing counts here, and I learned that the hard way after mulching much too early one October. Mice moved into the cozy layer around my perennials and nibbled on several crowns before winter even began.
Winter mulch works best after the ground has cooled, because its job is to keep soil steadily cold. Stable temperatures help prevent frost heaving, which can lift shallow roots like heuchera right out of the bed.
Spread about two to four inches over perennial beds and around the base of young trees and shrubs. Pine needles and wood chips work nicely too, especially if your leaf supply runs a little thin.
Pull mulch a few inches away from stems and trunks so bark stays dry and healthy. Those volcano-shaped piles you see around street trees trap moisture and invite rodents to chew the bark.
If you ask me, raking leaves into beds beats bagging them for the curb every single time. Your garden gets richer soil, and you get to skip hauling heavy bags down the driveway.
5. Clear Diseased Plant Debris From Vegetable Beds
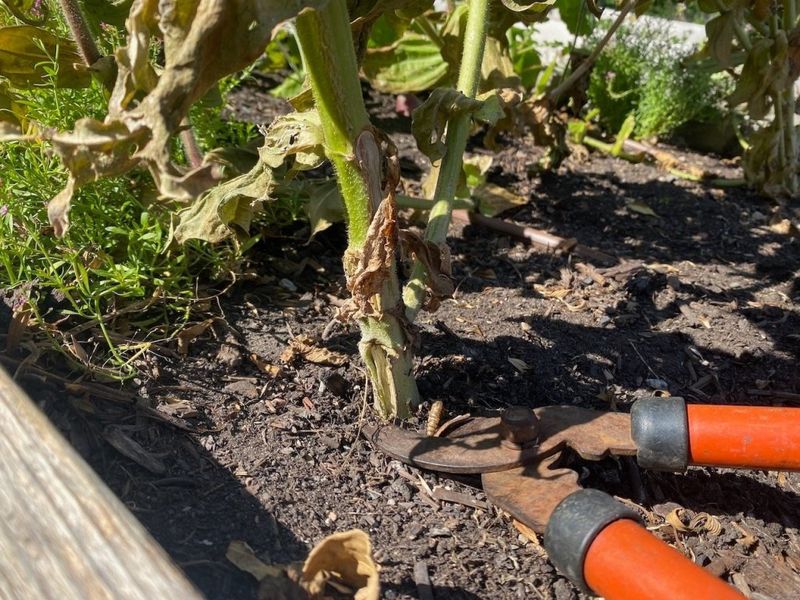
Fungal spores from tomato blight can spend the winter snuggled inside leftover leaves and stems in your garden. Clearing out that sad, blackened foliage now means fewer problems waiting for your seedlings next summer.
Focus first on vegetable beds, where diseases like early blight and powdery mildew love to hang around. Pull spent tomato and squash plants, then rake up all the fallen leaves gathered beneath them.
Bag any diseased material for the trash instead of tossing it onto your backyard compost pile. Most home piles rarely heat up enough to reliably break down tough pathogens and stubborn spores.
Now for the twist, because a tidy garden is not quite the same as a healthy one. Many native bees and butterflies spend winter tucked inside hollow stems or under loose leaf litter.
Leave healthy perennials like coneflowers and black-eyed Susans standing so birds can pick seeds from the heads. Goldfinches visit my coneflower patch all winter, and their bright little faces make the messy look worthwhile.
Ornamental grasses also hold snow beautifully and give the garden some shape when everything else looks brown. Cut them back in early spring, before new green blades start pushing up from the crown.
My garden taught me that a little cleanup goes a long way, while overdoing it erases precious wildlife habitat. Aim for clean vegetable beds and a slightly wild flower border, and both your plants and pollinators benefit.
6. Wrap Young Shrubs In Burlap Windbreaks
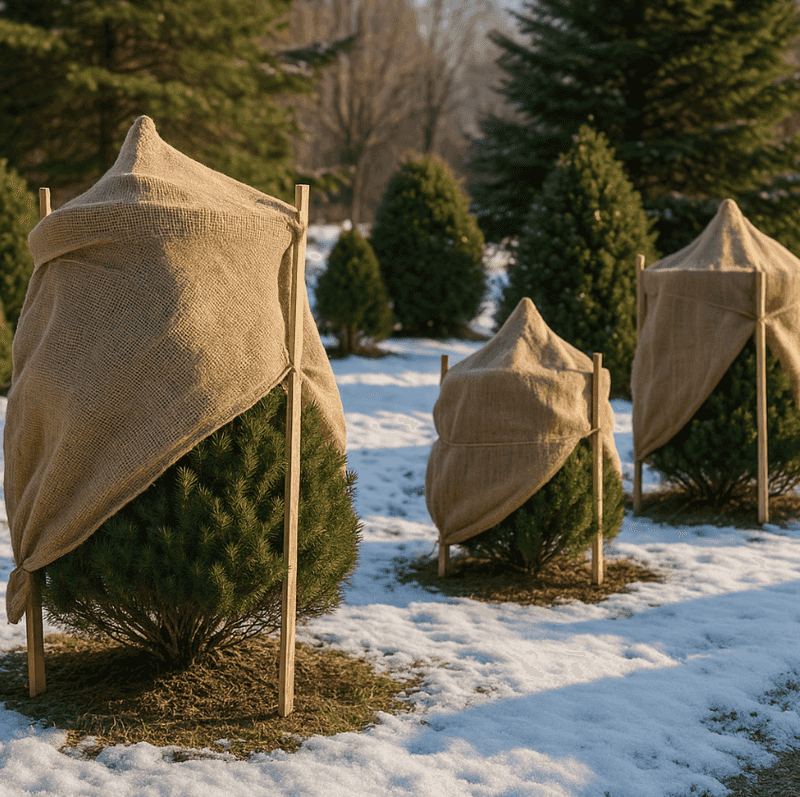
Burlap is the scruffy winter coat of the plant world, and frankly it works better than many fancy products. The rough weave blocks drying wind and harsh sun while still letting air move freely around branches.
Broadleaf evergreens like rhododendrons and hollies often suffer most, especially when planted in exposed, windy spots. Young shrubs set out this year also deserve some extra shelter during their first winter in the ground.
Skip wrapping burlap tightly around the plant, since snug layers can trap moisture and rub tender bark raw. Instead, pound three or four wooden stakes around the shrub and staple the fabric to them like a fence.
Leave the top open so light and rain can still reach the plant through the long, gray months. Mild weather makes this job easy, because stakes slide into soft soil instead of bouncing off frozen ground.
Roses need a different kind of help, especially grafted types that can lose their tops during harsh cold snaps. After the ground freezes, mound about ten inches of soil or compost over the base to shield the graft.
Don’t make my mistake of using garden soil scooped from right beside the rose, which exposes its roots. Bring in soil or compost from elsewhere, and spread the mound out gently once spring warmth returns.
Burlap screens also help along driveways, where salt spray from plows can burn the needles of nearby evergreens. Take everything down in early spring, and your shrubs will greet the season looking fresh instead of scorched.
7. Turn The Compost Pile While It Still Steams
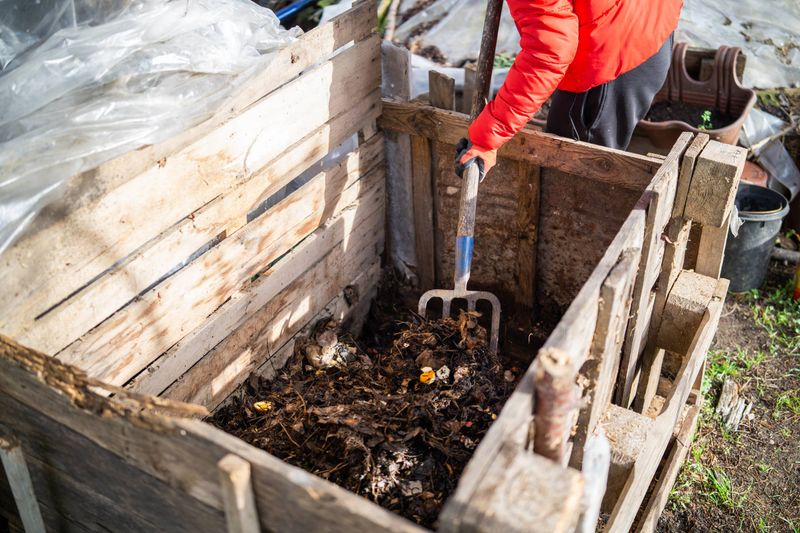
A healthy compost pile can heat up past 130 degrees inside, even when the air outside feels crisp. Poke a gloved hand into the center on a cool morning, and you might feel genuine warmth rising up.
Turning the pile during a warm spell is far more pleasant than wrestling a frozen lump in January. Fresh air lets the busy microbes keep working, so the pile breaks down faster before winter slows everything.
Mix greens and browns as you turn, aiming for roughly two or three parts browns to one part greens. Greens include kitchen scraps and fresh grass clippings while browns include dry leaves and shredded cardboard.
Fall hands you a mountain of browns, so bag some extra leaves and stash them beside the bin. Those bags become handy all winter, whenever kitchen scraps pile up and need something dry to balance them.
Check moisture while you work, because the pile should feel like a sponge that has been wrung out. Add water from the hose if it seems dusty, or toss in dry leaves if it smells sour.
Starting a brand new pile now works fine, though decomposition will slow way down once the deep cold settles in. It picks right back up in spring, and you might harvest finished compost by early summer.
What surprises me most is how a heap of garden scraps turns into crumbly, earthy soil that smells like a forest. Spread it on your beds next year, and your vegetables will thank you with stronger roots and bigger harvests.
8. Scrub And Store Terra Cotta Pots Indoors
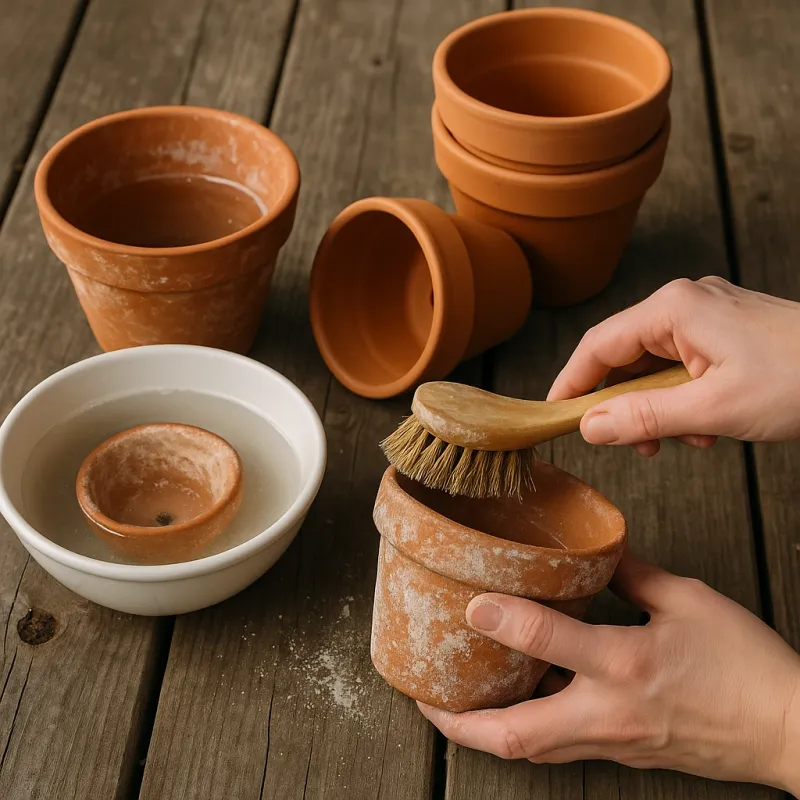
Terra cotta is a sponge disguised as a pot, and that thirsty clay causes big trouble in winter. Water soaks into the walls and expands as it freezes, which can crack or flake even a sturdy container.
Emptying and cleaning your pots on a warm afternoon beats scrubbing them later with stiff, freezing fingers. Dump the old potting mix onto a tarp, and add healthy plant leftovers to your compost pile.
Toss any soil that held diseased plants, since fungi and pests can hang on to old mix for months. Scrub the pots with warm soapy water and a stiff brush to loosen dirt and crusty white salt deposits.
For extra peace of mind, soak them in a solution of one part bleach to nine parts water. About ten minutes does the trick, followed by a good rinse in plain water to clear any leftover smell.
Let the pots dry fully in the sunshine, because damp clay stacked in storage can still crack or grow mold. Mild weather speeds up this step nicely, and a breezy afternoon on the patio usually finishes the job.
Store terra cotta in a garage or basement where temperatures stay above freezing through the whole season. Nest smaller pots inside larger ones with sheets of newspaper between them to prevent chips and scratches.
Large containers that you cannot move should be emptied, then tipped on their sides or covered against rain. Come spring, you will have clean, ready pots waiting, and that feels like a gift from your past self.