How To Remove Weeds From Gravel Without Digging It All Up
A single horseweed plant can release up to 200,000 tiny seeds, and many of them simply float away on the wind. Some of those hitchhikers land in your driveway.
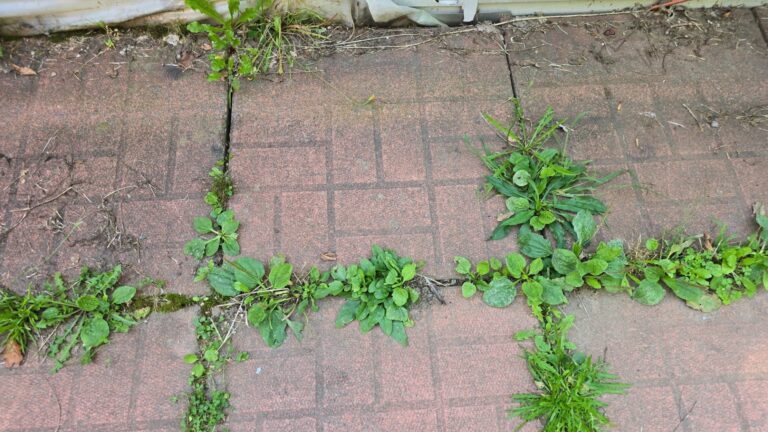
Call me stubborn, but I spent years blaming my gravel. I figured the weeds were punching up from the dirt underneath. Truth is, most of them sprouted right on top, in a thin layer of dust and crumbled leaves.
I get it. Pulling one weed from gravel turns into a stone shuffle, and suddenly half your path is lying on the lawn. Raking it back is no fun either.
So what actually works when you want clean stones and your weekend back? A few of my favorite fixes cost almost nothing, and one of them is probably sitting on your stove right now. Another needs nothing more than a soaking rain and a little patience.
Those Gravel Weeds Probably Didn’t Come From Underneath
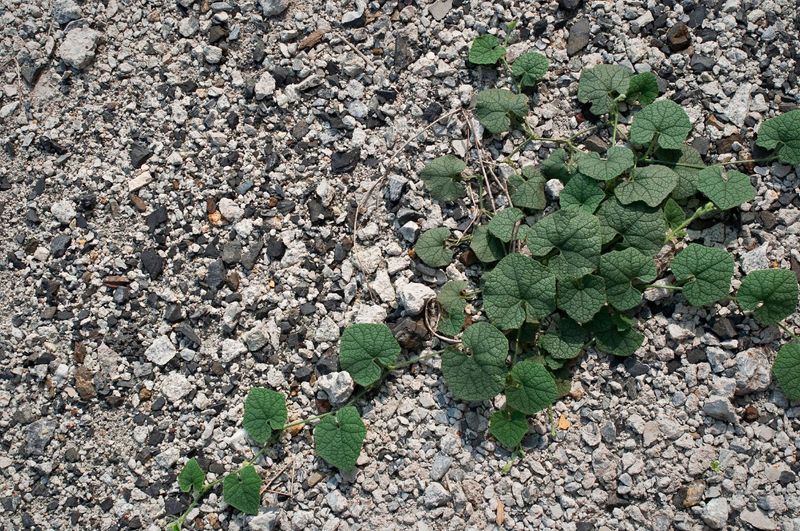
I once lifted a patch of gravel expecting to find a tangled root jungle below. Instead, I found clean landscape fabric with a crust of dirt sitting right on top of it.
Most weeds in gravel start from seeds that arrive from above. Wind carries them in, birds drop them, and your shoes track them across the yard. Once they land, they settle into the gaps between stones.
Over time, those gaps collect dust, pollen, crumbled leaves, and grass clippings. That mix slowly turns into a thin layer of soil. Add a little rain, and your path becomes a cozy seed nursery, even with fabric underneath.
Why does this matter? It changes how you fight back. Digging out the whole bed rarely solves the problem, because the real trouble lives in the top inch or so.
Shallow-rooted annual weeds like spurge, crabgrass, and chickweed are the usual guests. They pop up fast but let go easily if you catch them young. Deep-rooted perennials such as dandelions and bindweed are tougher, and they may be growing through gaps or tears in old fabric.
Take a quick walk along your gravel and note which kind you have. Your plan depends on it.
A Kettle Of Boiling Water Handles Young Weeds In Seconds
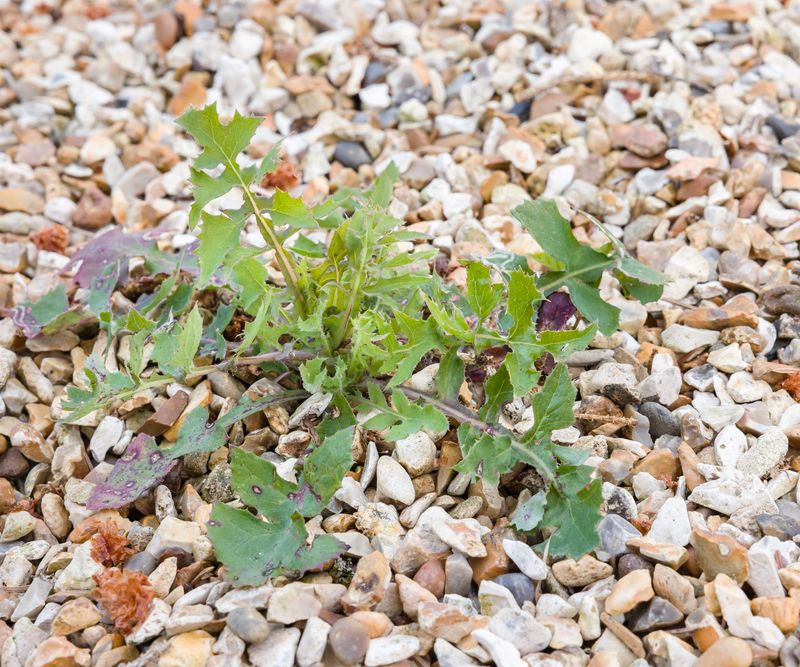
Not going to lie, this is my favorite trick. It costs pennies, needs no special gear, and leaves nothing behind in the soil.
Boiling water scalds the plant tissue it touches. The cells burst, and within a day or two the leaves turn brown and limp. Gravel handles this beautifully because there are no tender lawn roots or flower beds right underneath to worry about.
Small, young weeds respond best. A tiny seedling with a short taproot often gives up after one dose. Older perennials with deep roots may bounce back, so plan on a second or third pour for those.
Carry the kettle low and pour slowly from just a few inches above the weed. Splashing is the biggest risk, so wear closed shoes and long pants. Keep kids and pets inside while you work.
One kettle covers a surprising number of weeds if you aim carefully. I like to fill it, walk the path, and treat every sprout I spot before the water cools.
Stay a few feet away from plants you love. Hot water flows between stones and can reach roots along the edges of your beds, which is the last thing you want.
Pull Gravel Weeds Right After A Soaking Rain
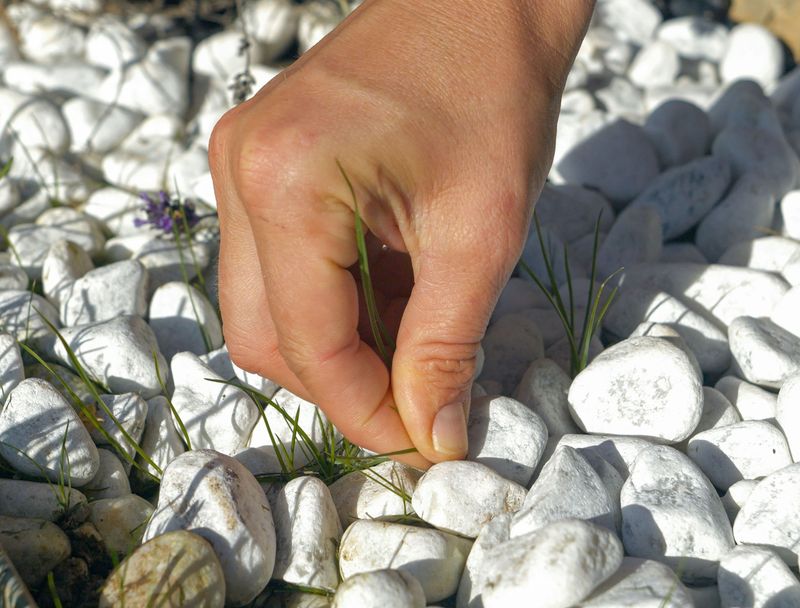
Rainy days used to annoy me. Now I grab my gloves the minute the clouds clear, because wet ground makes weeds slide out like a loose tooth.
Dry soil grips roots tightly. When you yank a weed from dry gravel, the top often snaps off and the root stays behind to sprout again. Moist soil loosens that grip, so the whole plant comes free with far less tugging and far less stone shuffling.
For a cleaner pull, grasp the weed right at the base instead of by the leaves. Wiggle it gently side to side, then lift straight up. That small motion keeps most of your gravel in place.
Dandelions and other taprooted weeds deserve a helper tool. A narrow fishtail weeder or a crack weeder slips between stones and pops out the root without disturbing much around it. They are inexpensive and easy on your wrists.
No rain in the forecast? A slow soak with the garden hose an hour before weeding works almost as well.
Drop the pulled weeds into a bucket rather than leaving them on the gravel. Any plant with seed heads can quietly replant the very spot you just cleared.
A Stirrup Hoe Skims Weeds Without Wrecking The Stones
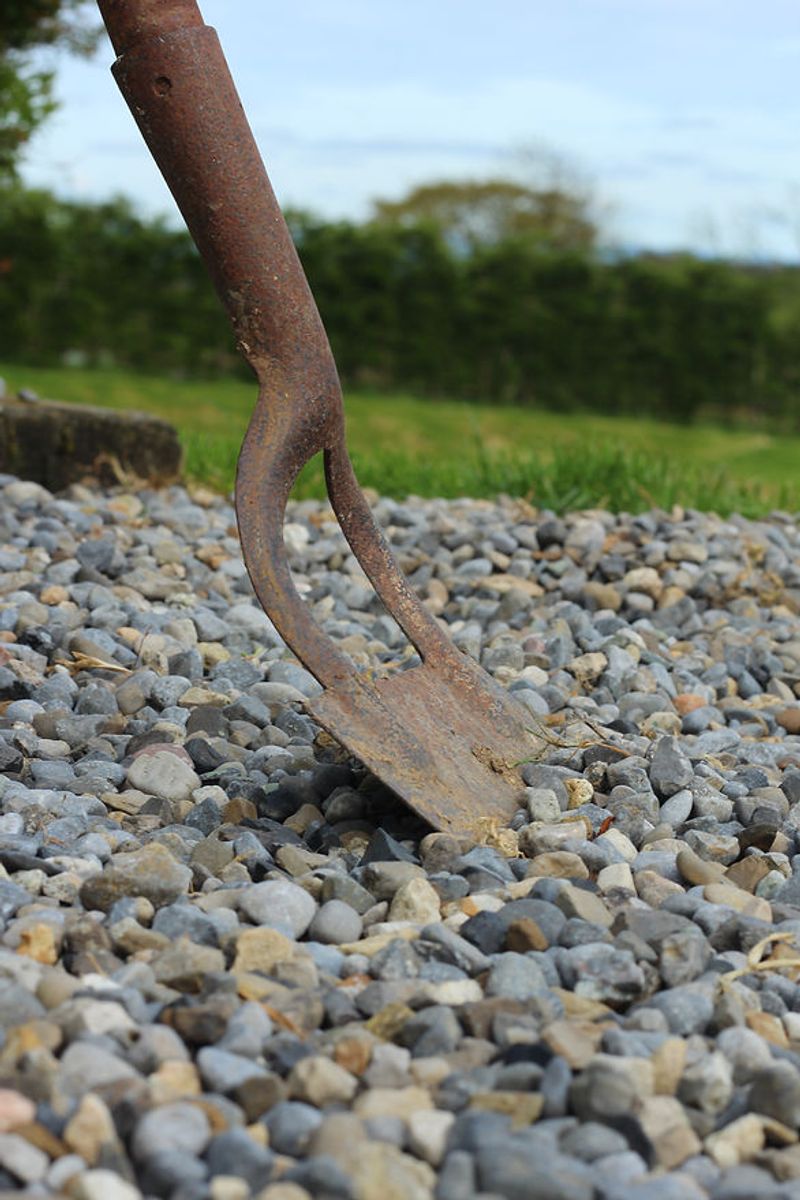
My back cheered the first time I used a stirrup hoe on gravel. Standing upright while weeds disappear feels a little like cheating.
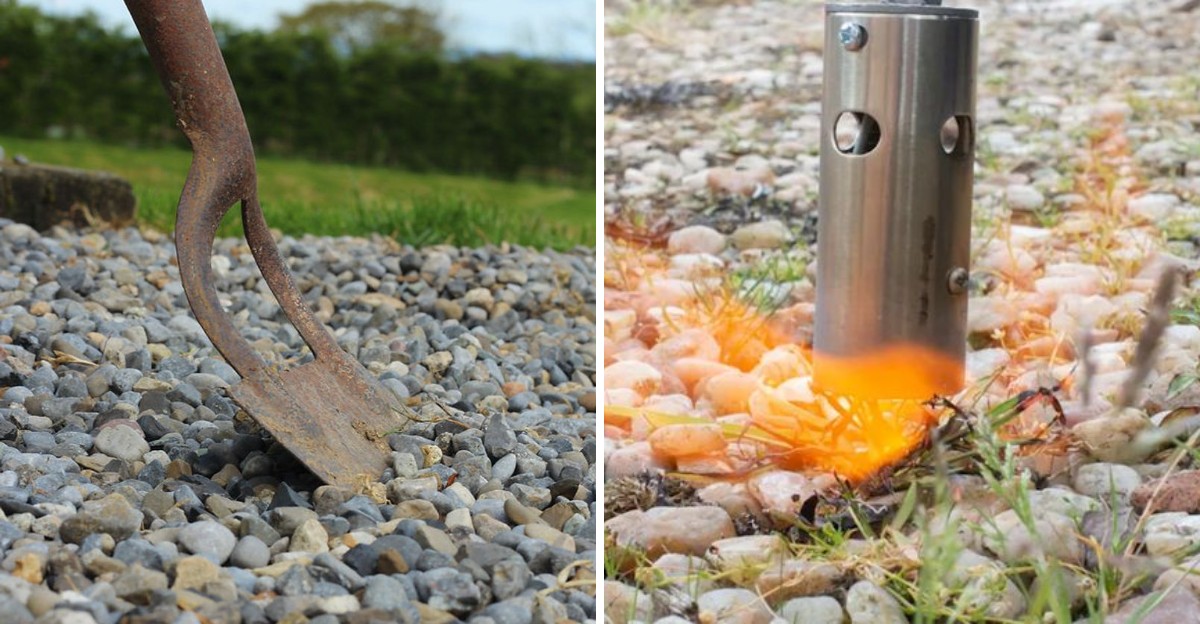
Sometimes called a hula or scuffle hoe, this tool has a thin, open loop of steel that cuts on both the push and the pull. You glide it just under the surface, slicing weeds off at the base. Most of the gravel simply flows through the open loop instead of piling up.
Shallow skimming is the secret. Keep the blade in the top inch so you cut stems without churning up the soil and fabric below. Digging deeper drags dirt into your stones and invites the next round of seedlings.
Hoeing shines on young annual weeds. Cut them off on a warm, dry, sunny day, and the exposed bits shrivel fast. Perennials may regrow from their roots, so stay on them every week or two.
Got a large gravel driveway? A wheel hoe covers much more ground with each pass and saves serious time.
Keep the blade sharp with a few strokes from a hand file. A sharp edge slides through stems cleanly, while a dull one just pushes stones around.
Flame Weeders Torch Gravel Weeds Fast But Demand Respect
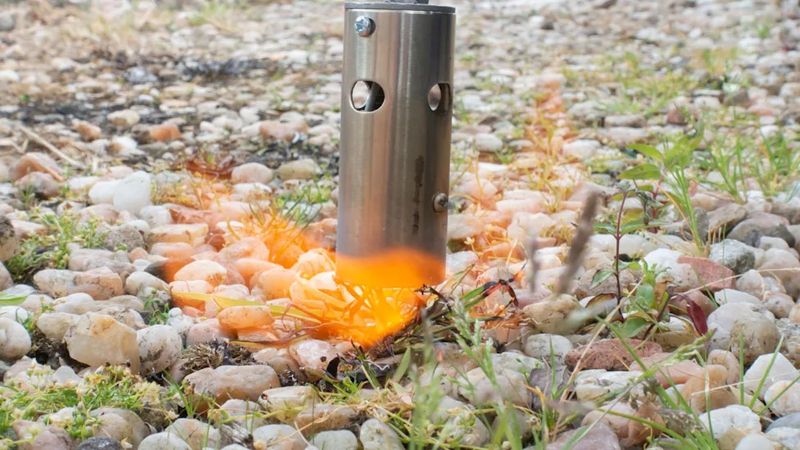
Fair warning, a flame weeder is a lot of fun. That is exactly why it needs a careful hand.
These propane-powered wands work much like boiling water. You don’t need to burn the weed to ashes. A quick pass of a second or two heats the leaves enough to rupture their cells, and they wilt over the next day. Press a leaf between your fingers afterward, and if it leaves a dark thumbprint, you did enough.
Gravel is one of the better places to use a flamer, since stones don’t catch fire. Young broadleaf weeds respond best. Grasses and deep-rooted perennials often regrow, so repeat treatments are part of the deal.
Safety comes first. Skip flaming during dry, windy weather or anytime your area has a burn ban, which is common in Western states during summer. Many fire departments and counties post current restrictions online, so check before you light up.
Keep a charged hose or a bucket of water nearby. Watch for dry leaves, mulch, wooden edging, and fences along the path.
Wear sturdy boots and long pants. A little caution keeps this handy tool working for you rather than against you.
Go Easy On The Vinegar And Skip The Salt Shaker
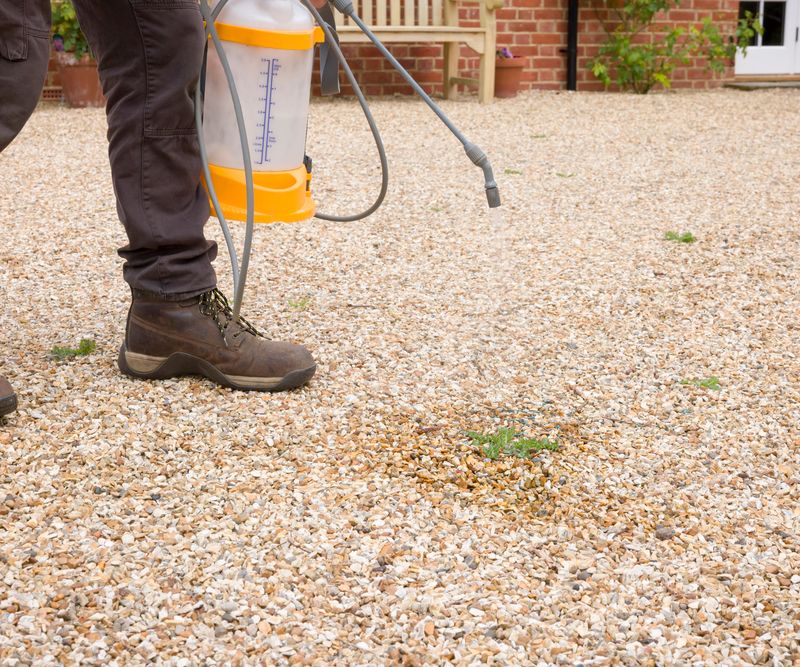
I’m a sucker for kitchen fixes, so vinegar was one of the first things I tried. It works, but with some honest limits.
Vinegar contains acetic acid, which burns the leaves it touches. Regular household vinegar sits around 5 percent acid and mainly affects small, young weeds. The roots of older or perennial weeds usually survive and push out fresh leaves within a few weeks.
Stronger horticultural vinegar, often 20 percent or more, hits harder. University extension experts warn that it can burn skin and seriously injure eyes, so goggles and gloves are a must. Spray on a calm, sunny day for the best results.
Now, about salt. Plenty of online recipes add it, but I skip it. Salt builds up in soil, washes into nearby lawns and flower beds, and can leave ground unable to grow much of anything for a long time.
That can sound handy for gravel, yet runoff rarely stays put. Rain carries it toward your grass, shrubs, and tree roots.
A splash of dish soap helps vinegar cling to leaves. Keep the spray low and targeted, and treat vinegar as a quick touch-up tool rather than a cure-all.
Stubborn Bindweed In Your Gravel Might Need A Targeted Spray
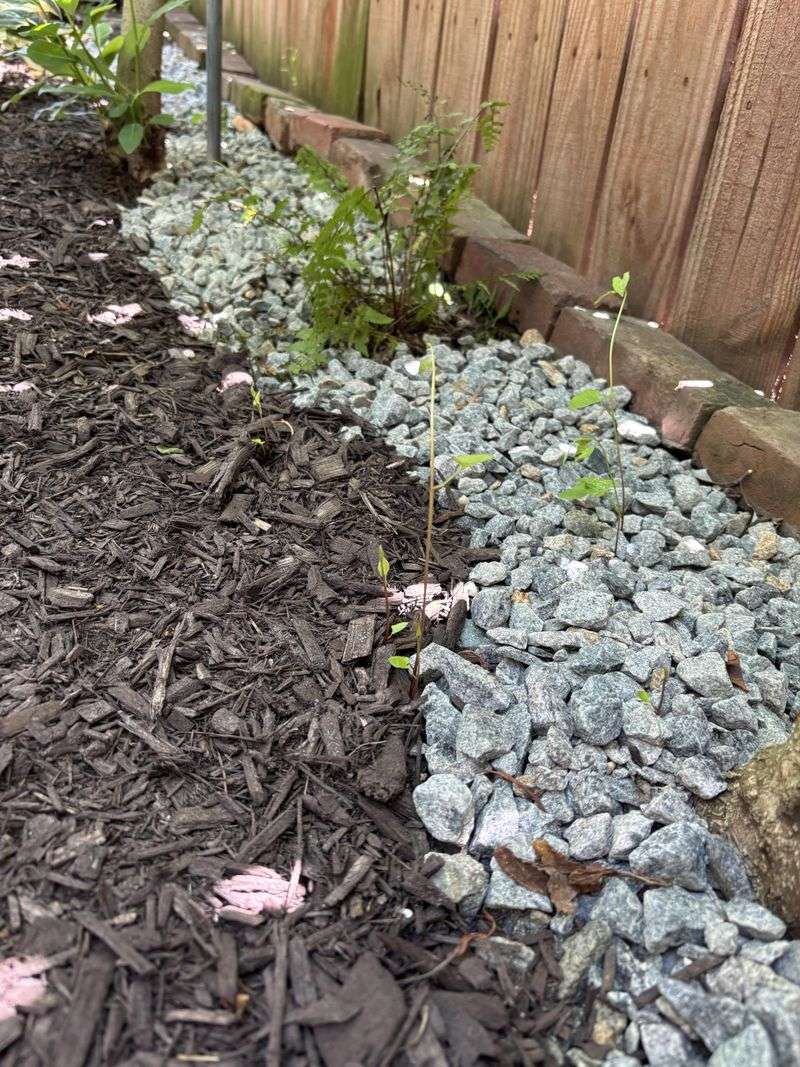
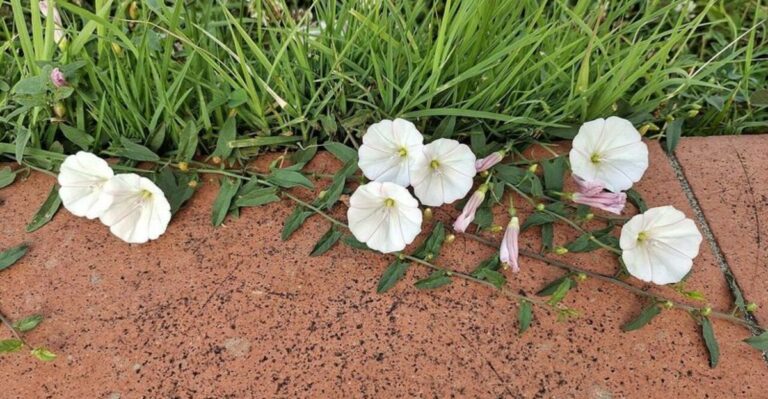
Field bindweed taught me humility. Its roots can reach many feet down, and every broken piece seems eager to start a new plant.
Deep-rooted perennials like bindweed, Canada thistle, and quackgrass often shrug off boiling water, hoeing, and vinegar. Those methods only hit the top growth. The roots keep feeding new shoots until their energy runs low, which can take a long time.
Repeated top removal does wear them down eventually. Cut or scald new growth every week or two, and the stored energy slowly drains away. Patience pays off, though it may take a full season or more.
Some gardeners choose a systemic herbicide for tough cases. These products move from the leaves down into the roots. Colorado State University Extension notes that late summer into fall is often an effective window for treating perennial weeds like bindweed, since plants are sending energy downward.
Read and follow the label every single time, because the label is the law. Spot spray only the weeds, choose a calm day, and keep pets and kids away until the product dries.
Products differ in how long they last in soil. Pick one labeled for your situation and stay well clear of desirable plants.
A Leaf Rake And Fresh Gravel Keep Seeds From Settling In
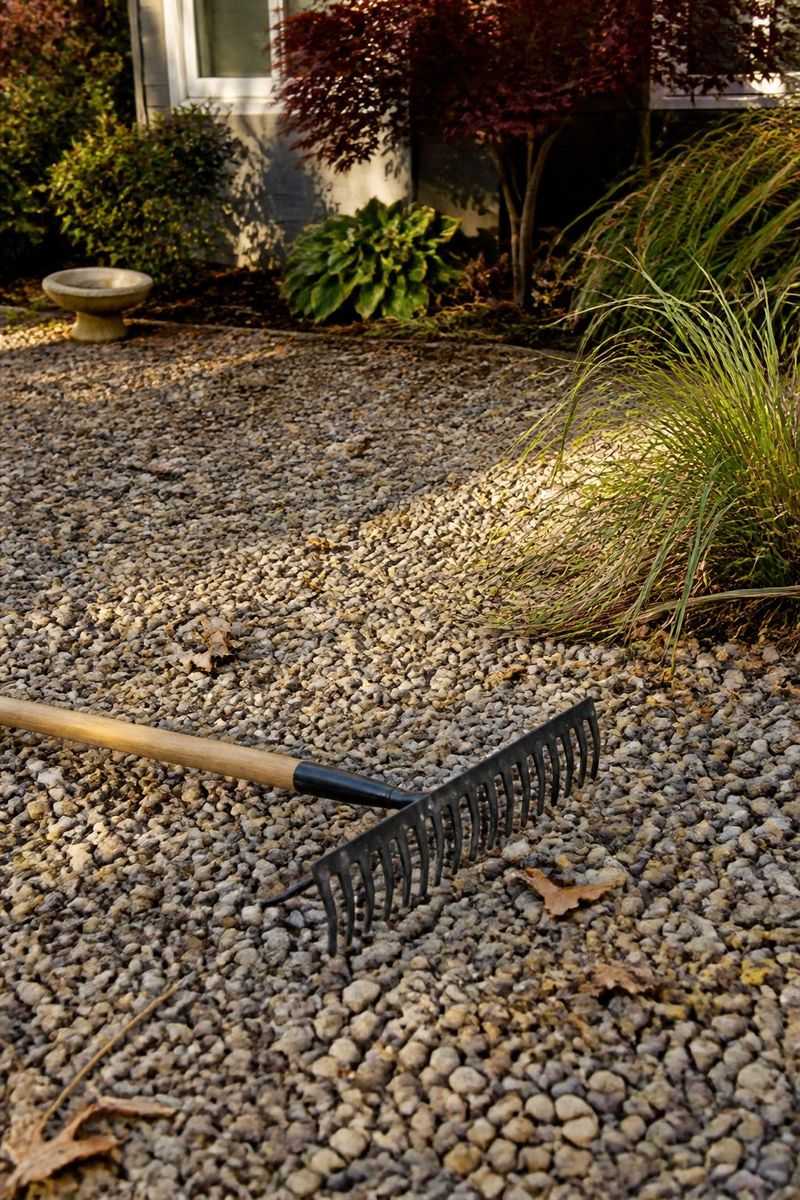
Every fall, I drag a leaf rake across my gravel before the leaves have a chance to break down. Ten minutes of raking now saves me hours of weeding next spring.
Remember that thin layer of dust and debris where weeds love to sprout? Regular raking removes it. A light rake also tips over tiny seedlings before their roots settle in, and a leaf blower works well on larger areas.
Gravel depth matters too. A layer around 2 to 3 inches deep for paths keeps sunlight from reaching seeds near the soil and makes the surface less welcoming. Thin, patchy gravel is basically an open invitation.
When your stones look sparse, top them up rather than starting over. Fresh gravel buries small seedlings and gives you a cleaner surface to maintain.
Landscape fabric under gravel blocks weeds coming from below, though it can’t stop seeds landing on top. Check for torn spots along the edges and patch them when you add new stone.
Edging also helps. Metal, stone, or plastic borders keep lawn grass from creeping in sideways. Combine clean stones, steady raking, and quick spot treatments, and your gravel stays tidy with surprisingly little effort.