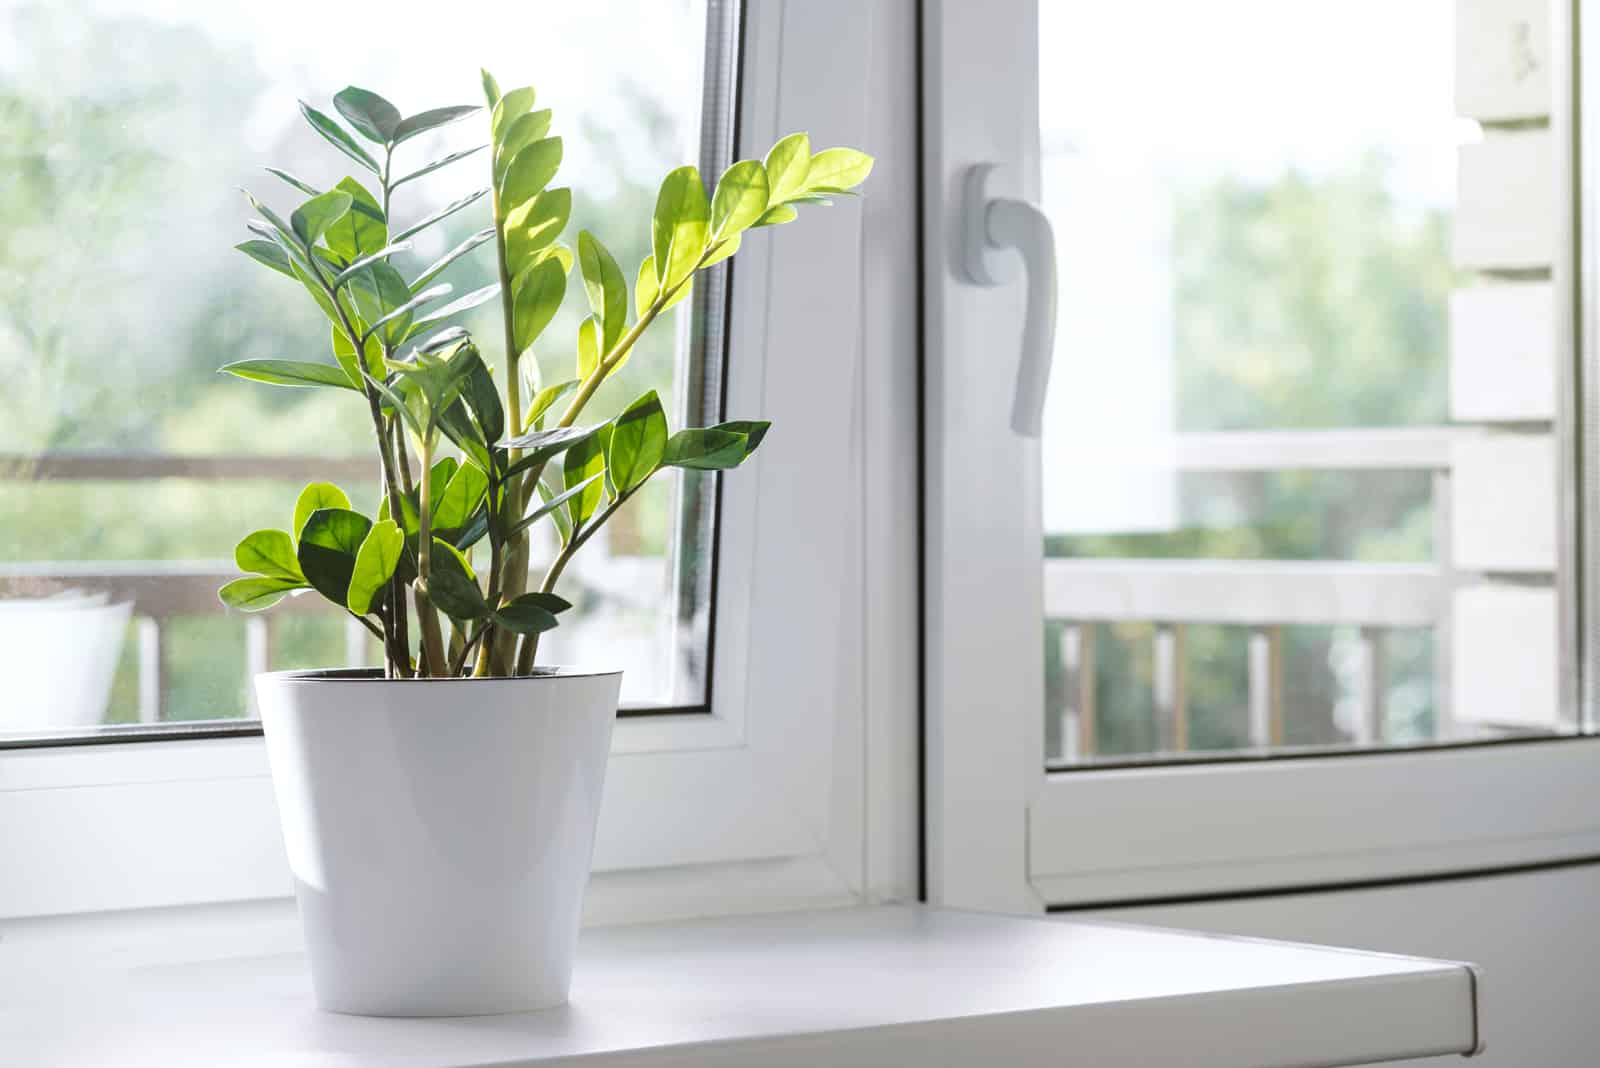
What Is The Best Soil For ZZ Plant? All The Answers Here!
This African beauty has become a firm favorite of almost every plant parent out there!
The ZZ plant, also known as Zamioculcas zamiifolia or Zanzibar Gem, is an exotic houseplant that originates from the hottest regions of Africa. As they’ve adapted to living in such rough areas, these plants can really tolerate a lot!
This makes the ZZ plant a low-maintenance plant that’s usually used in minimalist home decor, although it fits well with any style.
Even though they don’t have any special requirements, you still have to provide them with great growing conditions.
This includes finding the best soil for ZZ plant.
Soil is a crucial part of any plant care guide because it affects the overall health of the plant, its watering and fertilizing needs in particular.
To get a clearer picture of which soil suits your ZZ plant the best, read on!
What Is The Best Soil For ZZ Plant?
We are going to look at what the ideal potting mix for a ZZ plant should contain. These components are dictated by the basic requirements of your plant, and affect moisture retention, aeration, and nutrient content.
The pH level of the potting soil also plays an important role in keeping your ZZ plant happy and healthy!
So, let’s take a look at what should be in the perfect soil for a ZZ plant.
The pH Level
The pH level of the soil is important because it impacts the amount of nutrients and compounds that are soluble in soil water, which is the amount of nutrients available to plants. While some nutrients are more readily available in acidic environments, others are found in greater numbers in alkaline environments.
When it comes to the ZZ plant, it prefers to grow in soil that has pH levels from 6.0 to 7.0. This means that these plants prefer growing in acidic to neutral soil.
Components Of The Soil Mix
The safest soil option for your ZZ plant is a store-bought potting mix that contains all of the components necessary for optimum growth and development. Your ZZ plant would also grow perfectly fine in a succulent or a cactus mix.
However, you can also make an excellent potting soil mix by yourself!
Let’s find out what goes into the perfect potting medium.
1. Coco Coir
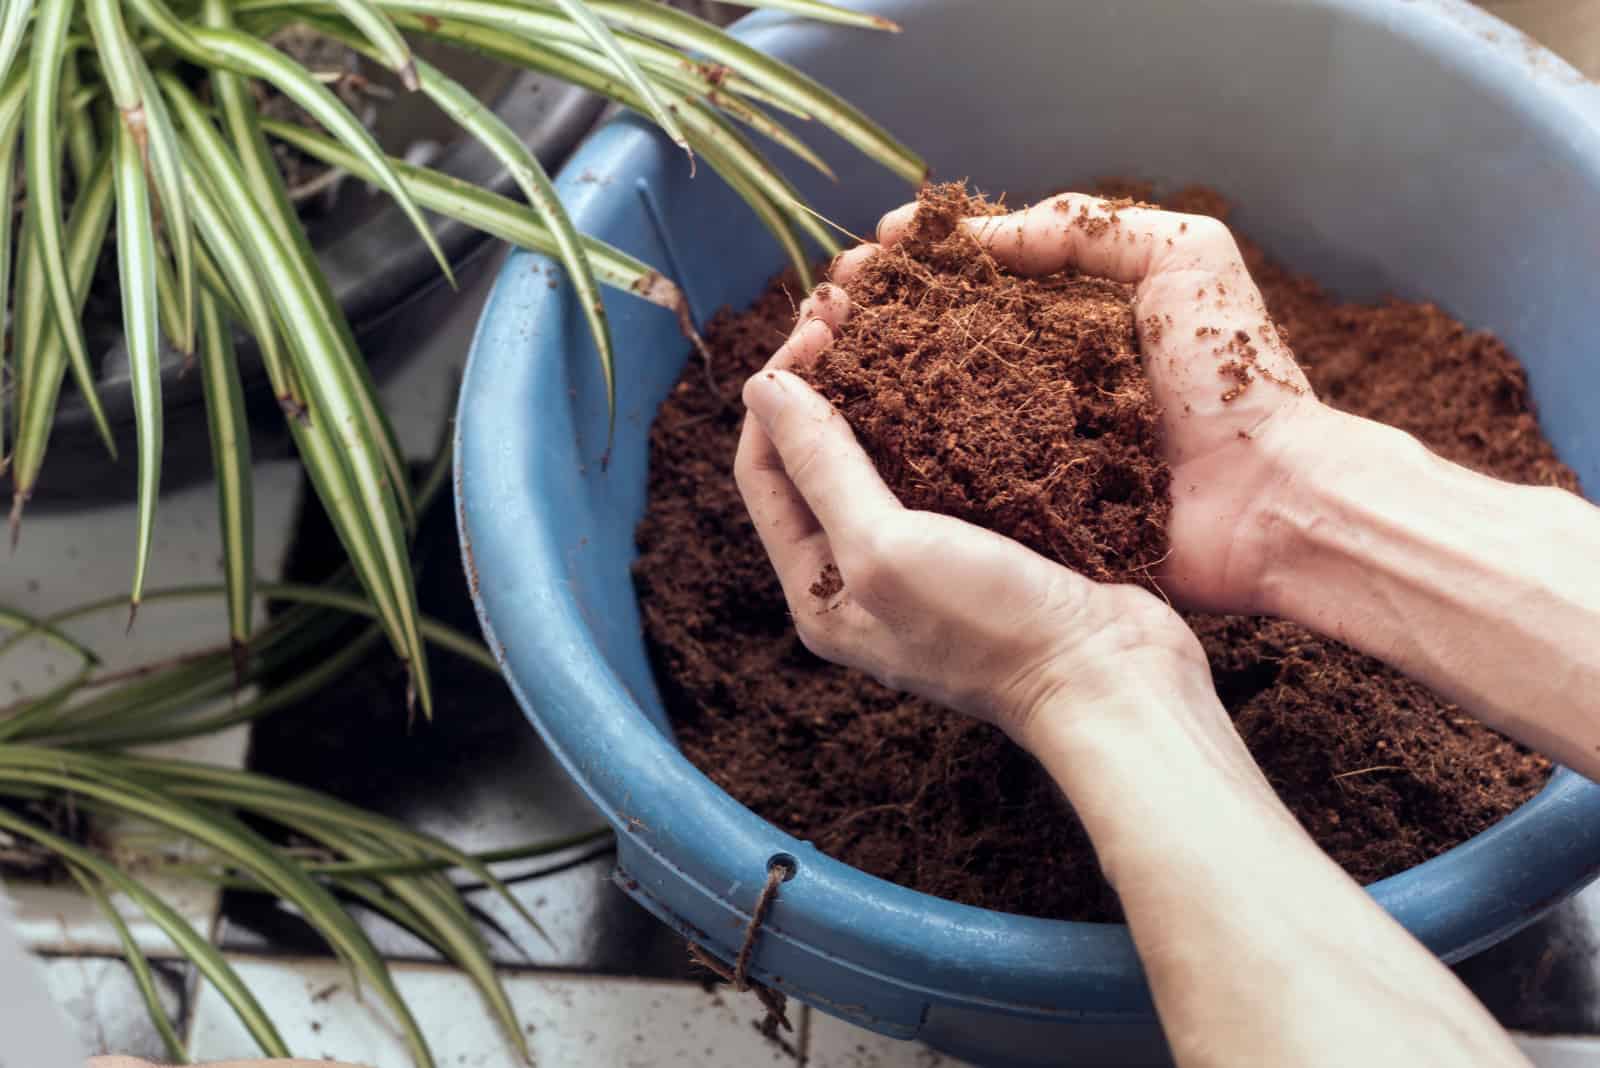
Coco coir, or coconut coir, is made out of coconut.
As a highly resilient, rot-resistant, fibrous material, coco coir is perfect for creating products that will be exposed to water frequently or used outdoors.
An excellent amendment to garden soil, coco coir is an organic substance that increases the potting soil‘s capacity for absorption, water retention, and drainage. You can use coir alone to propagate plants, hatch seeds, and maintain the root systems of hydroponically grown plants.
Coco coir is similar to peat moss, though some might say that coco coir is better than peat moss because it is more sustainable.
2. Peat Moss
As we just mentioned it, let’s continue talking about peat moss.
Peat moss, or Sphagnum peat moss, is a decomposed organic matter recovered from peat bogs. Peat moss mounds can even be used as a hydroponic growing medium and is a great soil addition for both potting soil and garden soil.
There are numerous benefits to adding peat moss into your soil mix, including:
• Peat moss is sterile and disease-resistant, which means that it won’t come with any nasty surprises like fungus, microorganisms, or pests.
• It contributes to the acidity of the soil, which is perfect for plants that love growing in acidic soil like the ZZ plant.
• It combines perfectly with the rest of the components in the potting soil mix.
• Peat moss is great for improving water retention, which makes it excellent draining soil for plants that love growing in a bit of moisture.
• You also won’t have to worry about soil compacting when you are using peat moss because it works as a soil conditioner and makes any dense soil a bit softer.
3. Perlite
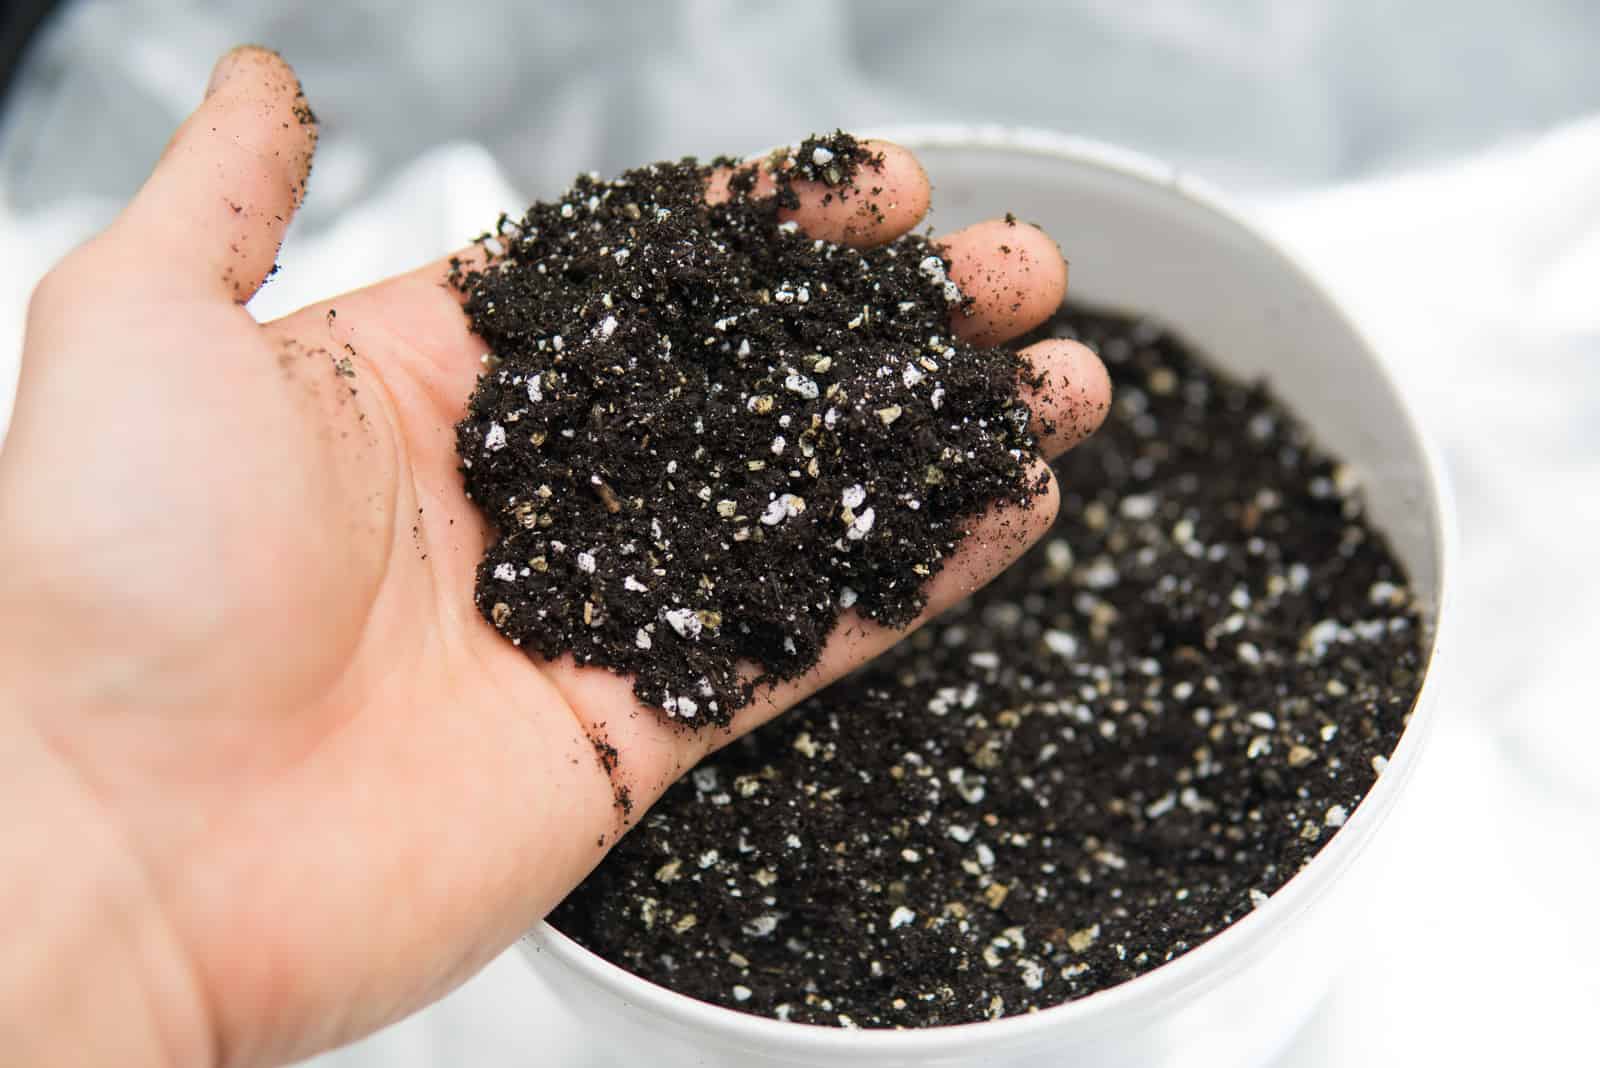
One of the most common components for improving soil aeration is perlite, which is a type of amorphous volcanic glass often mistaken for styrofoam. Due to its unique structure, it has the nickname, “volcanic popcorn”.
This material is quite porous and doesn’t have the ability to retain water, however, it is great for improving aeration. Perlite is added to soil mixtures (including soilless mediums) to increase aeration and change the substructure of the soil in order to prevent compaction and maintain loose and well-draining soil.
Cuttings rooted in perlite develop considerably stronger roots than those grown only in water. Perlite is also excellent for potting up cuttings.
There are also other uses of perlite in industries such as masonry construction, pharmaceuticals, and manufacturing cement, soaps, and cleansers.
4. Horticultural Sand
A variety of materials, including quartz, crushed sandstone, or crushed granite, can be included in horticulture sand. Due to its composition, which excludes lime, it won’t have a negative impact on the pH balance of the soil, and may even improve it.
Horticultural sand, also known as coarse sand, does not compact or clump together like traditional sand because of its rough edges, however, it also won’t fill the empty spaces in the soil.
These are the reasons horticultural sand is great for improving drainage and aeration in the soil!
It is difficult to find pre-mixed horticultural sand, and even if you do find it, it’s quite expensive. Nonetheless, sand for gardening is a great way to improve the soil and create the ideal environment for your plants.
5. Pine Bark Fines
Pine bark is a soil conditioner made out of pieces of trees such as pines, spruces, and firs. Pine bark that has been finely crushed is a good soil conditioner because it increases “pore space” in the soil, which allows nutrients and oxygen to pass through. It also helps the soil retain moisture.
This type of soil amendment helps to break up lumps of soil, which prevents it from becoming too compact.
Considerations for Soil Depending On Pot Type
A ZZ plant’s soil should always be well-draining regardless of the pot type. However, the pot’s material can affect the drainage. For instance, if you are growing your plant in a plastic pot, it will be able to retain much more moisture compared to others made out of a porous material.
How To Choose The Right Pot For Your ZZ Plant
Choosing the right pot for your plant is extremely important — I mean, it’s basically like choosing its home!
Pot materials are divided into porous and non-porous options. The difference is that the porous ones don’t retain as much moisture and are perfect for plants that have issues with overwatering. On the contrary, non-porous pots have the ability to retain excess water, which makes them perfect for busy gardeners that tend to forget to water their plants.
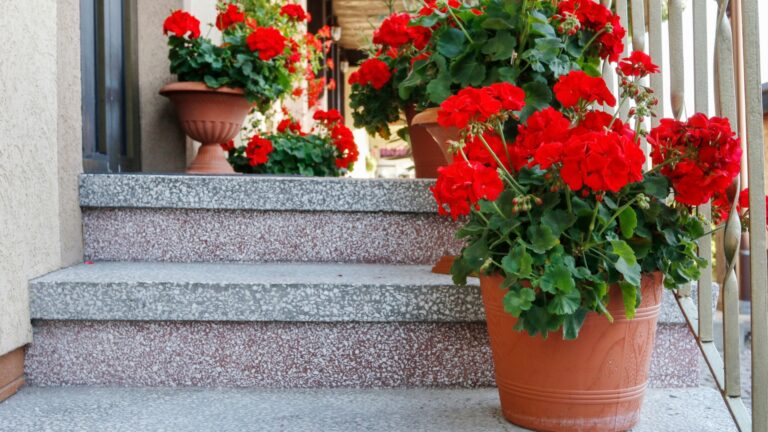
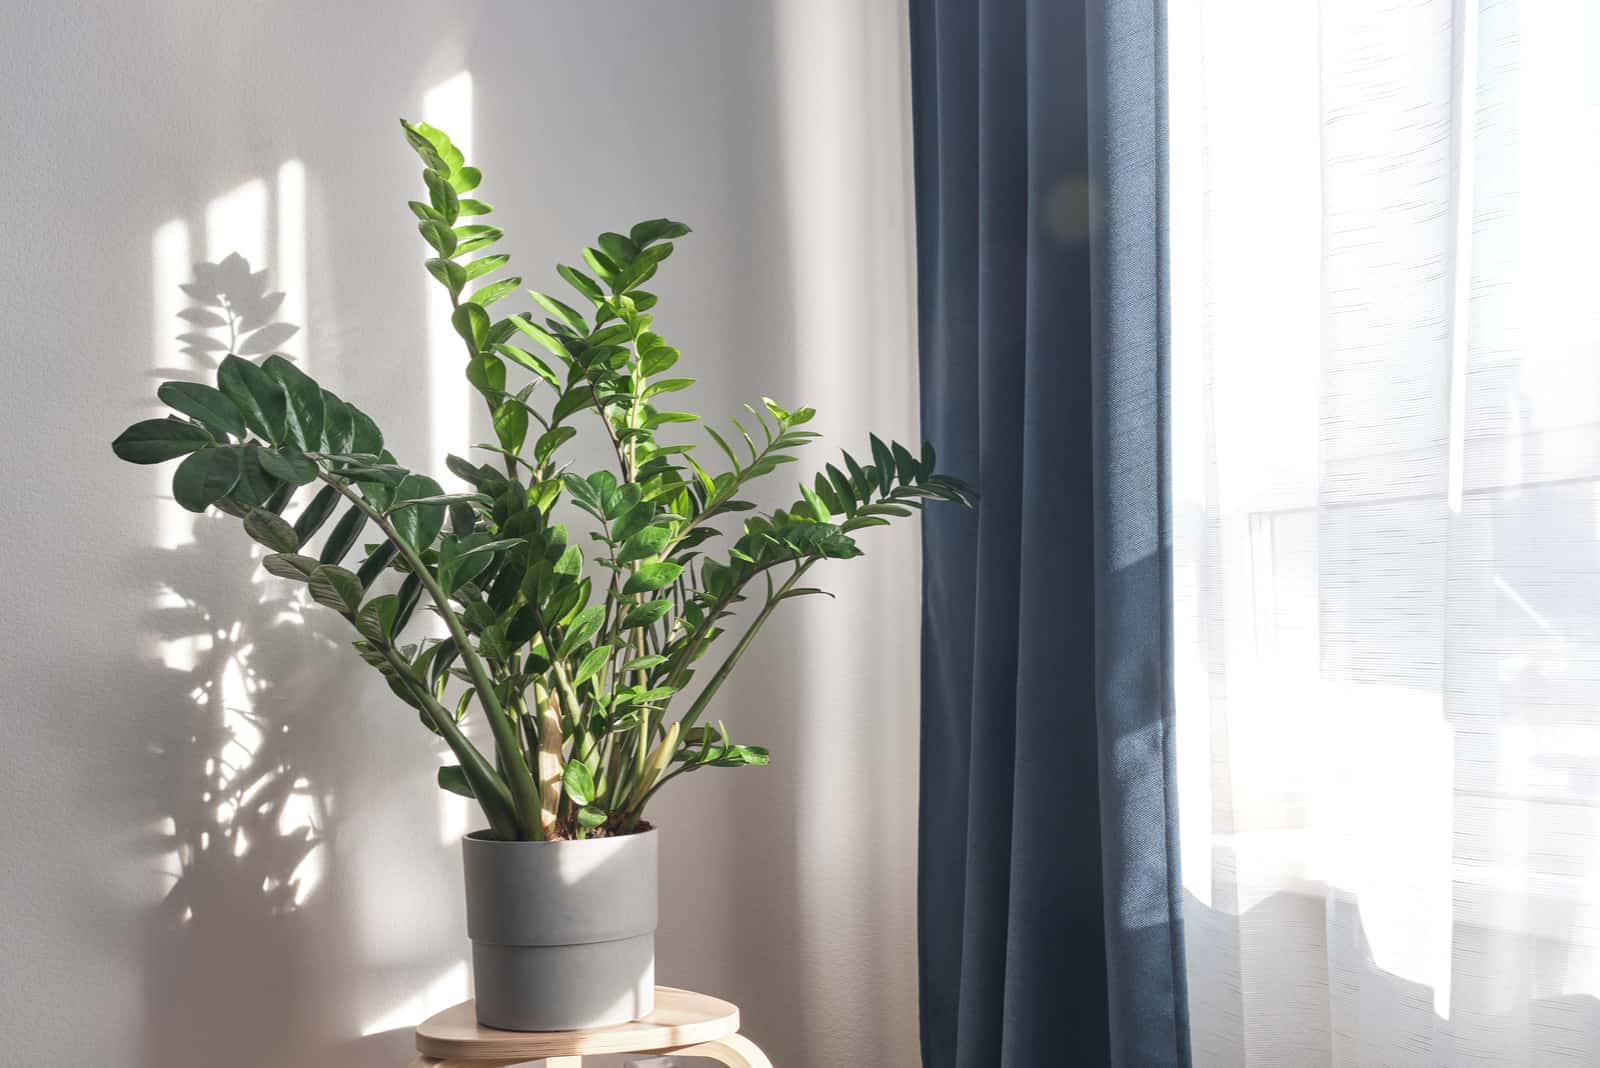
In my opinion, terracotta is the best pot for the ZZ plant — it is porous, has drainage holes in the bottom for proper drainage, and won’t crack once the rhizomes start expanding (these are also the best pots for Monstera!)
It’s important to choose the correct pot size so your plant’s roots have enough space for growth and development. I would recommend you periodically check if the plant has become root-bound or if the ZZ plant bulb is touching the pot’s wall.
In this case, it is time for repotting into a bigger pot. We will get to the repotting instructions shortly!
Great Soil Recipes For A ZZ Plant
If you want to make your own soil mixture instead of using succulent soil or cactus soil for your ZZ plant, use one of these recipes.
Don’t worry, you can’t go wrong with either of them!
Recipe 1: Mix The Mixes
• 1/4 succulent soil
• 3/4 organic potting soil
• Small amount of compost to improve nutrient content
Recipe 2: Peat Moss & Perlite
• 1/4 peat moss
• 1/4 potting soil
• 1/2 perlite (you can also use coarse sand)
Recipe 3: Add Coco Coir
• 1/2 potting soil
• 1/4 coarse sand
• 1/4 coco coir
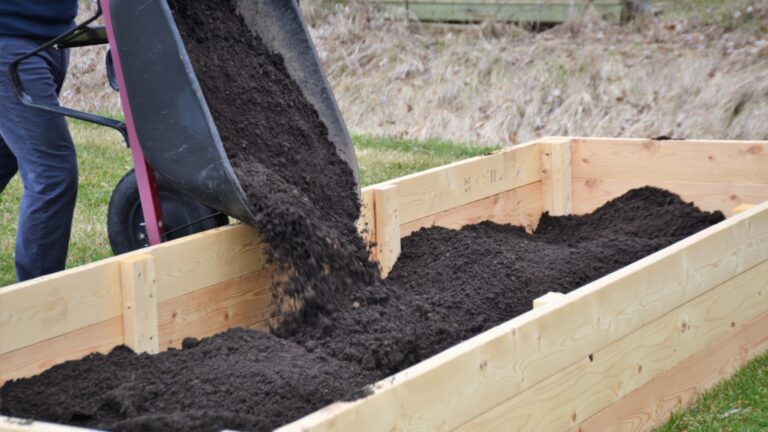
How To Make The Perfect Mix
To create the perfect soil mixture, it is important to choose one recipe and stick to it — don‘t add coco coir if you have already mixed peat moss and perlite, for example.
The ingredients should be mixed in a separate container, and you can add water to moisten it up. After this, put a few inches of the mix in the base of your terracotta pot, put the root ball of your plant in the center, then fill the rest of the pot up with the same mixture.
Remember that these plants don’t like soil that’s too compact, so make sure to avoid adding any extreme pressure to it.
Tips And Tricks For ZZ Plant Care
As we already mentioned, these plants don’t require any special treatment. Therefore, you should only focus on the basics. These plants are also slow-growing and they don’t require much water and fertilizers. You won’t have to worry about pruning either!
Let’s dive right in!
Light Requirements
ZZ plants can grow in various light conditions, which is why they are one of the best low light indoor plants for offices with no windows. Even though they can grow in low light conditions, they thrive best in bright indirect light!
Avoid putting your ZZ plant in a place exposed to direct sunlight because the sun can easily burn it, and you will be left with crusty, yellow leaves instead of glowy green ones!
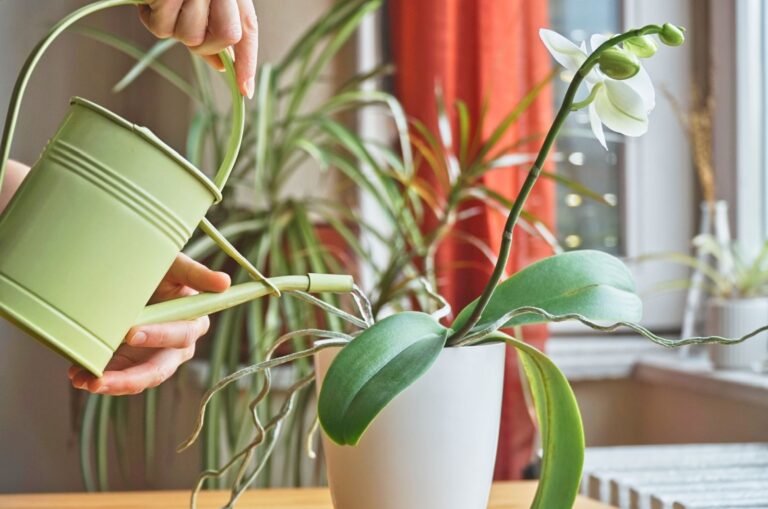
Watering Requirements
The ZZ plant can go for weeks without water. It has adapted to the dry African climate, and constant watering would only shock your new plant.
I would suggest you let the soil completely dry out before watering it again. This usually means that you will only have to water your ZZ plant once every three weeks.
Try to avoid overwatering as much as possible because it can lead to root rot, which is a fungal disease that can destroy your plant!
ZZ Plant Root Rot
Soggy soil is the perfect environment for the fungus that causes root rot, and once it settles in, it won‘t go away by only cutting back on watering.
You must get rid of any damaged roots because it will lay dormant and wait for more water otherwise.
To do this, you must first take your Zamioculcas Zamiifolia out of its container. It may be difficult, particularly if you have an adult ZZ. Ask a friend or a family member to help you deal with it.
Flip the pot of your plant over and slide the plant out. To get a closer look at the root system, remove any extra soil.
The following phase involves looking for damaged roots and cutting them out with a sterile knife.
ZZ Plant Repotting
You should repot the plant once its current pot becomes too small. You’ll notice little roots sticking out of the drainage holes, which usually means that your plant has become root-bound, and the only option is to repot the plant in a bigger pot!
This way, the plant’s roots will have enough space and you’ll be able to see new growth in no time.
The steps for repotting ZZ plants are as follows:
• I recommend repotting in spring, just before the ZZ plant’s growing season begins.
• To take your ZZ out of the old pot, flip it over and let the plant slide out.
• Gently place the roots in a brand-new pot that is full of new soil mixture. Because you can never be certain that the old soil doesn’t contain any fungus, always use fresh soil mix.
• Place your plant in a fresh container. Gently press the soil around the roots of the ZZ down.
• Give your repotted ZZ plenty of water, then let it drain.
• Keep your plant out of direct sunlight or the plant leaves will get burned and change color.
You can also check out this video for more visual information:
Temperature & Humidity Requirements
Your ZZ plant will thrive in temperatures between 60 to 70 degrees Fahrenheit. If the temperature in your area tends to drop below 40 degrees Fahrenheit, I would suggest you keep your ZZ plant indoors as the cold can kill it.
This plant also prefers average household humidity levels. However, if the air gets extremely dry you should put your plant near a humidifier to help it keep that special glow!
ZZ Plant Propagation
Propagating the ZZ plant is pretty simple. There are a few methods you can use to propagate this plant, however, growers often choose to do it by division. This means that you separate the rhizomes, plant them in another pot, and then get a brand new plant.
The other methods include propagation by stem and leaf cuttings.
Propagation By Stem Cuttings
Prepare a new nursery pot (ideally with drainage holes and a saucer), a sterilized knife, a glass of water, and fresh soil mixture for the stem cutting propagation method.
First, make a precise cut near the base of the stem of the ZZ.
The ZZ stem slice should be placed in a glass of water. I recommend changing the water every three days or mold could grow on the surface of the glass, which can lead to rotting.
Now the ZZ cutting needs bright indirect light, so you must find the most suitable spot for it.
When you see some roots and fresh false bulbs, repot the cuttings.
Propagation By Leaf Cuttings
This process can take longer than stem cuttings or rhizome division, but it has a high success rate.
The steps for propagation using leaves are as follows:
• Cut off leaves near the stalk, taking a small piece of stem with them.
• Bury the cutting around half an inch deep in a suitable potting mix. You should use several leaf cuttings just to make sure that it’s a successful propagation.
• Water the cuttings thoroughly, allow the soil to dry, then water once more.
• Remember that we are dealing with a slow-growing plant, so the new plant won’t be visible for at least three months after planting.
Fertilizer Requirements
This plant should be fertilized twice during the growing season as it is a slow grower and doesn’t require a lot of nutrients. You can use balanced 20-20-20 fertilizer or 10-10-10. I usually go with the 10-20-20 fertilizer.
The best care tip I can give you regarding fertilization is to follow the manufacturer’s instructions displayed on the packaging, and also avoid frequent fertilization because it can burn your plant’s roots.
Frequently Asked Questions
1. What kind of soil does the Raven ZZ need?
Almost every ZZ plant variety can grow in the same potting soil. The best soil for ZZ plant would be porous and well-draining — this is important because your plant does not need a huge amount of water and can easily become overwatered.
2. Does a ZZ plant need special soil?
No, a ZZ plant does not need special soil. In fact, it can adapt to growing in different types of soil as long as it is well-draining. You don’t have to worry about adding certain nutrients before planting because this plant doesn’t require nutrient-rich soil.
What is important is proper drainage, which can be achieved by adding coco coir or peat moss to your potting soil, as well as a bit of perlite to improve aeration. Check out recipes for the best soil mixture above!
3. Can I use succulent soil for a ZZ plant?
Yes, you can succulent soil for a ZZ plant, as well as cactus soil because they both have excellent drainage!
If you want to improve them, you can also add perlite, peat moss, coco coir, or horticultural sand.
To Sum Up
We can conclude that the best soil for ZZ plant is porous and well-draining. Whether you are going to use a cactus or succulent mix, store-bought potting soil, or even make a mixture on your own, you should always keep in mind that these plants love well draining soil.
ZZ plants don’t have any special requirements, which is why you just need to meet their basic needs.
Not only are these little gems aesthetically pleasing, they are also low-maintenance and can grow in various conditions. For instance, they can grow in various lighting conditions, just like pothos or snake plants, so you can put your zz in a dark corner of your room.
However, if you want to keep your plant thriving you should put it somewhere with indirect sunlight, give it water once every three weeks, and fertilize it once or twice during the growing season. These little things will make your plant happy!
Until next time!
Like this post? Share or pin it for later!