9 Brilliant Ways To Make Your New York Spider Plant Bushier Fast
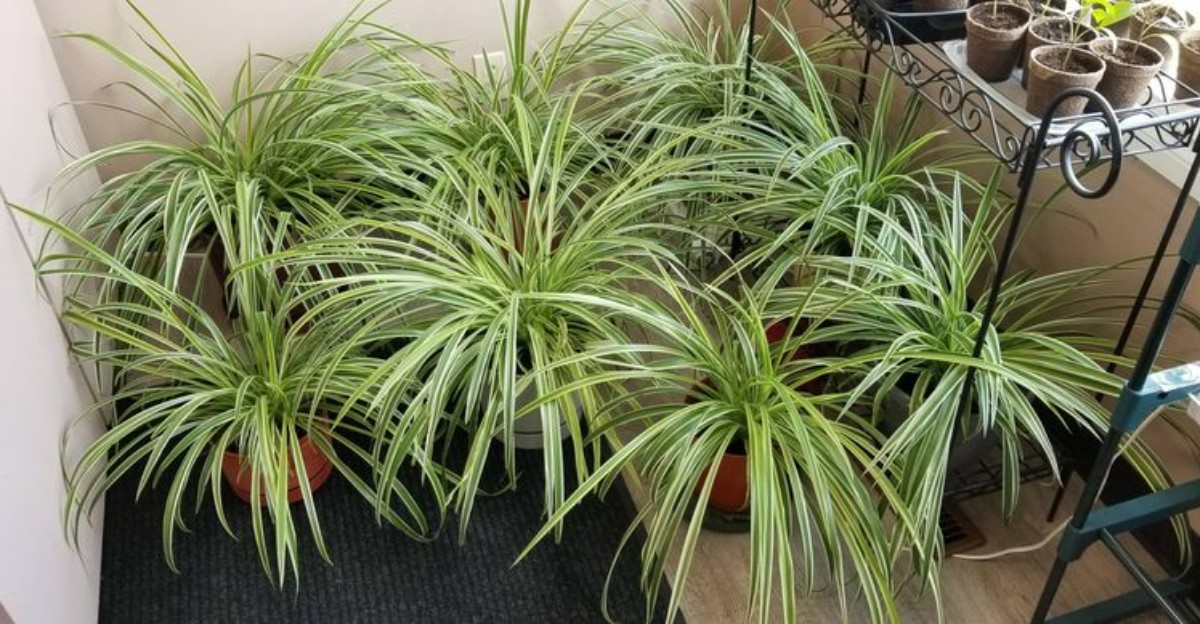
Your spider plant looks more like a bad haircut than a lush green fountain. Thin, floppy leaves are a common frustration for plant parents across New York.
Luckily, spider plants are tough, forgiving, and quick to bounce back. A few smart tweaks can turn skinny stems into a full mound that spills over the pot.
Small changes in light, water, and pruning often make a difference faster than you’d expect. Some cost nothing at all.
The steps below give your leafy roommate a serious glow-up. Your bushiest spider plant yet is only a few snips away.
1. Tuck Baby Plantlets Back Into The Same Pot
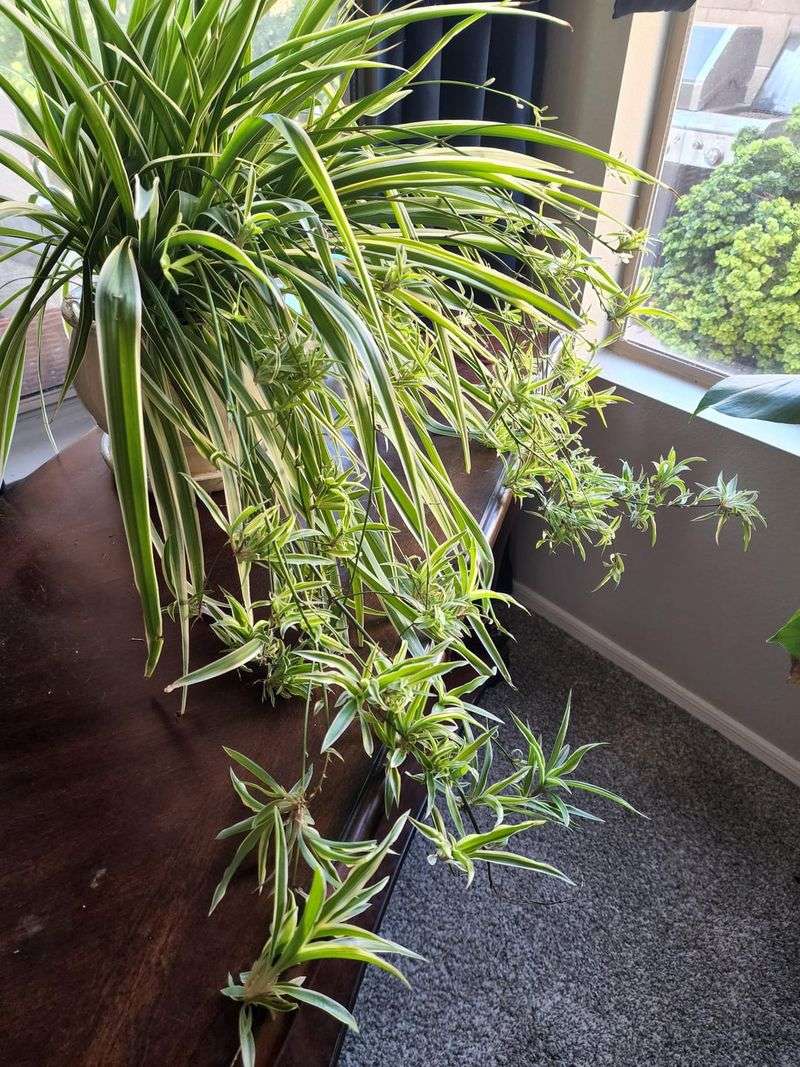
Picture a mother plant surrounded by her own little family, all sharing one cozy pot. Tucking babies back in is the quickest shortcut to a fuller look.
Spider plants make plantlets on long, arching stems called runners. Each baby already carries tiny root nubs, ready to grab soil.
You have two easy options for planting them. The first is layering, where the baby roots while still attached to mom.
Simply press the plantlet onto the soil near the edge of the pot. A bent paperclip or hairpin can hold it in place nicely.
Once it roots in a couple of weeks, snip the connecting stem. The baby now lives on its own, right beside its parent.
Option two works faster if your plantlets already have roots. Cut babies with at least an inch of roots and plant them directly.
Space them around any bare or thin spots in the pot. Three to five babies can transform a scraggly plant within one season.
Keep the soil lightly moist while the newcomers settle in. Dry soil at this stage can slow their root growth quite a bit.
Plenty of New York plant lovers swear by this trick for small apartments. You get a lush plant without buying a single new pot.
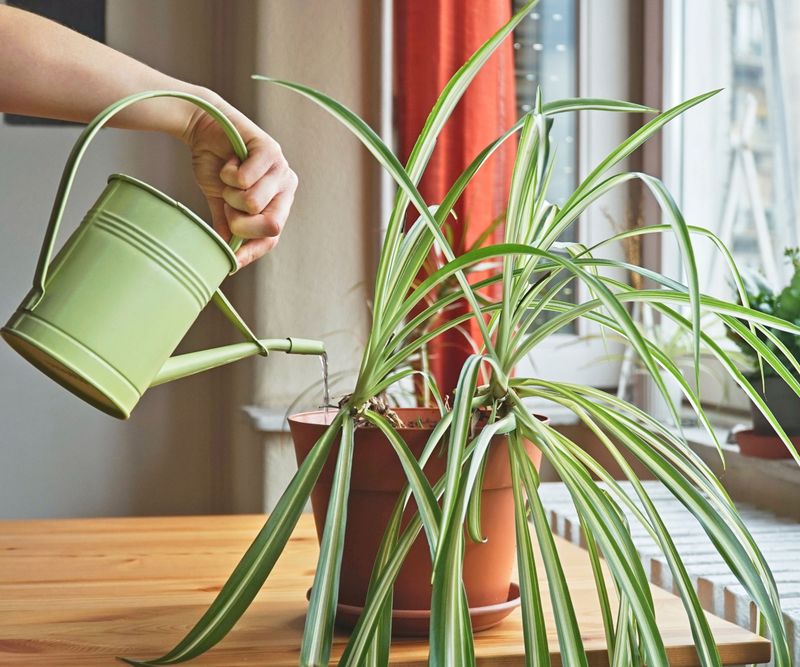
Bonus tip: water the babies with a gentle stream so they stay put. A spray bottle or small watering can works well.
Within a few months, nobody will guess where mom ends and babies begin. That blended look is exactly what makes a spider plant feel bushy.
2. Snip Runners To Redirect Energy
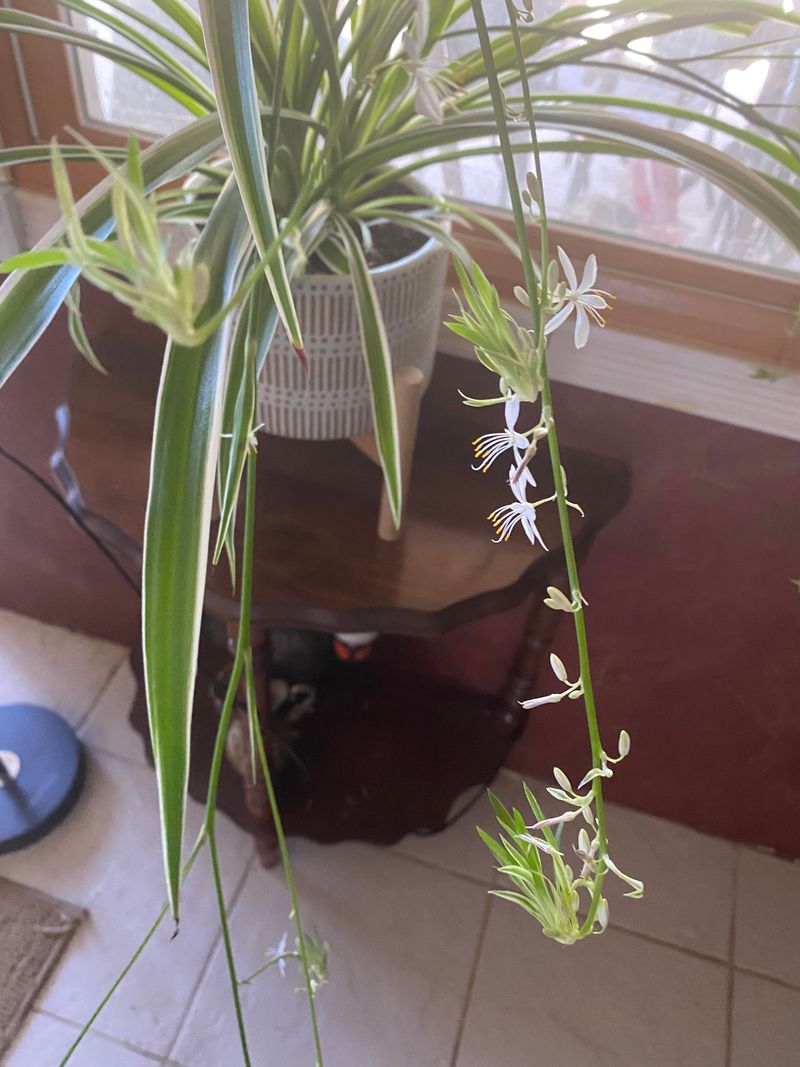
Every spider plant runs on a limited energy budget, a bit like a monthly allowance. Runners and babies spend a big chunk of it.
When your plant sends out lots of long stems, its leaf production can slow down. Snipping some runners lets the plant put that energy back into foliage.
Grab a clean pair of scissors or pruning snips first. Wiping the blades with rubbing alcohol helps stop germs from spreading.
Follow each runner back to where it leaves the center of the plant. Cut it close to the base without nicking nearby leaves.
Small white flowers often appear on those runners before babies form. Removing flower stems early can also nudge the plant toward bushier leaf growth.
Don’t go overboard, though. Avoid removing more than a third of the plant at one time, or growth may stall.
Your New York Garden Changes Every Week. Your Plan Should Too.
Gardening in New York changes quickly throughout the season. Every Friday you’ll receive a simple weekly plan showing exactly what to plant, prune, fertilize, harvest, and protect so you never miss the right timing.
A good plan is to trim a few runners, then wait a couple of weeks. Watch how the center responds before cutting more.
Those snipped runners don’t need to go to waste. Any babies attached can be rooted in water or tucked into the same pot.
Many growers keep one or two runners for a pretty trailing effect. The rest get cut so the crown stays thick and full.
Think of it as choosing between a fountain look and a bushy look. With a little snipping, you can enjoy a bit of both.
New leaves usually start popping up from the center within a month. Fresh green growth is your sign the energy shift worked.
3. Move It Into Brighter, Indirect Light
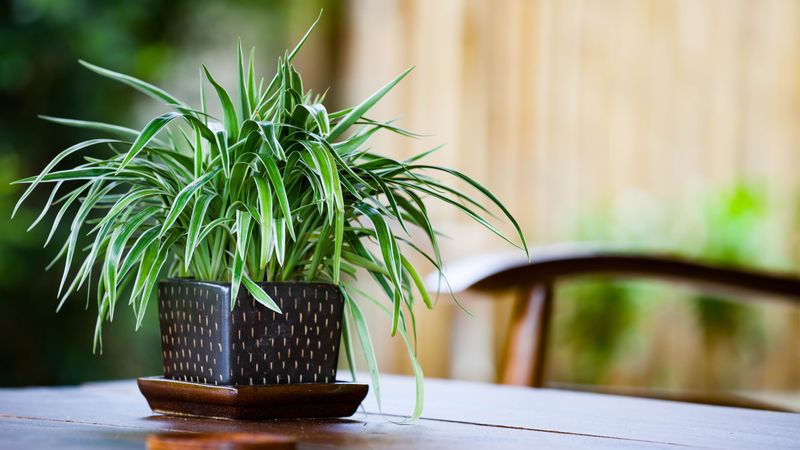
Spider plants are sun lovers with sensitive skin. They crave brightness but can scorch when hit by harsh, direct rays.
Bright, indirect light is the sweet spot for strong, fast growth. More light means more energy, and more energy means more leaves.
Striped varieties also show sharper white or cream bands in good light. In dim corners, those stripes can fade and leaves stretch thin.
Look for a spot a few feet from an east or west window. A north window works too, as long as the room feels bright.
South-facing windows pack serious power, especially in summer. A sheer curtain softens that light so leaves don’t turn crispy or pale.
Light in a New York apartment can be tricky with tall buildings blocking the sun. If your view is a brick wall, consider a simple LED grow light.
Set the grow light about a foot above the plant. Running it twelve to fourteen hours a day gives steady, reliable energy.
Your spider plant will tell you if the light is wrong. Pale, washed-out leaves or brown scorch marks mean too much sun.
Long, floppy leaves with few new shoots usually mean too little. Fewer plantlets can also be a hint that the spot is too dim.
Try moving the pot gradually rather than all at once. A sudden jump from shade to bright light can shock the leaves.
Give it about two weeks in its new home before judging. Fresh, upright growth will show you that you picked the right spot.
4. Rotate The Pot Every Week
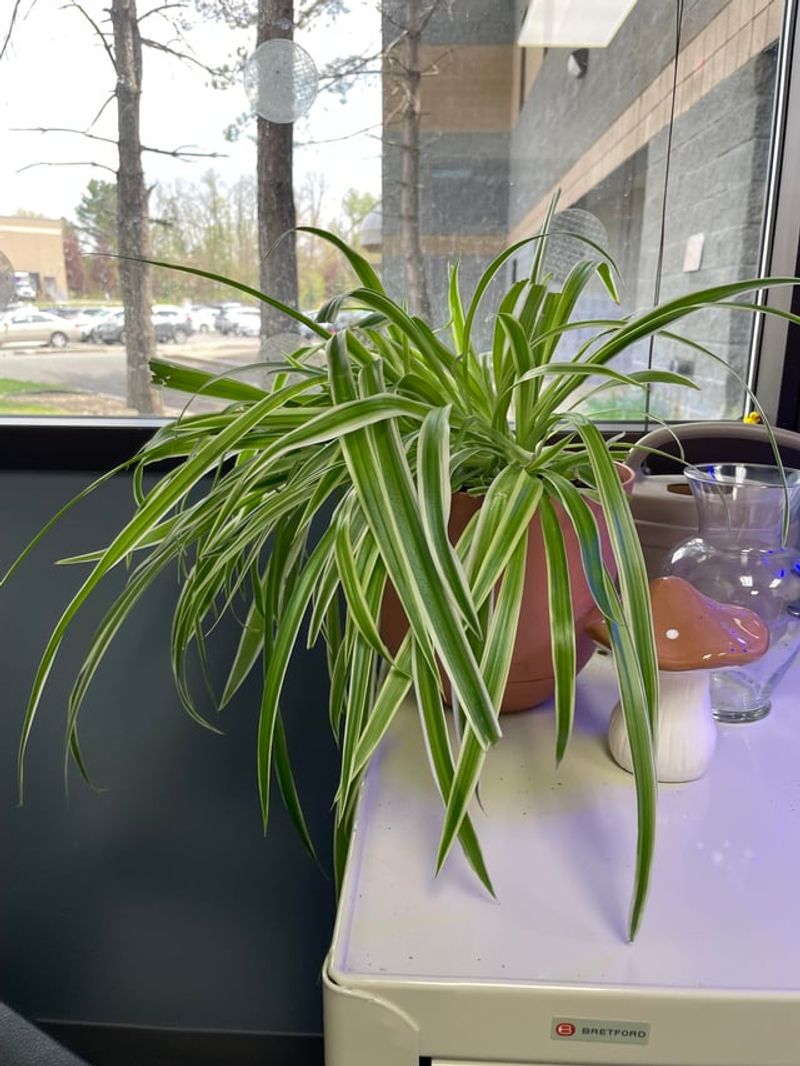
Ever notice a plant leaning toward the window like it is trying to peek outside? Plants naturally stretch toward their light source.
Over time, that lean creates a lopsided plant with one full side and one thin side. A quick turn of the pot fixes the problem.
Give your spider plant a quarter turn once a week. Pick a day you’ll remember, like Sunday morning with your coffee.
Some people prefer turning it a little each time they water. Others follow a looser schedule of every two to three weeks.
Weekly turns work well for fast results, especially if your window light is strong. The more even the light, the more even the growth.
A tiny piece of tape on the pot rim can help you keep track. Move the tape a quarter turn each time, like a clock hand.
Hanging baskets need rotating too, even if they seem out of reach. A swivel hook makes the job easy and quick.
Many city windows face only one direction, so light comes from a single side. Rotation is your free, simple way to balance it out.
Within a month or two, you should see leaves filling in on every side. The plant starts to look round and balanced instead of tilted.
Fun fact: this leaning habit has a name, phototropism. A hormone called auxin helps plants bend toward brighter areas.
Turning the pot doesn’t stress the plant at all. It just keeps every leaf getting a fair share of sunshine.
5. Trim Brown Or Damaged Leaves At The Base
Old leaves are a bit like the last guests at a party. They hang around, take up space, and don’t add much fun anymore.
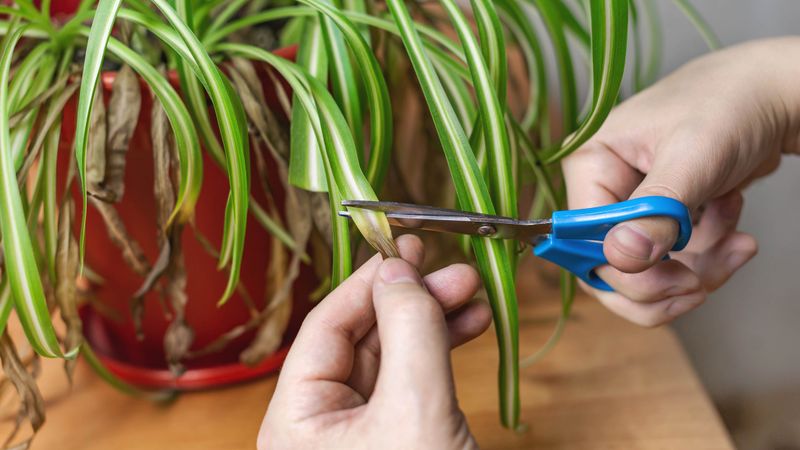
Yellow, brown, or torn leaves still pull energy from your plant. Removing them helps the plant focus on sprouting fresh, healthy growth.
Start by checking the outer edges of the plant. Older leaves usually sit around the outside, while new ones grow from the center.
Follow each damaged leaf down to where it meets the soil. Cut it cleanly at the base with sharp, clean scissors.
Kitchen scissors work fine if they are sharp and wiped clean. Dull blades crush leaf tissue instead of making a neat cut.
Cutting near the base keeps the plant looking neat and natural. Stubby leaf pieces left behind can look messy and may turn mushy.
What about leaves with just brown tips? You can trim the tip at an angle, following the leaf’s natural pointed shape.
Brown tips often come from water quality or low humidity. Trimming helps the look, but fixing the cause stops new tips from forming.
Keep the one-third rule in mind here as well. Pull too many leaves at once, and your plant may sulk for weeks.
Monthly check-ups work nicely for most spider plants. Spring is an especially good time, since new growth fills gaps quickly.
Toss trimmed leaves in the compost rather than leaving them on the soil. Fallen leaves can invite fungus gnats and mold.
A tidy plant looks fuller even before new growth arrives. Clean, green leaves catch the eye and make the whole pot shine.
6. Water When The Top Inch Feels Dry
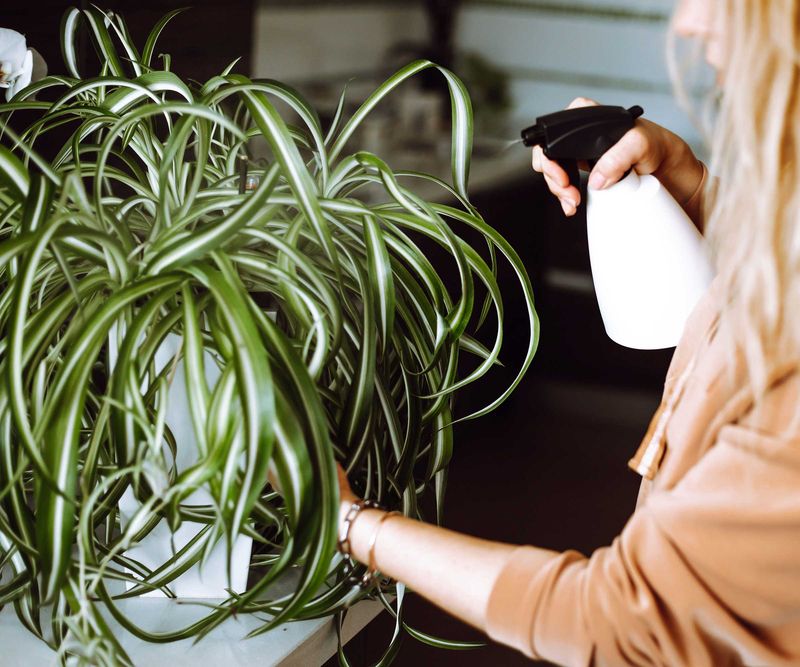
Your finger is the best watering tool you already own. Push it into the soil up to the first knuckle, about one inch deep.
If the soil feels dry there, it’s time to water. If it still feels damp, wait another day or two and check again.
Spider plants like moderately moist soil but hate soggy feet. Too much water can lead to root rot and limp, yellow leaves.
Their thick, fleshy roots store water, almost like tiny underground water bottles. That storage lets them handle a short dry spell better than many houseplants.
When you do water, soak the soil until water runs out the bottom. Then empty the saucer so roots don’t sit in a puddle.
A pot with drainage holes is a must for healthy roots. Decorative pots without holes can trap water and cause problems fast.
Lifting the pot is another handy test. A light pot usually means thirsty soil, while a heavy one means wait.
Watering needs change with the seasons. Summer heat may mean watering weekly, while winter could stretch it to two weeks.
Radiators dry indoor air and soil quickly too. Check more often if your plant sits near a heat source.
Steady moisture keeps leaves plump and helps new shoots form. Big swings between bone dry and soaking wet can cause wilting and discolored leaves.
Try keeping a simple watering log on your phone. After a few weeks, you’ll spot your plant’s natural rhythm.
Consistency is the quiet secret behind most bushy spider plants. Get watering right, and every other tip works even better.
7. Feed Lightly In Spring And Summer
Think of fertilizer as a vitamin, not a feast. Spider plants are light eaters that grow happily on small, steady meals.
Feed once a month from late spring through late summer. Those warm, bright months are when your plant grows fastest and uses nutrients best.
A balanced houseplant fertilizer works well, such as one with a 1-1-1 ratio. Those numbers stand for nitrogen, phosphorus, and potassium.
Nitrogen is the big helper for leafy growth. It fuels the green, grassy foliage that makes a spider plant look full.
Dilute liquid fertilizer to half the strength listed on the label. Weaker doses lower the risk of burning delicate roots.
Water the soil first, then add fertilizer. Feeding dry soil can scorch roots and leave brown leaf tips behind.
Too much food causes more harm than good. Salt buildup from extra fertilizer can stress the plant and slow growth.
White crust on the soil or pot rim is a warning sign. Flush the soil with plain water a few times to rinse away extra salts.
Skip fertilizer in fall and winter when growth naturally slows. Shorter winter days mean the plant simply can’t use extra nutrients then.
Slow-release pellets are a handy choice for busy plant parents. One spring application can feed gently for several months.
Fun fact: generous feeding often favors leaves over flower stems. Plenty of growers notice fewer runners and thicker foliage with balanced monthly meals.
Watch your plant’s response over a few weeks. Deeper green color and fresh shoots mean you’re on the right track.
8. Repot Into A Slightly Wider Container
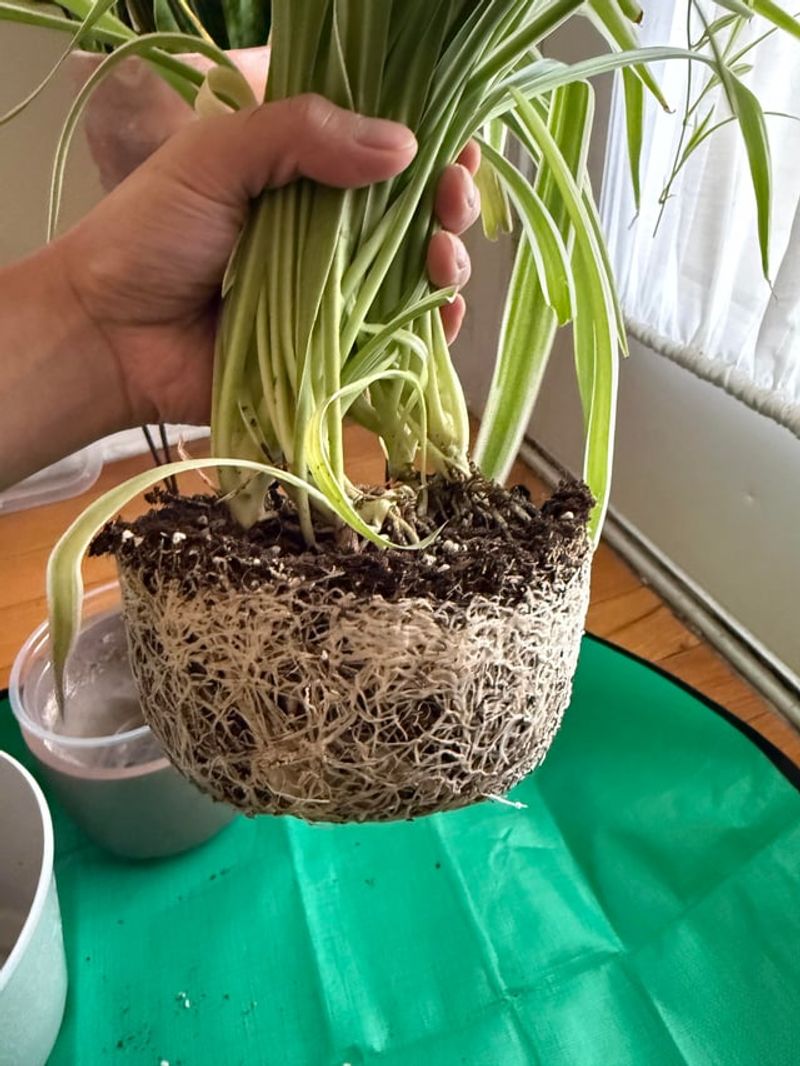
Roots poking out of drainage holes are your plant’s way of asking for more space. Sometimes they even crack plastic pots from the pressure.
Spider plants actually enjoy a snug fit, which encourages a fuller look. Still, a badly crowded pot can leave roots starving for water and nutrients.
Choose a new pot just one to two inches wider than the old one. A huge pot holds too much wet soil, which roots dislike.
Wider is often better than deeper for this plant. Extra width gives room for babies and new shoots to spread out.
Spring is the ideal season for repotting. Your plant recovers faster when it’s already in active growing mode.
Water the plant a day before you start. Moist roots slide out more easily and handle the move with less stress.
Gently loosen the root ball with your fingers. Trim any mushy or blackened roots with clean scissors.
Use a light, well-draining potting mix with a little perlite. Set the plant at the same depth it sat before.
Here’s a clever bonus move. Tuck a few rooted plantlets around the edges of the new pot for instant fullness.
Plenty of New York plant shops sell affordable pots in every size and style. Make sure your pick has drainage holes before bringing it home.
Expect your plant to pause for a week or two after the move. Fresh growth will soon follow as roots explore their roomier home.
Most spider plants need repotting every couple of years. Checking the roots each spring helps you catch crowding early.
9. Use Filtered Water To Prevent Brown Tips
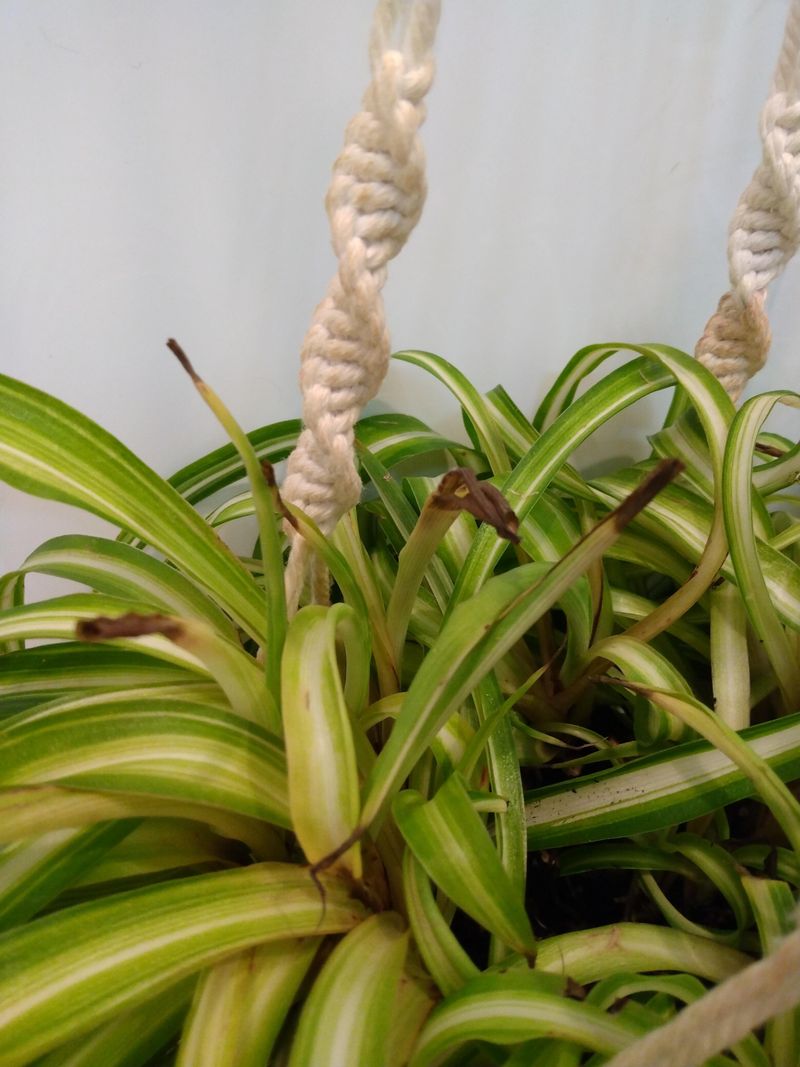
Tap water might be safe for you, but spider plants can be picky about it. Chlorine and fluoride are common culprits behind crispy brown tips.
Spider plants are known for being extra sensitive to these chemicals. Over time, they build up in leaf tips and turn them brown.
Brown tips don’t just look rough. A plant fighting chemical buildup has less energy left for fresh, bushy growth.
Filtered water is an easy fix. A basic pitcher filter from the grocery store works for many plant owners.
Distilled water and rainwater are great choices too. Some people set a bucket on a balcony to catch rain during spring storms.
No filter handy? Leave tap water out overnight in an open container so some chlorine can escape.
Resting water won’t remove fluoride, but it still helps a little. Combined with good habits, it can reduce new browning.
Many New York City plant owners notice fewer brown tips after switching. City water is treated for safety, which can be tough on sensitive leaves.
Room temperature water is kinder to roots than icy cold water. Cold water can shock the plant, especially in chilly months.
Keep in mind that dry soil and low humidity can also cause brown tips. Pair clean water with steady moisture for the best results.
A pebble tray under the pot can add gentle humidity. Grouping plants together creates a small, moist microclimate as well.
Within a few weeks, new leaves should come in green from base to tip. Those clean, healthy leaves make the plant look fuller and fresher.