8 Care Tips For Your Apple Tree After Harvest That Build A Bigger Crop Next Year
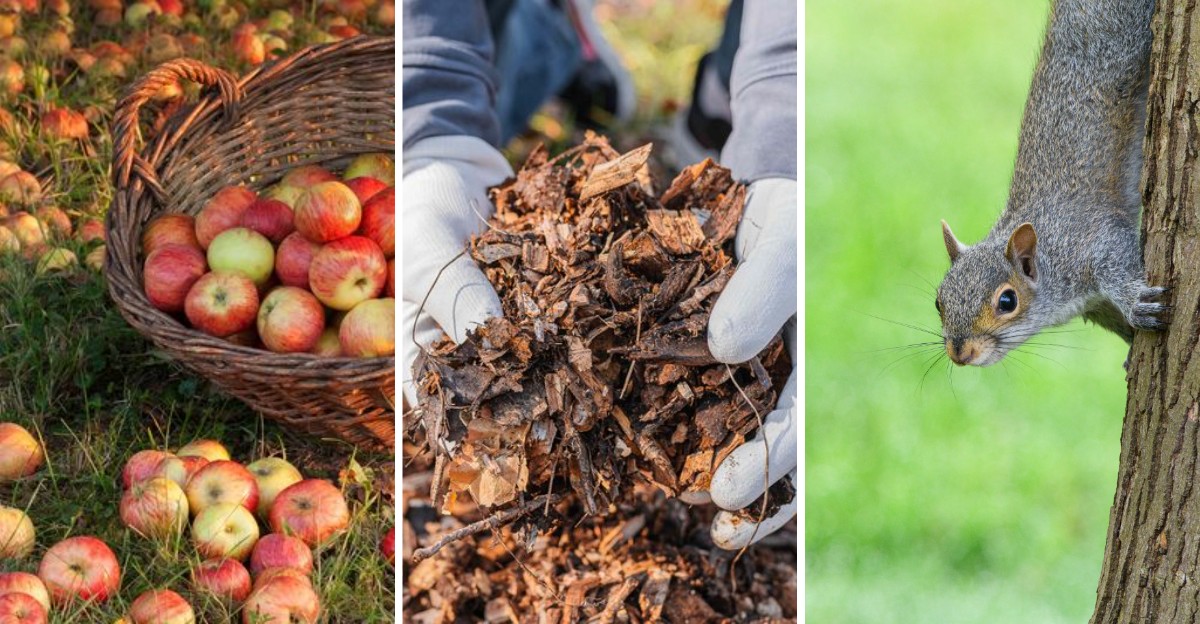
Your last apple left the branch, yet your tree just clocked in for overtime. Right now, you hold the power to shape next summer’s crop.
Buds for next year’s blossoms are maturing inside the wood as you read. Leaves still on your branches are shipping sugar down into the roots.
Interrupt that process, and you trade heavy blooms for sparse, weak ones. Protect those reserves, and you improve your odds of heavier limbs.
Cold snaps, busy insects, and a hasty trim can derail your effort. Fallen fruit and leaves under your canopy shelter lingering microbes waiting for spring.
Roots also need a deep drink before the ground firms up. You need only a rake, pruners, and a hose to begin.
Mulch, wrap, and feed with precision, and you strengthen the harvest ahead. Next September’s crop starts with your choices today.
1. Clean Up Every Fallen Apple
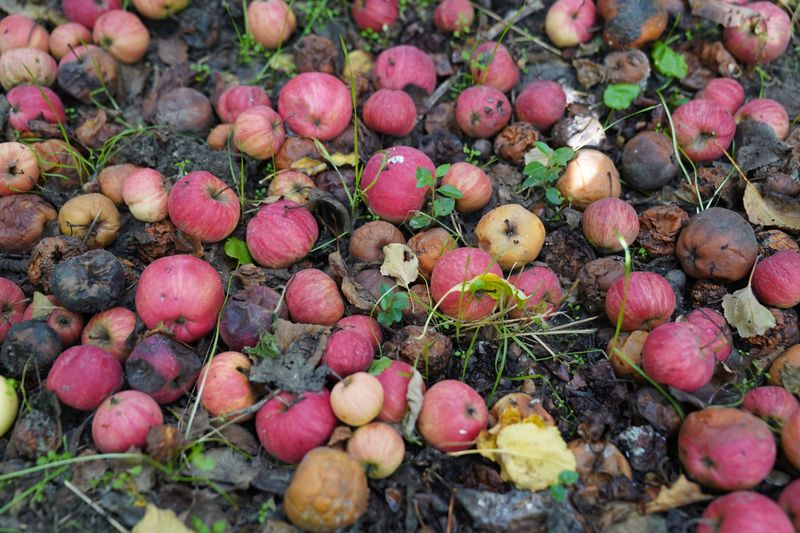
Think of a decaying apple on the ground as winter shelter for pests. Apple maggots, codling moths, and fungus spores all find shelter in or near fallen fruit.
Your first job after harvest is simple. Pick up every apple on the ground, even the ones that look fine.
Bruised or split fruit starts rotting fast once it lands. Rotting and mummified fruit can carry spores that spread back onto branches during spring rain.
Apple maggots inside dropped fruit burrow into the soil to wait, while codling moth larvae head for bark and debris. When warm weather returns, they emerge ready to infest your new crop.
Grab a bucket and walk slowly around the whole tree. Check the edges of the canopy, since apples often roll farther than you think.
Fruit still clinging to branches matters too. Shriveled apples left hanging are called mummies, and they carry disease all winter long.
Knock them down with a long pole or snip them off by hand. Then add them to your cleanup pile with the rest.
Do not toss diseased fruit into your home compost pile. Many backyard piles never get hot enough to destroy spores and insect eggs.
Bag the bad apples and put them in the trash instead. Healthy fallen fruit can feed chickens or go to a local farm.
One female codling moth can lay dozens of eggs in a season. A clean ground today means fewer wormy apples next fall. It is easy work with a big payoff.
2. Rake Away Old Leaves
Leaves look harmless as they flutter down in October. Yet apple leaves can hide one of the most common orchard diseases.
That trouble is apple scab, a fungus that leaves dark, crusty spots on fruit. It spends winter tucked inside fallen leaves on your lawn.
When spring rains arrive, the fungus shoots tiny spores into the air. Those spores land on fresh new leaves and the cycle starts again.
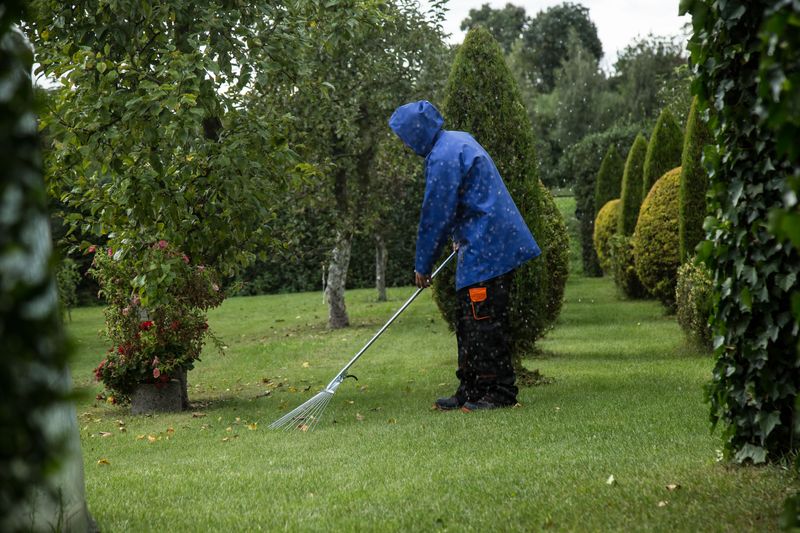
Raking breaks that cycle in a big way. Wait until most leaves have dropped, then clear the whole area under the tree.
Some gardeners like to mow over the leaves first. Chopped leaves break down faster, which helps reduce the fungus hiding inside.
You can also shred leaves and dig them into a vegetable bed. Buried leaves rot quickly, so spores cannot easily escape upward.
Another trick is spraying fallen leaves, not the soil, with a diluted urea solution. Orchard growers use it to speed up decay and reduce scab spores.
If your tree had scab spots this year, skip home composting. Bag those leaves or send them with yard waste pickup. Think of raking as autumn exercise with a real payoff for your tree.
Kids often love helping with this chore. Jumping in the pile first is allowed, as long as it gets bagged later!
Clean ground in fall leads to cleaner, prettier apples come summer. This task offers a strong return for little effort.
3. Give Roots A Deep Drink
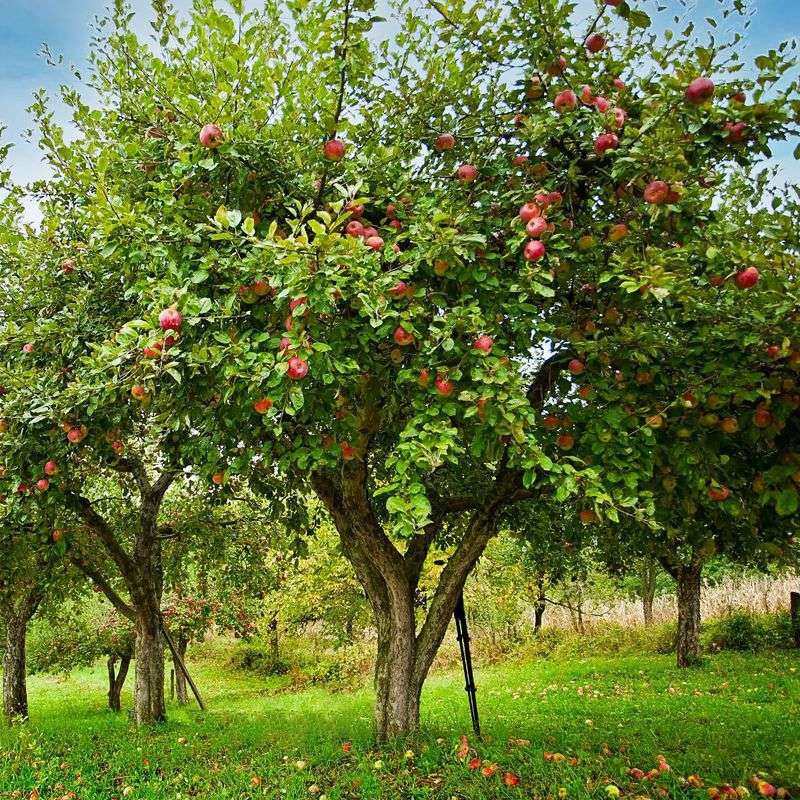
Dry roots in fall can reduce next year’s harvest. Many people stop watering once the apples are picked, which can leave the tree short of moisture in a dry fall.
Your tree is finishing its flower buds right now. Those buds become next spring’s blossoms, and many of them can become apples.
Bud building takes energy and moisture. A dry autumn can weaken the tree’s reserves and its spring bloom. So how much water is enough? Aim for about one inch per week if rain does not do the job.
Slow, deep soaking works much better than a quick spray. Let a hose trickle near the drip line for an hour or so.
The drip line is the circle under the outer tips of branches. Most feeder roots live there, not right against the trunk.
Check the soil with your finger before watering. If it feels dry two inches down, your tree needs a drink.
Keep watering until the ground starts to freeze. Well-watered trees handle winter cold and drying winds much better.
Young trees need extra attention here. Their roots are shallow and cannot reach deep moisture like older trees can.
A soaker hose or drip bag makes this chore almost effortless. Set it up, turn it on, and go enjoy some apple pie.
Steady moisture now sets the stage for a beautiful spring bloom. Those flower-packed branches are the reward.
4. Spread A Cozy Mulch Blanket
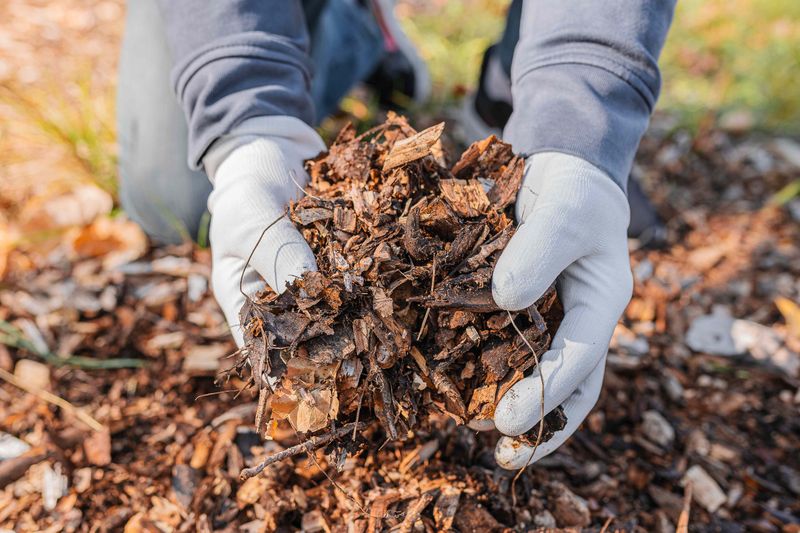
Imagine heading into winter without a coat. That is how bare soil feels to tree roots when temperatures drop.
Mulch acts like a warm, fluffy blanket for the ground. It keeps soil temperatures steady and holds in precious moisture.
Good choices include wood chips, shredded bark, or aged compost. Straw works too, though it can attract mice.
Spread mulch about two to four inches deep. Cover a wide circle reaching out toward the drip line if possible.
Apply it after the first hard frost, once the ground has cooled. Here comes the golden rule of mulching. Never pile it against the trunk like a volcano.
Mulch touching bark traps moisture and invites rot. It also gives voles a cozy hiding spot to chew bark all winter.
Leave a gap of three to six inches around the trunk. Your mulch ring should look more like a donut than a mountain.
Over time, mulch breaks down and feeds the soil. Earthworms pull it underground, mixing in nutrients your tree can use. Refresh the layer each year, since wood chips shrink as they decompose.
Mulch also keeps weeds and grass from competing for water. Grass roots compete strongly for water, especially with young apple trees.
Some towns offer free wood chips from tree trimming crews. Call your local public works office and ask!
Once spring arrives, your tree will wake up in rich, moist soil. That healthy start helps fruit set heavy and strong. Pull mulch back in spring so the soil warms.
5. Feed The Soil Wisely
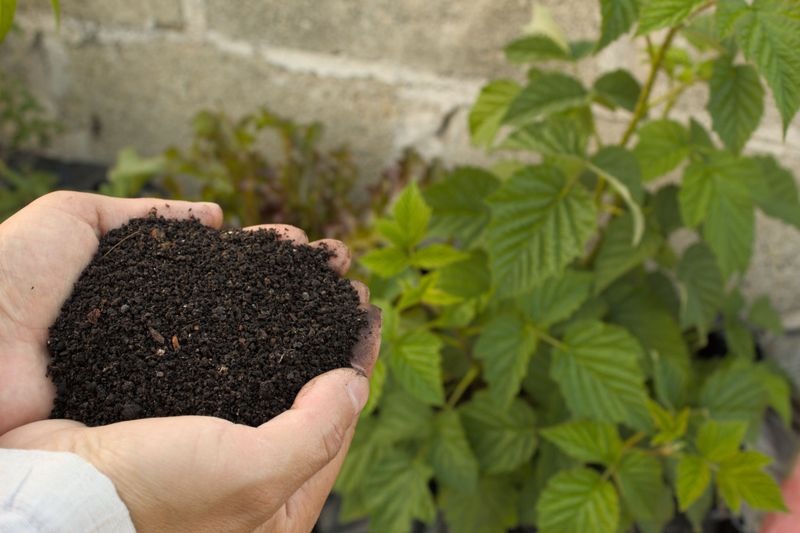
Fertilizer sounds like a great gift for a hardworking tree. But timing and type matter more than you might expect.
Heavy nitrogen in fall can push out soft new shoots. Those tender twigs are often damaged by freezing once winter arrives.
Instead, focus on building healthy soil. A layer of finished compost feeds roots slowly and gently.
Start with a soil test if you can. Many extension offices and garden centers offer affordable soil tests that show which nutrients are low.
Low pH is a common apple problem. Apples prefer soil around 6.0 to 7.0, and lime can raise acidic soil. Fall is actually a smart time to add lime. It works slowly, so winter gives it time to settle in.
Phosphorus and potassium also support roots and flower buds, but add them only if a soil test shows a need. Bone meal and wood ash are old-fashioned sources gardeners still use. Use wood ash carefully, though. It raises pH quickly, so too much can cause new problems.
Spread amendments out near the drip line. Roots there soak up nutrients far better than roots near the trunk.
A bit of history for you. Johnny Appleseed planted apple nurseries across the Midwest long before modern fertilizers existed.
Still, modern trees love a little help. Feed the soil wisely now, and the tree will feed you next fall.
6. Guard The Trunk From Hungry Critters
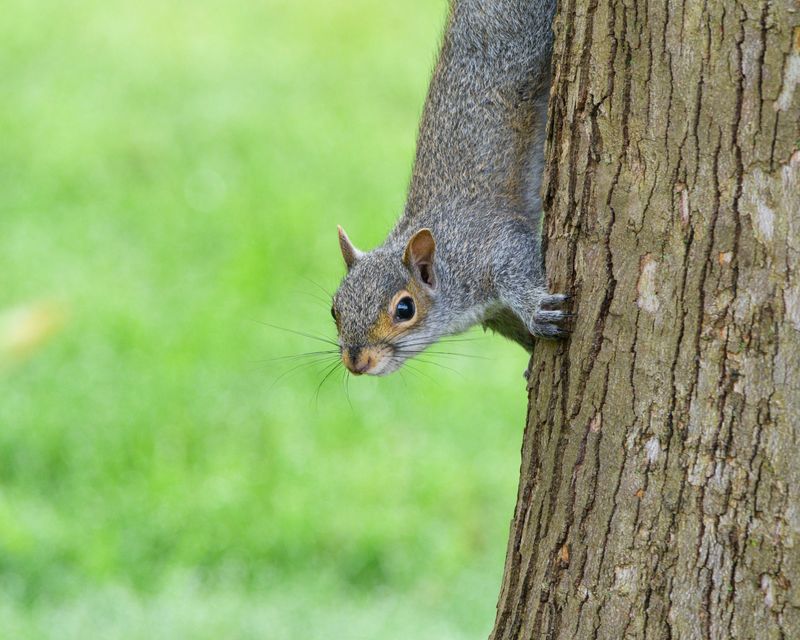
Rabbits and voles get hungry when snow covers the grass. Your apple tree’s tender bark starts looking like a tasty snack.
A single winter of chewing can seriously harm a young tree. If critters strip bark all the way around, the tree may fail to recover.
That kind of damage is called girdling. It cuts off the path that carries food from leaves to roots.
Luckily, protection is cheap and easy. Wrap the lower trunk with a plastic spiral guard or hardware cloth.
Hardware cloth is a stiff metal mesh with small holes. Form it into a loose cylinder about two feet tall.
Push the bottom a couple inches into the soil. That stops voles from tunneling underneath to reach the bark.
Deer are another story entirely. They nibble branch tips, which can remove next year’s flower buds.
Tall fencing works best against deer. Some gardeners also hang bars of strong-smelling soap from branches, though results vary.
Painting the trunk white helps too. Diluted white latex paint helps reduce sunscald, a winter crack caused by sun and freezing nights.
Remember to loosen or remove plastic guards in spring. Trunks keep growing, and tight guards can trap moisture.
Spending twenty minutes on trunk protection feels small. Yet it might save years of growth and many bushels of apples.
7. Remove Broken And Diseased Wood
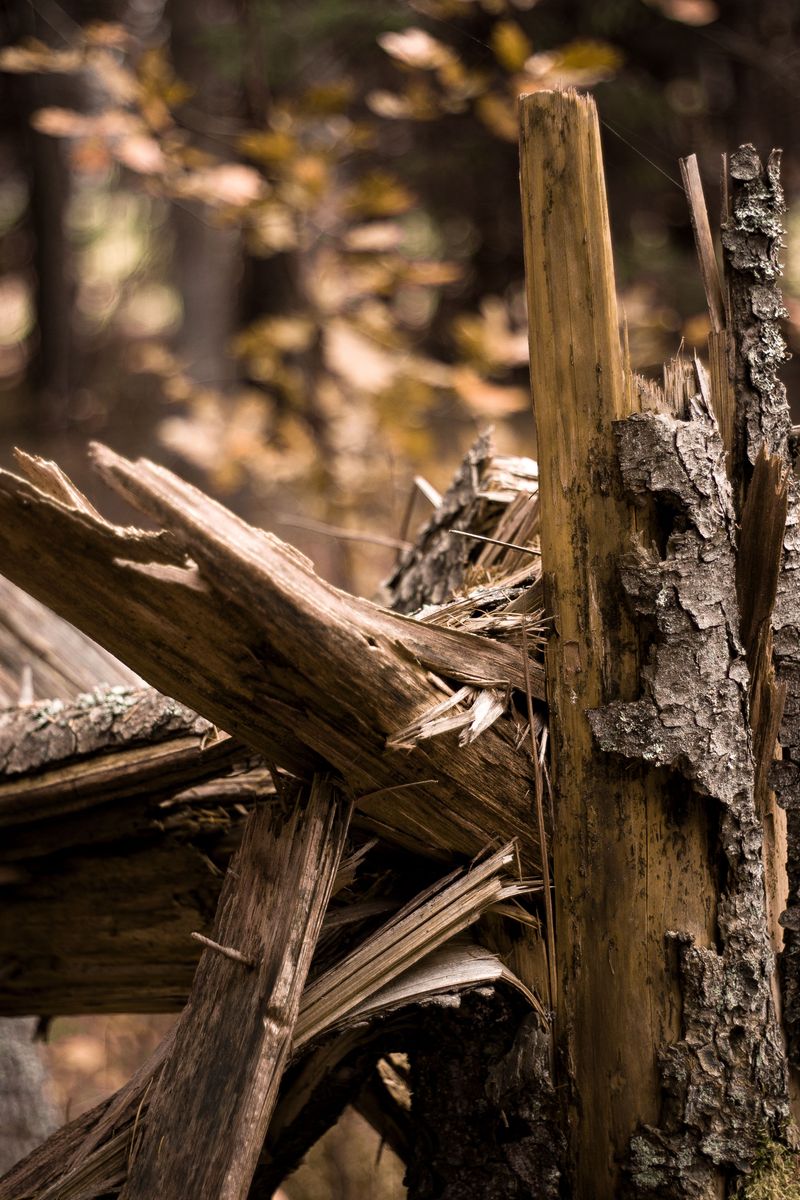
“Wait until winter” is the classic pruning advice. Even so, some cutting simply cannot wait. Broken, dry, or diseased branches should come off soon after harvest. They invite pests and disease into an otherwise healthy tree.
Look for wood that is dry, cracked, or has no buds. Dark sunken patches called cankers are also a warning sign.
Fire blight shows up as blackened shoots bent like a shepherd’s hook. Cut at least eight inches below any infected spot.
Clean your pruners between cuts with rubbing alcohol. Dirty blades can spread disease from one branch to the next.
Always cut just outside the branch collar. That slightly swollen ring at the base helps the wound heal naturally.
Save the big shaping job for late winter. Heavy fall pruning can spark new growth that gets damaged by frost.
Late winter pruning also lets you see the tree’s bare shape clearly. You can open the canopy so sunlight reaches the inner branches.
Sunlight drives fruit size, color, and sweetness. Shaded fruit stays small, pale, and less sweet.
Remove broken branches from the yard right away. Burn them where allowed, or bag them for disposal.
A tidy tree heads into winter with fewer weak spots. Come spring, its energy goes toward blossoms instead of repairs.
8. Keep Notes On This Year’s Harvest
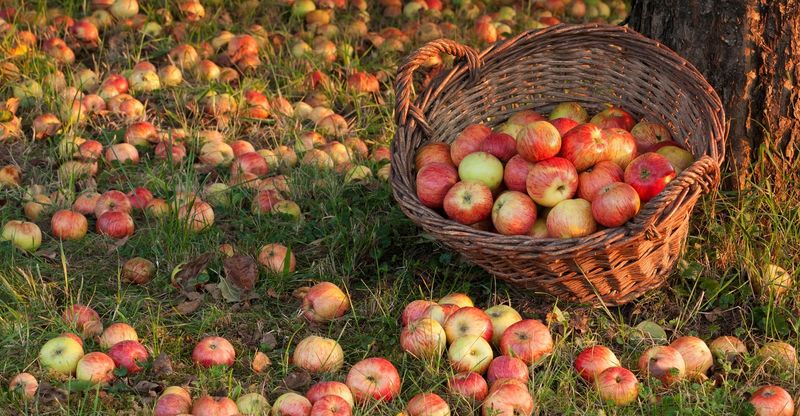
Careful orchard keepers rely on a simple tool: a well-worn notebook. Writing things down helps you spot patterns over time. Memory fades fast, but notes stay put.
Start with the basics from this season. When did the tree bloom, and when did you pick?Next, jot down how many apples you got. Even a rough count like three bushels is helpful.
Write down any problems you noticed too. Worms, spots, cracked fruit, or early drops all deserve a line.
Did your tree make a huge crop this year? Watch out, because many apple varieties tend to bear heavy one year and light the next.
This habit is called biennial bearing. Thinning fruit early next summer can help even out the pattern.
Notes help you plan smarter fixes. You might decide to thin more, spray earlier, or add a pollinator tree.
Snapping photos makes a great addition. Pictures of leaves and fruit make it easier to identify diseases later.
Some gardeners love simple phone apps for tracking. Others prefer a paper journal kept in the garden shed.
Either way works, as long as you use it. Each year of notes makes you a sharper, more confident grower. Bigger harvests usually grow from small lessons, carefully remembered and put to work.