Do These Things The Moment Your Oregon Hydrangeas Start Showing New Growth
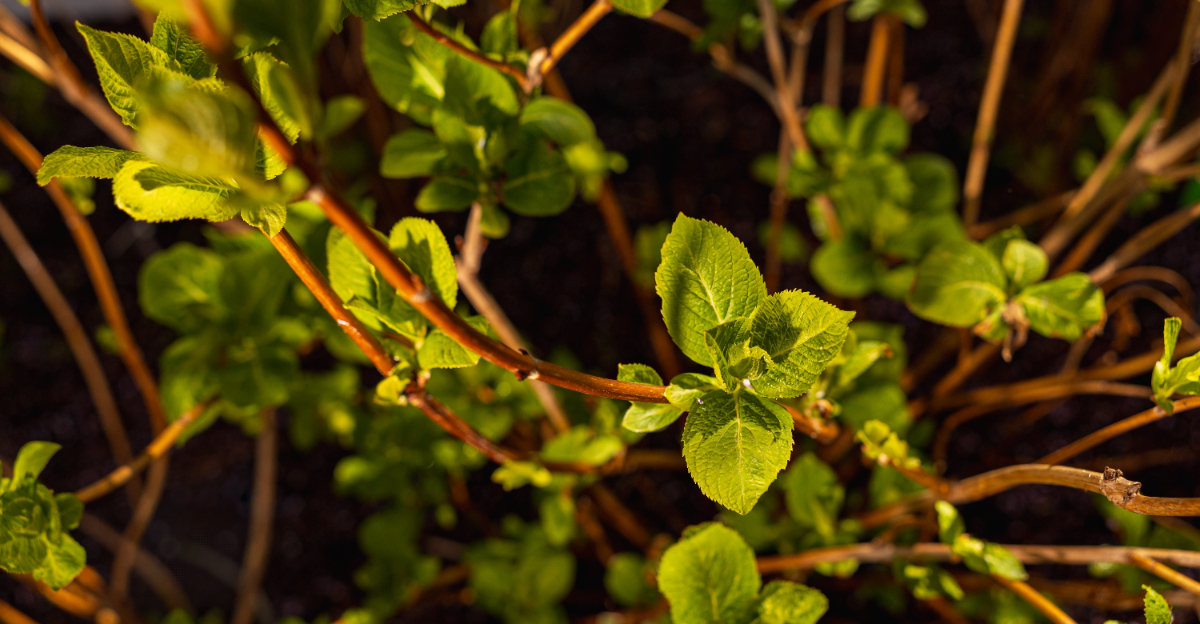
Hydrangeas can make Oregon gardeners feel very powerful in spring. One day the stems look bare and questionable.
Then tiny green buds appear, and suddenly the plant is back in business like it planned the drama all along.
That first flush of new growth is an important signal. It means the shrub is waking up, but it also means timing starts to matter. Prune too much, feed too late, or ignore winter damage, and the season may not go the way you hoped.
Oregon’s damp spring weather can help hydrangeas bounce back, but it can also hide problems until the plant is already pushing energy into new leaves. This is the moment to slow down and look closely.
A few careful moves now can set up stronger stems and better blooms later. Hydrangeas are not hard to love, but they do appreciate gardeners who pay attention early.
1. Identify The Hydrangea Before You Prune
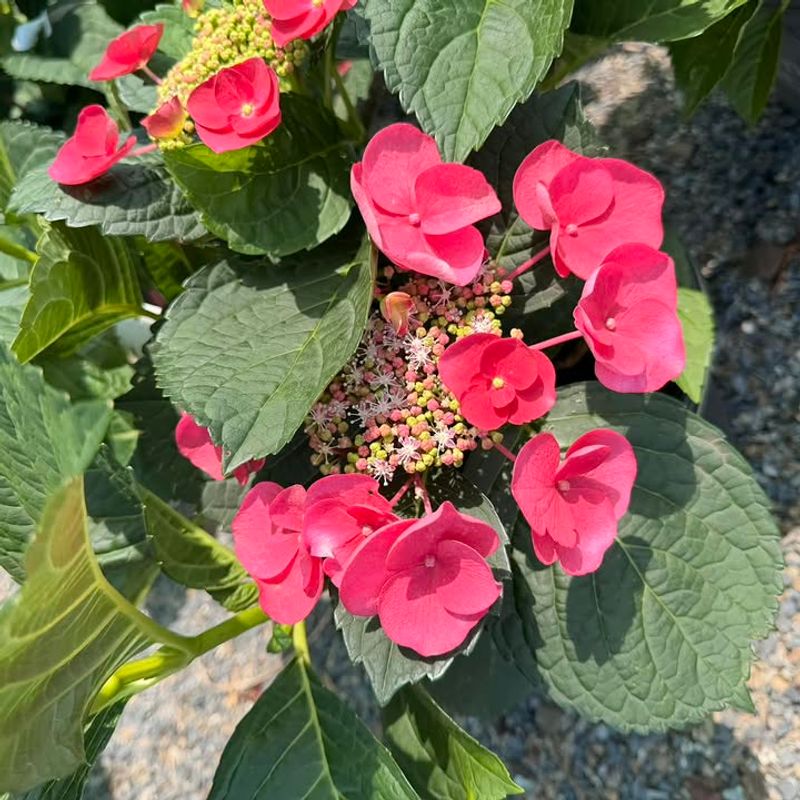
Not all hydrangeas are the same, and that matters a lot when it comes to pruning. Some types bloom on last year’s wood, which means cutting them back too early can remove all the buds you have been waiting for all winter.
Knowing your variety before you reach for the shears is one of the smartest things you can do.
Bigleaf hydrangeas, also known as Hydrangea macrophylla, are very common in our state. They bloom on old wood, so their buds are already set on last year’s stems.
Smooth hydrangeas and panicle hydrangeas bloom on new wood and can handle harder pruning without losing flowers.
A simple way to identify your plant is to look at the leaf shape and flower style from last year.
Old dried flower heads can also give you clues. Bigleaf types often hold their dried blooms through winter, while panicle types tend to have longer, cone-shaped flower clusters.
If you are not sure what you have, wait a few weeks before pruning. Watch where the new growth emerges. On old-wood bloomers, buds will appear along the existing stems.
On new-wood types, growth comes from near the base. Taking the time to identify your plant correctly now saves you from accidentally removing buds and wondering why your hydrangea did not bloom this summer.
2. Do Not Cut Bigleaf Hydrangeas Too Hard
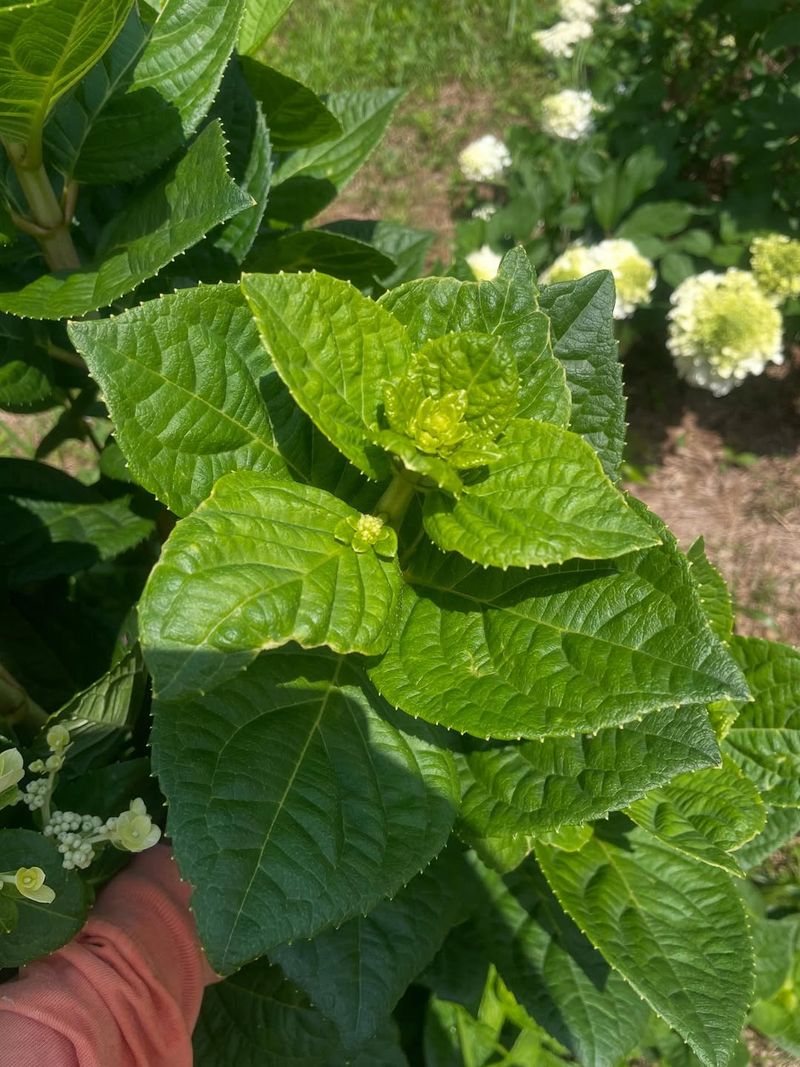
Bigleaf hydrangeas have a reputation for being tricky to prune, and that reputation is well earned.
Many gardeners in this state have made the mistake of cutting them all the way down in early spring, only to end up with a bush full of leaves and zero flowers. The reason is simple: their flower buds are already formed on the stems from last fall.
When you see new growth beginning to emerge, take a close look at the stems first. You will likely notice small, swelling buds along the sides and tips of last year’s canes.
Those buds are your future blooms. Cutting the stem off means cutting the flower off too.
The right approach is to prune lightly. Remove only the stems that are clearly not producing any buds.
Your Oregon Garden Changes Every Week. Your Plan Should Too.
Gardening in Oregon changes quickly throughout the season. Every Friday you’ll receive a simple weekly plan showing exactly what to plant, prune, fertilize, harvest, and protect so you never miss the right timing.
Withered wood will look dry, feel hollow, and will not show any green when you scratch the surface lightly with your fingernail. Healthy stems will show a bit of green underneath the bark.
You can also remove crossing or damaged branches to open up airflow. But keep as many bud-bearing stems as you can. Less really is more with bigleaf types.
In cooler parts of our state, late frosts can damage buds on exposed stems, so if a cold snap is coming, hold off on any pruning until after the risk has passed.
3. Remove Damaged Stems Carefully
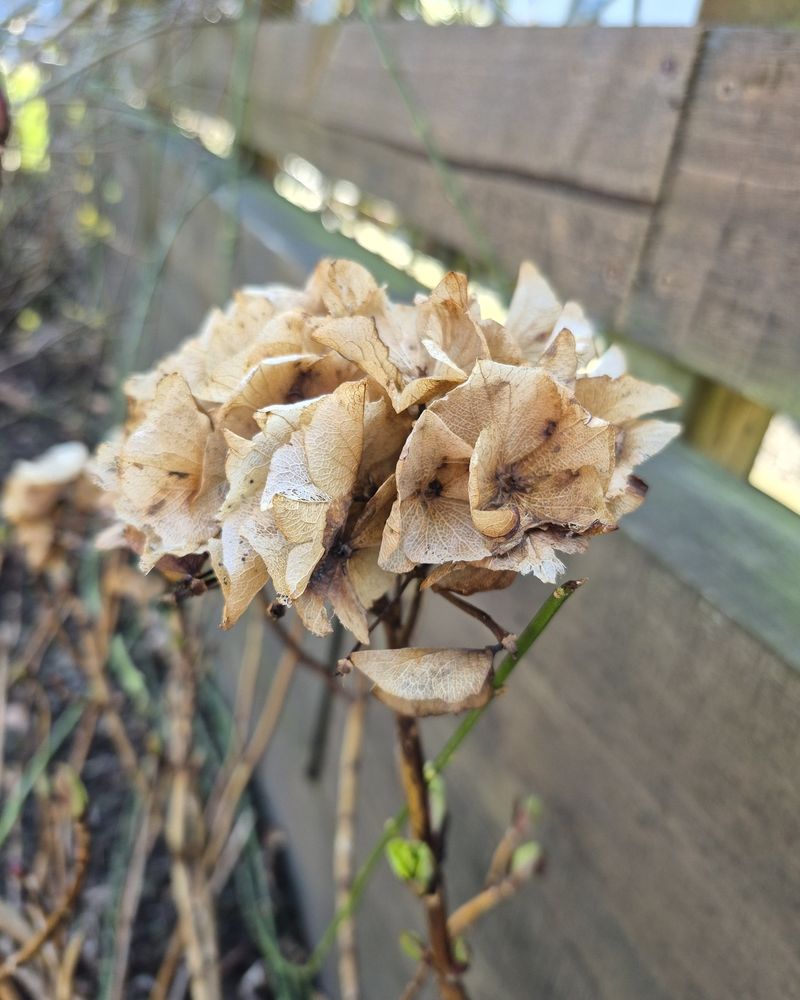
Every hydrangea comes out of winter with at least a few battle scars. Stems can crack from freezing temperatures, snap under the weight of snow, or simply dry out over the cold months.
Getting rid of that damaged wood early in the season helps your plant focus its energy on healthy new growth.
Start by looking for stems that are completely brown and dry all the way through. Scratch the surface lightly with your fingernail. If you see green underneath, the stem is still alive.
If it is tan or white and dry inside, it is safe to remove. Cut it back to a healthy node or all the way to the base if needed.
Use clean, sharp pruning shears for this job. Dull blades can crush or tear the stems instead of making a clean cut, which leaves the plant open to infection.
Wipe your blades with rubbing alcohol before you start, especially if you are moving from one plant to another.
This simple habit stops disease from spreading. Do not rush this step. Work slowly and check each stem carefully before cutting.
In higher-elevation areas of our state, winter damage can be more widespread, so you may need to remove more stems than you expect.
That is perfectly fine. Healthy plants bounce back quickly when the damaged parts are cleared away and fresh growth has room to develop.
4. Give Bare Stems Time To Wake Up
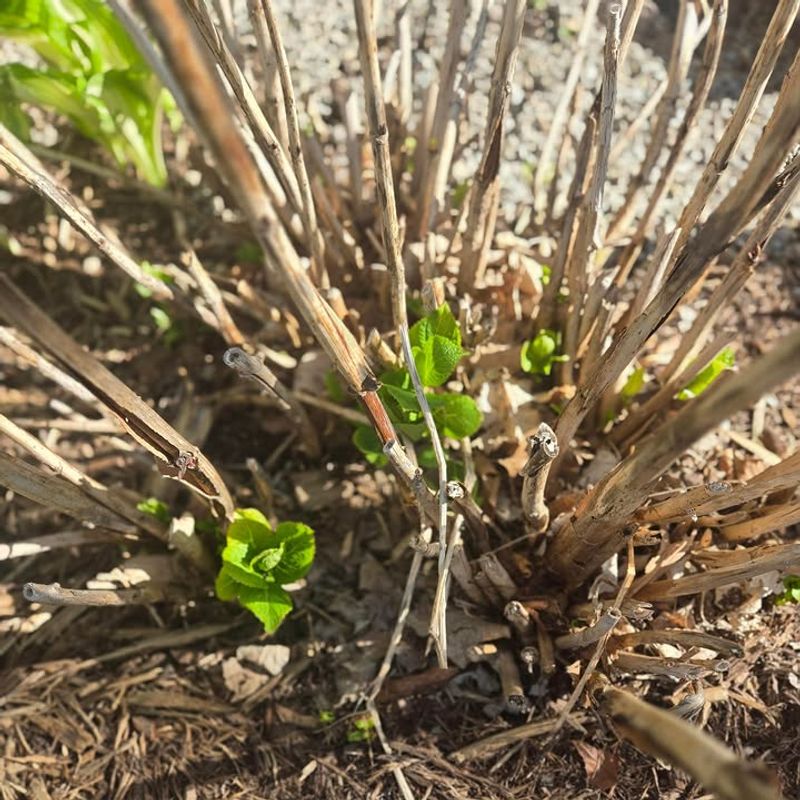
It can be nerve-wracking to stare at a hydrangea that looks completely bare while everything else in the garden is already leafing out.
Before you assume the worst and start cutting, give those stems a little more time. Hydrangeas, especially in cooler parts of our state, can be slow to wake up in spring.
Some stems that look totally dead in March will surprise you with buds in April or even May. Soil temperature plays a big role in how fast a plant breaks dormancy.
Cooler soils slow everything down, and our state’s spring weather can be unpredictable. A few warm days followed by a cold snap can make growth start and stop more than once.
The scratch test is your best friend here. Lightly drag your fingernail across a stem that looks bare. If you see a layer of green just under the surface, that stem is alive and just taking its time.
Give it another week or two before making any decisions. Patience is genuinely one of the most valuable tools in a spring gardener’s kit. Removing stems too early can reduce the number of blooms you get later in the season.
Mark any questionable stems with a small piece of string or a plant tag so you can keep track of which ones you are watching. Then wait, check again, and let the plant tell you what it needs.
5. Refresh Mulch Around The Roots
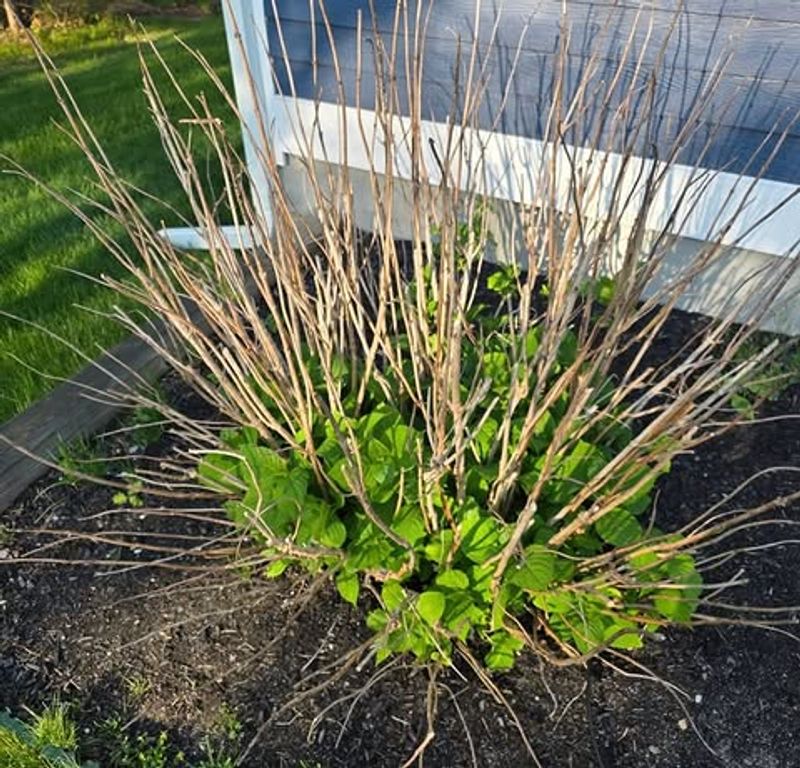
Mulch might not seem exciting, but it is one of the most helpful things you can do for your hydrangeas at the start of the season. A fresh layer around the base of the plant keeps moisture in the soil, regulates soil temperature, and slows down weed growth.
All three of those things matter a lot during the busy spring growing period. Start by pulling back any old mulch that has built up directly against the base of the stems.
Mulch that sits too close to the crown of the plant can hold moisture in a way that encourages rot and attracts pests. Pull it back a few inches so there is a small gap around the main stems.
Then add a fresh layer of organic mulch, like bark chips, shredded leaves, or compost, around the plant.
Aim for a depth of about two to three inches. Spread it in a wide circle, reaching out to the drip line of the plant if possible.
This is where the roots are actively growing, and they benefit the most from the added insulation.
In our state, spring rain can be heavy, and good mulch helps prevent soil from washing away and exposing roots.
It also helps during those dry stretches that sometimes follow wet springs. Refreshing mulch early in the season sets up your plant for stronger, more consistent growth all the way through summer and into fall.
6. Feed Lightly When Growth Begins
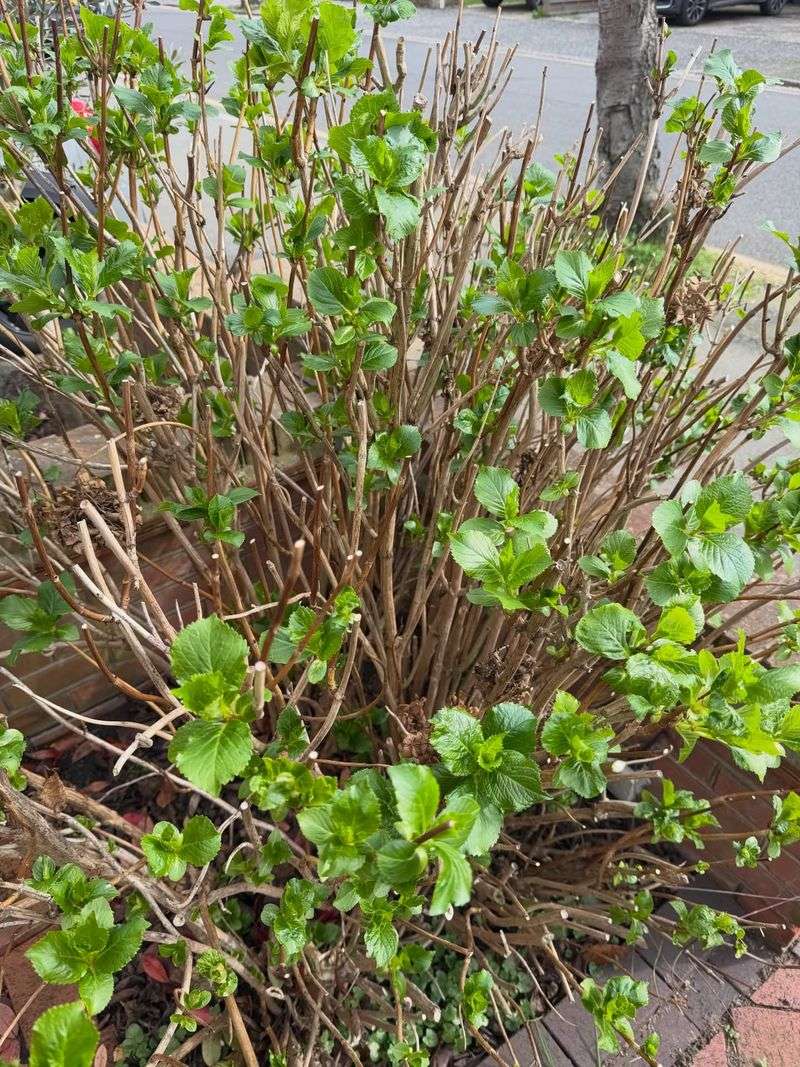
Seeing those first tiny leaves unfurl is the perfect signal to start feeding your hydrangeas. But here is the thing: more fertilizer does not mean more flowers.
Overfeeding, especially early in the season, can push a plant to produce lots of lush leaves while skipping blooms entirely. A light touch works best.
A balanced, slow-release fertilizer works really well at this stage. Look for something with equal or near-equal numbers on the label, like a 10-10-10 blend.
Scatter it lightly around the base of the plant according to the package directions, then water it in gently.
Slow-release formulas feed the plant gradually, which matches the steady pace of spring growth.
Avoid high-nitrogen fertilizers right now. Nitrogen is great for leafy growth, but too much of it early in the season can reduce flowering.
If you want big, colorful blooms, you will want to shift toward a fertilizer with more phosphorus later in the season when buds start forming.
Gardeners in the Willamette Valley and coastal areas of our state often deal with naturally rich soils, so you may need even less fertilizer than you think.
Do a simple soil test if you are not sure what your garden already has. Testing kits are available at most local nurseries and are easy to use. Feeding based on what your soil actually needs gives you better results than guessing.
7. Protect New Shoots From Late Frost
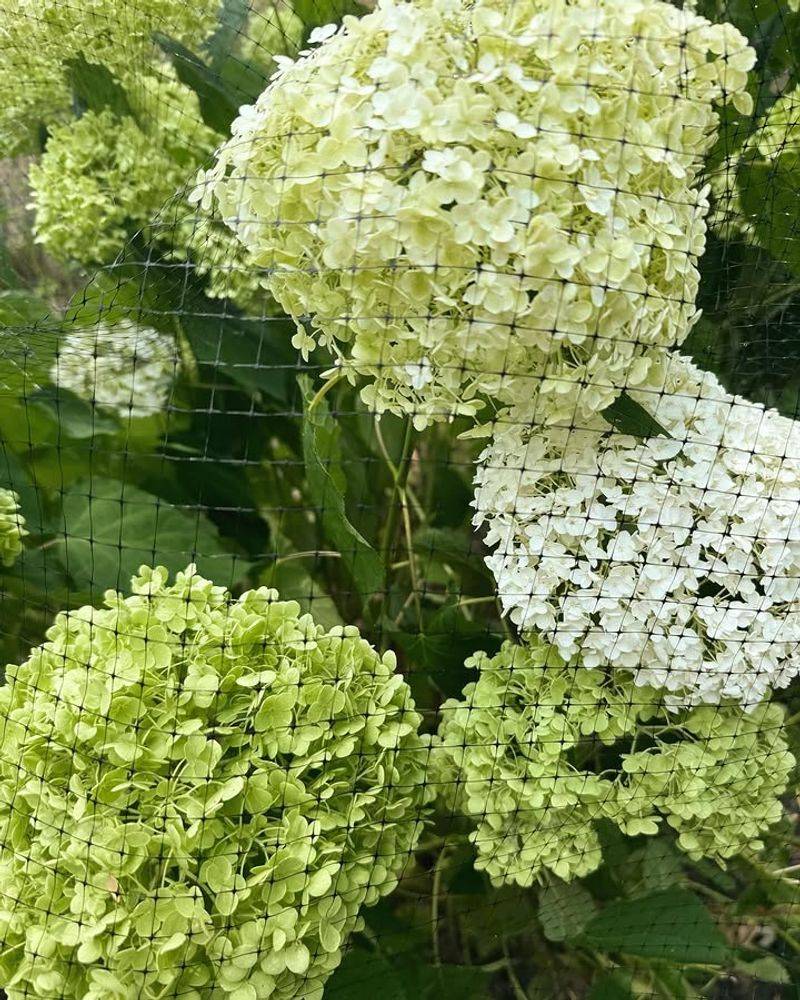
Spring in our state can be deceptive. One week might bring warm sunshine and budding leaves, and the next could drop temperatures close to freezing overnight.
Those tender new shoots that just emerged are especially vulnerable to cold snaps, and a single hard frost can set a plant back by weeks.
Keep an eye on the weather forecast from the moment you see new growth starting. Nighttime temperatures below 32 degrees Fahrenheit are a real risk in many parts of our state, even well into April and sometimes May in higher-elevation areas.
Do not assume the last frost has passed just because the days feel warm. Frost cloth, old bedsheets, or even a large cardboard box can protect your plants overnight when a freeze is expected.
Drape the covering loosely over the plant in the evening and remove it in the morning once temperatures rise. Never leave a covering on during the day, as it can trap heat and stress the plant in a different way.
Container-grown hydrangeas have an advantage here because you can move them into a garage or shed on cold nights.
In-ground plants need the protective covering approach. Building a simple wire frame around the plant first makes it easier to drape fabric without crushing the new shoots.
A little preparation before a cold night can save weeks of regrowth time and protect the blooms you have been looking forward to all season.
8. Watch For Slugs Around Tender Leaves
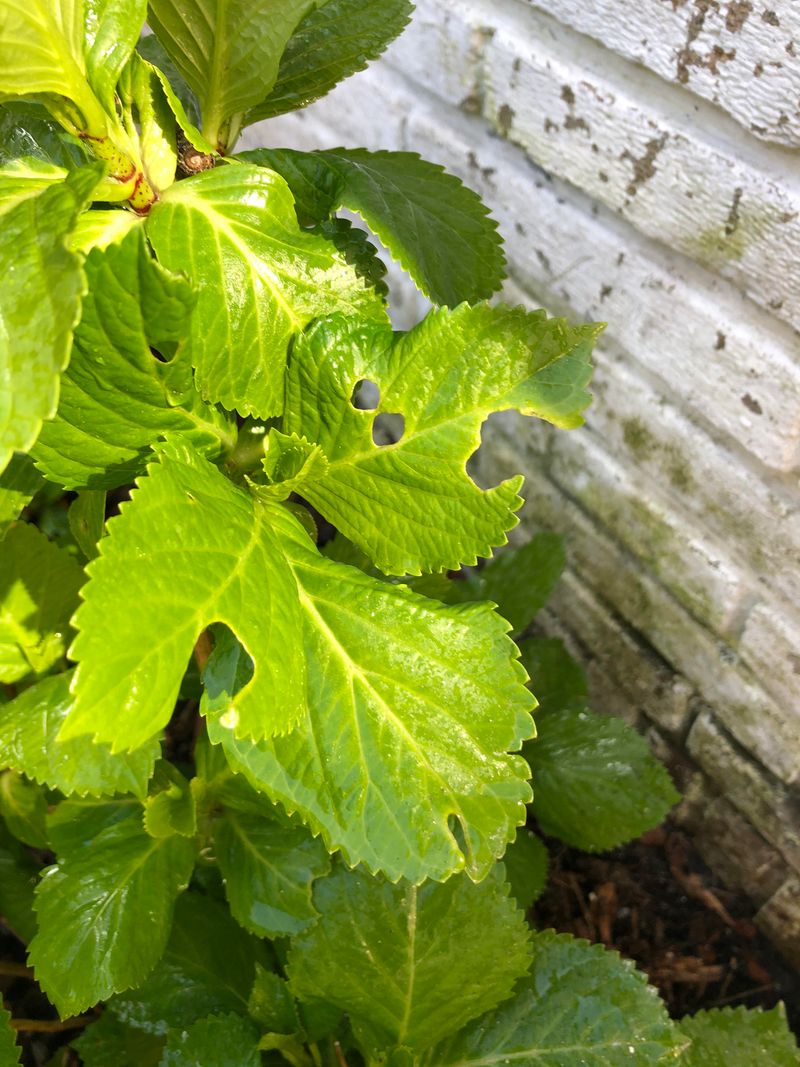
Our state’s wet spring weather creates ideal conditions for slugs, and hydrangeas with their soft, fresh leaves are a favorite target.
Slugs are sneaky. They feed mostly at night, so by the time you notice the damage in the morning, they are already hiding under leaves or in the soil. Ragged holes in tender new leaves are the classic sign.
Walk out to your garden in the early morning or after dark with a flashlight. Check the undersides of leaves and the soil around the base of the plant.
You will likely spot them if they are there. Hand-picking is effective for small infestations, though not everyone’s favorite task.
Slug bait is another option, and there are several types available at garden centers. Look for iron phosphate-based baits, which are considered safer around pets and wildlife than older metaldehyde products.
Scatter the bait lightly around the base of the plant according to package instructions. Reapply after heavy rain.
You can also make the area less inviting for slugs by keeping the ground around your plants clear of debris.
Old leaves, boards, and dense ground cover give slugs places to hide during the day. Reducing that hiding space encourages them to move elsewhere.
Copper tape placed around container plants creates a mild barrier that slugs tend to avoid. Staying on top of slug control early in the season protects your plants through the most vulnerable stage of their growth.