Drain These Before The First Hard Freeze In New York, Or Your Pipes Could Burst
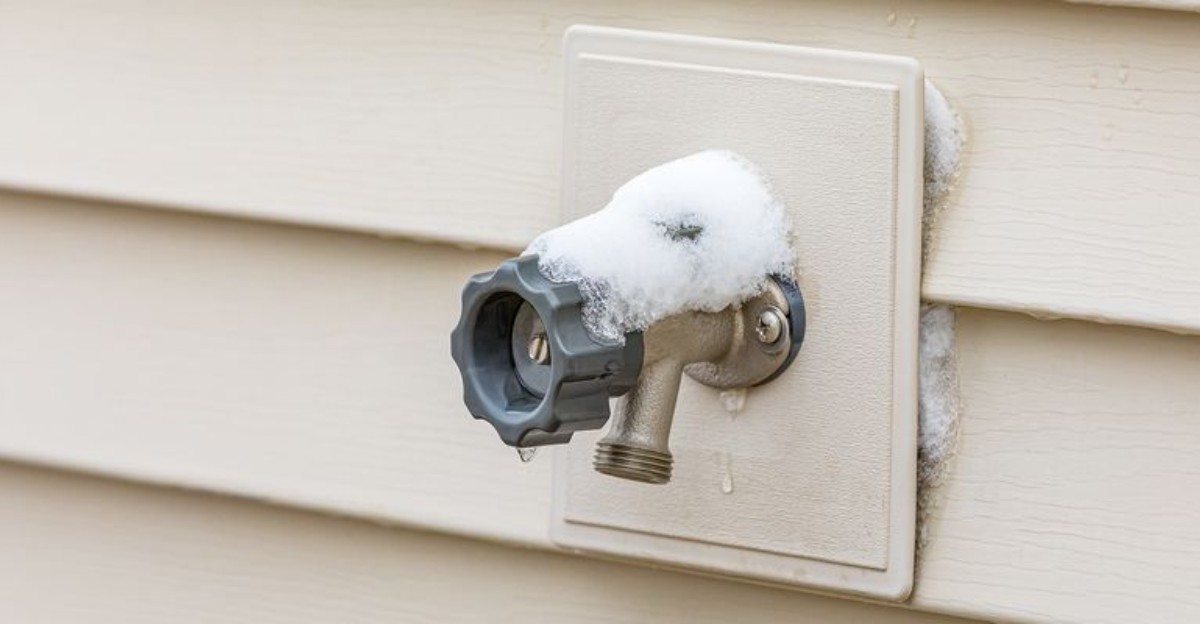
Few sounds ruin a cozy November morning like water spraying where it shouldn’t be. In New York, the first hard freeze can arrive overnight, often between October and mid-November, earlier upstate and later near the coast.
A hard freeze means temperatures drop to about 28 degrees or lower for several hours. Water doesn’t handle that well, because it expands as it freezes.
That push can split hoses, faucets, and even pipes inside your walls. A little fall prep can save you a soggy basement and a scary repair bill.
Most of these tasks take just minutes and need only basic tools. Some you may already know, while others might surprise you.
The guide below covers what to drain, shut off, and protect before winter settles in. Finish it before the first freeze, not after.
1. Disconnect Garden Hoses From Outdoor Spigots
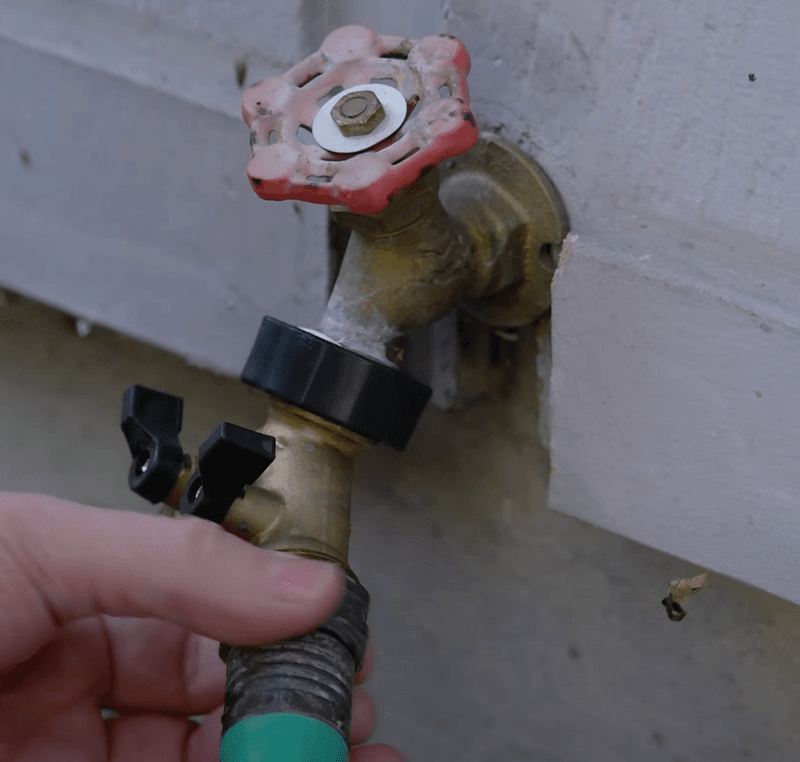
Picture a cold snap hitting while your hose still hangs on the spigot like a forgotten scarf. Water sitting in that hose has nowhere to go, so it backs up into the faucet.
Once the temperature dips below freezing, trapped water turns to ice and expands. Ice can crack the hose, split the faucet body, or damage the pipe just inside your wall.
Many people assume a frost-free spigot keeps them safe all winter. Sadly, an attached hose blocks those faucets from draining, which defeats their whole purpose.
The fix takes about thirty seconds per faucet. Twist the hose counterclockwise at the connection, and it should come right off.
Stuck connections are common after a long summer of use. A rubber jar opener or a pair of pliers wrapped in a cloth gives you better grip without scratching the brass.
Once the hose is free, lift one end high and walk it along to push water out. Gravity does most of the work if you raise it in sections.
Check the hose washer while you are at it. A cracked or flattened washer is cheap to replace and stops annoying leaks next spring.
Timing matters too in New York. Aim to disconnect hoses by mid-October, since early cold nights can show up before the calendar says winter.
Mark it on your phone as a fall reminder. A few minutes now can spare you a flooded basement wall and an expensive plumber visit later.
2. Shut Off The Indoor Valve That Feeds Outside Faucets
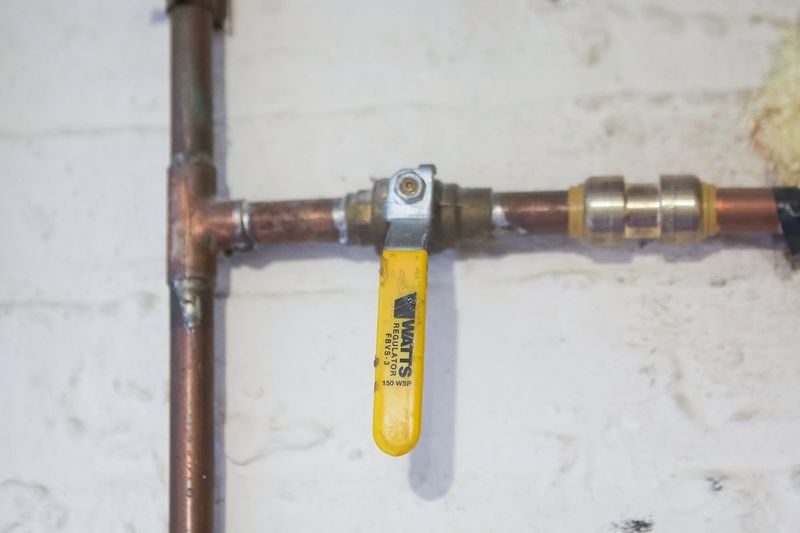
Somewhere in your basement, a small valve is quietly controlling your outdoor faucet. Finding it is like discovering a secret switch that keeps winter damage away.
Most homes have a dedicated shutoff for each outside spigot. Look in the basement, crawl space, or near the spot where the pipe exits the wall.
Follow the pipe from the outside faucet location straight inward. The valve usually sits within a few feet of the wall, sometimes tucked above a ceiling tile.
Valves come in two main styles, and each closes differently. Gate or wheel valves turn clockwise until they stop, like tightening a jar lid.
Ball valves have a lever handle instead of a round wheel. Turn that lever so it sits perpendicular to the pipe, forming a T shape.
Closing this valve stops fresh water from reaching the exposed outdoor section. Without a water supply, the outdoor pipe has far less to freeze.
Older homes sometimes have valves that have not moved in years. If one feels stiff, apply slow, steady pressure rather than forcing it hard.
A valve that refuses to budge or starts dripping might need replacing. Calling a licensed plumber is smarter than risking a broken stem.
Here is a handy trick for next year. Tie a bright tag on each valve labeled with the faucet it controls, so you skip the hunt every fall.
3. Open Outdoor Faucets So Trapped Water Can Escape
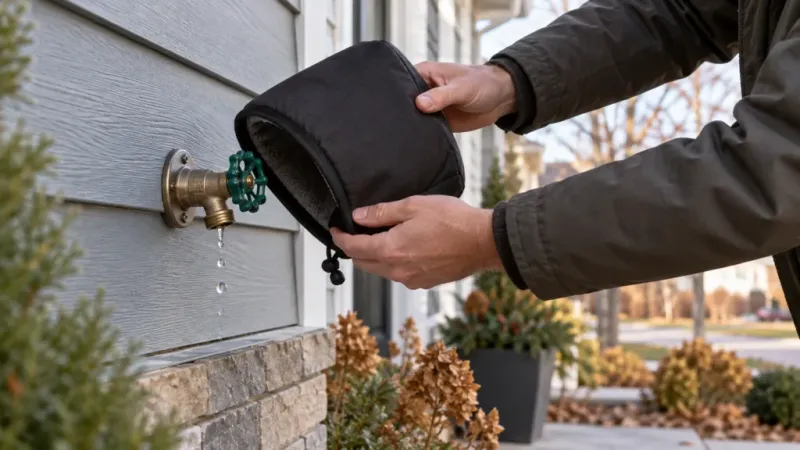
Shutting the valve inside is only half the job. A stretch of pipe still holds water between that valve and the outdoor spigot.
Head outside and turn the faucet handle to the open position. You might hear a gurgle or see a short burst of water as the line drains.
Keep a bucket handy if the faucet sits near a foundation. You do not want that leftover water pooling against your house as temperatures drop.
After the flow stops, leave the faucet open for the whole winter. An open spigot gives any remaining moisture room to expand without cracking metal.
Many indoor shutoff valves hide a helpful feature called a bleeder cap. It is a tiny brass cap on the side of the valve body.
Unscrew that cap with your fingers or pliers while the outdoor faucet is open. Air rushes in, and the last bit of water drains out more fully.
Place a small cup or rag under the bleeder before loosening it. Only a few ounces usually come out, but it can surprise you.
Store the bleeder cap somewhere safe, like taped to the pipe. Tiny parts love to vanish by springtime.
Fun fact: water expands by roughly nine percent when it freezes. That small growth creates enough force to split copper, which is why an open faucet matters so much.
4. Blow Out Sprinkler And Irrigation Lines
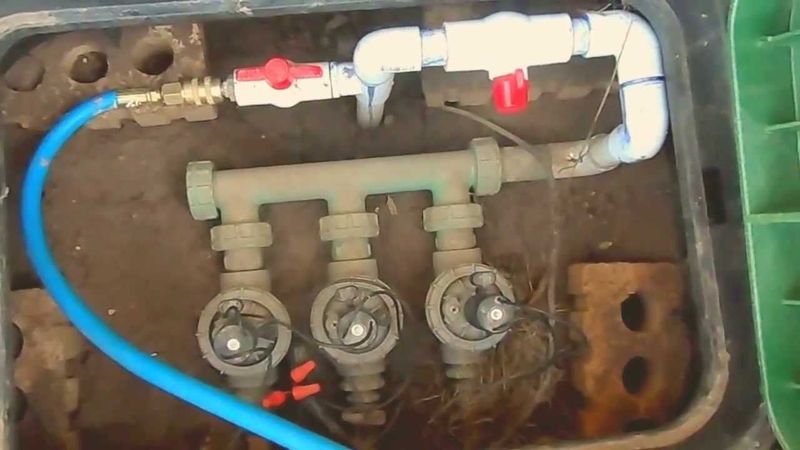
Underground sprinkler systems look tough, but they are surprisingly fragile in winter. Lines, valves, and sprinkler heads all hold water after the season ends.
Every drop left behind can freeze and expand. Cracked pipes buried in your yard are hard to find and pricey to dig up.
The standard solution is called a blowout. Compressed air pushes standing water out of every zone, valve, and backflow preventer.
Most New York lawn pros book blowouts from early October through early November. Schedule early, since their calendars fill quickly once cold weather is forecast.
Handy homeowners can do it themselves with the right compressor. You need enough air volume, usually measured in CFM, plus careful pressure control.
Too much pressure can damage fittings and sprinkler heads. Many experts suggest staying around 50 PSI for flexible poly pipe systems.
Run each zone one at a time until only mist comes out. Avoid running air through a dry line too long, since friction can heat parts.
Remember the backflow preventer near your house too. Its small valves and brass body crack easily, so drain or insulate it after blowing out the lines.
Safety glasses are a smart idea during this job. Air and debris can shoot from heads unexpectedly.
If the process feels intimidating, hiring a pro usually costs less than one buried pipe repair. Think of it as cheap insurance for your lawn.
5. Empty Rain Barrels Before They Crack
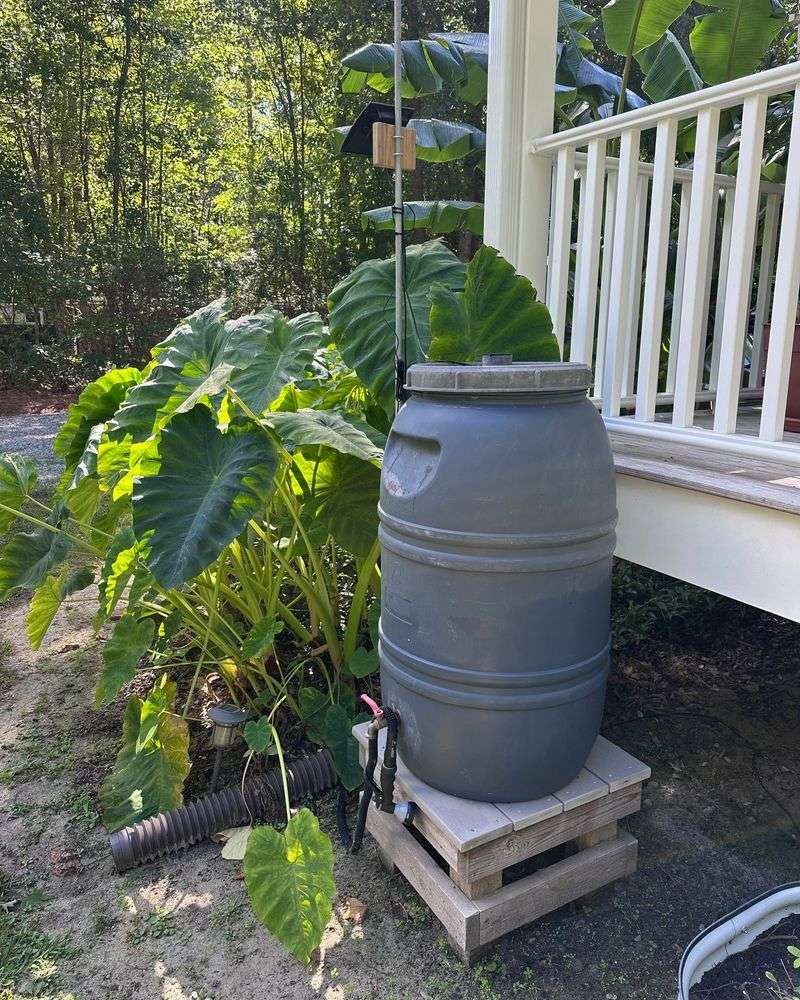
Your rain barrel worked hard all summer, catching free water for your tomatoes and flowers. Now it deserves a little care before winter arrives.
A full barrel turns into a giant ice block during a hard freeze. Expanding ice can split plastic seams, pop spigots, and warp the lid.
Start by opening the spigot and letting water flow into your garden. Shrubs and perennials appreciate one last deep drink before the ground freezes.
Once the flow slows, tip the barrel over to empty the rest. Scrub away any sludge or leaves with a stiff brush and a little vinegar.
Disconnect the barrel from your downspout next. Reattach a downspout extension so melting snow drains away from your foundation.
Storing the barrel upside down outside works if space is tight. Better yet, slide it into a shed or garage for the season.
Spigots, hoses, and overflow fittings should come off too. Keep small parts together in a labeled bag so spring setup goes smoothly.
Some New York gardeners leave barrels outdoors with the spigot open. That approach can work, but snow and ice can still collect inside and cause damage.
Here is a neat bonus. Using rainwater all season can lower your water bill, so protecting the barrel protects those savings for next year.
6. Drain Fountains And Small Garden Ponds
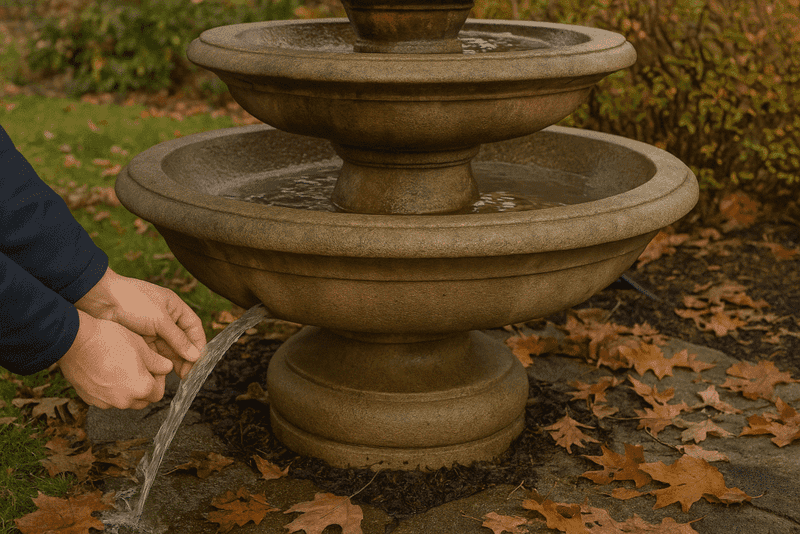
A bubbling backyard fountain adds charm all summer long. Left full in winter, though, it can become a cracked lawn ornament by spring.
Concrete, ceramic, and stone fountains absorb water into tiny pores. When that moisture freezes, it expands and splits the material from the inside.
Unplug the pump first, then drain the basin fully. A wet-dry vacuum or a large sponge helps remove the last puddles.
Pull out the pump and let it dry indoors. Storing it in a bucket of water inside can keep its seals from drying out.
Cover the fountain with a breathable, waterproof cover. Some people flip smaller bowls upside down so snow cannot gather.
Small garden ponds need a slightly different plan. Preformed plastic liners and shallow ponds can freeze solid and crack in New York winters.
Draining tiny ponds is often the safest choice. Move any plants or fish to an indoor tank or a deeper pond for the cold months.
Deeper ponds with hardy fish may stay filled if they are at least two feet deep. A floating de-icer keeps a hole open so gases can escape.
Net out fallen leaves before you finish. Rotting leaves cloud water and leave a mucky mess come April.
A bit of effort now keeps your water feature looking lovely for many seasons ahead.
7. Bring Hoses Inside Or Coil Them Flat To Dry
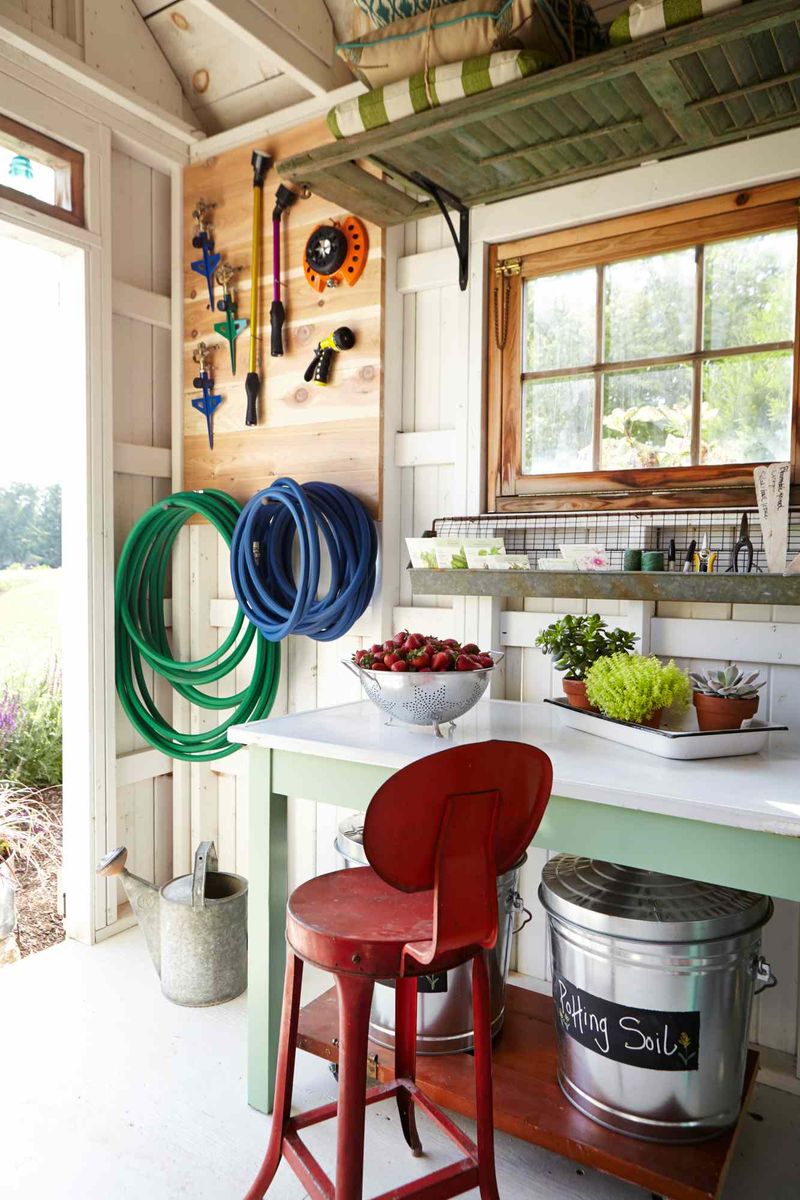
Ever pulled out a hose in April only to find it stiff, cracked, and leaking? Winter storage habits usually explain that sad discovery.
Leftover water inside a hose freezes and stretches the walls. Sun, wind, and freezing temps also break down rubber and vinyl over time.
After draining, lay the hose out in a straight line on a slight slope. Let it sit for an hour so any last drips can escape.
Coil it in large loops rather than tight ones. Kinks can weaken the inner tube and cause splits later.
Flat coils store more easily than tangled piles. A simple hose reel or wall hanger keeps things neat and off the floor.
Bring hoses into a garage, basement, or shed if you can. A sheltered spot helps them last noticeably longer.
Screw the two ends together before storing. Connecting them keeps spiders, dirt, and bugs from crawling inside.
Spray nozzles and sprinklers deserve the same treatment. Shake out water and store them in a bin so their small parts stay crack-free.
Quality hoses can cost fifty dollars or more. Treating them well protects your wallet as much as your garden.
Quick tip: avoid hanging hoses on a thin nail. Wide supports prevent sharp bends that weaken the hose over winter.
8. Wrap Exposed Pipes In Unheated Garages And Crawl Spaces

Out of sight should not mean out of mind. Pipes running through garages, crawl spaces, and chilly basements face the biggest freezing risk in a house.
Cold air sneaks through gaps and wraps around bare pipes. Pipes near exterior walls or rim joists are especially vulnerable on windy nights.
Foam pipe sleeves are the easiest fix for most homeowners. They slip over the pipe, and many have a self-sealing strip along the edge.
Pick insulation that is at least three-eighths of an inch thick. Thicker sleeves offer even more protection in the coldest spots.
Fiberglass wrap works well around bends and odd shapes. Wear gloves and a mask, since fibers can irritate skin and lungs.
Heat tape adds active warmth for pipes that freeze often. Choose a product with a built-in thermostat and follow the instructions carefully.
Insulation alone is not enough if cold air keeps blowing in. Seal cracks and gaps with caulk or spray foam to block drafts.
Measure your pipes before heading to the hardware store. Common sizes are half inch and three-quarter inch, and sleeves must match.
Tape seams and joints so gaps stay closed. Even small openings can let pipes freeze at the weak point.
Most upgrades cost only a few dollars per foot. Considering the price of water damage, wrapping pipes is a bargain.
9. Add Insulated Covers To Outdoor Faucets
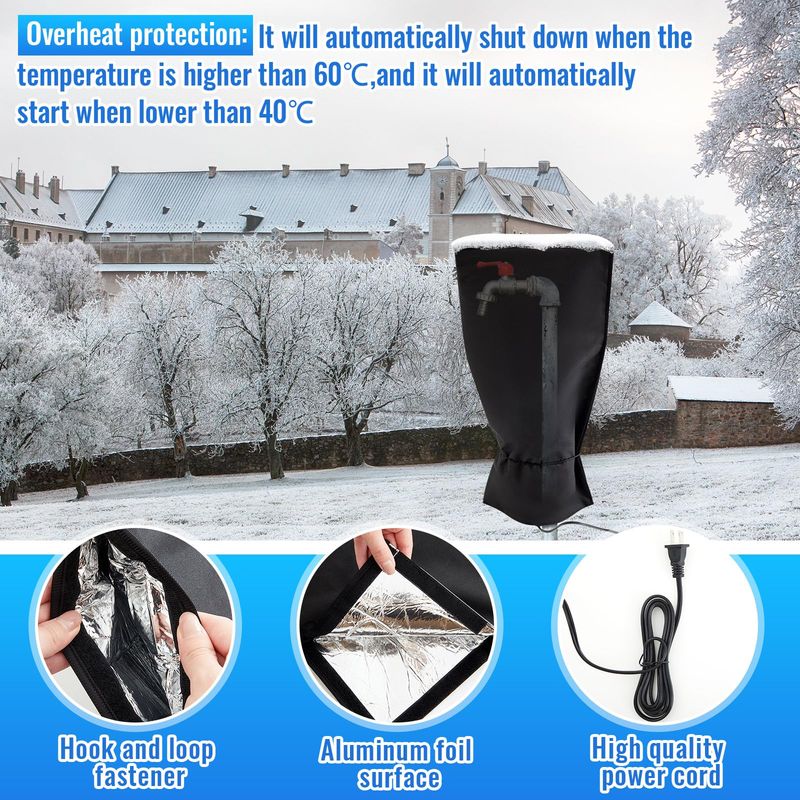
Think of a faucet cover as a tiny winter hat for your spigot. It looks simple, yet it blocks biting winds that chill metal fast.
Most covers have a hard plastic shell and a foam lining. Together, they trap a pocket of warmer air coming from inside your home.
Covers help even on frost-free hydrants and spigots. Extra protection matters during those brutal subzero stretches that sometimes hit upstate.
Installing one takes less than a minute. Loop the cord around the faucet handle, slide the cover over, and tighten the slider.
A snug fit is the secret to success. Gaps let cold air sneak in, which reduces the cover’s insulating power.
Disconnect hoses and drain the line before adding a cover. A cover cannot save a faucet with water trapped inside.
Soft fabric covers are another option for odd shapes. They stretch more easily but may wear out quicker than hard shells.
Covers usually cost less than ten dollars each. Buy one for every outdoor faucet, plus a spare for windy corners.
Check them after big storms or heavy winds. Covers sometimes loosen, and a quick tug keeps them secure.
Bright covers also act as reminders. A quick glance tells you which faucets are winter-ready and which still need attention.
10. Know Where Your Main Water Shutoff Is
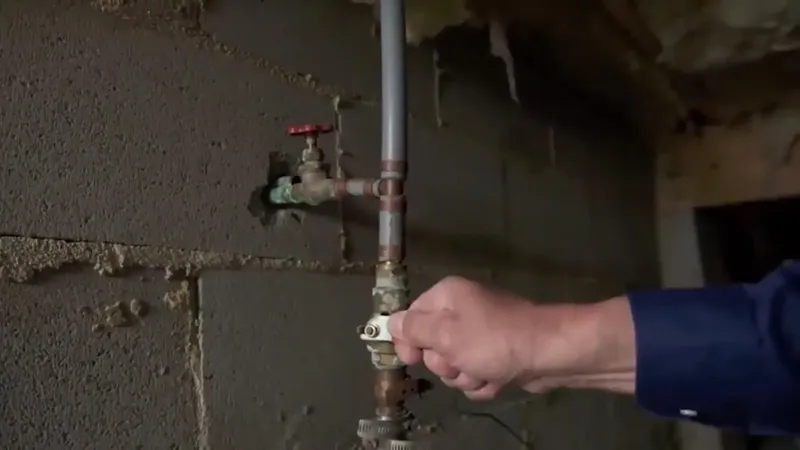
Imagine water gushing from a burst pipe at two in the morning. In that panicky moment, knowing where your main shutoff sits makes a huge difference.
Every gallon that escapes adds to the damage. Turning off the main valve quickly can stop a disaster from spreading across floors and walls.
In many New York homes, the main shutoff sits in the basement or crawl space. Look near the front foundation wall where the water line enters.
It often sits close to the water meter. Some homes place it in a utility closet, a garage, or near the water heater.
Test the valve once a year to keep it working. Turn it off, check that faucets stop flowing, then turn it back on slowly.
Show every adult in the household where it is. A teenager may need to find it if you are away when trouble strikes.
Keep a flashlight and a valve key or wrench nearby. Emergencies rarely happen in good lighting.
A stuck or leaking main valve needs professional help. A licensed plumber can repair or replace it before winter arrives.
Leaving for a winter trip? Many plumbers suggest shutting off the main and draining lines if the house will be empty.
Peace of mind is the real reward here. Knowing your shutoff turns a scary night into a manageable fix.