First Snow Just Hit the Catskills. 7 Things Upstate New York Gardeners Should Do This Weekend
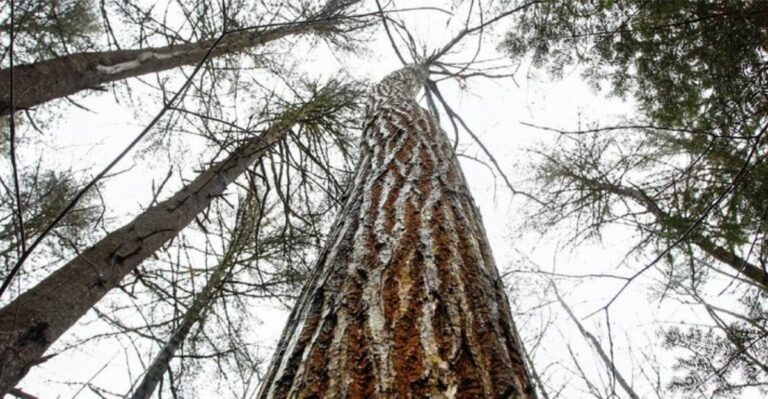
Slide Mountain stands 4,180 feet tall, and its summit usually wears snow well before the valley gardens below notice. This week that frosty cap crept downhill, and my own beds woke up under a thin white blanket.
Across most of the Catskills, the first measurable snow usually lands in early or mid-November each year. Some years it sneaks in during late October, catching upstate New York gardeners with trowels still in hand.
Take it from someone who once left a full watering can outside, only to find it split by morning. Early snow is a friendly warning, and the soil in most New York yards is still soft enough to work.
Hardiness zones here range from about 5a to 6b, so a few smart chores now really pay off. So which jobs deserve your weekend, and which ones can safely wait until the spring thaw arrives?
1. Tuck Straw Mulch Around Your Perennial Beds
Snow is actually a lovely insulator, but this early dusting will melt fast and leave roots exposed again. My hostas learned that lesson the hard way, heaving right out of the ground after a wild January thaw.
That lifting is called frost heaving, and it happens when soil freezes and thaws over and over again. Exposed crowns dry out quickly in the wind, so heaved plants often struggle to bounce back come spring.
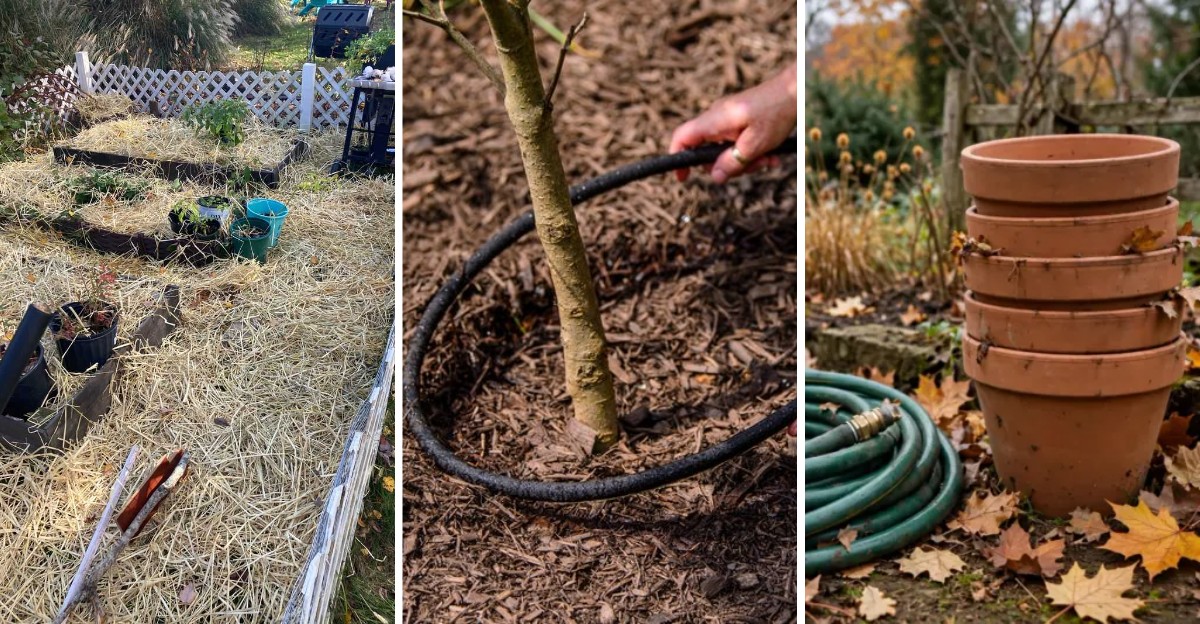
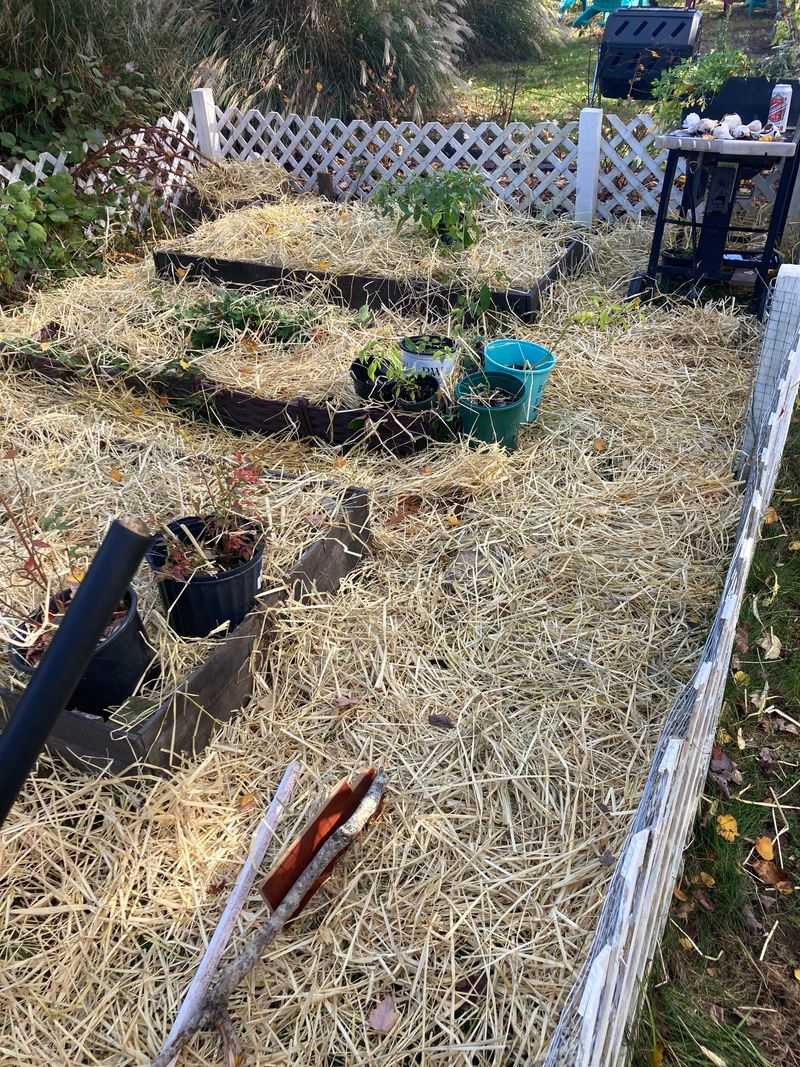
A two to four inch layer of organic mulch keeps soil temperatures steadier through those wild winter swings. Shredded leaves or clean straw both work well, and either one usually costs you nothing at all.
Wait until the ground has frozen a bit before spreading it, which Cornell experts suggest for winter mulch. Mulching too early can invite voles to move in and build cozy tunnels right beside your favorite plants.
Keep the mulch a few inches away from shrub stems and tree trunks to avoid rot and gnawing. Pile it a little looser over the crowns of tender perennials, like newly planted mums or young lavender.
While you are out there, cut back floppy daylilies and hostas to a few inches above the soil. Leave coneflower seed heads and ornamental grasses standing, since finches love snacking on those seeds all winter.
For what it is worth, my garden looks a little messier this way, but it comes back stronger. A tidy bed in November matters far less than a healthy bed in May, if you ask me.
2. Give Thirsty Spruce And Pine Trees One Last Deep Drink
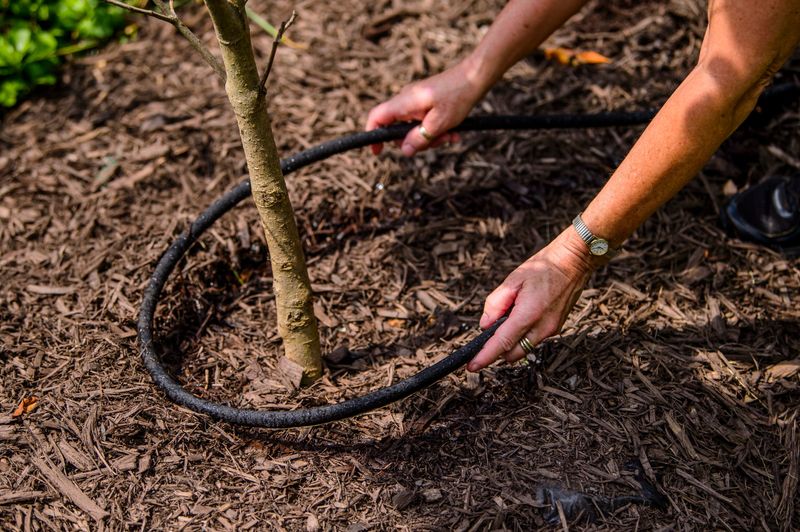
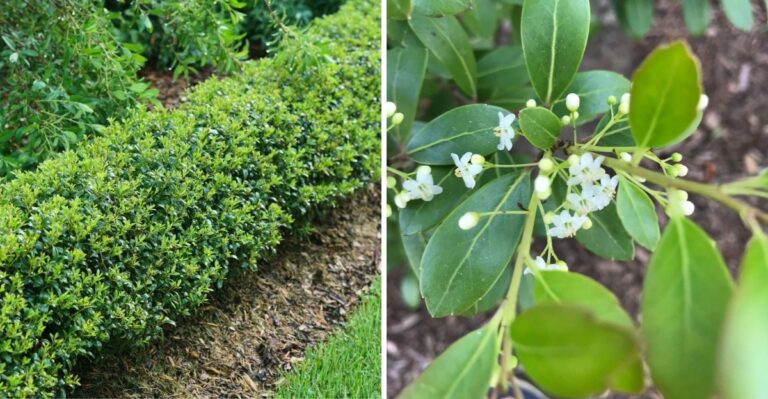
Pines and spruces keep losing water through their needles all winter long, even while their roots sit frozen. That mismatch causes winter burn, those crispy brown patches you spot on hedges every March and April.
Between you and me, I used to blame road salt for my scorched arborvitae every single spring. Turns out the real culprit was a dry autumn and a gardener who put the hose away too soon.
Keep watering evergreens deeply until the ground freezes solid, aiming the water slowly over the root zone. A soaker hose or a gently trickling garden hose lets moisture sink in instead of running off.
Newly planted evergreens and shallow-rooted ones like boxwood and rhododendron need the most attention right now. Their small root systems cannot reach deep moisture, so they dry out faster than older, established trees.
Later in winter, check for mild spells when temperatures climb above 40 degrees and snow cover disappears. Water early in the day so the soil absorbs moisture before cold nighttime temperatures lock everything up again.
A ring of mulch around the base helps hold that moisture, much like a lid on a pot. Burlap screens on the windy side can also cut drying gusts, especially for exposed hedges near roads.
Skip the antitranspirant sprays unless you read the label carefully, since results in research trials vary quite a bit. Plain water at the right moment remains the simplest and most reliable fix for this sneaky problem.
3. Scrub And Oil Your Rusty Garden Shovels And Pruners
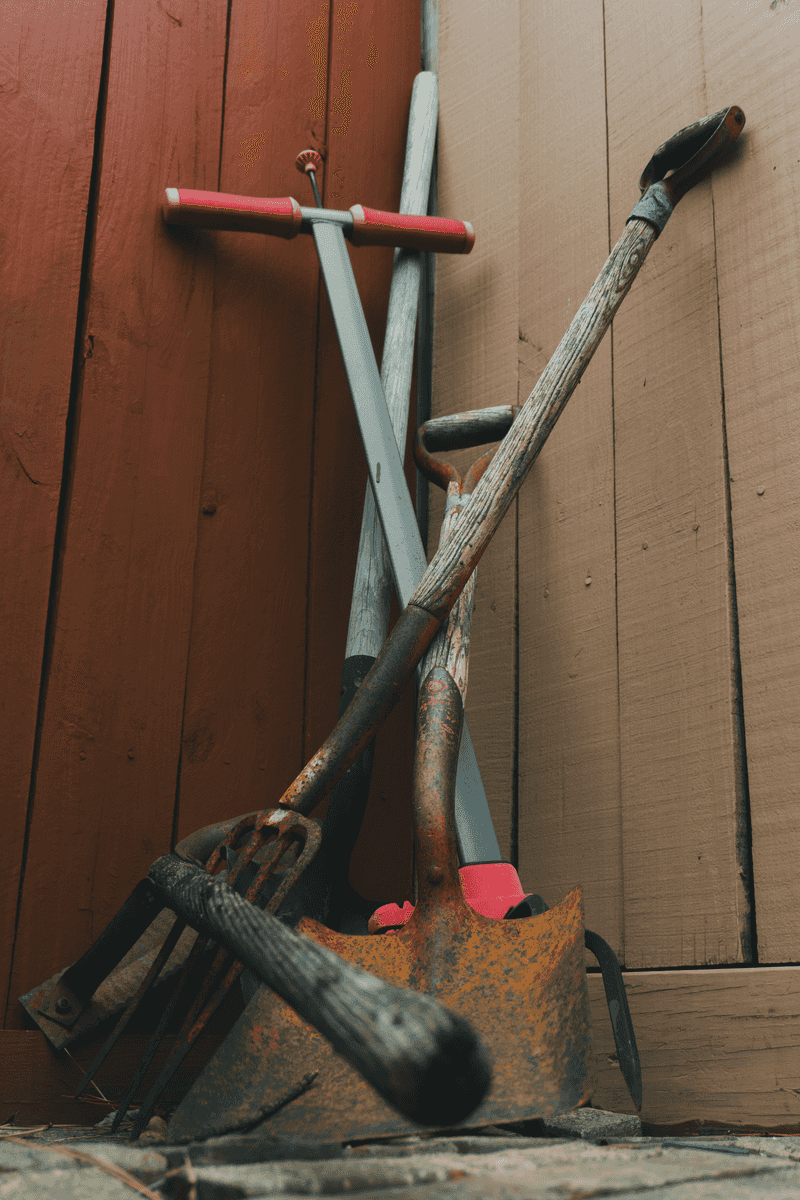
Nothing ruins a sunny April morning faster than grabbing pruners that squeak and wear an orange coat of rust. Let’s just say I have owned more than one pair that met that sad fate in my shed.
Start by knocking caked soil off shovels and hoes with a stiff brush and a quick blast of water. Dirt holds moisture against the metal, which is exactly how rust gets a head start over the winter.
Once everything is dry, sharpen pruners and spade edges with a file or a simple whetstone. Sharp blades make cleaner cuts, and clean cuts help shrubs heal faster when spring pruning season rolls around.
Wipe a thin coat of oil over the metal parts, paying extra attention to hinges and springs. Many gardeners like boiled linseed oil, though a light household oil works fine for most basic tools.
Wooden handles deserve some love too, since cold, dry air can make them crack and splinter over time. Sand rough spots lightly, then rub in linseed oil and let it soak in before hanging them up.
Gas mowers and trimmers need either a fuel stabilizer or an empty tank before they head into storage. Old fuel can gum up small engines, and that repair bill stings much more than a quick chore today.
Hang tools on a wall or pegboard so they stay off damp concrete floors through the cold months. Future you will be grateful, trust me, when the first warm weekend arrives and everything is ready to go.
4. Rake Fallen Maple Leaves Off The Lawn And Into Your Beds
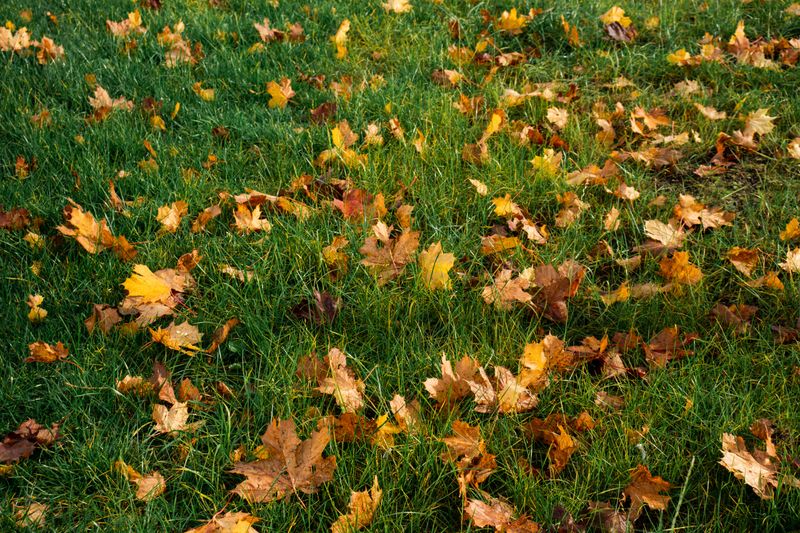
A soggy mat of maple leaves can smother turf over winter and invite a fuzzy problem called snow mold. In my own yard, I’ve noticed the worst bare spots appear right where the leaves piled deepest last fall.
Clearing the lawn does not mean bagging everything for the curb, though, since those leaves are pure garden treasure. They break down into rich organic matter that feeds earthworms and helps soil hold water through dry summers.
Run a mower over dry leaves a few times to chop them into small, dime-sized pieces. Shredded leaves break down faster and rarely mat together, which keeps water and air moving into the soil.
Spread a layer about two to three inches deep across vegetable beds and around dormant perennials. Extra leaves can go into a simple wire bin, where they slowly turn into crumbly leaf mold.
Leaf mold takes a year or two to finish, but it makes a wonderful soil conditioner for seedlings. Gardeners have been using it for centuries, and many swear it beats anything you can buy in bags.
Skip any leaves from plants that had obvious disease problems, like apple scab or tar spot on maples. Those belong in the trash or a municipal collection program, rather than your home compost pile or beds.
Don’t make my mistake of waiting until snow buries everything, because wet leaves are heavy and clumpy. A dry afternoon this weekend could turn a messy chore into a free winter blanket for your soil.
5. Plant Tulip And Daffodil Bulbs Before The Ground Freezes
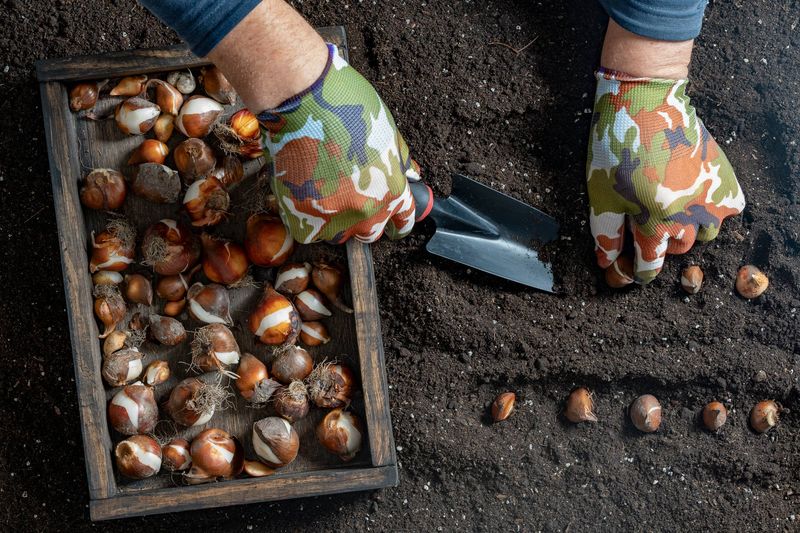
Tulip bulbs actually need a long, cold winter nap to bloom, which makes our chilly climate a perfect match. What surprises me most is how late you can often keep planting, right up until the ground freezes.
Bulbs prefer soil temperatures below 55 degrees, which encourages root growth without pushing leaves up too early. In most upstate New York gardens, the best planting window runs from October into early November.
A light snow on top does not mean the ground underneath has frozen, so grab a trowel and test. If your shovel slides in easily, those leftover bulbs in the garage still have a real chance.
Plant each bulb about three times as deep as it is tall, with the pointy end facing upward. Most tulips and daffodils end up around six to eight inches deep, which also keeps squirrels guessing.
Water the bed thoroughly once after planting, so the soil settles and roots can start forming before winter. Then add a few inches of mulch to buffer temperature swings and reduce heaving during midwinter thaws.
Squirrels and chipmunks adore digging up tulips, so consider daffodils if those furry bandits rule your yard. Daffodils contain compounds that most rodents and deer avoid, which is why they often survive untouched for years.
Looking back, I should have planted twice as many crocuses along my front walk last year. Those tiny purple cups were the first color I saw in March, and they felt like a small miracle.
6. Wrap Young Tree Trunks To Stop Hungry Deer And Voles
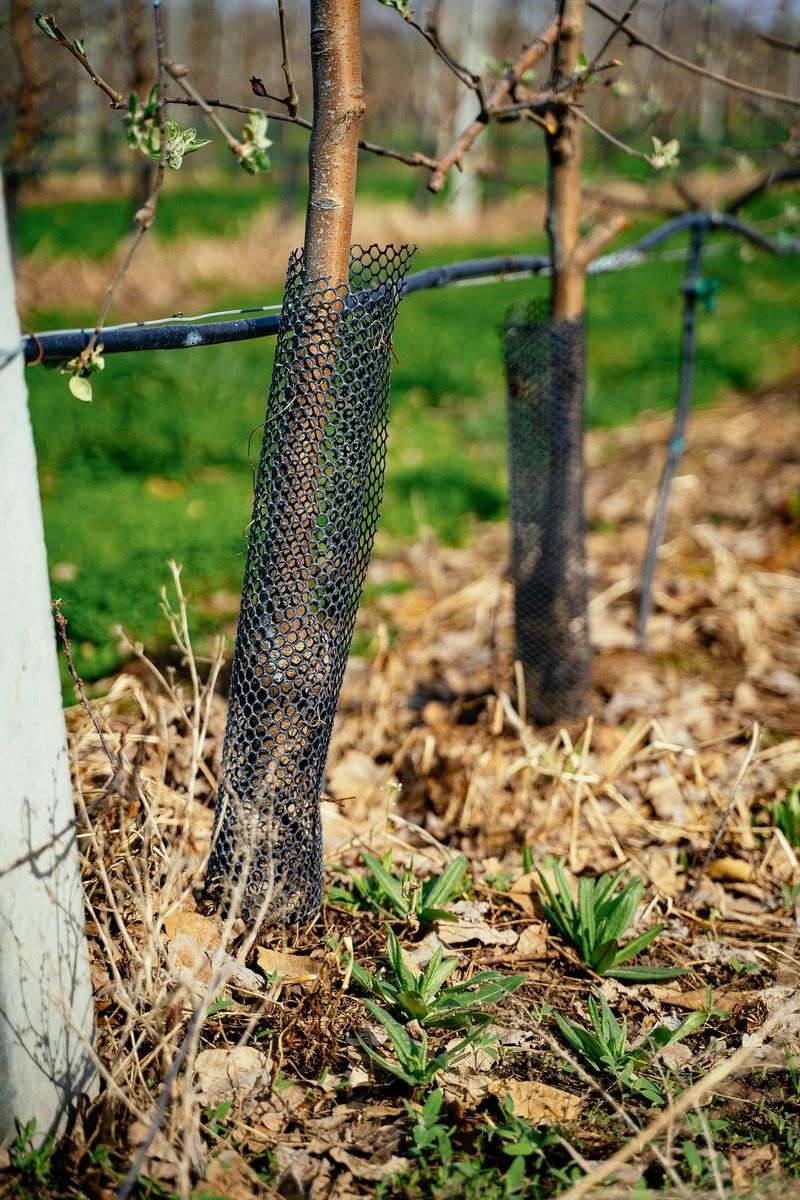
When the woods go bare, white-tailed deer start treating backyard shrubs like an all-you-can-eat salad bar. Voles join the feast too, quietly gnawing bark under the snow where you will not notice until spring.
That hidden chewing can girdle a young tree, cutting off the flow of water and nutrients around the trunk. Rabbits add their own damage, nibbling stems right at the height of the snow line all winter.
Plastic tree guards or hardware cloth cylinders make simple trunk protectors for fruit trees and young maples. Sink the bottom edge a couple of inches into the soil, and extend it above the expected snow depth.
For deer, physical barriers beat almost everything else, and fences around seven to eight feet tall work best. Smaller spaces can rely on wire cages or burlap wraps around arborvitae and yews, two favorite deer snacks.
Repellent sprays can help, but they often need reapplying after rain or snow to stay effective. Some products also work poorly in freezing weather, so read the label before you spray in December.
If you ask me, mixing methods works better than trusting just one, since hungry deer get bold. Rotating repellent types every few weeks can also keep animals from getting used to a single scent.
Pull mulch back a few inches from trunks too, because voles love hiding in that cozy, fluffy layer. A little effort this weekend can save a tree you spent years nurturing, and that feels worth it.
7. Empty Terracotta Pots And Drain Garden Hoses Before Winter
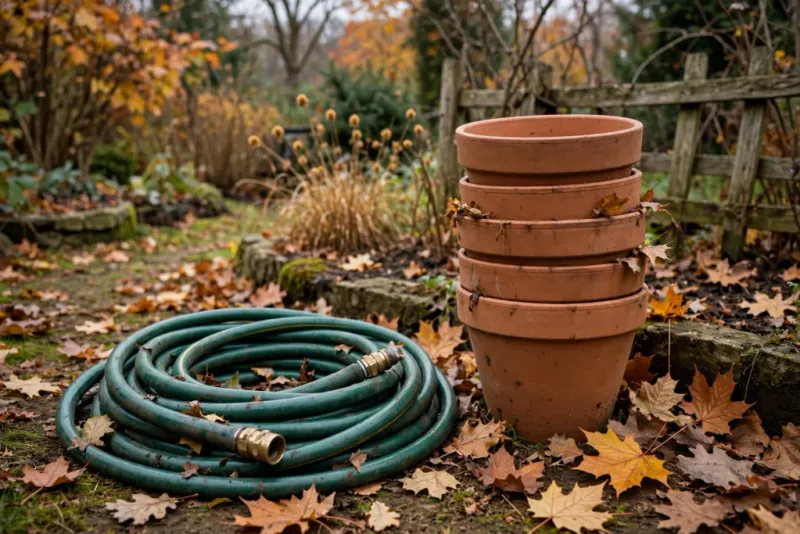
Terracotta is basically baked clay full of tiny pores, and those pores happily soak up water like a sponge. When that water freezes, it expands, and your favorite pot can crack or flake apart by February.
My garden taught me that lesson with a lovely Italian planter that split clean in half one January morning. Now I empty clay and ceramic pots every fall, scrub them, and stack them upside down in the garage.
Washing pots removes lingering pests and disease spores, giving next year’s plants a fresh, clean start. A soak in warm, soapy water followed by a good rinse usually does the trick for most containers.
Garden hoses need attention too, since water trapped inside can freeze and split the rubber or vinyl. Drain each hose fully, coil it loosely, and store it somewhere dry where mice will not chew on it.
Shut off the indoor valve for outdoor spigots if you have one, then open the outside tap to drain. That simple step helps prevent frozen pipes, which can lead to expensive leaks inside your walls.
While you are cleaning up, pull spent annuals and toss any plants that showed signs of disease this summer. Healthy plant scraps can go into the compost pile, but sickly stems belong with the trash collection instead.
Clear leaves and debris from window wells and drainage paths so melting snow can flow away from your foundation. It is not glamorous work, but your future spring self will thank you with a big, relieved smile.