8 Genius Ways to Use Fallen Pinecones in Your Virginia Garden
A fallen cone works like a weather station, opening its scales in dry air and closing them when rain arrives. Scientists have studied that clever movement for years, and nothing inside the cone needs to be alive for that trick.
Our state hosts several native pines, including loblolly, shortleaf, pitch, and eastern white pine, each dropping its own cones. Under a big loblolly, the pile beneath can grow faster than most of us care to rake.
Take it from me, I once bagged every cone in my yard and hauled them all to the curb. Looking back, I was throwing away a free garden supply that my beds and my birds both wanted.
Between you and me, those prickly brown lumps can earn their keep almost anywhere in a Virginia garden. So which clever uses are worth trying before you fire up the leaf blower again this weekend?
1. Spread Whole Pinecones As Long Lasting Mulch
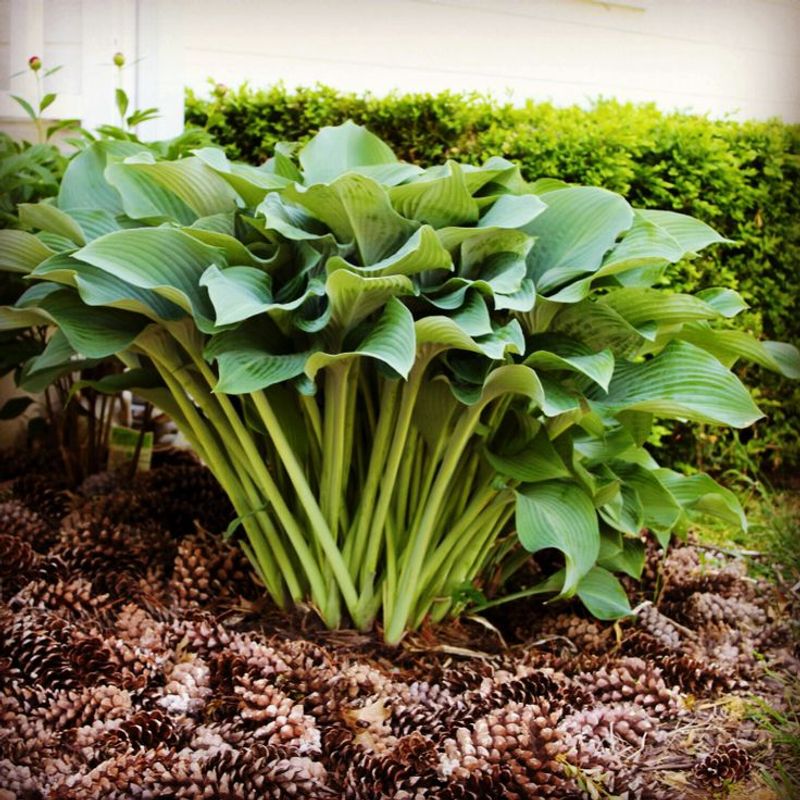
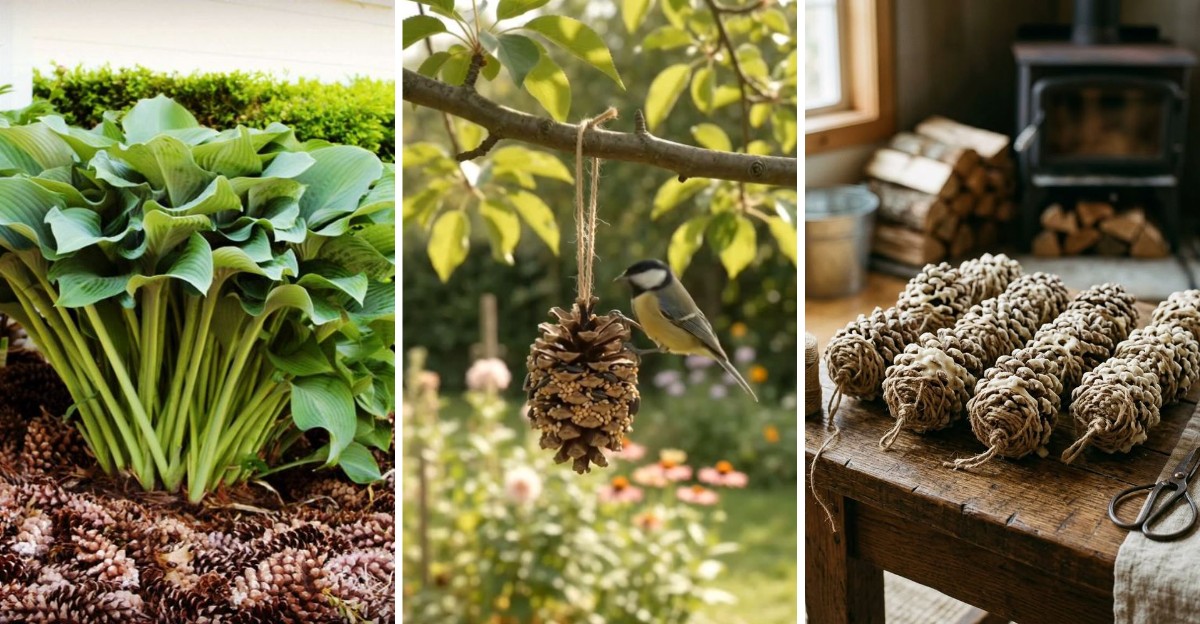
Crunchy underfoot and slow to break down, pinecone mulch can stay put for years while bark chips fade away. In my own yard, a ring of cones around a hydrangea still looked tidy after three full seasons.
A layer about two to three inches deep helps shade the soil, which slows evaporation on hot afternoons. That same layer blocks light from many weed seeds, so fewer of them sprout between your shrubs.
Plenty of gardeners worry that pinecones will turn their soil sour, but research does not support that fear. Pine materials break down so slowly that their effect on soil pH stays small for most beds.
Because the scales interlock loosely, rain and air still slip through to the roots without forming a crust. That open texture makes cones a smart pick for slopes where fine mulch tends to wash downhill.
For what it is worth, smaller cones from shortleaf or Virginia pine lay flatter than bulky loblolly cones. Mixing sizes helps fill gaps, and crushing a few with your boot makes the layer look neater.
One caution matters a lot, since resin-rich cones catch fire easily once they dry out in summer. Keep this mulch well away from grills and fire pits, and leave a gap near wooden siding too.
Pinecone mulch also tends to discourage barefoot kids and curious pets from cutting through freshly planted beds. If you ask me, that bonus alone makes the raking feel a whole lot more worthwhile.
2. Fill The Bottom Of Big Planters With Pinecones
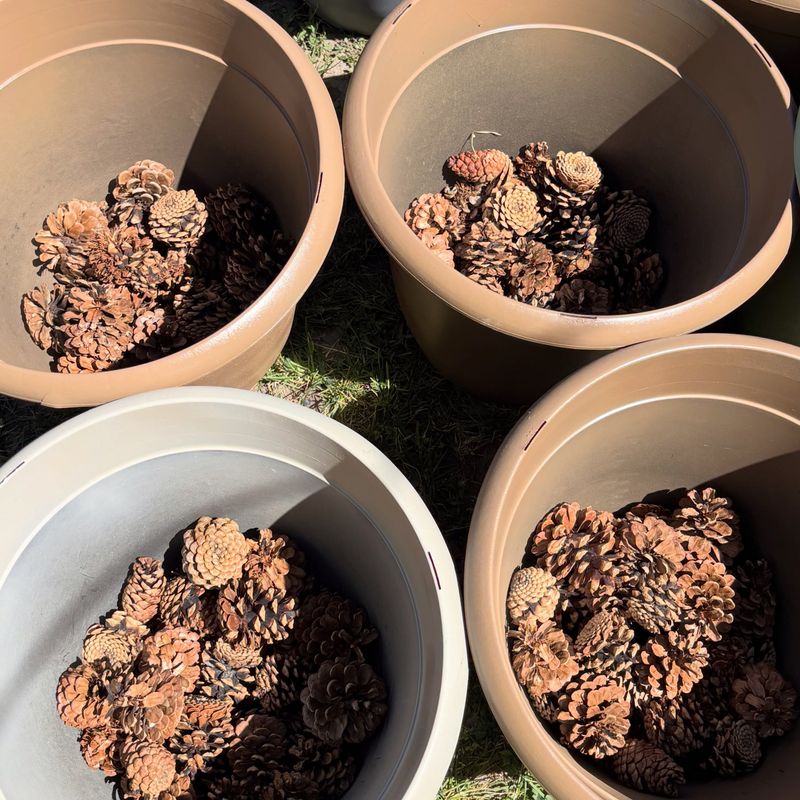
Lifting a giant ceramic pot full of wet soil feels like hauling a boulder, and my back remembers it well. Swapping some of that soil for pinecones can make large planters noticeably lighter and much cheaper to fill.
The trick works best in deep containers, where shallow-rooted annuals rarely reach the lowest foot of mix. Filling that unused space with cones means you buy fewer bags of potting soil each spring.
Don’t make my mistake of expecting the cones to fix soggy soil, because that idea is mostly a myth. Extension experts explain that coarse layers can actually hold water higher in the pot, not lower.
A drainage hole does the real work, so check that every planter has one before adding anything. Treat the cones as lightweight filler instead of a cure, and your plants will be far happier.
Lay a piece of landscape fabric or old window screen over the cones before you add soil. That barrier keeps fine mix from sifting down into the gaps and slowly sinking your plants.
Leave at least twelve inches of real potting mix above the filler for most flowers and herbs. Tomatoes and small shrubs need the full depth, so skip the filler for those hungry growers.
Over time the cones soften and shrink, so plan to refresh the bottom layer every couple of years. Moving pots onto a porch before a hard Virginia freeze gets easier when they weigh a bit less.
3. Toss Crushed Pinecones Into The Compost Bin
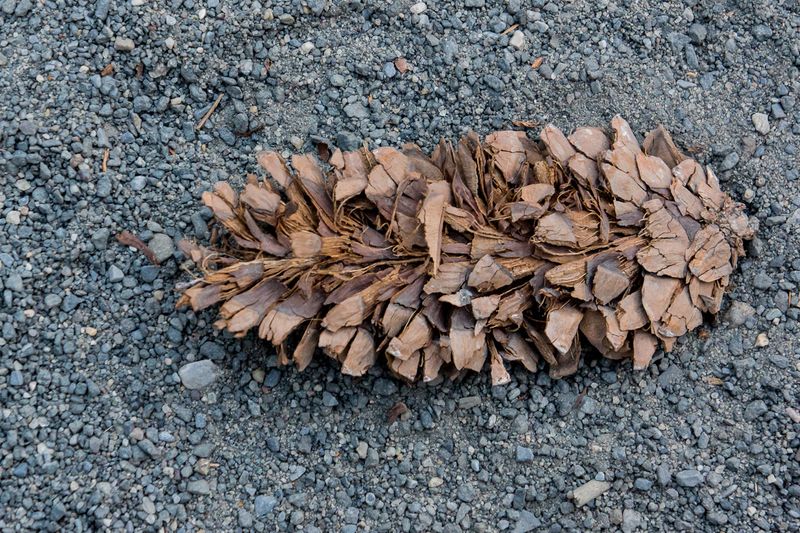
Woody and stubborn, a whole pinecone can sit in a compost pile for a very long time. Funny thing is, I once found a perfect cone in finished compost that I had added two summers earlier.
Pinecones count as a brown, carbon-rich ingredient, which balances green scraps like grass clippings and coffee grounds. A healthy pile needs both types, and cones help when fallen leaves run short in late summer each year.
Crushing them first makes a huge difference, since microbes work on surfaces and need edges to grab. Spread them on the lawn and run a bagging mower over them, or simply stomp them flat.
Those chunky pieces also create small air pockets that keep the center of the pile from packing down. Better airflow means fewer sour smells and faster work from the helpful bacteria living deep inside.
Mix cones in small batches rather than dumping a whole wheelbarrow load in one thick layer. Thin layers mingle better with kitchen scraps, and the pile heats up more evenly as a result.
Keep the heap about as damp as a wrung-out sponge, because dry pine material barely breaks down. A quick spray from the hose during a dry spell keeps the whole process moving along nicely.
Any stubborn chunks left at the end can go back into the next batch for another round. My garden taught me that patience pays off, and even tough cones turn into dark crumbly soil eventually.
4. Bury Pinecones Under Raised Beds To Save Soil
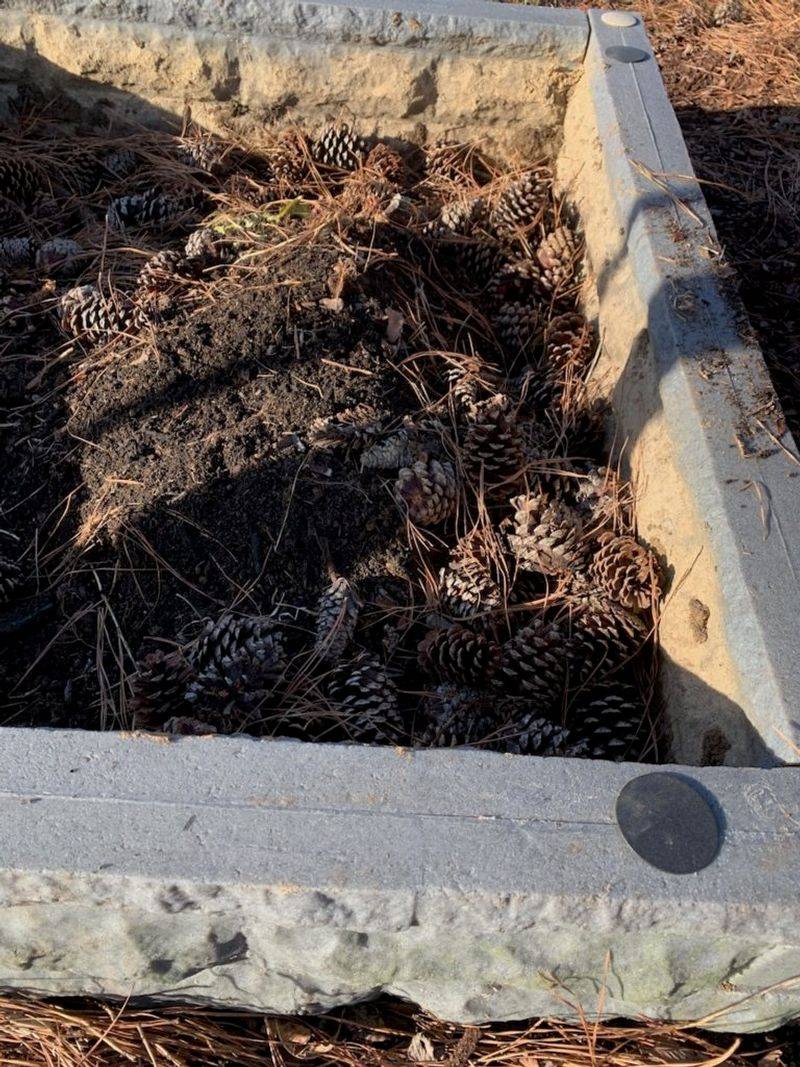
Filling a new raised bed can cost more than the lumber, especially when the frame stands two feet tall. What caught my attention was how a layer of cones at the bottom can trim that soil bill.
The idea borrows from hugelkultur, an old European method that buries woody material under garden soil. As the wood slowly rots, it acts a bit like a sponge and feeds soil life below.
Place cones only in the lowest third of a tall bed, then add leaves or grass clippings on top. Finish with at least a foot of good garden soil so vegetable roots have plenty of room.
Woody material can tie up nitrogen as it breaks down, which may leave young plants looking pale. Keeping the cones deep and adding compost near the surface helps your crops avoid that hungry phase.
Expect the soil level to settle a few inches over the first couple of seasons as cones shrink. Topping off with compost each spring keeps the bed full and gives plants a fresh boost.
Many Virginia gardens sit on heavy red clay, so raised beds can make growing vegetables much easier. The cone layer adds bulk without packing down tight, which keeps the base of the bed from feeling like brick.
Let’s just say my first raised bed swallowed more bagged soil than I ever budgeted for. Collecting a few buckets of cones beforehand would have saved me real money and several trips.
5. Stack Pinecones Into A Cozy Insect Hotel
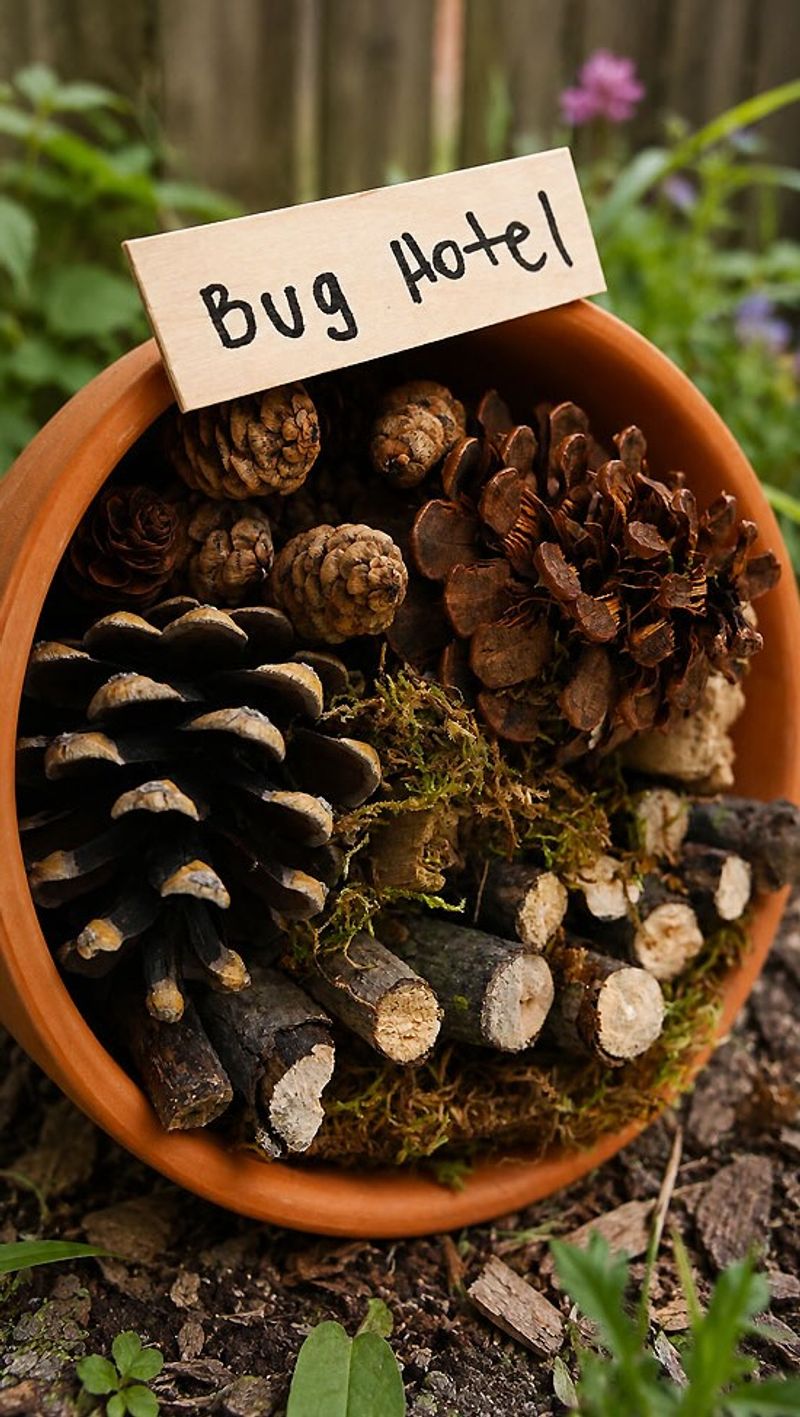
Tiny gaps between pinecone scales make perfect hiding spots for beneficial bugs looking to escape cold winds. I tucked a basket of cones under my porch steps once, and spiders moved in within a week.
An insect hotel is simply a sheltered box filled with natural materials like cones and hollow stems. Garden helpers such as lacewings and ground beetles may use these cozy nooks to rest or overwinter.
Ladybugs often gather in sheltered spots during the cold months, though many prefer leaf litter or tree bark. A cone-packed shelter adds one more option, and every extra hiding place helps local predators survive.
Build a simple frame from untreated scrap wood, roughly the size of a shoebox or slightly bigger. Pack cones tightly inside so they stay put during storms, and add a small roof against rain.
Mount the hotel about three feet off the ground in a sheltered spot near your flowering plants. Nearby blooms give visiting insects an easy meal, so they are much more likely to stick around.
Skip the glitter paint and craft glue, since bare natural cones feel safer and more inviting to wildlife. Swap out moldy or crumbling cones each late spring so the shelter stays fresh and dry inside.
Kids love checking these little shelters, and they make a fun weekend project for curious young gardeners. In my experience, a pile of loose cones in a quiet corner works surprisingly well too, with zero effort.
6. Roll Pinecones In Seed For Hungry Backyard Birds
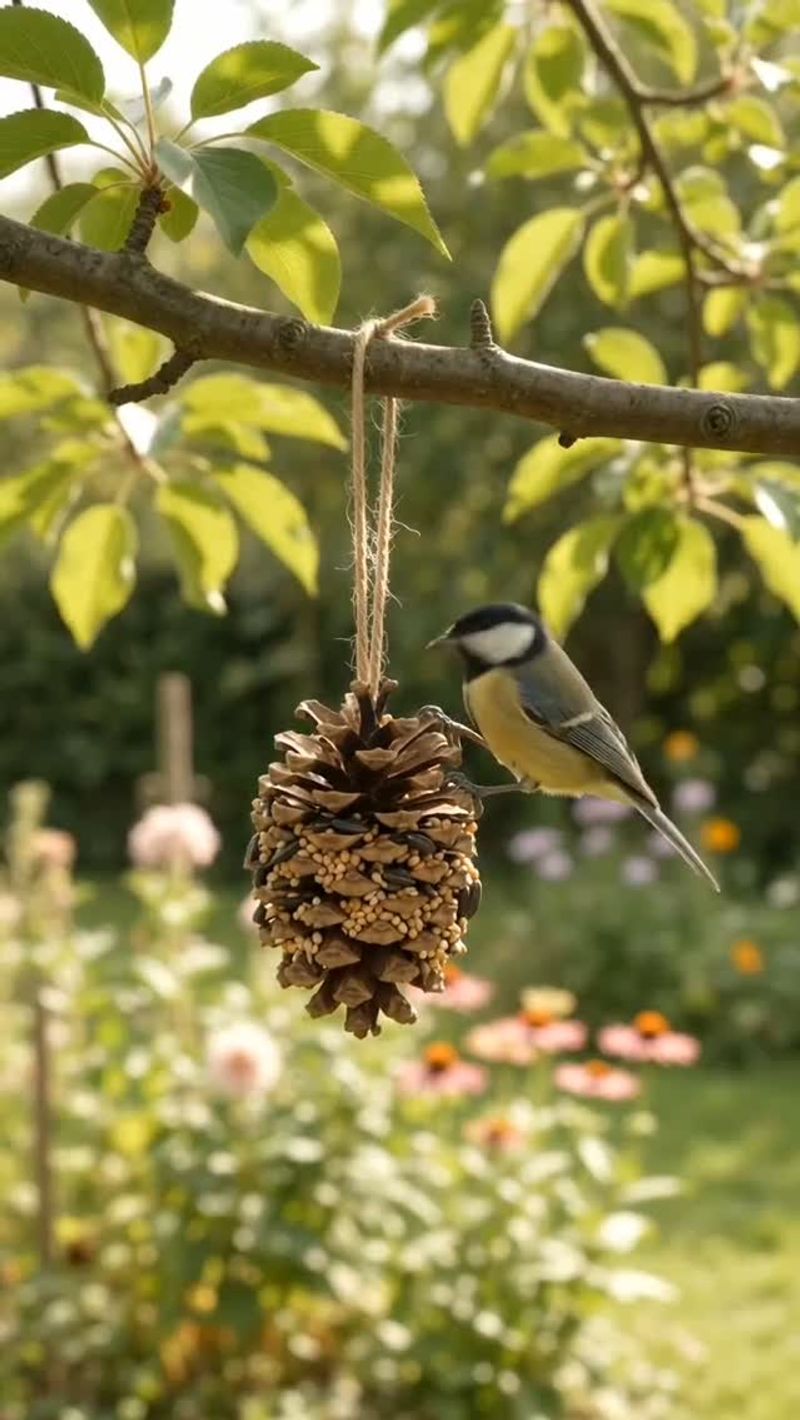
Chickadees will hang upside down to pick seeds off a pinecone feeder, and it is wonderful to watch. My kitchen window became the best seat in the house the first winter I hung one outside.
Start with a large open cone, like a loblolly or white pine, and tie a sturdy string near the top. Spread peanut butter or softened suet into the scales, pressing it deep into every little gap.
Roll the sticky cone through a tray of black oil sunflower seed, which many feeder birds enjoy. Mixing a little cornmeal into the peanut butter makes it less sticky and easier for birds to eat.
Cardinals and titmice often visit these treats, while woodpeckers sometimes swing by for the suet versions. Hang feeders near shrubs so small birds have quick cover if a hawk flies past overhead.
Peanut butter can turn rancid in summer heat, so these feeders work best during cooler months. Swap them out every week or two, and toss any cone that looks moldy or smells off.
Wildlife officials in Virginia advise taking feeders down if bears are active nearby, especially in spring. Bears find peanut butter hard to resist, so bring cones indoors at night if you live in bear country.
Making these with grandkids turned into one of my favorite garden traditions, sticky fingers and all. Keep a bucket of cones in the garage, and you will have a craft ready for any gray afternoon.
7. Line Garden Paths With A Rustic Pinecone Border
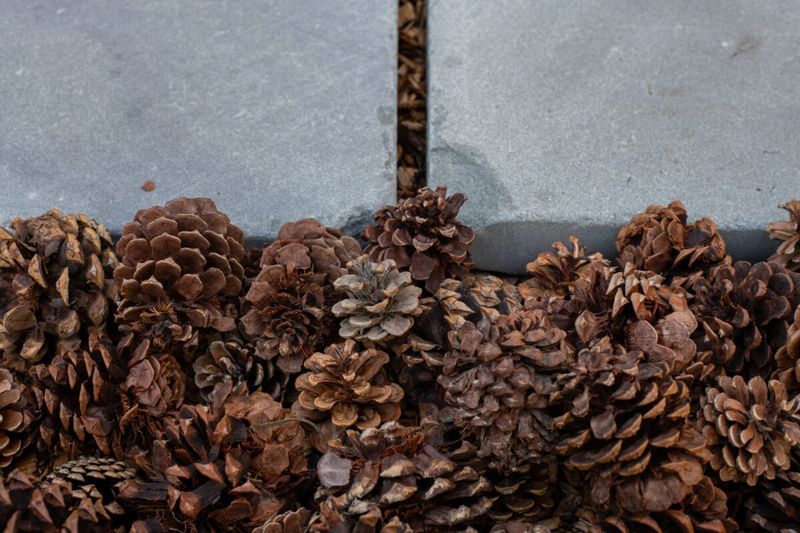
Nothing says woodland charm quite like a row of pinecones edging a winding mulch path through shady beds. I started mine on a whim, and visitors now ask about it more than my roses.
Large cones from eastern white pine work beautifully here, since their long shapes line up neatly end to end. Press each one halfway into the soil so it stays put when rain or rakes come along.
A double row looks fuller, and alternating big and small cones adds a pleasing rhythm to the edge. For a tidier look, sink a strip of metal edging first and line the cones against it.
Cones also make handsome toppers for potted plants, hiding bare soil while slowing moisture loss on sunny porches. In my own pots, the neighborhood cats seem less eager to dig once a prickly layer goes down.
Expect the border to fade from bright brown to soft gray over a year or so outdoors. Fresh cones keep dropping through the year, so topping up the gaps takes only a few minutes.
Keep the border a safe distance from outdoor fire features, since dry resin catches sparks quickly. Along a shady woodland path, though, the cones blend in naturally and look right at home.
Before collecting, shake each cone over a bucket to knock loose any spiders or seeds hiding inside. Honestly, it might be the cheapest garden upgrade I have ever made, and it still makes me smile.
8. Dip Dry Pinecones In Wax For Easy Fire Starters
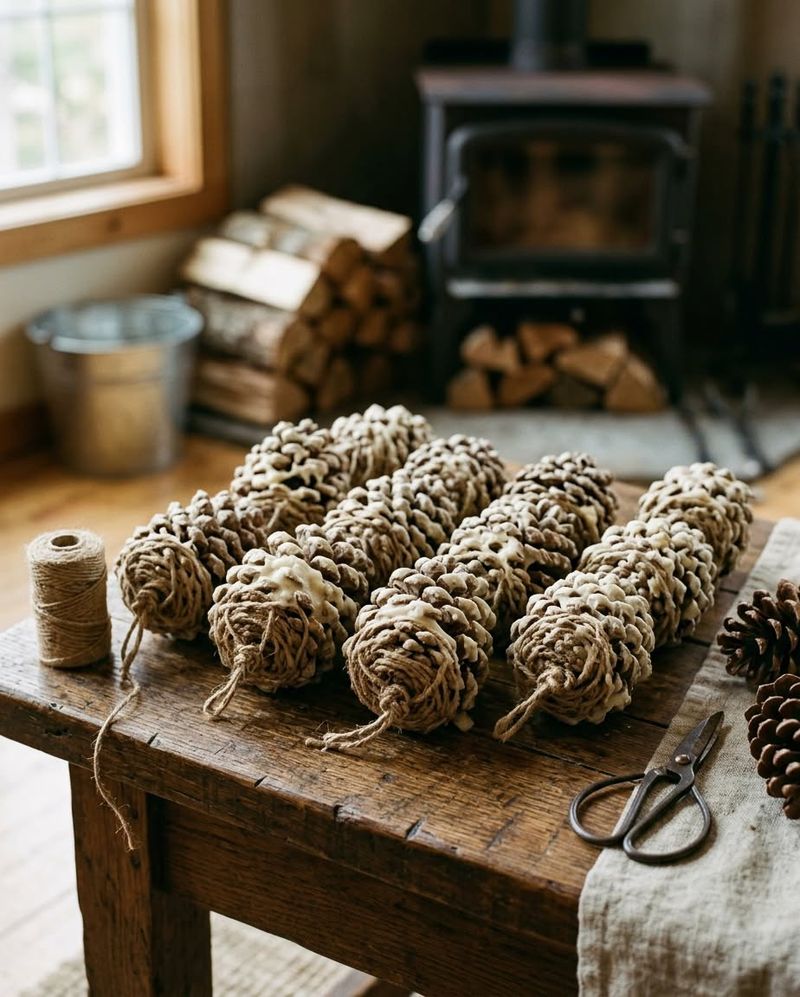
Pine resin is naturally flammable, which is exactly why a dry cone makes such a handy little fire starter. Coat it in wax, and you get a slow, steady flame that catches kindling with almost no fuss.
Gather fully opened cones and let them dry indoors for a few days before you start. Some crafters bake them on a foil-lined sheet at low heat to dry them faster and evict bugs.
Melt old candle stubs or beeswax in a can set inside a pan of simmering water. Avoid heating wax directly over a burner, since it can overheat and catch fire very quickly.
Tie a cotton wick around the base, then dip each cone a few times, letting layers build up. Set them on parchment paper to harden, and store them in a basket away from heat.
Before lighting any outdoor fire, check local rules, because burn bans can pop up during dry spells. Virginia also has a spring burning law that limits some open-air fires from February 15 through April 30.
Under that law, certain burning near woods is only allowed after 4 in the afternoon, so read the details first. Keep a hose or bucket of water close by, even for a small backyard fire pit.
A jar of wax-dipped cones tied with twine also makes a sweet, thoughtful gift for friends with fireplaces. I keep a basket by the hearth, and it rarely lasts past the first cold snap of the season.