Georgia Daylilies Need One Important Step Before November Ends
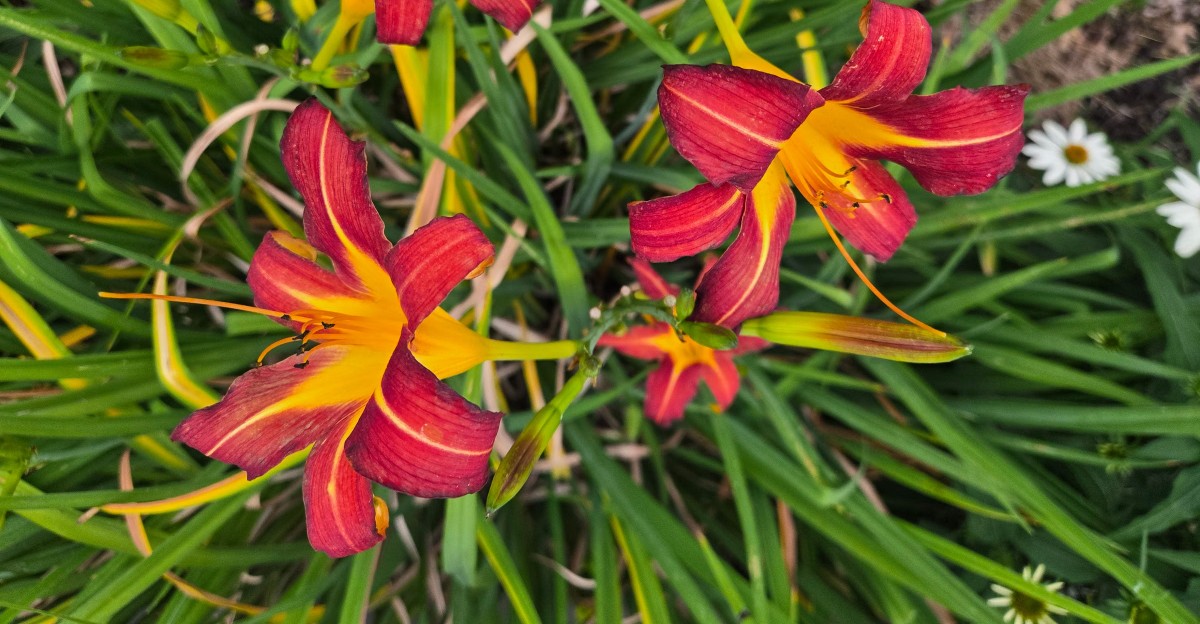
A single flower on this tough perennial opens for just one day, then quietly closes for good by nightfall. One plant can still put on a show for weeks, because each stalk carries a whole lineup of buds waiting their turn.
By late fall, though, the party is over and the leaves start to slump into brown, tangled mats. I used to ignore that mess and call it natural mulch.
Then spring arrived with ragged, spotted leaves, and I started paying attention.
You need to know that old foliage is more than an eyesore in Georgia. Mild winters let certain fungal spores and garden pests ride out the cold right inside those soggy piles.
I find it a little sneaky.
One easy chore with a pair of shears can change how your beds look next May. The trick is knowing which parts to remove and how far back to cut them.
1. Those Floppy Brown Daylily Leaves Are Hiding Something
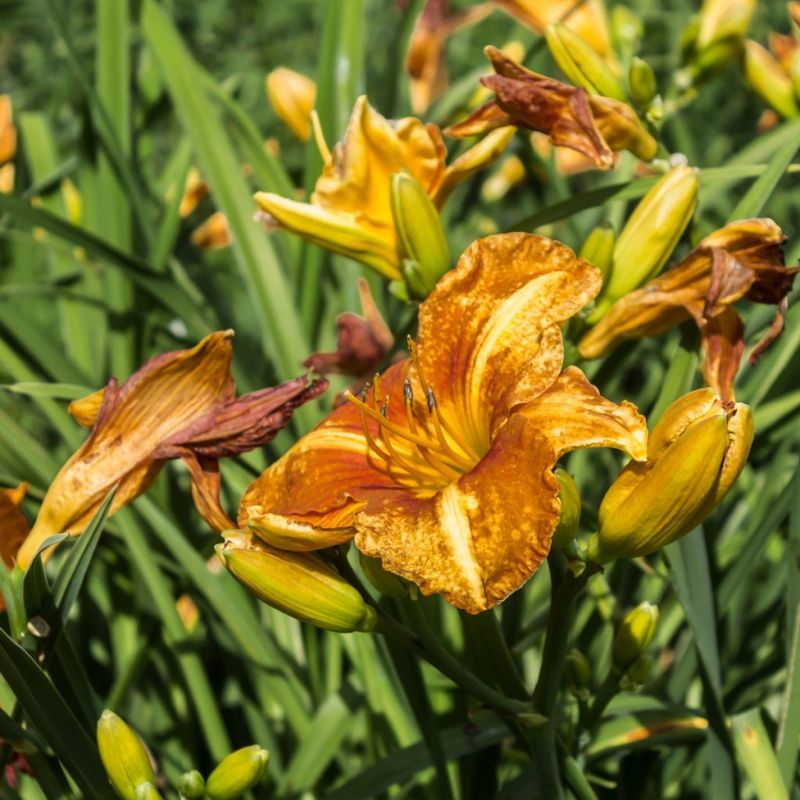
Walk past a daylily bed in late November and you will spot it right away. The once-perky green fans have flopped over into a soggy, straw-colored heap.
That pile looks harmless, but it works like a winter motel. Fungal spores, slugs, snails, and insect eggs can settle into the damp layers where cold air rarely reaches.
In much of Georgia, winters are mild enough that many of these guests stay comfortable until spring.
Daylily rust is a big reason to care. This fungal disease shows up as orange, powdery spots on the leaves, and university plant pathologists note it can survive on green leaf tissue in warm southern winters.
Leaf streak and leaf spot diseases also linger on old, infected foliage and splash onto new growth when spring rains arrive.
Slugs love the setup too. Wet, shady plant debris gives them moisture and a hiding place, and they come out hungry when the weather warms.
I like to think of this pile as a clue rather than a problem. Once you know what might be living in it, the fix becomes obvious.
Better yet, it only takes a few minutes per clump to handle.
2. Grab Your Shears and Cut Daylily Foliage Back to a Few Inches
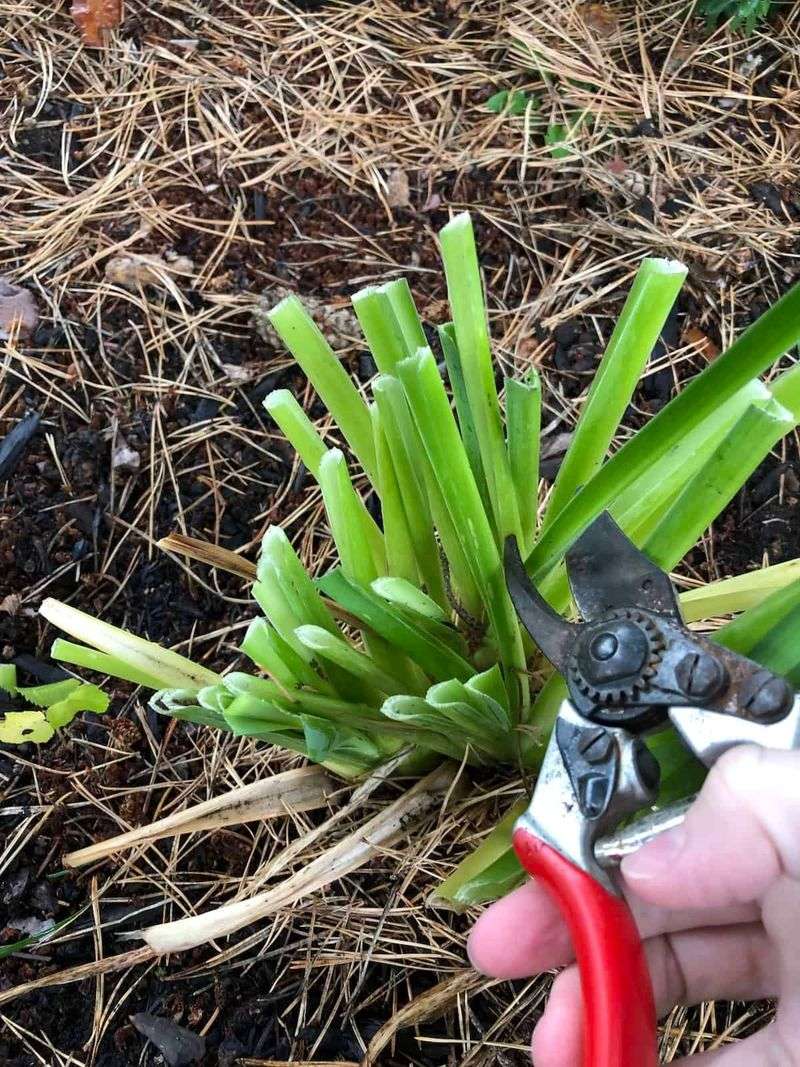
Here is the step that matters most. Cut the faded daylily leaves down to roughly 2 to 4 inches above the soil before the month wraps up.
Grab a clean pair of sharp bypass pruners or garden shears. Gather a clump of leaves in one hand like a ponytail, then snip straight across with the other.
Hedge shears also work well when you have a long row to tackle.
Leaving a short stub helps you remember where each plant sits during winter. It also keeps you from nicking the crown, which is the spot where the roots meet the leaves and next year’s growth begins.
Clean your blades between beds to help prevent the spread of disease. Fungal spores can hitch a ride on dirty tools and spread from one clump to the next, so this quick cleaning step is worth the extra minute.
Some gardeners prefer to wait until a hard frost turns the leaves to mush. That works, but slimy foliage is messier to handle.
Cutting while leaves are yellowing and still firm is cleaner and just as helpful. Either way, aim to finish before December so the bed starts winter fresh.
3. Hauling Away Daylily Clippings Matters as Much as Cutting
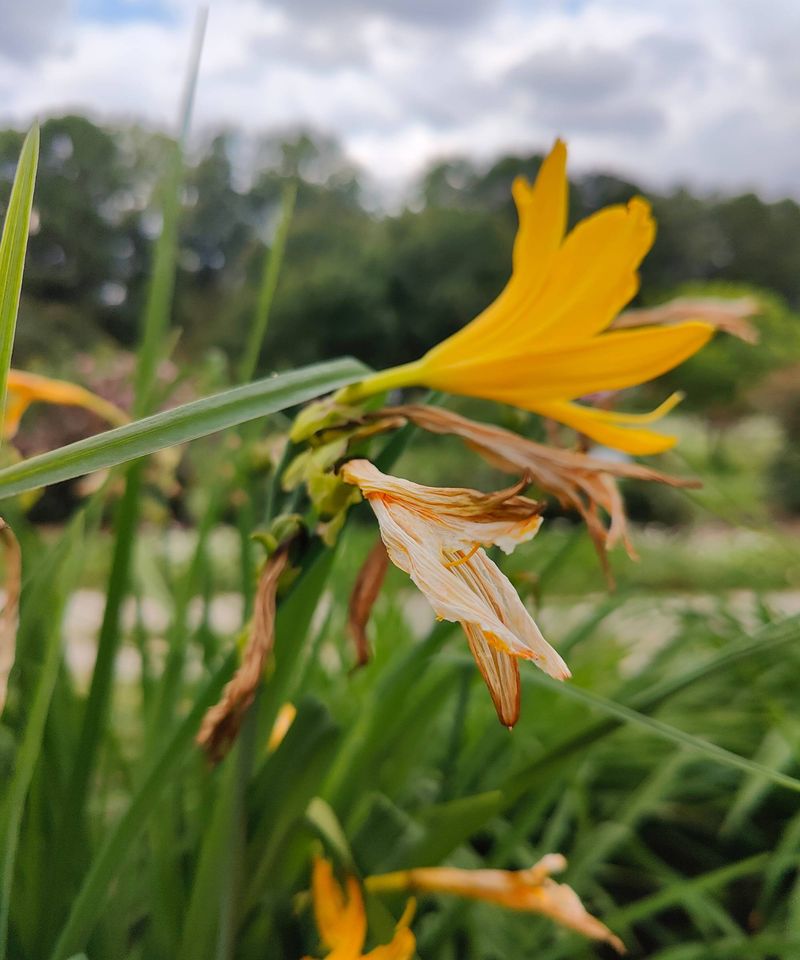
Cutting is only half the job. If those clippings stay on the ground, you have basically rearranged the furniture for every slug and spore in the bed.
Rake up every leaf and stray bit of debris from around the crowns. A leaf rake with flexible tines slips between clumps nicely, and your gloved hands can grab the stubborn bits tucked near the base.
Now comes the decision about where it all goes. Healthy, spot-free foliage can head to your compost pile.
If you saw orange powdery rust, brown streaks, or spotted leaves this season, bag that material and put it out with yard waste instead.
Home compost piles often do not get hot enough to break down fungal spores reliably. Tossing diseased leaves into compost can bring the problem right back when you spread that compost next year.
I keep a separate bag labeled for sick foliage so nothing gets mixed up. It sounds fussy, yet it saves real headaches in spring.
Once the bed is clear, take a quick look at the soil surface. Bare, tidy ground makes it easier to spot slug trails or weeds that sneaked in during fall.
4. Orange Spots on Daylily Leaves Deserve Extra Attention
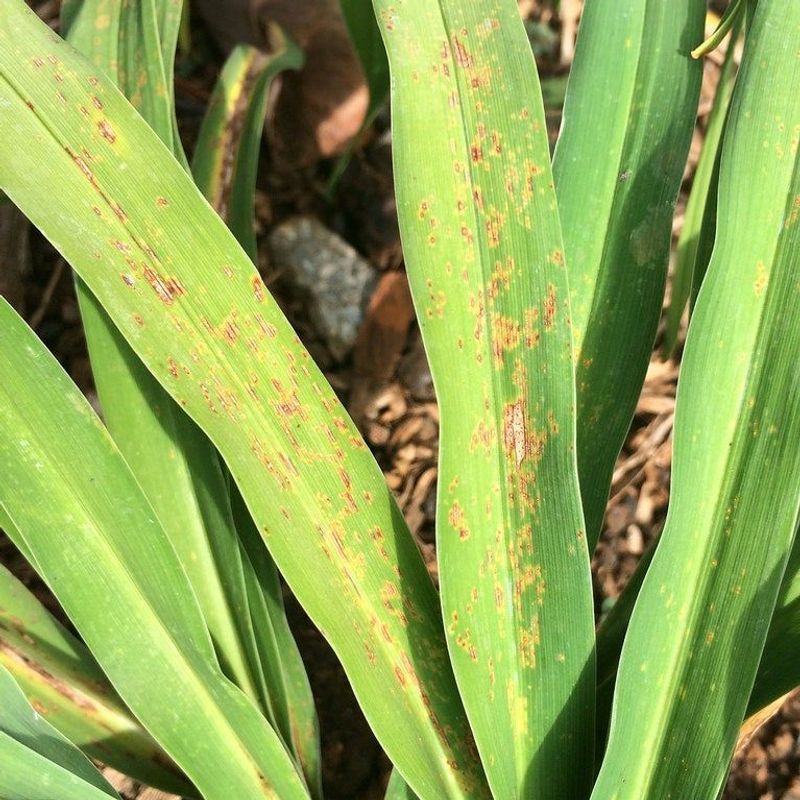
Ever brushed against a daylily and found orange dust on your pants? That powdery stuff is likely daylily rust, a fungus first reported in the United States around 2000.
Rust spreads through tiny spores carried by wind, water, and even your hands.
In colder states, frost often knocks back infected leaves. In south Georgia and along the coast, though, foliage may stay partly green through winter, giving the fungus a place to persist.
Cutting and removing old leaves now reduces the amount of rust ready to spread when spring warms up. Gardeners who skip this step often see the disease show up earlier and heavier the following season.
Other troubles leave clues too. Leaf streak shows as yellow stripes with brown centers along the leaf middle.
Leaf spot leaves small tan or brown patches.
If you notice these signs, cut those plants last so you do not carry spores into healthy clumps. Clean your tools afterward.
Some cultivars are naturally more resistant to rust than others. When shopping for new daylilies, ask your nursery about resistant choices.
That one question can spare you plenty of trouble down the road.
5. Evergreen Daylilies in Georgia Need a Lighter Touch
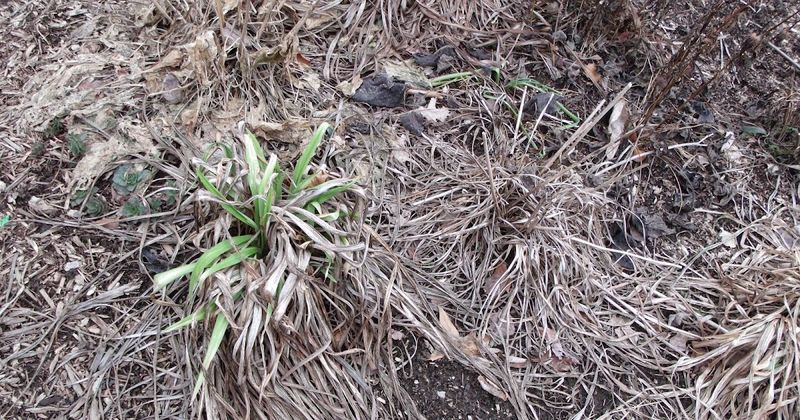
Not every daylily goes to sleep the same way. Breeders sort them into dormant, semi-evergreen, and evergreen types, and each behaves a little differently in winter.
Dormant types lose their leaves after frost and rest underground. These are the ones that benefit most from a full cutback.
Evergreen and semi-evergreen types often hold onto some green leaves through mild winters, especially in middle and south Georgia. Shearing every green blade off these plants is unnecessary.
Instead, pull or snip away only the brown, yellow, or damaged leaves.
A gentle tug usually removes a fully browned outer leaf. If it resists, use shears so you do not tear the crown.
How do you know which type you have? Check the plant tag, look up the cultivar name online, or simply watch what happens after your first frost.
Clumps that stay partly green are likely evergreen or semi-evergreen.
Gardeners in the north Georgia mountains see colder nights and more frost, so even evergreen types may brown out more there. Adjust your cleanup to what your plants actually look like instead of following a calendar alone.
6. Fresh Mulch Around New Daylily Divisions Helps Roots Settle
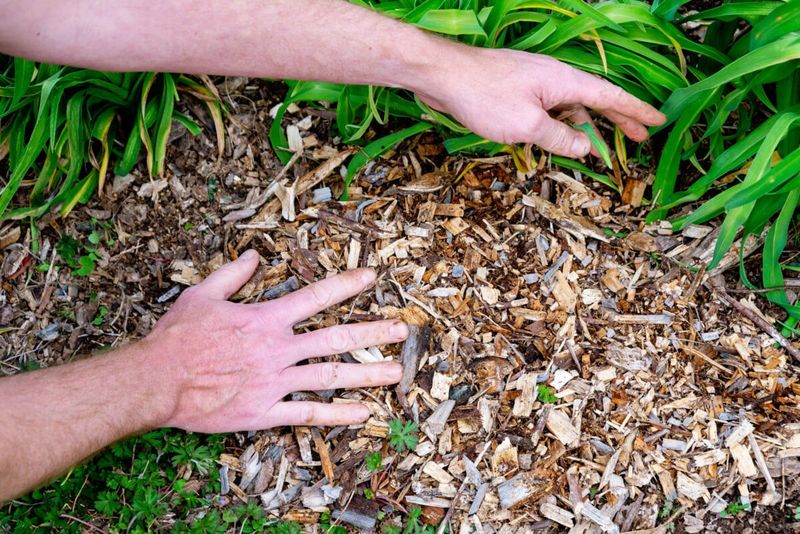
Did you divide or plant daylilies this fall? Those youngsters have not had time to grow deep roots, and a little cover goes a long way.
Spread about 2 to 3 inches of mulch around the base after your cleanup.
Pine straw is a classic choice across the South, and shredded leaves or fine bark work well too.
Mulch helps even out soil temperatures when warm days and cold nights swing back and forth. Those swings can push young plants slightly out of the ground, a problem called frost heaving, which exposes roots to drying air.
Keep the mulch a couple of inches away from the crown itself. Piling it right against the plant traps moisture and can encourage rot or give slugs a fresh hiding place, which undoes your hard work.
Established clumps usually do fine without extra winter mulch in most of the state. Daylilies are hardy across Georgia’s zones, roughly 7a in the mountains to 9a near the coast.
Fall is also a fine time to check soil moisture. If November turns dry, water new divisions deeply once a week until regular rain returns.
7. Potted Daylilies Appreciate a Sheltered Winter Spot
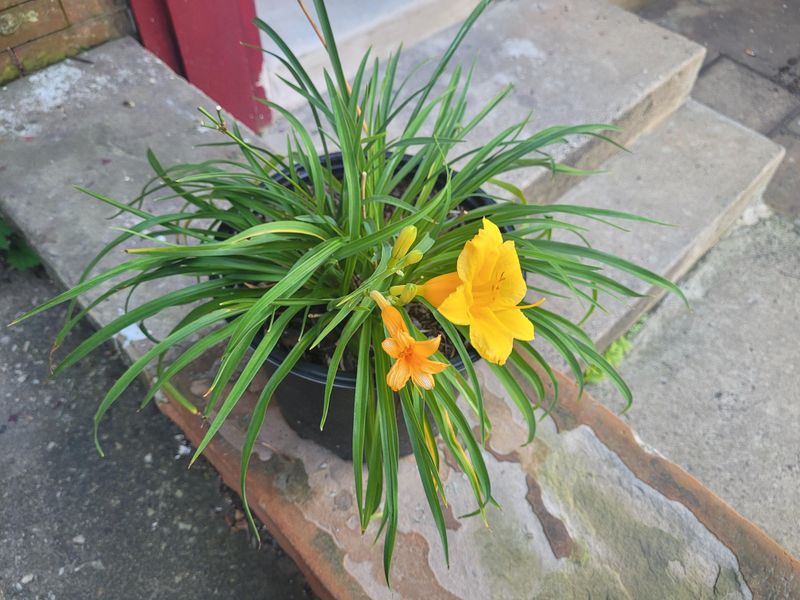
Container daylilies live a tougher life in winter than their in-ground cousins. Soil in a pot can chill fast because cold air hits it from every side.
Trim and clean potted plants the same way you would garden clumps. Then think about location before the coldest nights arrive, which usually happens in December and January across much of the state.
Grouping pots together against a south-facing wall gives them shared warmth and some wind protection.
An unheated garage or shed also works during hard freezes, as long as you move them back outside when the weather eases.
Water sparingly through winter. Dormant roots need a bit of moisture, not soggy soil, so check every couple of weeks and water only when the top few inches feel dry.
Terracotta pots can crack when wet soil freezes and expands. Plastic, resin, or thick glazed containers usually handle cold snaps better.
A fun bit of trivia: the genus name Hemerocallis comes from Greek words meaning beauty and day. That fits nicely, since a well-protected potted daylily will reward you with fresh flowers each day come summer.
8. A Tidy Daylily Bed Now Helps Protect Next Summer’s Blooms
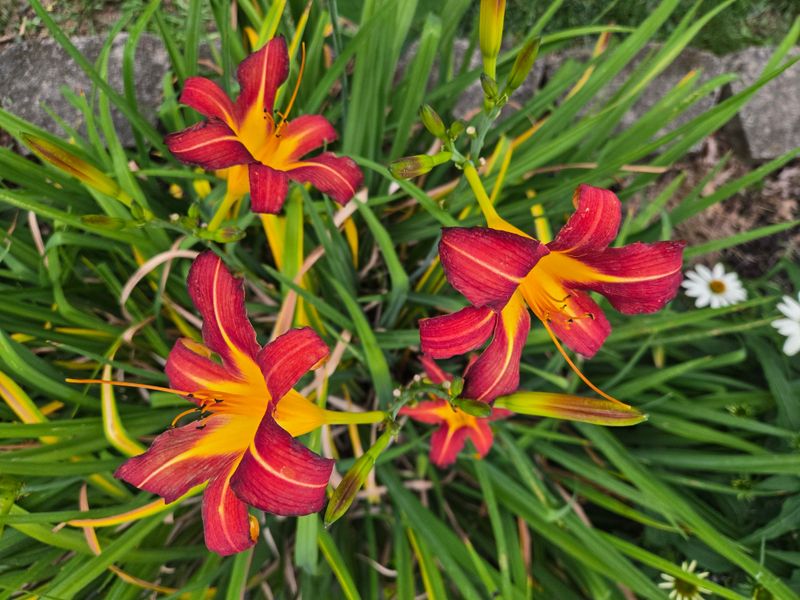
Spring has a way of rewarding the gardeners who did a little homework in fall. A cleared daylily bed is one of the easiest wins you can give yourself.
With old foliage gone, new shoots push up into sunlight and fresh air instead of a damp tangle. Better airflow keeps leaves drier, and drier leaves are less welcoming to fungal problems.
Before you hang up your shears, jot down a few notes. Mark which clumps showed rust or streaks, which ones looked crowded, and which bloomed poorly.
Crowded clumps usually benefit from dividing every three to five years.
Hold off on fertilizer until new growth appears in spring. Feeding dormant plants mostly feeds weeds and can wash away with winter rains.
Keep an eye out for slugs on mild, rainy nights in late winter. A quick evening check with a flashlight tells you a lot.
I believe the best part of this chore is how little it asks. An afternoon with shears, a rake, and a bag helps prepare your daylilies for healthy growth and summer flowers.
Your Georgia daylilies will thank you with stronger fans and plenty of those one-day wonders next summer.