Gravel Gardens Are The Low-Maintenance Trend New York Gardeners Are Building This Fall
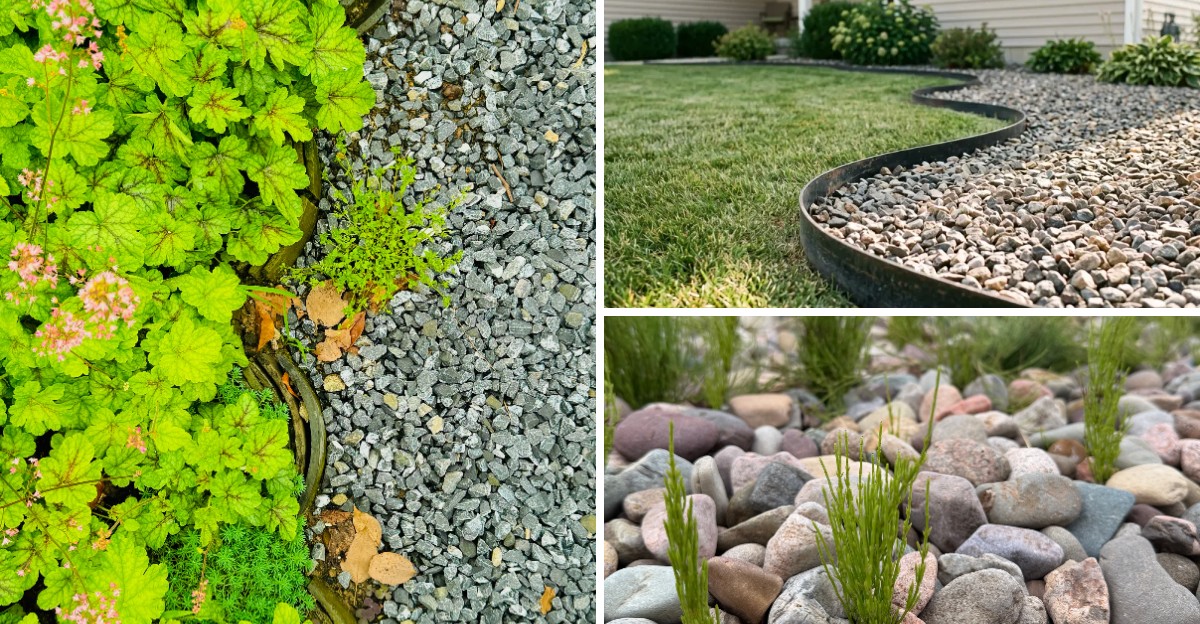
Some of the toughest gardens in England have gone without a single drop of hose water for decades. Beth Chatto famously planted one on an old parking lot in Essex in 1991, and she chose not to irrigate it after planting.
That story stuck with me. A dry, stony patch turned into a sea of grasses, sedums, and flowers that bees adore.
Upstate, Cornell Botanic Gardens has been testing a similar idea in New York conditions, with native plants doing surprisingly well.
I love a garden that forgives a busy week. You probably do too, especially after a summer of dragging hoses and pulling weeds in the heat.
Fall gives you cooler days, softer soil, and steady rain.
So what makes a pile of small stones such a friendly home for plants? The answer is simpler than you might expect, and the timing could not be better.
That Crunchy Stone Mulch Is Doing More Work Than You Realize
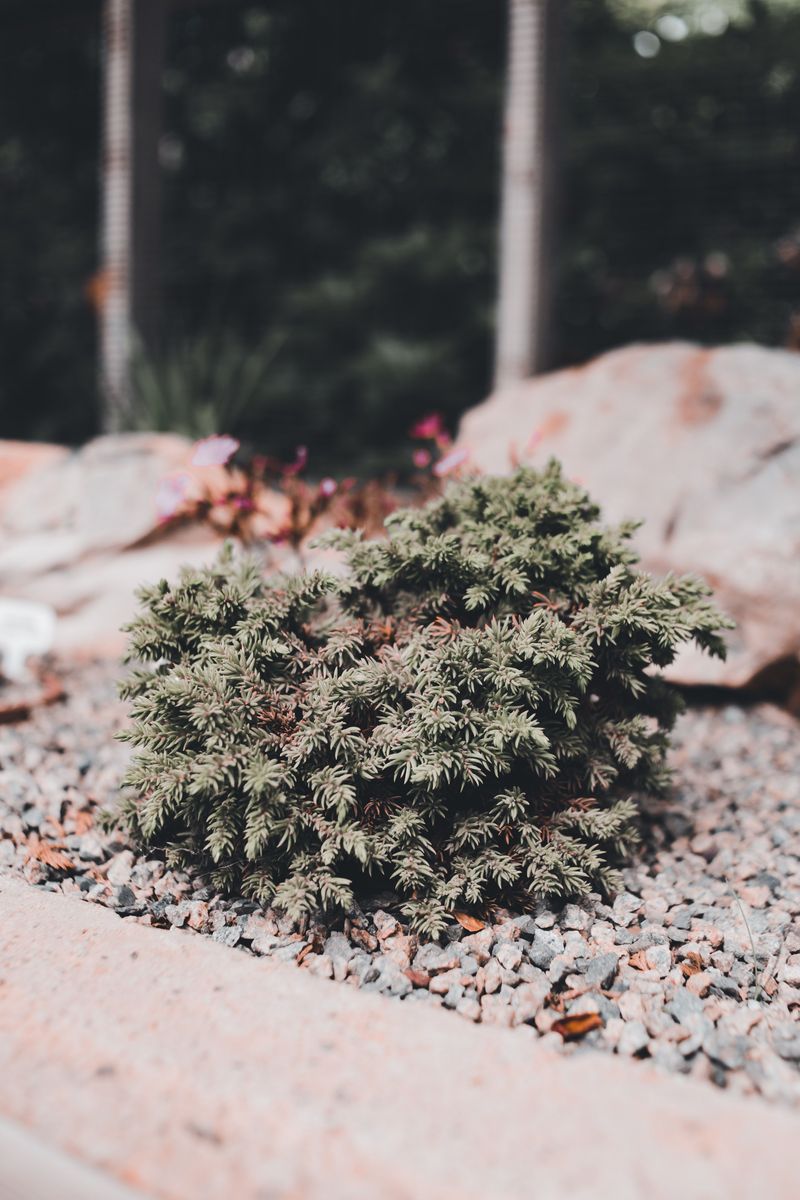
Gravel looks plain, but it acts like a quiet helper. A gravel garden is a planting bed where a few inches of small stone replaces bark mulch or bare soil.
That stone layer shades the soil and slows evaporation. Rain trickles down fast, so roots stay moist below while plant crowns stay dry on top.
Many drought-tolerant perennials hate wet crowns, so they thrive in this setup.
Weeds also have a harder time. Most weed seeds need contact with soil and steady moisture near the surface to sprout.
Loose, dry gravel gives them a poor bed, so fewer pop up.
I find the biggest perk is time. Once plants settle in, you water rarely, skip most fertilizer, and spend more time enjoying the bed than tending it.
Plants in gravel gardens also tend to stay sturdy. Lean conditions keep growth compact, so tall flowers flop less often than they do in rich, heavily fed soil.
Fun fact for you. Garden designer Beth Chatto built her famous gravel garden on a former parking lot in 1991, then chose not to water it after planting.
It still blooms today, a living test of how well the idea works.
So that crunchy layer underfoot is not just decoration. It is the engine behind the whole low-effort system.
Fall Planting Gives Gravel Garden Perennials A Head Start
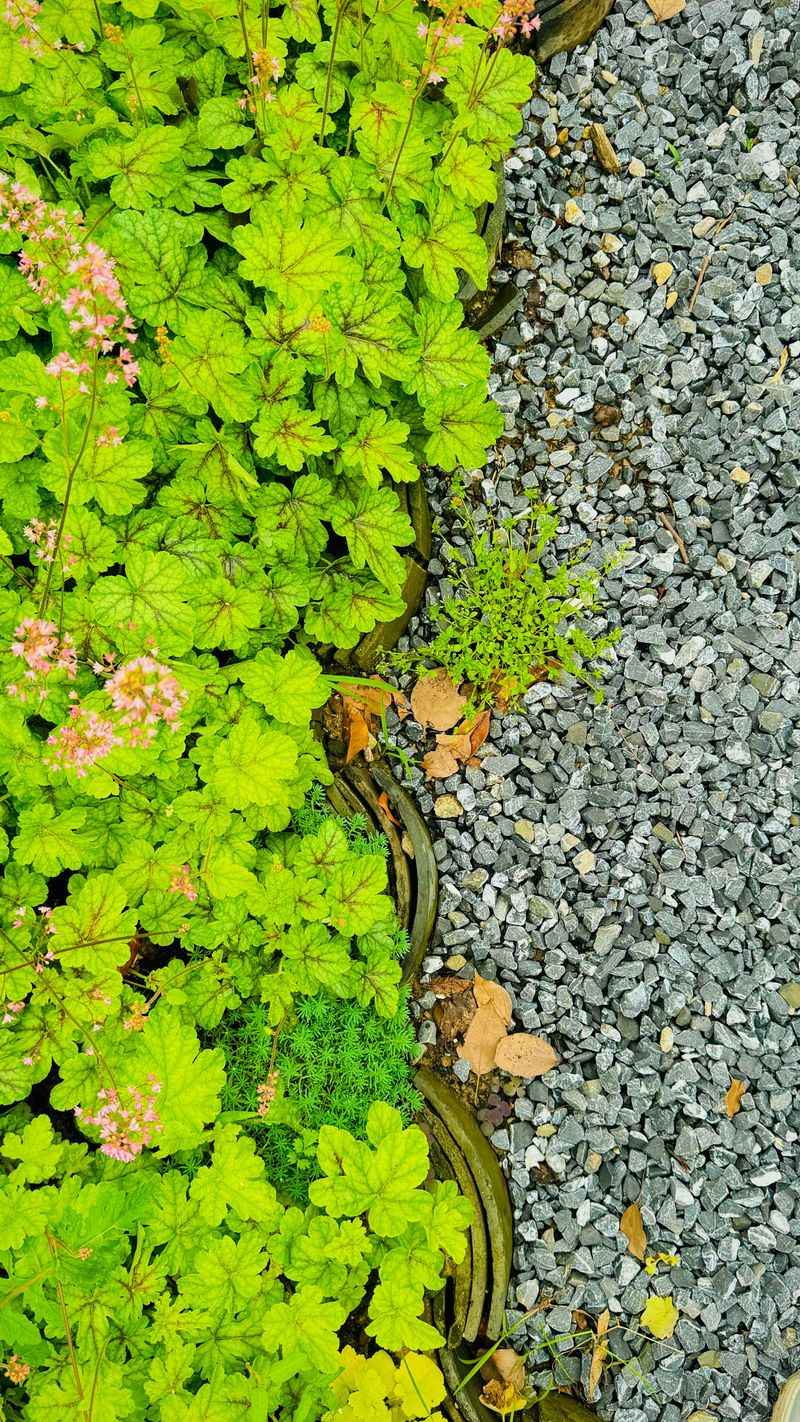
Autumn is a sweet spot for new beds. Soil holds summer warmth, air turns cool, and rain shows up more regularly across New York.
Roots keep growing in warm soil even as top growth slows. That means your new plants spend fall building anchors instead of pushing out leaves.
Come spring, they wake up ready to grow.
Timing matters by region. The state spans USDA zones 4a in the Adirondacks to 7b around New York City and Long Island.
Aim to plant perennials about six weeks before the ground freezes.
For the North Country and higher elevations, that often means early to mid-September. The Hudson Valley and central areas usually have until early October.
Your New York Garden Changes Every Week. Your Plan Should Too.
Gardening in New York changes quickly throughout the season. Every Friday you’ll receive a simple weekly plan showing exactly what to plant, prune, fertilize, harvest, and protect so you never miss the right timing.
Down near the coast, you can often plant into mid or late October.
Personally, I would rather build in fall than in a sticky July heat wave. Digging and hauling stone is much easier when the air is crisp.
Water new plants deeply once or twice a week until the ground freezes if rain is scarce. Gravel gardens are low-water later, not on day one.
Late arrivals still have options. If frost catches you, build the bed structure now and plant in early spring.
Building The Gravel Bed Starts With Digging And Edging
Good prep makes the rest easy. Start by clearing the spot of grass, weeds, and roots, since anything left behind will try to come back through the stone.
Pick a sunny site. Most gravel garden plants want at least six hours of direct sun.
Next, check your drainage. Heavy clay, common in parts of western and central New York, can hold water under the gravel.
Loosening the soil and mixing in some grit or fine crushed stone helps water move down.
Many designers skip compost or use only a thin layer. Rich soil can feed weeds and make drought plants floppy, so lean is usually better.
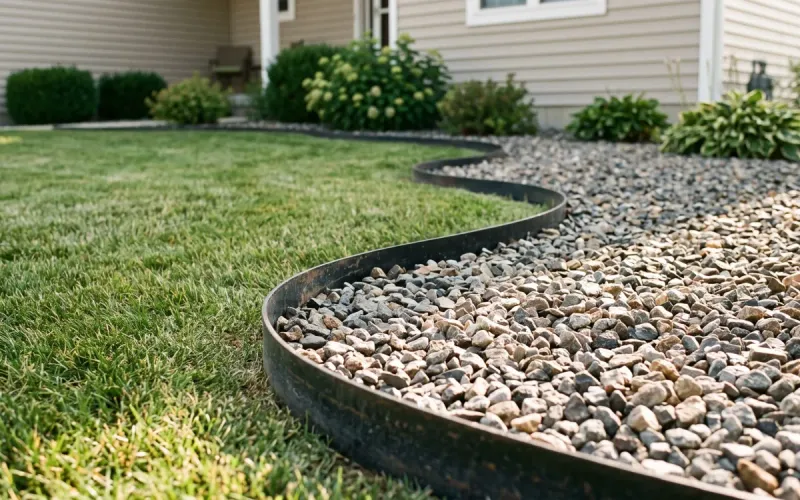
Edging keeps everything tidy. Steel, stone, or brick borders set a few inches deep stop gravel from wandering into your lawn.
Choose angular crushed stone about a quarter to three-eighths of an inch. It locks together better than smooth pea gravel, which tends to roll underfoot.
Spread it two to four inches deep around plants.
Landscape fabric is up to you. Some guides suggest it, but it blocks self-seeding flowers and often lets weeds root on top as debris collects.
Many gravel gardeners prefer plain stone over soil.
Set plants first, then add gravel around them.
Little Bluestem And Coneflowers Love Lean, Stony Ground
Native plants steal the show here. Many New York natives grew up in sandy, rocky, or dry meadows, so stony beds feel like home.
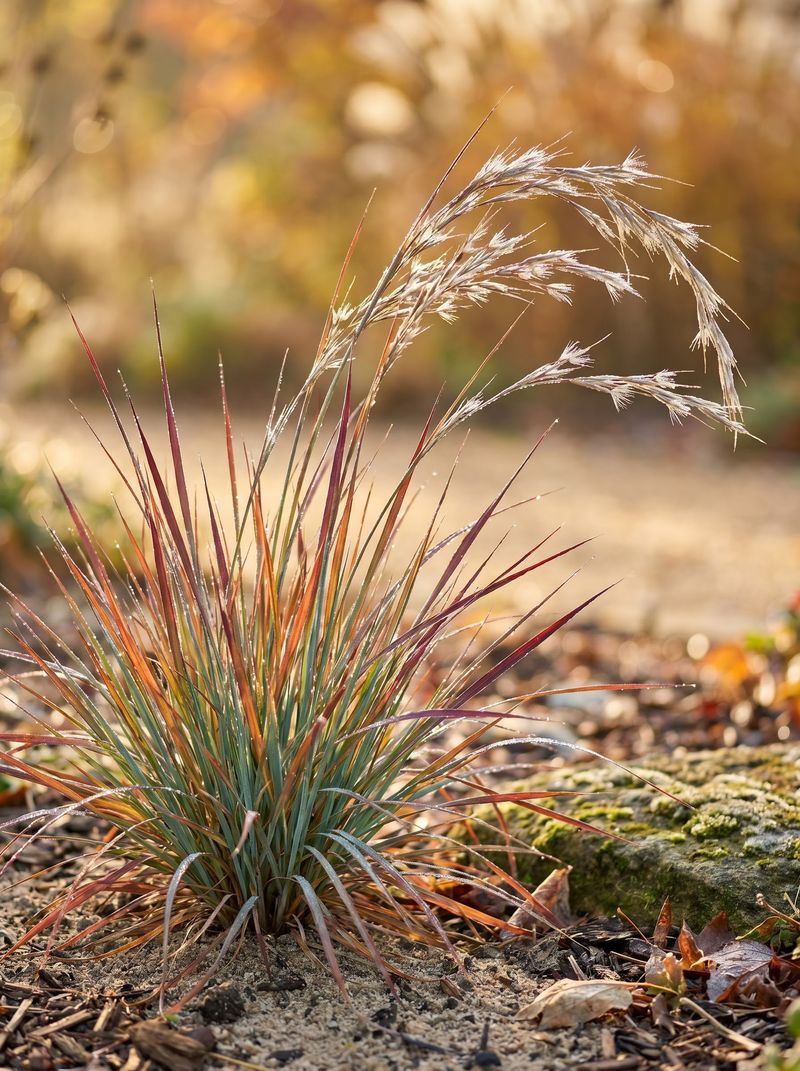
Little bluestem is a favorite of mine. Its blue-green summer blades turn coppery orange in fall and hold color into winter.
Deep roots help it shrug off dry spells.
Purple coneflower adds bold summer blooms. Leave the seed heads standing, and goldfinches will visit for snacks.
Black-eyed Susan brings cheerful gold petals, while butterfly weed offers bright orange flowers and leaves that monarch caterpillars depend on. Butterfly weed has a long taproot, so plant it where you want it to stay.
Cornell Botanic Gardens found that even wild bergamot, a bee balm, does well in their gravel garden. Other good choices include prairie dropseed, wild columbine, and lanceleaf coreopsis.
Some well-behaved non-natives fit too. Catmint, lavender, and many sedums handle dry stone beautifully in sunny spots.
Skip anything invasive. Check the New York State prohibited and regulated invasive species list before buying unfamiliar plants.
Small plugs often work better than big potted plants. Their roots adapt faster to lean conditions.
Mix heights and bloom times. That way your bed stays interesting from late spring through winter.
Bees And Butterflies Will Find Your Gravel Garden Fast
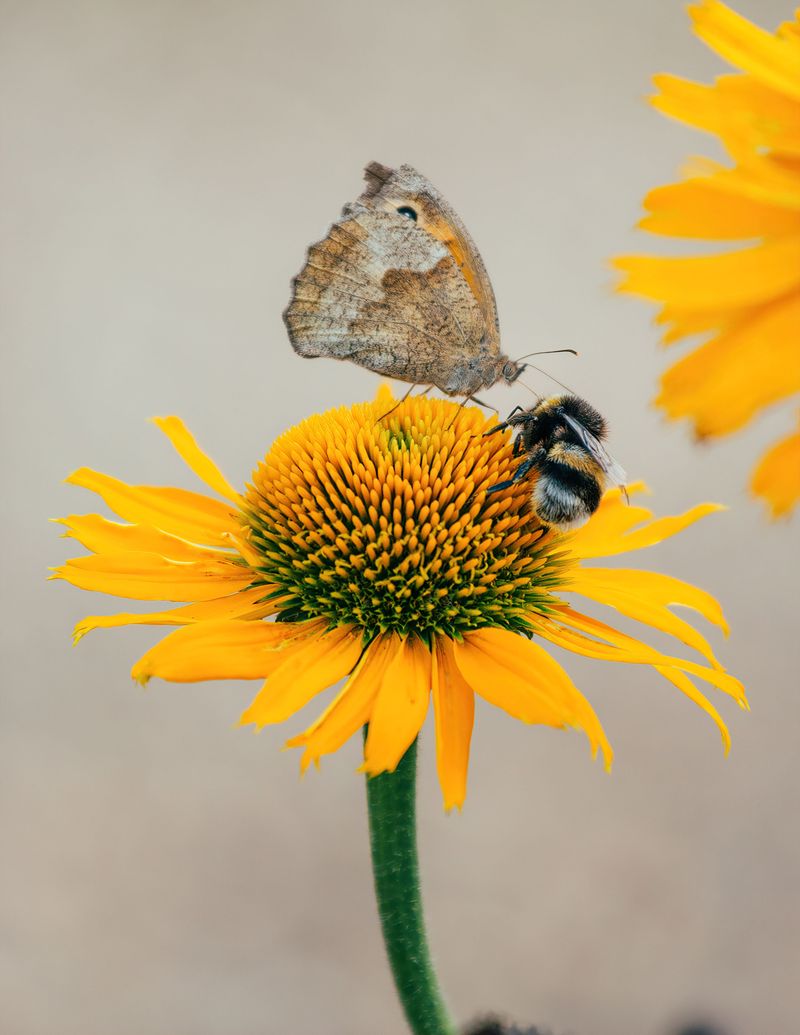
Stone and life go together better than you might guess. Many folks expect a gravel garden to look harsh, but a planted one buzzes all summer.
Native flowers feed native insects. Bumblebees crowd wild bergamot, monarchs lay eggs on butterfly weed, and small native bees work coneflowers for hours.
Bare patches of warm soil and gravel matter too. Roughly 70 percent of native bee species nest in the ground, and sunny, open spots suit many of them.
Birds join the party in fall and winter. Seed heads on coneflowers, black-eyed Susans, and grasses offer food when other sources run low.
I always recommend leaving stems standing until spring. Some insects overwinter inside hollow stems, and the frosty seed heads look lovely in snow.
Skip pesticides here. A balanced bed usually attracts enough helpful predators, like ladybugs and lacewings, to keep pests in check.
Gravel gardens also help your local watershed. Less watering, no fertilizer runoff, and fewer chemicals all add up.
A shallow dish of water with a few pebbles gives bees a safe place to sip on hot days. It is a small touch with a big payoff.
Your stony bed becomes a tiny meadow. Wildlife notices quickly.
Watering New Gravel Plantings Takes Patience At First
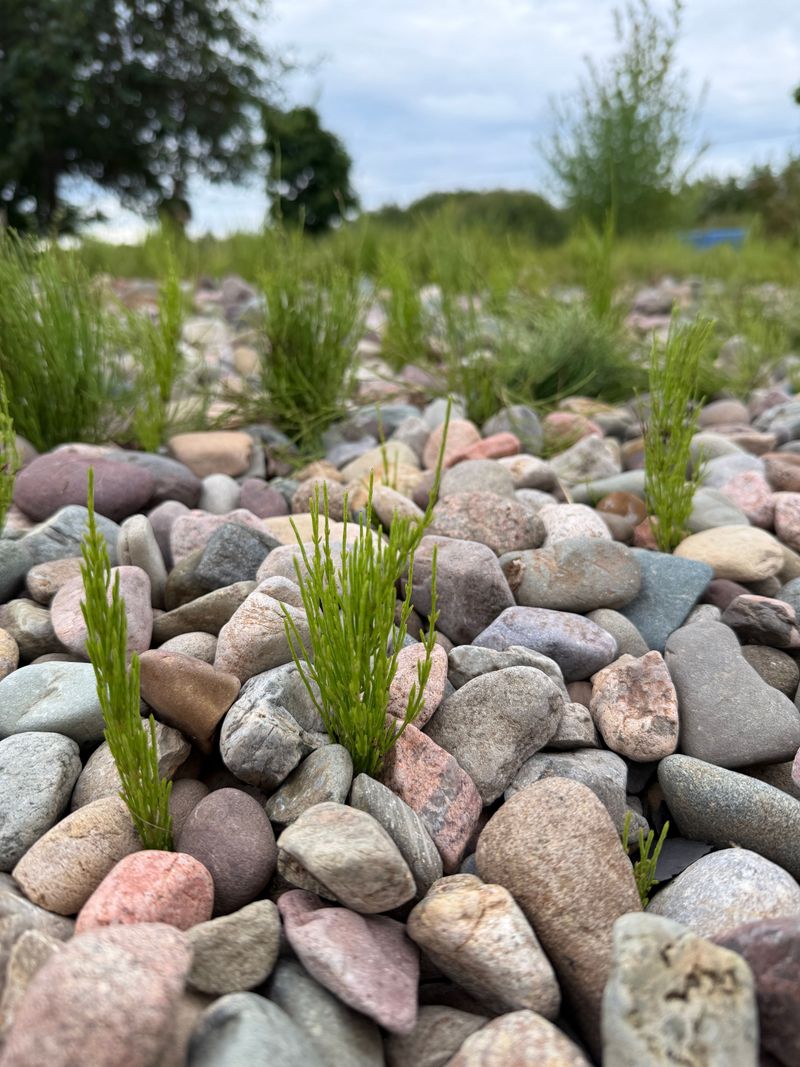
Low-water does not mean no water right away. New plants need help while their roots reach down into the soil below the stone.
For the first few weeks, check soil under the gravel with your finger. If it feels dry an inch or two down, give each plant a slow, deep soak.
Deep watering beats light sprinkling. A good soak pulls roots downward, where moisture lasts longer.
Fall usually makes this easy. Cooler air and regular rain often handle much of the job, so watch the weather and adjust.
Stop watering once the ground freezes. Wet, cold roots can rot, especially in heavy soil.
Next spring and summer, water during long dry spells in the first season. By the second year, most established plants manage on rainfall alone, except in a serious drought.
Here is a little trick I like. Sink a short piece of pipe or an upside-down bottle near new shrubs, then fill it so water goes straight to the roots.
Avoid overwatering. Yellow leaves and mushy stems usually mean too much moisture, not too little.
Patience pays off. A little care now builds a bed that takes care of itself later.
Fallen Leaves On Gravel Can Invite Weeds Back
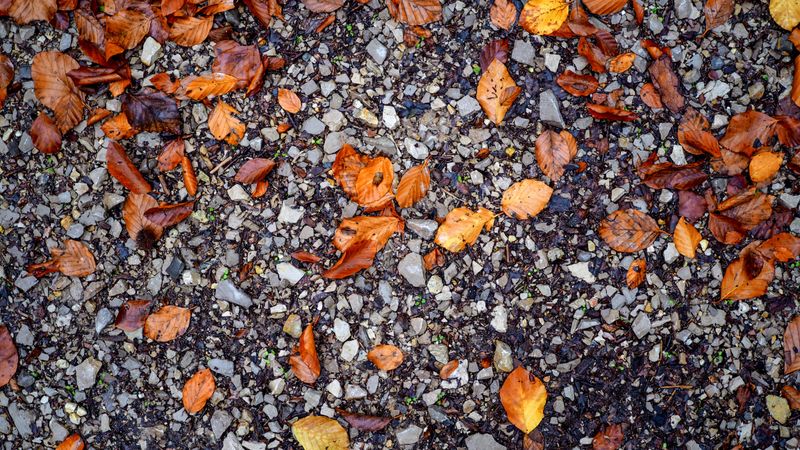
Autumn leaves look pretty, yet they cause trouble on gravel. As they break down, they create a thin layer of soil right on top of the stone.
Weed seeds love that layer. Before long, dandelions and grass start sprouting where you least want them.
A leaf blower on a low setting works well. A flexible leaf rake also helps if you use a light touch to avoid scattering stones.
Spring cleanup matters too. Cut back last year’s stems in late spring once temperatures warm, then clear the debris.
Pull weeds while they are small. Roots slip out of loose gravel far more easily than out of packed soil.
Watch for self-seeding plants. Coneflowers and black-eyed Susans often scatter babies around, which I love, but thin them if they crowd paths.
Every few years, top off thin spots with fresh gravel. Stone slowly settles or gets kicked around.
Avoid road salt near the bed in winter. Salt can harm roots and soil, so use sand on nearby walkways instead.
Snow is fine. It insulates plants and melts slowly into the soil.
A short cleanup twice a year is mostly all you need. That is a trade most gardeners happily accept.
Start Small With A Sunny Gravel Strip This Weekend
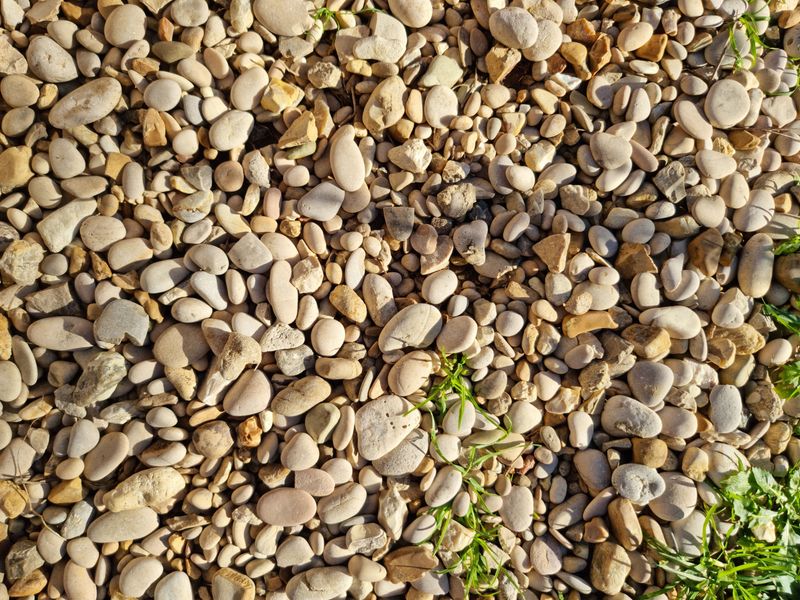
Big projects can feel scary. Luckily, a gravel garden works beautifully at a small scale.
Look for a hot, dry spot that struggles now. Strips along driveways, curbs, and south-facing walls are perfect, since lawn often looks thin there anyway.
A ten-by-four-foot bed is a manageable first try. You can dig it in an afternoon and plant a dozen plugs.
Sketch a simple plan first. Place grasses as the backbone, then tuck flowers and low sedums between them.
Visit a native plant sale or a local nursery. Many nurseries and Cornell Cooperative Extension offices offer advice suited to your county.
Call 811 a few days before you start digging. It is free and helps you avoid buried utility lines.
Take photos along the way. Watching a bare strip fill in over a year or two is one of the most satisfying things in gardening.
I truly believe you will want more once you see it work. Many gardeners expand their beds a little each fall.
Fewer weeds, less watering, and more butterflies sound like a great deal. Grab a shovel, pick a sunny spot, and let the stones do the heavy lifting.