Grew Ginger or Turmeric This Year in North Carolina? Here’s How to Keep the Rhizomes Through Winter
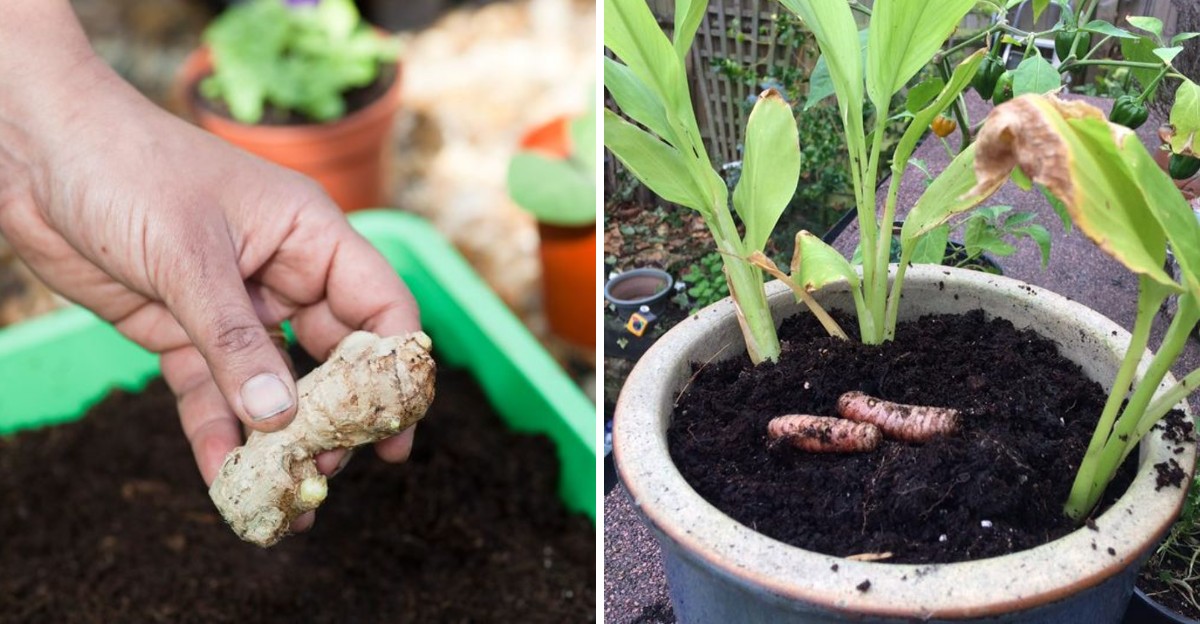
A single knobby root from the grocery store can turn into a waist-high, leafy plant by September. I still grin about that. These spice-producing roots hail from the tropics, yet they grow surprisingly well in a hot Southern summer.
The catch arrives with the first frost. Freezing soil turns these juicy roots to mush, and a whole season of growth can vanish in one cold snap. That thought makes me wince.
In North Carolina, the mountains, Piedmont, and coast each bring their own winter moods. Coastal gardeners sometimes get away with leaving roots in the ground. Folks near Boone rarely do.
Personally, I love tucking my harvest away each fall and replanting it in spring. It feels like a free garden refill.
1. Yellowing Ginger Leaves Are Sending You A Signal
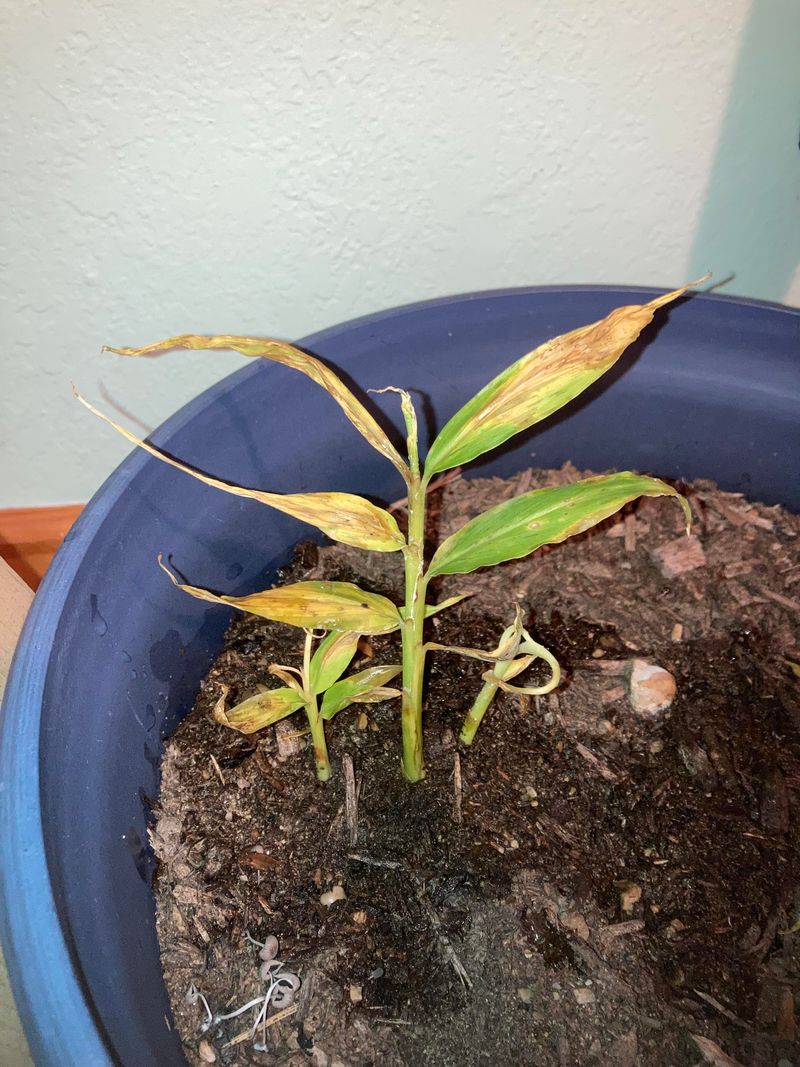
Late in the fall, my ginger patch starts looking tired. The tall green stalks fade to yellow, then tan, and the leaves flop over like sleepy kids after a long day.
That fading is normal. Ginger and turmeric are tender perennials from warm tropical regions, and shorter days plus cooler nights push them toward rest.
The plant pulls energy back into the underground rhizomes, which are the thick, knobby stems you actually eat and replant.
Across much of North Carolina, the first frost shows up somewhere between early October in the mountains and mid-November along the coast.
You want to act before soil temperatures drop hard. A light frost that browns the leaves is fine, but a deep freeze can turn rhizomes soft and watery. Watch the weather forecast closely once nights dip into the 40s.
When the foliage has mostly yellowed or the first frost has nipped the tops, it is time to plan your harvest. Waiting a few extra weeks rarely adds size, since growth slows a lot in cool weather.
Keep a trowel and a sturdy digging fork handy so you can move fast. Catching that signal at the right time sets up everything that follows.
2. Lift Turmeric Rhizomes Gently With A Digging Fork
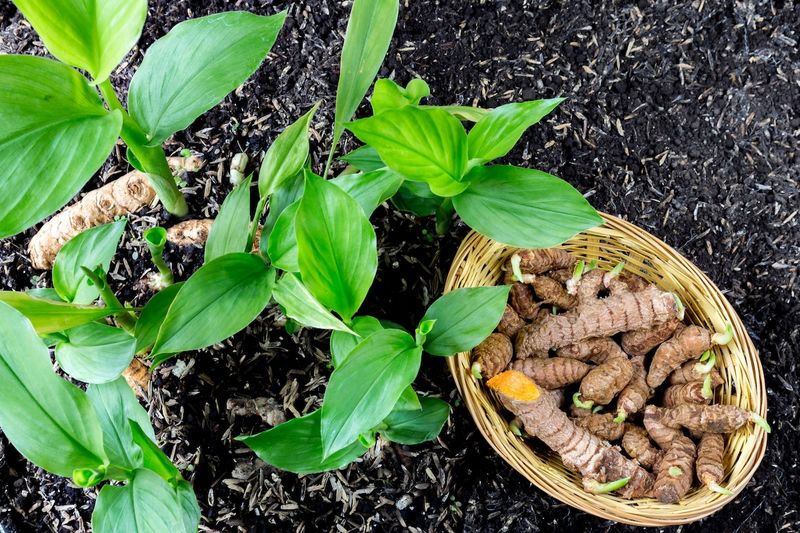
Turmeric clumps can surprise you. One small piece planted in spring often turns into a tangled cluster the size of a softball, packed with bright orange fingers.
Start by cutting the stems back to a few inches tall. That gives you a handle to guide the clump without tearing it. Then push a digging fork into the soil about 8 to 10 inches away from the base, and gently rock it back and forth.
Work your way around the plant in a circle. Ginger and turmeric grow mostly sideways near the surface, so stabbing straight down beside the stems often slices right through the best pieces. Patience pays off here.
Once the soil loosens, lift the whole clump and shake off the loose dirt. In heavy Piedmont red clay, you may need to soak the clump in a bucket of water for a few minutes so the soil slides away easily.
Set aside any pieces with cuts or bruises for the kitchen right away. Damaged spots invite rot during storage, so only firm, unbroken sections should go into your winter stash. Fresh turmeric stains hands and clothes, so gloves are a smart move.
3. Clean Ginger Roots Need A Few Days To Cure

Moisture is the sneaky enemy of stored rhizomes. A piece that goes into a box damp can grow fuzzy mold within weeks.
After washing your harvest, inspect every piece. Snip away soft spots, dark patches, or shriveled bits using clean pruners. A quick wipe of the blades with rubbing alcohol between cuts helps keep any problems from spreading.
Next comes curing, which simply means letting the skins dry and toughen. Spread the rhizomes in a single layer on a wire rack, screen, or newspaper. Pick a shady, airy spot like a garage, covered porch, or spare room with a fan running.
Give them several days, sometimes up to a week, depending on humidity. Coastal homes often need a little longer because the air stays damp. You will know they are ready when the outer skin feels dry and papery and any cut ends have sealed over.
Avoid direct sun during this step. Strong sunlight can overheat and shrivel the pieces instead of gently drying them. I like flipping mine once a day. It takes ten seconds, and it helps every side dry evenly before storage.
4. Cool, Dark Storage Spots Keep Dormant Rhizomes Happy
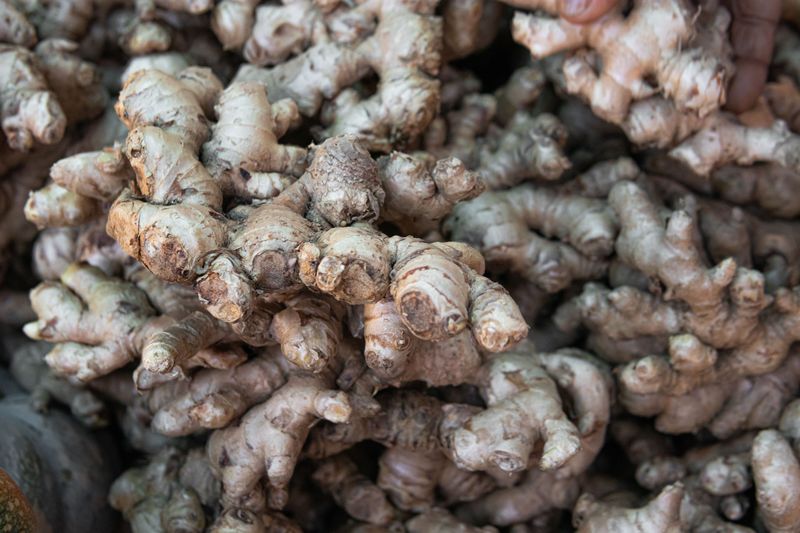
Finding the right winter hideout is a bit like choosing a spot for a nap. You want it cool, dark, and quiet, but not freezing.
Most growers aim for roughly 50 to 60 degrees Fahrenheit. Turmeric in particular dislikes temperatures much below 50, and both crops can suffer chill injury in a cold garage. Freezing temperatures are a definite no.
Good options include an interior closet, a cool basement, a pantry along an outside wall, or the floor of a spare bedroom where the heat stays low. Avoid spots next to furnaces, water heaters, or sunny windows.
Warmth and light can wake the rhizomes up too early, and pale sprouts in January rarely do well.
Many homes in North Carolina have crawl spaces rather than basements, and those can get damp. If you use one, check the humidity often and keep the rhizomes off the ground.
A cheap indoor thermometer helps a lot. Place it right beside your storage box for a week before you commit. Once you find a steady spot, write it down. Next fall, the whole job goes much faster.
5. Pack Your Ginger In Peat Moss Or Dry Sand
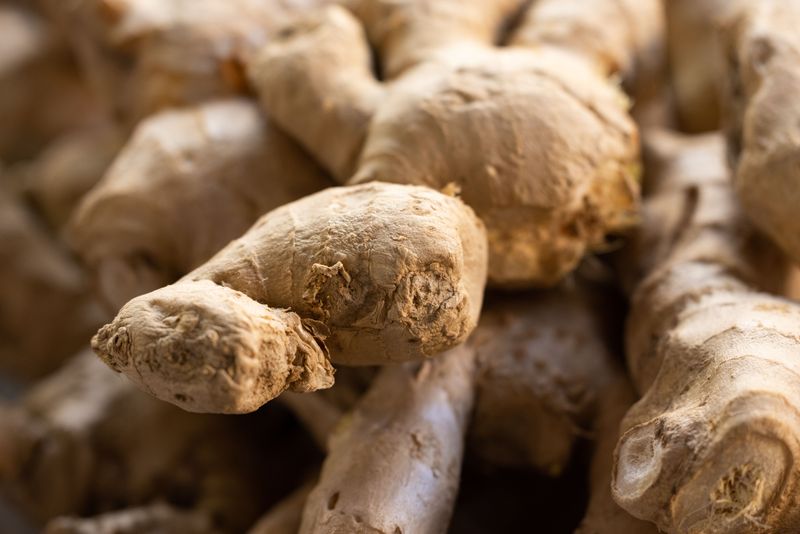
Some old-time gardeners swear by sawdust. Others reach for dry sand or peat moss. Honestly, all three work well when they are dry and the container breathes.
Packing material acts like a cozy blanket. It holds just enough humidity to keep rhizomes from shriveling while buffering them against small temperature swings.
Start with a cardboard box, wooden crate, or paper bag. Add a layer of your chosen material, then set the rhizomes on top so they do not touch each other. Cover them, add another layer of pieces, and finish with a final blanket on top.
Keeping pieces separated matters. If one rhizome starts to rot, the problem is less likely to spread to its neighbors.
Skip sealed plastic tubs and zip-top bags. Trapped moisture builds up fast, and that leads to mold and mushy roots. If you prefer coir over peat for environmental reasons, coconut fiber works nicely too.
Label each box with the date and whether it holds ginger or turmeric. The skins look surprisingly alike after months in storage, and that label saves a lot of guessing come spring.
6. Potted Turmeric Can Simply Move Indoors
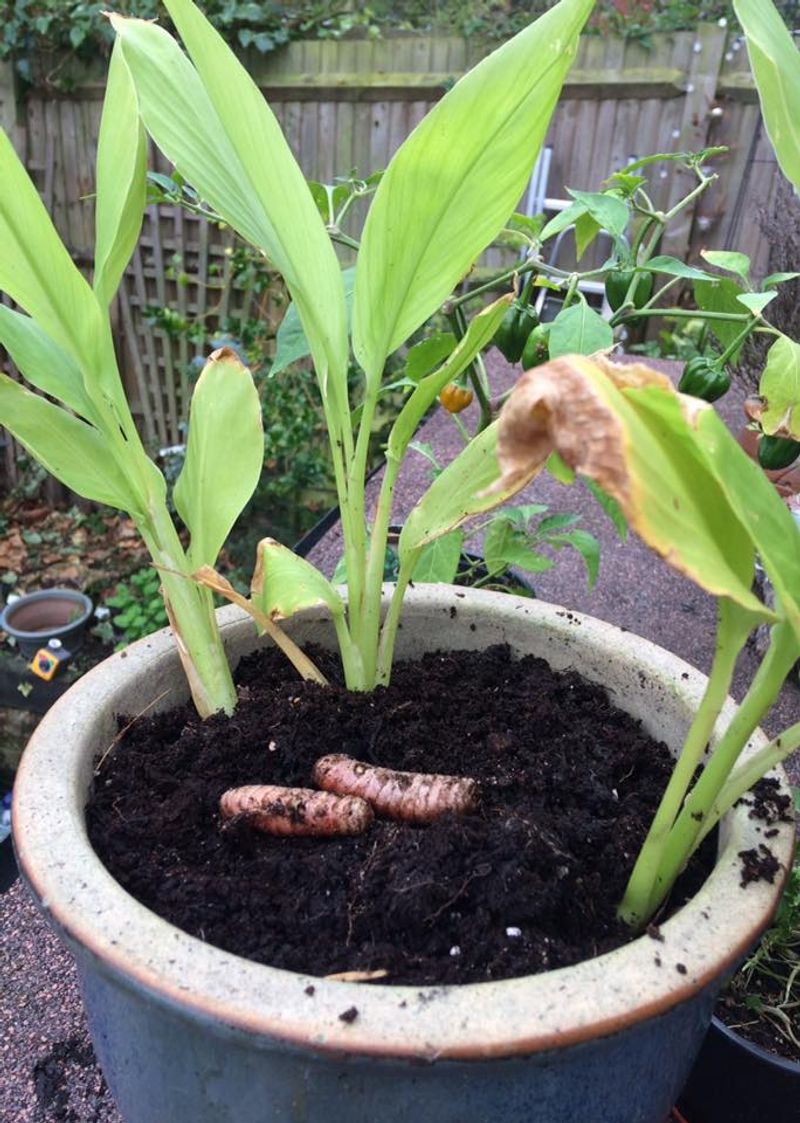
Container growers get the easy road. If your ginger or turmeric lives in a pot, you can skip digging entirely.
Once nights start dropping into the 50s, roll or carry the pot indoors. A garage that stays above freezing may work for ginger, though turmeric prefers a slightly warmer room. Cut the yellowed stems back to a few inches tall once they have faded.
Then cut way back on water. The plants are resting, and soggy soil without active roots is a recipe for rot. Many gardeners give just a small splash every few weeks so the rhizomes do not dry into hard little sticks.
Some folks keep their potted ginger growing as a houseplant near a bright window. That can work, but growth stays slow in winter light, and spider mites sometimes move in. Letting the plant go dormant is usually less fuss.
Grab a pot with drainage holes if you are planning ahead for next year. A wide, shallow container suits these sideways-growing roots better than a deep, narrow one. Mark the pot with a plant tag. A bare pot of soil gets mistaken for empty surprisingly often.
7. Coastal Gardeners Can Sometimes Mulch Ginger In Place
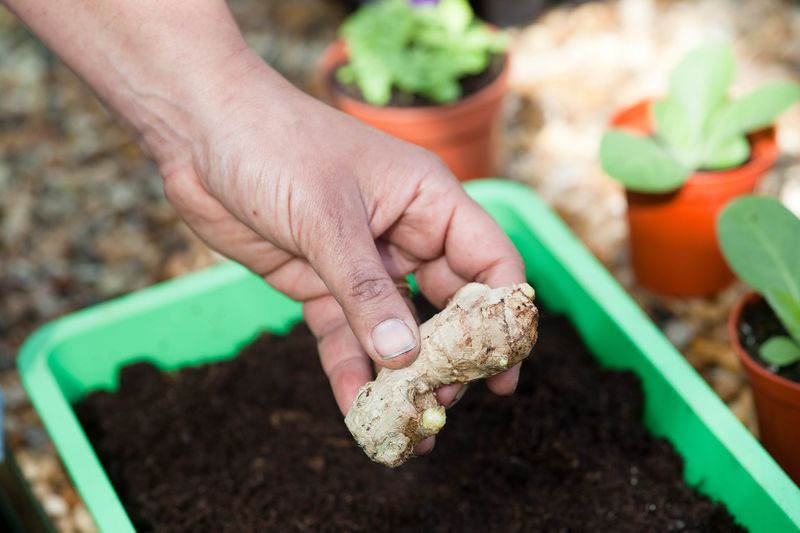
Down near Wilmington and the Outer Banks, winters run milder, mostly USDA zone 8b. That opens a door that inland gardeners rarely get.
Some coastal growers leave ginger in the ground and pile on 6 to 12 inches of shredded leaves or straw after the tops fade. The mulch insulates the soil and can carry rhizomes through light freezes. Turmeric is a bit fussier and more likely to struggle.
Drainage makes or breaks this approach. Cold, wet soil causes more losses than cold alone. Sandy coastal beds or raised beds give you the best odds, while low spots that hold rainwater are risky.
Even then, treat it as an experiment. A hard freeze like the ones that occasionally sweep the Southeast can still reach the roots. Many growers hedge their bets by digging a few pieces to store indoors and leaving the rest under mulch.
In the Piedmont and mountains, colder and longer winters make in-ground overwintering a gamble. Digging and storing is the safer plan there.
Pull the mulch back gradually in spring. The soil warms faster, and new shoots can find the sunlight.
8. Sprouting Ginger Buds Mean Spring Planting Is Close
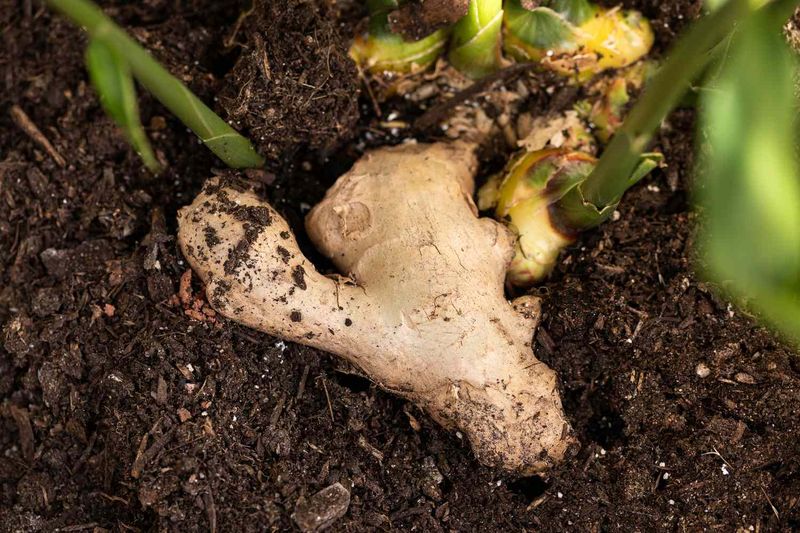
Checking stored rhizomes once a month turns into a fun little ritual. You lift the lid, poke around, and see who made it through.
Toss any piece that feels mushy or smells sour. Slightly wrinkled rhizomes are usually fine, and a light misting of the packing material can help if most of them look shriveled.
By late winter, you might spot tiny pink or green buds forming. That is your cue to start waking them up. Many gardeners pot the pieces indoors in March or April, buds facing up, in moist potting mix around 70 to 80 degrees.
A seedling heat mat speeds things along. These crops sprout slowly, sometimes taking several weeks, so do not lose heart. Keep the mix lightly damp, not wet.
Move plants outdoors once nights stay above 50 degrees and the soil feels warm, usually May across much of North Carolina. Mountain gardeners may wait until early June.
Each spring, I keep a few of the plumpest pieces just for replanting. That way, your harvest grows a little bigger every year, and the grocery store becomes optional.