Use These 8 Tips For Growing Peppers In Your Garden And Have The Best Harvest So Far
Sweet or hot, peppers are a true garden treat. They’re perfect for salsa, and who doesn’t love that?
You can crunch them raw, toss them over a grill, or add them to your chicken salad – the options! And don’t get me started on those jalapenos and habaneros!
The great news is that whether you’re higher or lower on the Scoville scale, there are lots of interesting things to learn about growing peppers.
Let’s explore them together!
Pepper Growing Conditions
While growing peppers is easy, there are still some issues that can come up, such as unsuccessful germination, inadequate watering, transplant shock, etc.
And without proper temperatures, your peppers don’t stand a chance.
You have to keep these plants in conditions between 60-90°F, although 70-80°F is ideal.
Therefore, if you live in a cold region, you can always keep them in a greenhouse or a grow room. You can even grow your jalapenos in pots – or any other pepper for that matter.
Pro tip: Be careful about both daytime and nighttime temperatures, making sure the latter is no lower than 50°F. This will give you a bountiful harvest in no time.
Now let’s move onto some other things that can improve your yield.
8 Simple Tips For A High Pepper Yield
There are various types of peppers, but we usually categorize them as hot or sweet. Although it’s true that they have slightly different requirements, they frequently overlap.
So, before getting to the care tips for growing peppers, we first have to learn when to plant them.
These veggies have a long growing season and require plenty of warm days to ripen. That’s why you should start them indoors – unless you live in the far south.
Additionally, hot peppers need even more time to mature, so sowing them directly outside may not be the best option.
Start the seeds indoors about two and a half months before moving them outside. Generally, the best time to transplant peppers outdoors is approximately 2-3 weeks after the last spring frost or whenever the nighttime temperatures no longer drop below 60°F.
I know this involves a bit more planning ahead, but once you see the yield, you’ll be glad you did it!
1. Tip For A Successful Germination
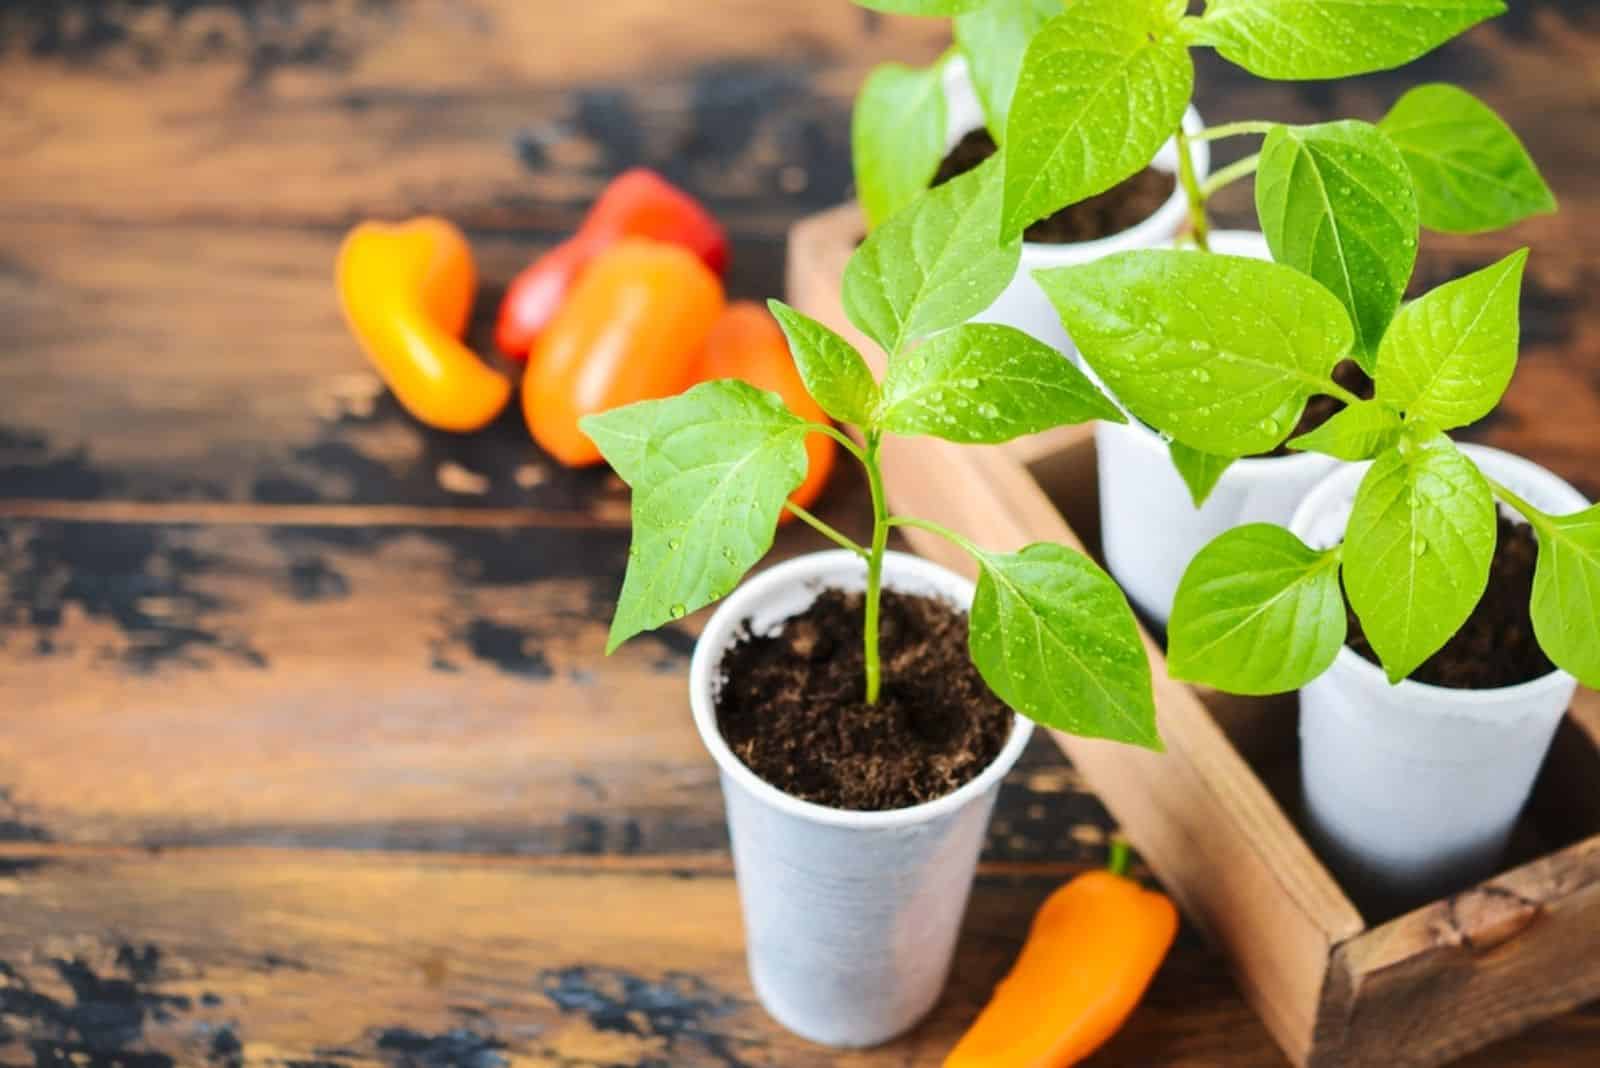
Starting pepper seeds is the hardest stage of growing them, which is why most growers buy pepper seedlings instead of seeds.
But with a little bit of patience and a sprinkle of luck, you’ll quickly get the gist of it and be able to grow peppers from start to finish.
The first thing is to get the temperatures right. Keep the conditions around 70-80°F, and the seeds will germinate in 1-4 weeks, depending on the variety.
To make matters worse, hot peppers are fussier than the sweet ones, so you’ll have to have a lot of patience.
This discouraged me at first, but when I found out about the kitchen towel method (which worked, by the way), my hopes grew.
All you need to do is damp a paper towel, wring out the excess water, and place the seeds inside. Put everything in a zip lock bag and keep it somewhere warm, such as on a kitchen countertop.
Once you see the seeds sprouting, carefully move them to separate nursery pots, where they’ll spend the following two months.
2. The Best Place For Planting Peppers
Peppers are sun-loving veggies, which is why you should expose them to about 6-8 hours of direct sunlight each day.
Sweet peppers can also tolerate some shade, and even welcome it in hot climates.
However, the same cannot be said for spicy peppers. These species need all the sun they can get and will underperform in shady conditions.
3. Prepare The Ideal Soil
The good news is that you only have to prepare one soil type for sweet bell peppers and spicy orange habaneros. Make sure it’s loamy, rich in organic content, and well-draining.
You can easily achieve this by adding some compost or worm castings to your garden soil. Just make sure the nitrogen levels aren’t too high. If they are, your peppers will grow like crazy but won’t bloom as much, so there’ll be less fruit.
Amendments, such as worm castings, have their disadvantages, so you should consider adding other materials.
Test the soil and then supplement the necessary nutrients.
If you want to go the extra mile, consider crop rotation. Plant some legumes in the first year and then introduce your peppers, tomatoes, and potatoes. Legumes will enrich the soil with nitrogen, but it’ll be just enough for your nightshades.
Crop rotation can also help fight off certain nightshade pests and diseases, so make sure to plant your peppers, eggplants, tomatoes, and potatoes in different locations.
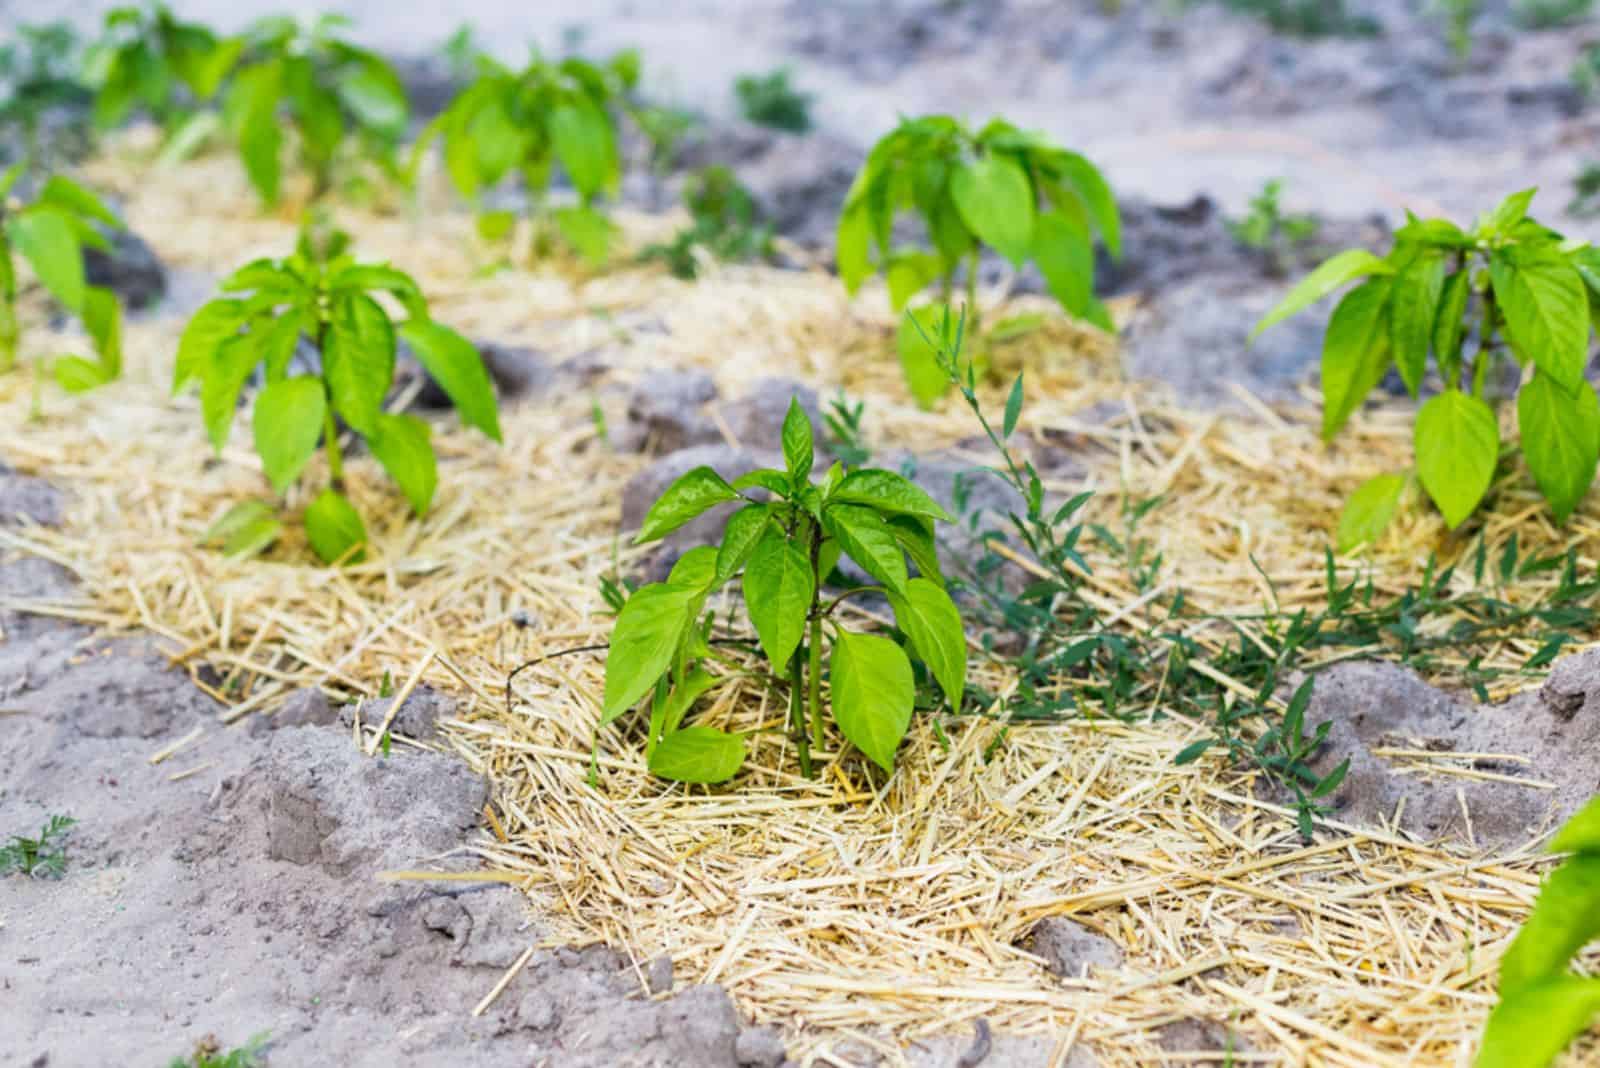
4. Harden The Seedlings Before Transplanting Them Outdoors
When moving your peppers outside for good, make sure to harden the seedlings since it can help them overcome transplant shock more easily.
This involves moving your peppers outdoors to a location sheltered from harsh sunlight and winds, and leaving them there for an hour or two. Then take your veggies inside and repeat the process every day, gradually increasing the outdoor exposure.
Once all danger of frost is gone and your peppers can last an entire day outside, it’s time to transplant them.
Dig a hole a little deeper than the one they were previously planted in and place your pepper inside it. Make sure to leave about 10-18 inches between each plant and 18 inches between rows.
Pro tip: Start hardening the seedlings when the temperatures hit 60°F, and transplant the seedlings on an overcast day to reduce the risk of transplant shock.
5. Use The Right Amount Of Water
The next thing you need to be mindful of is watering. These plants don’t need that much moisture; about an inch a week from rainfall or supplemental irrigation is quite enough.
In fact, if you water these veggies too frequently, you might notice curling of the pepper leaves, which occurs as a result of overwatering, among other things.
The best option is to get the soil right so you won’t have to worry about irrigation issues. Plenty of organic matter will ensure enough nutrients and retain some moisture, keeping your peppers hydrated.
Mulching also helps!
6. Mulching Is Key
There are many benefits of mulching your peppers, and one of the most obvious ones is suppressing weeds.
The other advantage is that it prevents excessive evaporation, which keeps the soil moist for longer.
Therefore, if you add a decent layer of mulch around your peppers, you’ll reduce your watering chores tremendously. Simply add it once the sun has had enough time to warm up the soil so your plants can develop properly.
In the end, mulching will give you much more time to focus on other things, as you won’t have to spend your days weeding and watering your peppers!
7. Don’t Be Afraid To Pinch Off The First Flowers
When you notice those first couple of pepper flowers, the best thing you can do is pinch them. It does sound counterintuitive, but it will encourage your plant to divert its energy into producing deeper roots and becoming stronger.
The plant will become larger and be able to produce more fruit later on as a result.
Here’s some great advice on when to pinch pepper flowers:
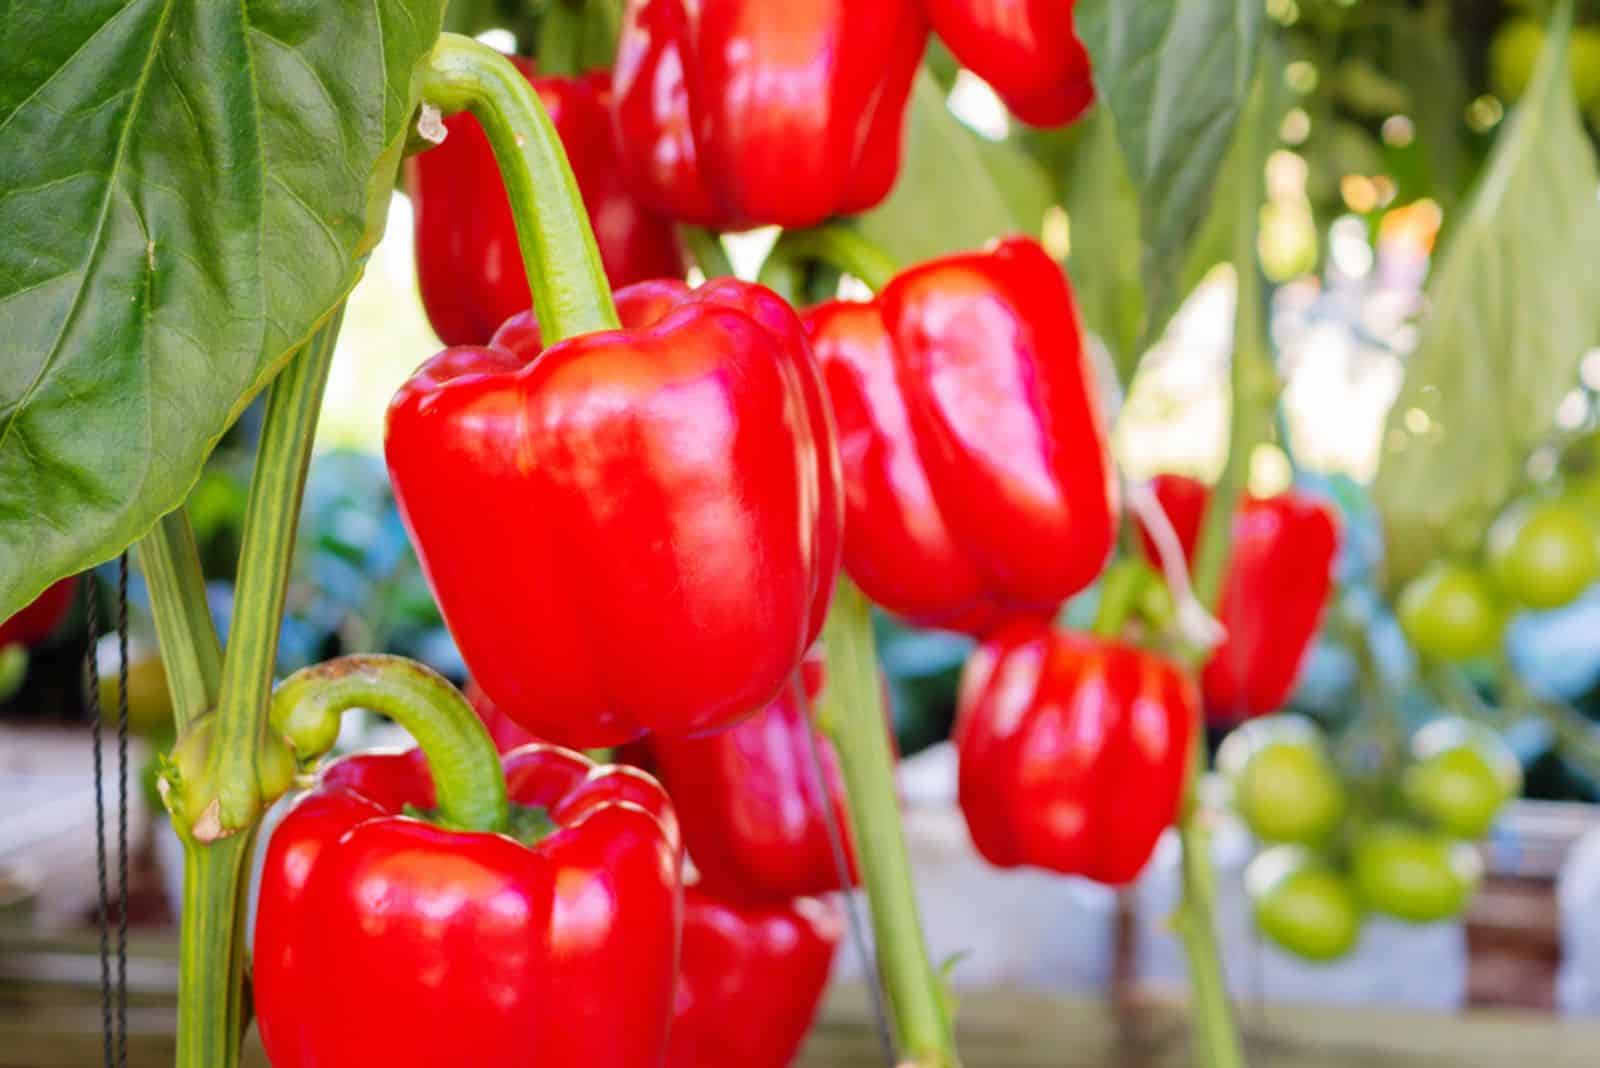
8. Know Your Harvest Times
As the harvesting time approaches, you’ll start to crave that delicious crunch, so I hope the tips above yielded you a bountiful harvest.
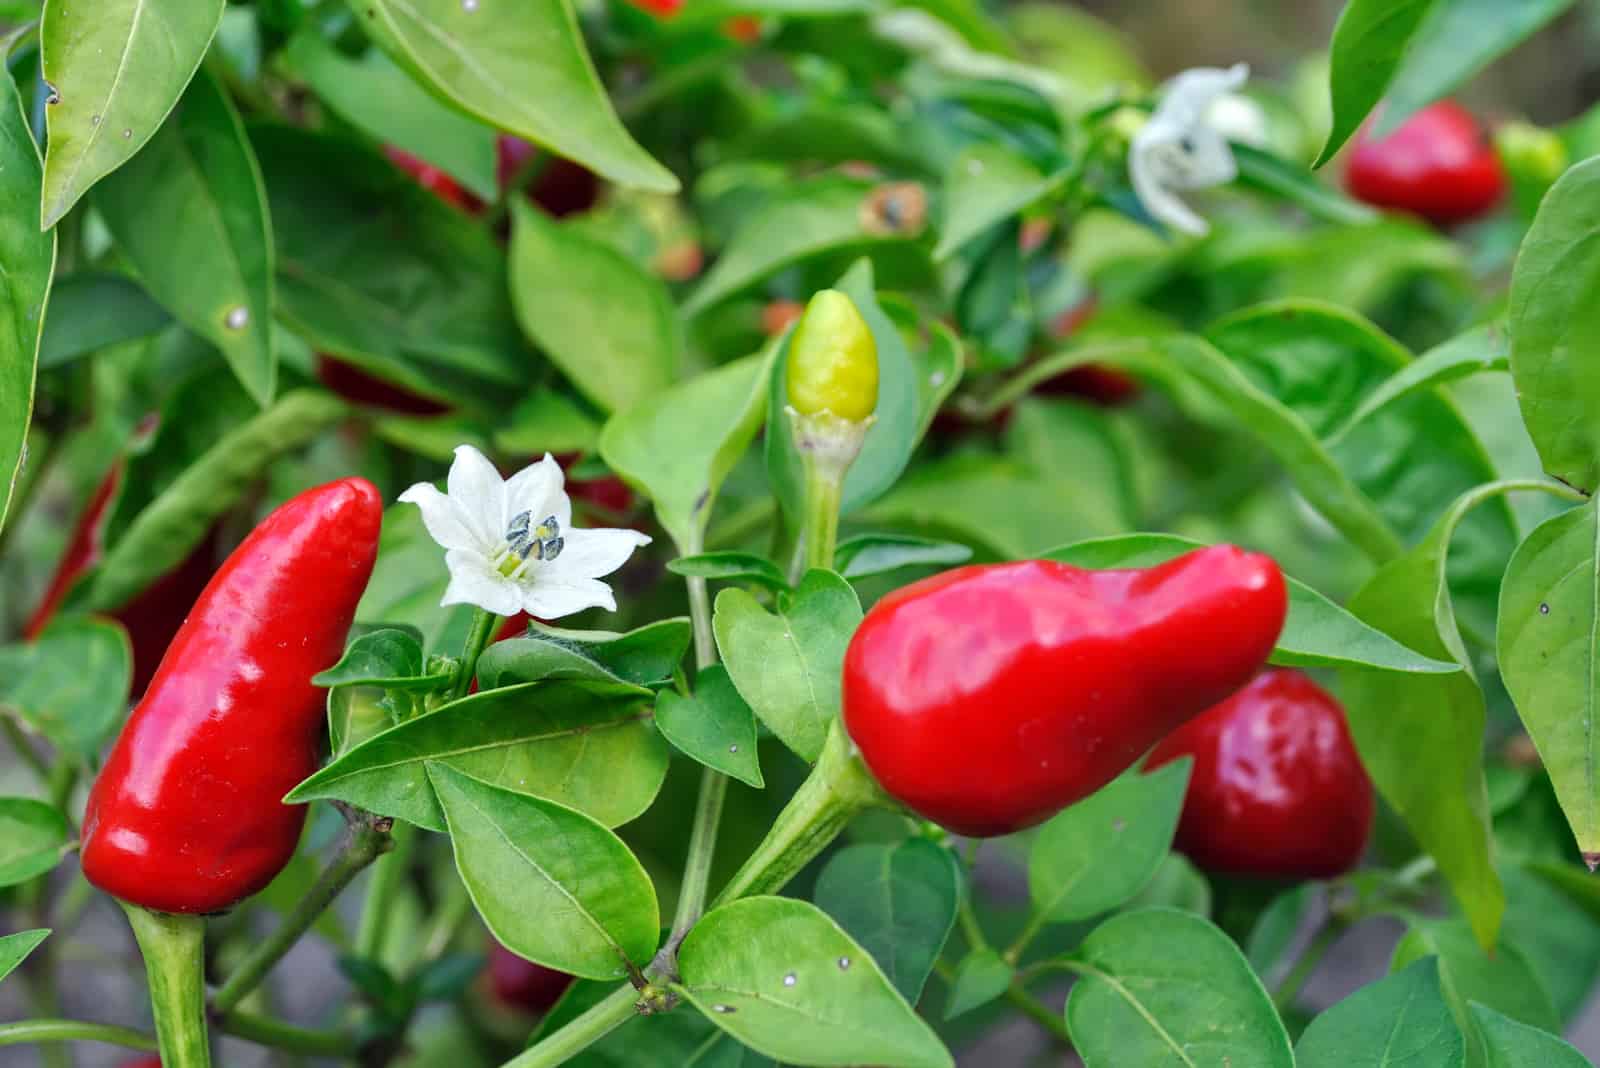
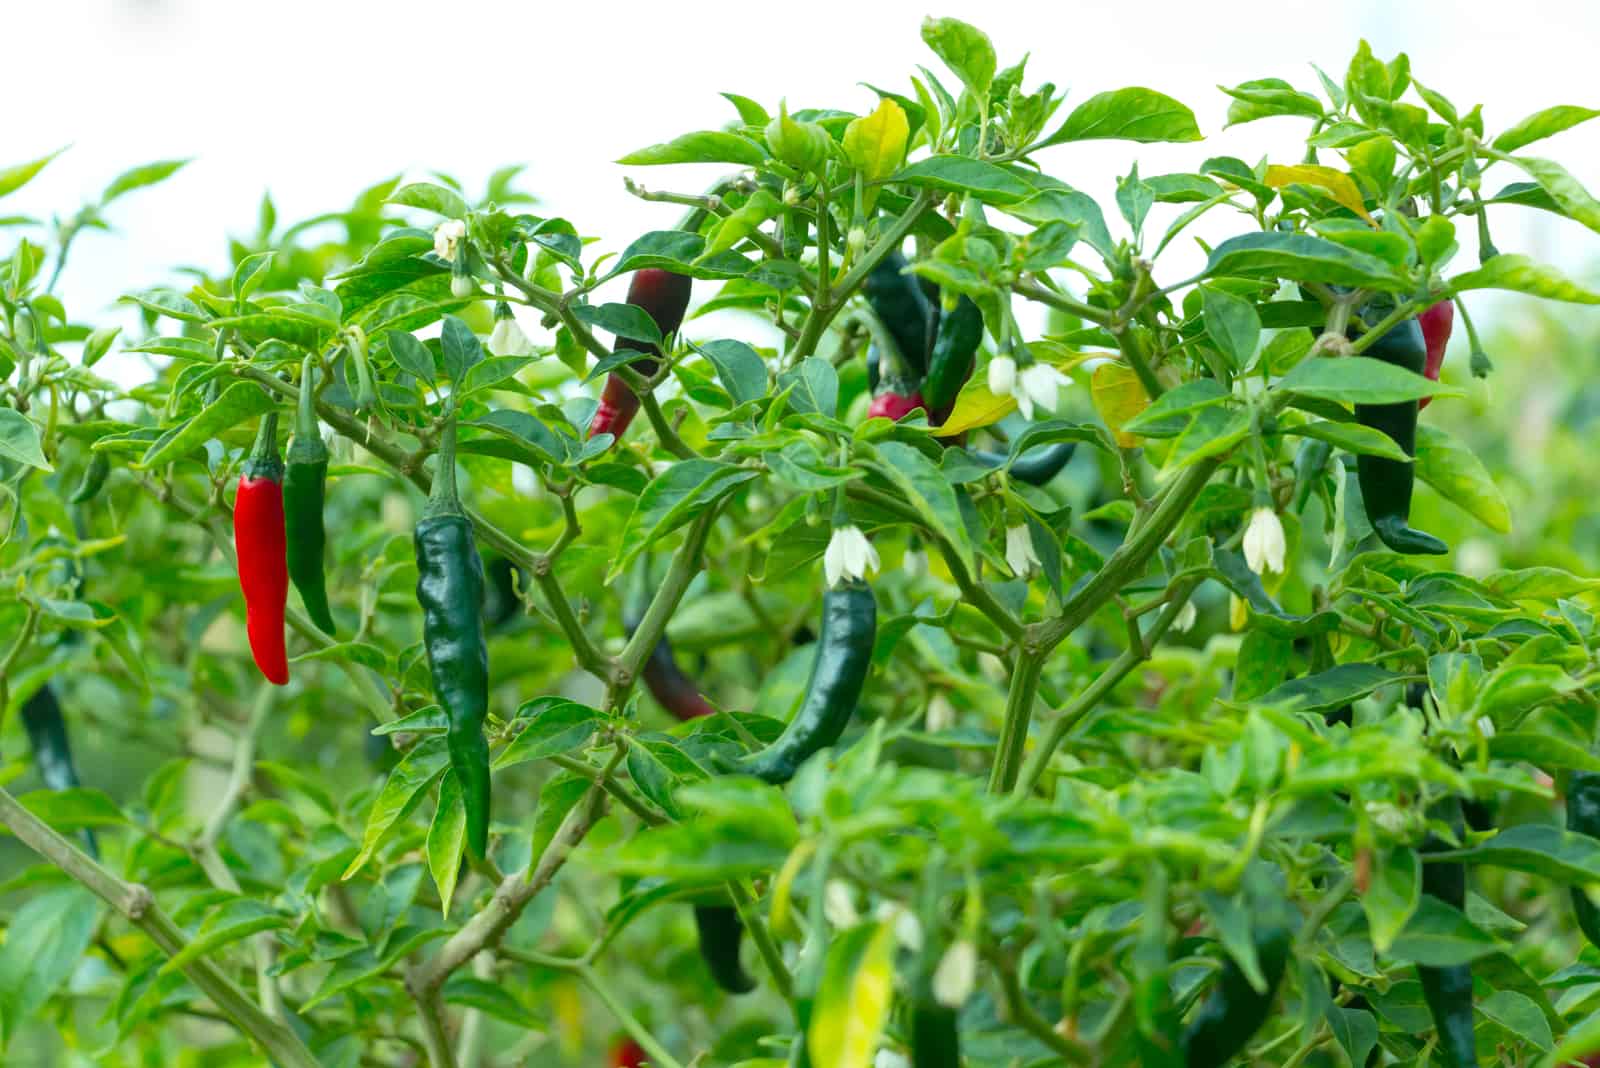
Generally speaking, sweet peppers need about 60-90 days to fully mature, while hot ones can take up to 150 days.
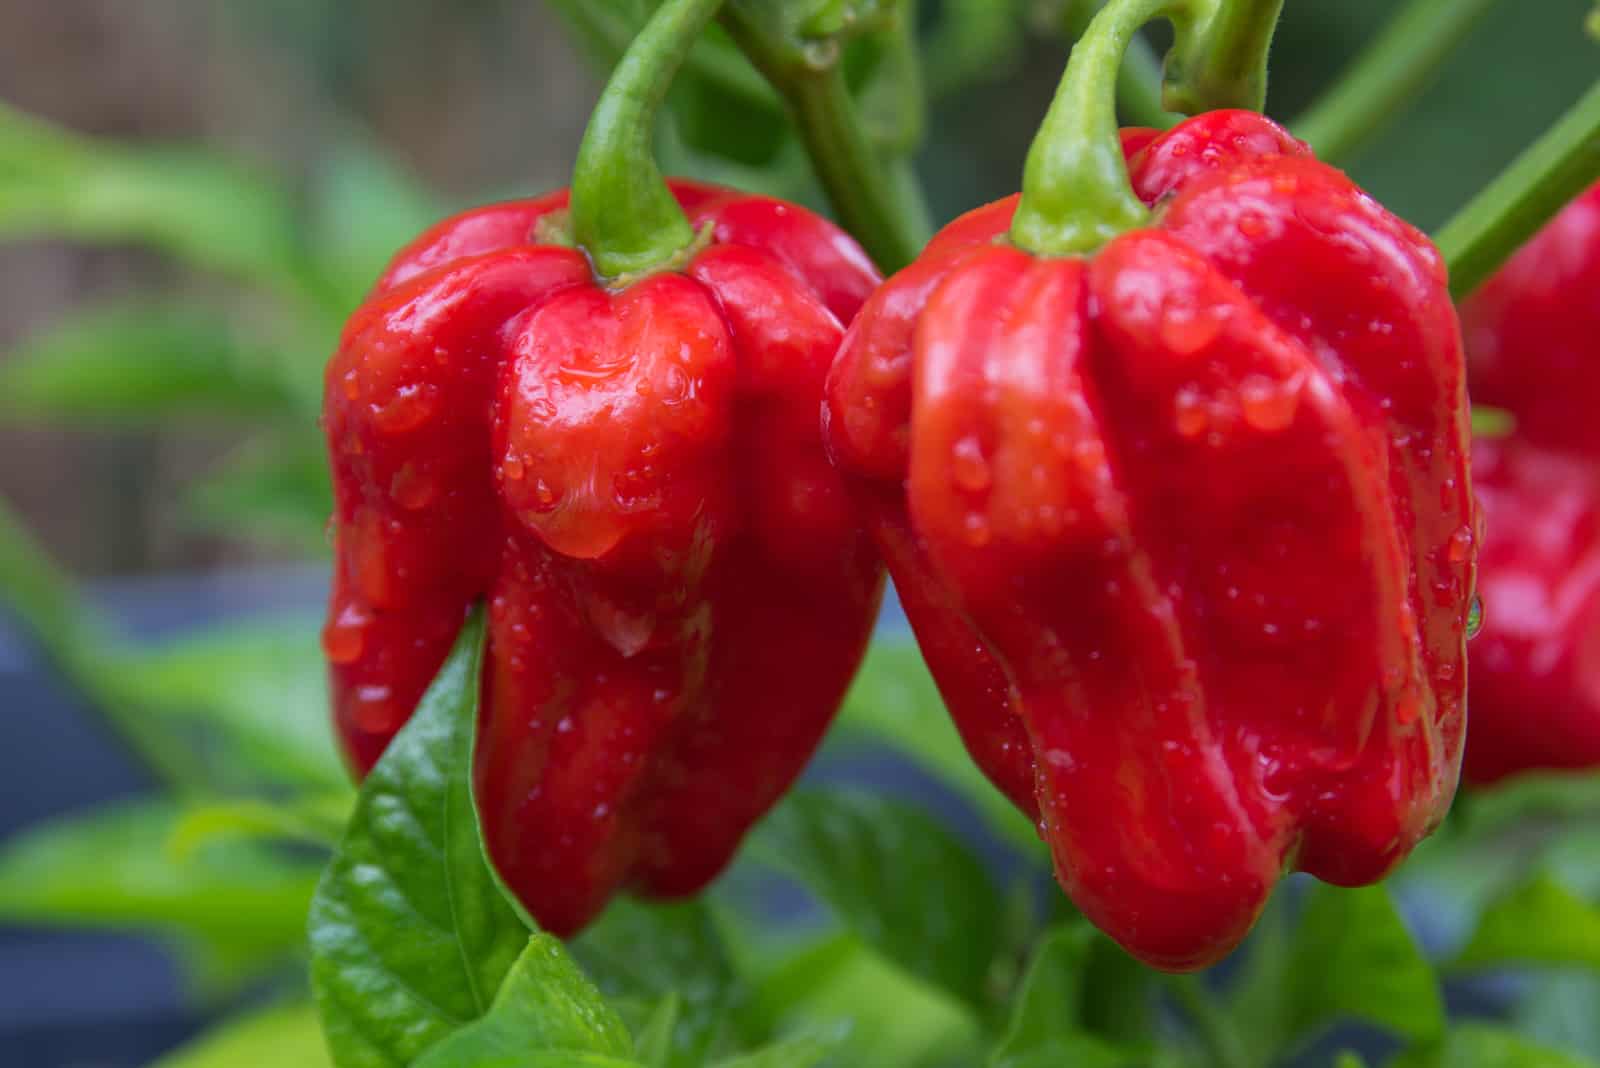
You should wait until they fully ripen and turn an orange, yellow, red, or purple color. However, their sweet or spicy taste is the best indicator of ripeness.
On the other hand, many growers actually pick peppers green and let them ripen on their countertop. Hot peppers won’t be as spicy if you do this, while sweet ones won’t have that deep flavor.
Your pepper plant will continue producing more fruit after you harvest the first batch, so you can almost double your yield by doing this.
It’s your call; either let them fully ripen and reach their full flavor potential or harvest them a bit earlier and sacrifice some of their taste.
Use a knife or sharp pair of pruners to pick the peppers since pulling them off can damage the stem or uproot the entire plant, destroying your chances of an additional harvest.
A Goodbye Note
Your quest for an abundant pepper yield is at an end, but I still have a couple of tips that can help you out.
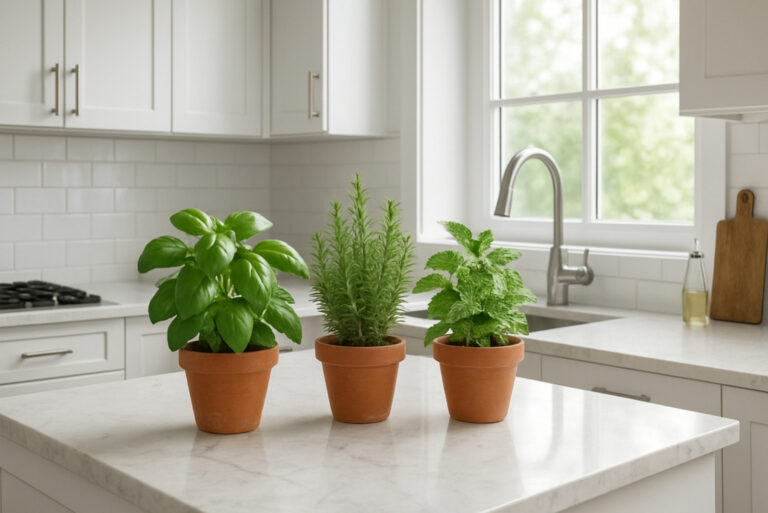
Companion planting is one of them. Plant this veg together with herbs such as basil, parsley, dill, and chives, and they will attract pollinators and pest predators. This will keep your plants safe and ensure proper pollination, which is necessary for fruiting.
You can also grow peppers with other veggies that grow in similar conditions, such as carrots, cucumbers, squash, radishes, etc.
You can also grow it with other members of the nightshade family, such as tomatoes, potatoes, and eggplants – just make sure to rotate them.
Whatever you do, don’t grow it with fennel. This herb will stunt its growth and lead to a poor harvest. Brassicas (cabbage family) are also a no-go. They are heavy feeders and will fight your peppers for minerals.
Another tip is staking your larger pepper plants. This will give them enough support and space to grow, and will make it easier for you to pick them.
If you’ve planted spicy peppers, make sure to wear gloves and wash your hands afterwards. They can leach capsaicin, which leads to a burning sensation, especially in the areas close to your eyes, nose, and mouth.
You can eat peppers raw, add them to your dishes, dehydrate them, pickle, or freeze them – the options are endless.
Until next time!