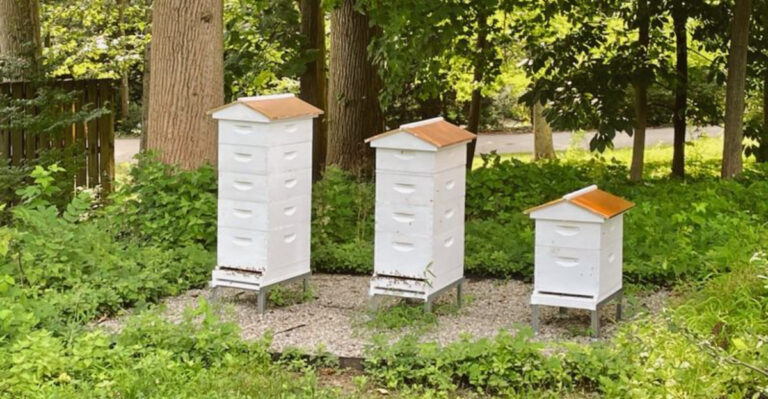
Help Your Long Island Shrubs Bounce Back From Winter Stress Before August Heat With These 8 Steps
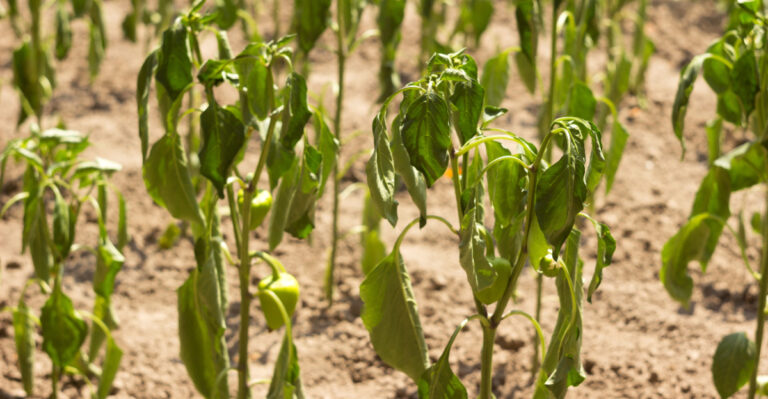
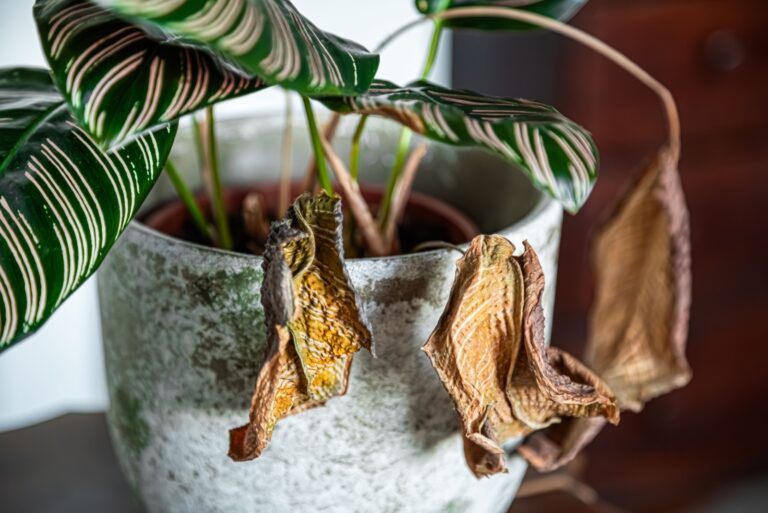
Brown patches on your hedges this spring? Don’t blame the frost just yet. Long Island shrubs go through a lot every winter thanks to two persistent culprits: road salt stirred up by passing plows and salty air drifting in off the coast.
Both work their way into roots and stress out leaves before you even notice anything’s off. It looks discouraging, but it’s rarely permanent.
Give these plants some targeted attention now and most will push out healthy new growth within weeks.
Here’s the catch. Long Island’s summer heat arrives fast, and once temperatures spike, stressed shrubs stop bouncing back and start having a harder time keeping up.
A plant that could have recovered easily in April will just limp along by August. So skip the wait-and-see approach.
Flush the soil, trim back the tired growth, and feed the roots while conditions still favor recovery. Your landscape has a narrow window to heal itself, and it’s closing faster than most homeowners realize.
1. Rinse Foliage With Fresh Water

Your shrubs are basically wearing a salty coat they never asked for. Salt clings to leaves and stems, blocking sunlight and moisture absorption.
A strong rinse with fresh water is your first move. Grab your garden hose and set it to a firm, steady stream.
Work from the top of each shrub downward, covering every branch and leaf surface. Pay extra attention to the undersides of leaves, where salt tends to hide.
Do this early in the morning so leaves dry before the afternoon sun hits. Wet leaves in peak heat can actually stress out faster than dry ones.
Timing matters more than most people realize. Repeat the rinse every few days for at least two weeks. Consistency is what actually moves the needle here. One rinse does very little on its own.
Long Island homeowners near coastal roads face heavier salt loads than inland neighborhoods. If your shrubs sit close to a road or shoreline, rinse more frequently.
The closer to the source, the more salt has built up over months. You do not need any special equipment for this step.
A standard garden hose with an adjustable nozzle works perfectly. Keep it simple and keep it consistent.
This one step alone will not fix a heavily affected shrub. But skipping it will almost certainly slow down recovery. Think of rinsing as clearing the runway before everything else can land.
2. Test Soil For Salt Buildup

Before you throw any treatment at your soil, you need to know what you are actually dealing with. Salt buildup in soil is sneaky because you cannot see it.
A simple soil test gives you real answers fast. Pick up a soil test kit at your local garden center or order one online.
Basic kits cover pH and nutrients, but salinity usually needs a dedicated EC meter or a lab test through your local extension office.
Either option gives you real answers within a short turnaround, and it is worth the extra step to know exactly what you are dealing with.
Your New York Garden Changes Every Week. Your Plan Should Too.
Gardening in New York changes quickly throughout the season. Every Friday you’ll receive a simple weekly plan showing exactly what to plant, prune, fertilize, harvest, and protect so you never miss the right timing.
High salinity pulls moisture away from plant roots, even when you water regularly. This is called osmotic stress, and it takes a real toll on shrubs during summer heat.
Knowing your salinity level tells you how aggressive your treatment needs to be. Take samples from at least three spots around each shrub.
Soil salt levels are not always uniform across a planting bed. Averaging multiple samples gives you a more accurate picture.
Long Island soil near driveways and curbs tends to show the highest salt concentrations. Those areas received the most runoff from winter road treatments.
Test those zones first. If your salinity reads high, there’s no need to worry. High numbers just mean you need to act faster and more consistently.
Low numbers mean lighter treatment and faster recovery time. Write down your test results and date them. You will want to retest in about six weeks to track progress.
Saving your salt-damaged shrubs starts with understanding what the soil is actually telling you.
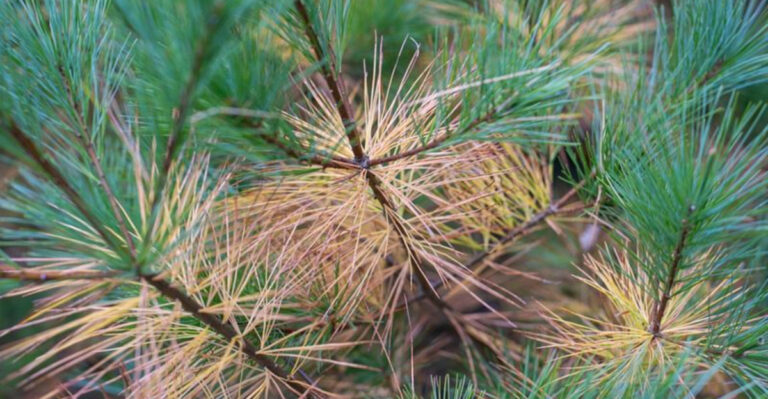
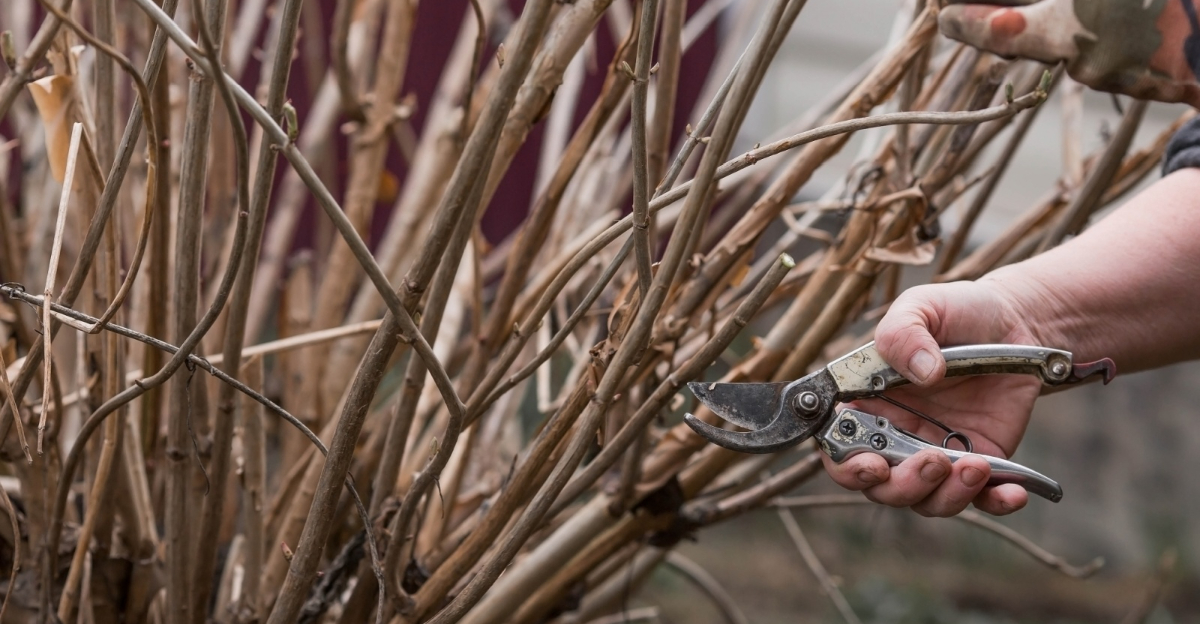
3. Prune Back Weak Branches

Old, dried-out wood only holds your shrub back right now. Removing damaged branches frees up the plant’s energy for new, healthy growth.
This step feels aggressive but it is actually an act of care. Start by identifying branches that are brown, brittle, or breaking easily. Healthy wood bends slightly before it breaks.
If it breaks clean without any flex, go ahead and remove it. Use sharp, clean pruning shears for small branches and loppers for thicker ones.
Dull blades leave rough cuts instead of clean ones, which can invite problems later. Wipe your blades with rubbing alcohol between shrubs to avoid spreading any issues.
Cut just above a healthy bud or lateral branch whenever possible. Leaving stubs behind does not help the plant and can invite pests or rot.
A clean, angled cut is always the right move. Do not over-prune in one session if the shrub is already stressed. Remove no more than one-third of the plant at a time.
Spreading it across two sessions gives the shrub time to adjust. Bag and dispose of the removed branches rather than composting them.
Salt-stressed plant material can carry fungal issues you do not want spreading. Keep your compost pile healthy by keeping stressed cuttings out of it.
Once the weak wood is gone, the shrub looks smaller but feels lighter. New growth tends to appear within two to three weeks after a good pruning session. That fresh green flush is one of the most satisfying sights in the garden.
4. Apply Gypsum To Soil

Gypsum can be a useful tool for pushing sodium out of the soil, especially in heavier clay soils where salt tends to bind tightly to soil particles.
Long Island’s sandy soil drains well on its own, so gypsum plays a supporting role here rather than doing the heavy lifting.
Deep watering is still your main tool for flushing salt out, and gypsum simply helps things along. You can find agricultural gypsum at most garden centers or big box hardware stores.
It comes in granular or powder form, and both work well around shrubs. Granular is easier to apply without making a mess.
Spread gypsum evenly around the drip line of each shrub. The drip line is the outer edge of the shrub’s canopy, directly above the roots.
That zone is where the most active root absorption happens. Follow the package directions for application rates.
Over-applying gypsum will not speed up recovery and can throw off your soil balance. More is not better here, steady and measured wins.
Water the area thoroughly right after applying gypsum. The moisture activates the gypsum and starts moving sodium toward drainage zones.
Without water, the gypsum just sits on the surface doing nothing. Gypsum is safe around pets and children once it has been watered in.
It does not raise or lower soil pH, which makes it a low-risk treatment. You get the benefit without worrying about creating a new problem.
Repeat the application in about four to six weeks if your soil test still shows elevated salinity. Gypsum is a process, not a one-time fix. Patience here pays off in a big way for your salt-damaged shrubs.
5. Water Deeply And Often

Shallow watering is one of the most common missteps homeowners make after salt exposure. Salt does not move out of soil on its own.
It needs a serious volume of water to push it down past the root zone. Deep watering means soaking the soil to at least eight to ten inches down.
You can check depth by pushing a long screwdriver into the soil after watering. If it slides in easily to that depth, you are doing it right.
Water slowly so the soil absorbs it rather than letting it run off. A soaker hose or drip system is ideal for this kind of deep watering.
Fast overhead sprinklers often move water across the surface instead of down into it. Water in the early morning when temperatures are cooler and evaporation is low.
Midday watering wastes a significant amount of moisture before it even reaches the roots. Evening watering can leave foliage wet overnight, which encourages fungal growth.
Long Island summers get hot and dry fast, especially in July and August. Shrubs recovering from salt stress need more water than healthy ones during heat waves.
Do not cut back on watering just because it rained once or twice. Aim for at least two deep watering sessions per week during recovery.
Adjust based on rainfall, soil type, and how quickly your beds dry out. Sandy Long Island soil drains fast, so you may need to water even more often.
Consistent deep watering is the backbone of shrub recovery. Every other step you take depends on moisture moving through the soil. Get this right and the rest of the process works much better.
6. Add Mulch For Moisture

Mulch is like a blanket and a sponge working at the same time. It holds moisture in the soil and slows down the intense evaporation that August brings.
For shrubs already under stress, this protection is a game changer. Use organic mulch like shredded bark, wood chips, or pine needles.
Organic options break down over time and add nutrients back into the soil. Avoid dyed or rubber mulch, which offers no nutritional benefit and can trap heat.
Apply a two to three inch layer around the base of each shrub. Keep the mulch a few inches away from the actual stems and trunks. Mulch pressed against the bark traps moisture and can weaken the base over time.
Spread it out to cover the full drip line of the shrub. This ensures the entire root zone benefits from the moisture retention.
A small ring right at the base misses most of the active roots entirely. Fresh mulch also helps moderate soil temperature during summer heat spikes.
Soil under mulch can stay several degrees cooler than exposed soil. Cooler roots mean less stress and faster recovery for your shrubs.
Check the mulch layer every few weeks and top it off as needed. It compresses and breaks down over time, especially in heavy rain. Keeping it at a consistent depth is more effective than one thick initial application.
Mulching is one of the easiest steps in this entire process, but homeowners often skip it. Do not underestimate how much difference two inches of bark can make. Your shrubs will show you the results within just a few weeks.
7. Skip Fertilizer For Now

It feels counterintuitive, but feeding a stressed shrub can actually slow its progress. Salt-affected roots are already working hard just to absorb water and nutrients.
Adding fertilizer pushes more salts into soil that is already overloaded. Most commercial fertilizers contain nitrogen salts, which add to the existing problem.
Even organic fertilizers can increase soil salinity when applied at the wrong time. Timing matters more than the type of product you choose.
A stressed shrub cannot process fertilizer the way a healthy one can. The nutrients sit in the soil unused and contribute to the salinity problem.
You end up working against the recovery you are trying to support. Wait until your shrub shows at least four to six weeks of healthy new growth.
New leaves that look green, firm, and full-sized are a solid sign the roots are recovering. That is your green light to consider a light feeding.
When you do fertilize again, choose a low-salt, slow-release formula. Slow-release products feed gradually over weeks instead of all at once.
That gentler approach is much easier on roots that are still rebuilding strength. Ask your local nursery for a recommendation specific to your shrub type.
Not all fertilizers are created equal, and the wrong one can set you back. A quick conversation with a knowledgeable staff member saves a lot of guesswork.
Patience here is the most powerful tool you have. Skipping fertilizer now is not neglect, it is strategy. Your salt-damaged shrubs will thank you for giving them space to breathe and recover first.
8. Watch For Pest Activity

Weakened plants often have a harder time defending themselves against common pests. Salt-affected shrubs may show more visible damage from insect activity simply because they have fewer resources to recover from it.
Catching pest activity early is the difference between a minor setback and a bigger problem. Spider mites love hot, dry conditions and weakened plants.
They leave tiny yellow speckles on leaves and fine webbing on stems. Check the undersides of leaves every few days during your regular watering routine.
Scale insects look like small brown or white bumps on branches. They are easy to miss because they barely move and blend with bark.
Run your finger along branches and feel for anything raised or crusty. Aphids cluster on new growth and tender stem tips.
They are small, soft, and come in green, yellow, or black depending on the species. A strong spray of water from your hose knocks them off quickly and effectively.
Long Island summers also bring Japanese beetles, which feed on a wide range of plants including roses, birch, and linden.
They eat away at the leaf tissue between the veins, leaving a lace-like pattern behind, and a shrub already coping with salt stress has a harder time recovering from that added damage.
Hand-picking them in the early morning is one of the most effective controls available. Avoid using heavy chemical pesticides on a shrub that is already recovering.
Strong sprays add stress on top of stress and can set back new growth. Start with the gentlest control method and escalate only if the problem persists.
Check your shrubs at least twice a week through August. Early detection keeps small problems from becoming full infestations. Protecting your salt-damaged shrubs from pests is the final piece of a solid recovery plan.