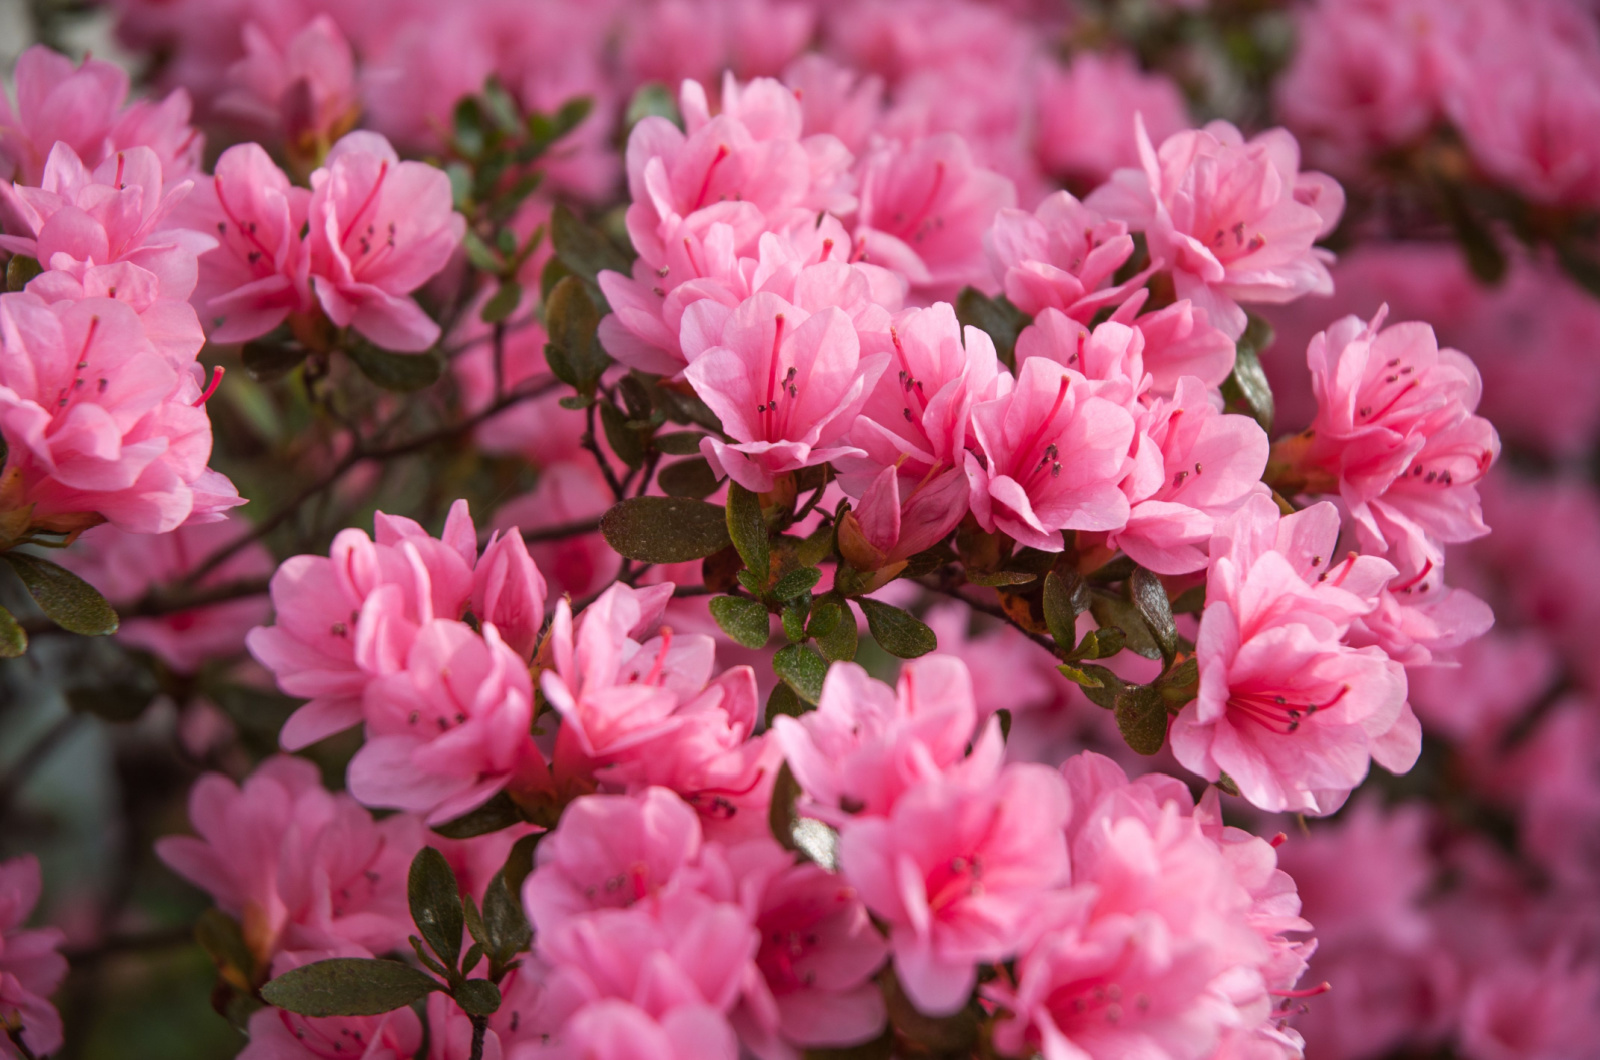
9 Steps For Getting Azaleas To Produce More Blooms
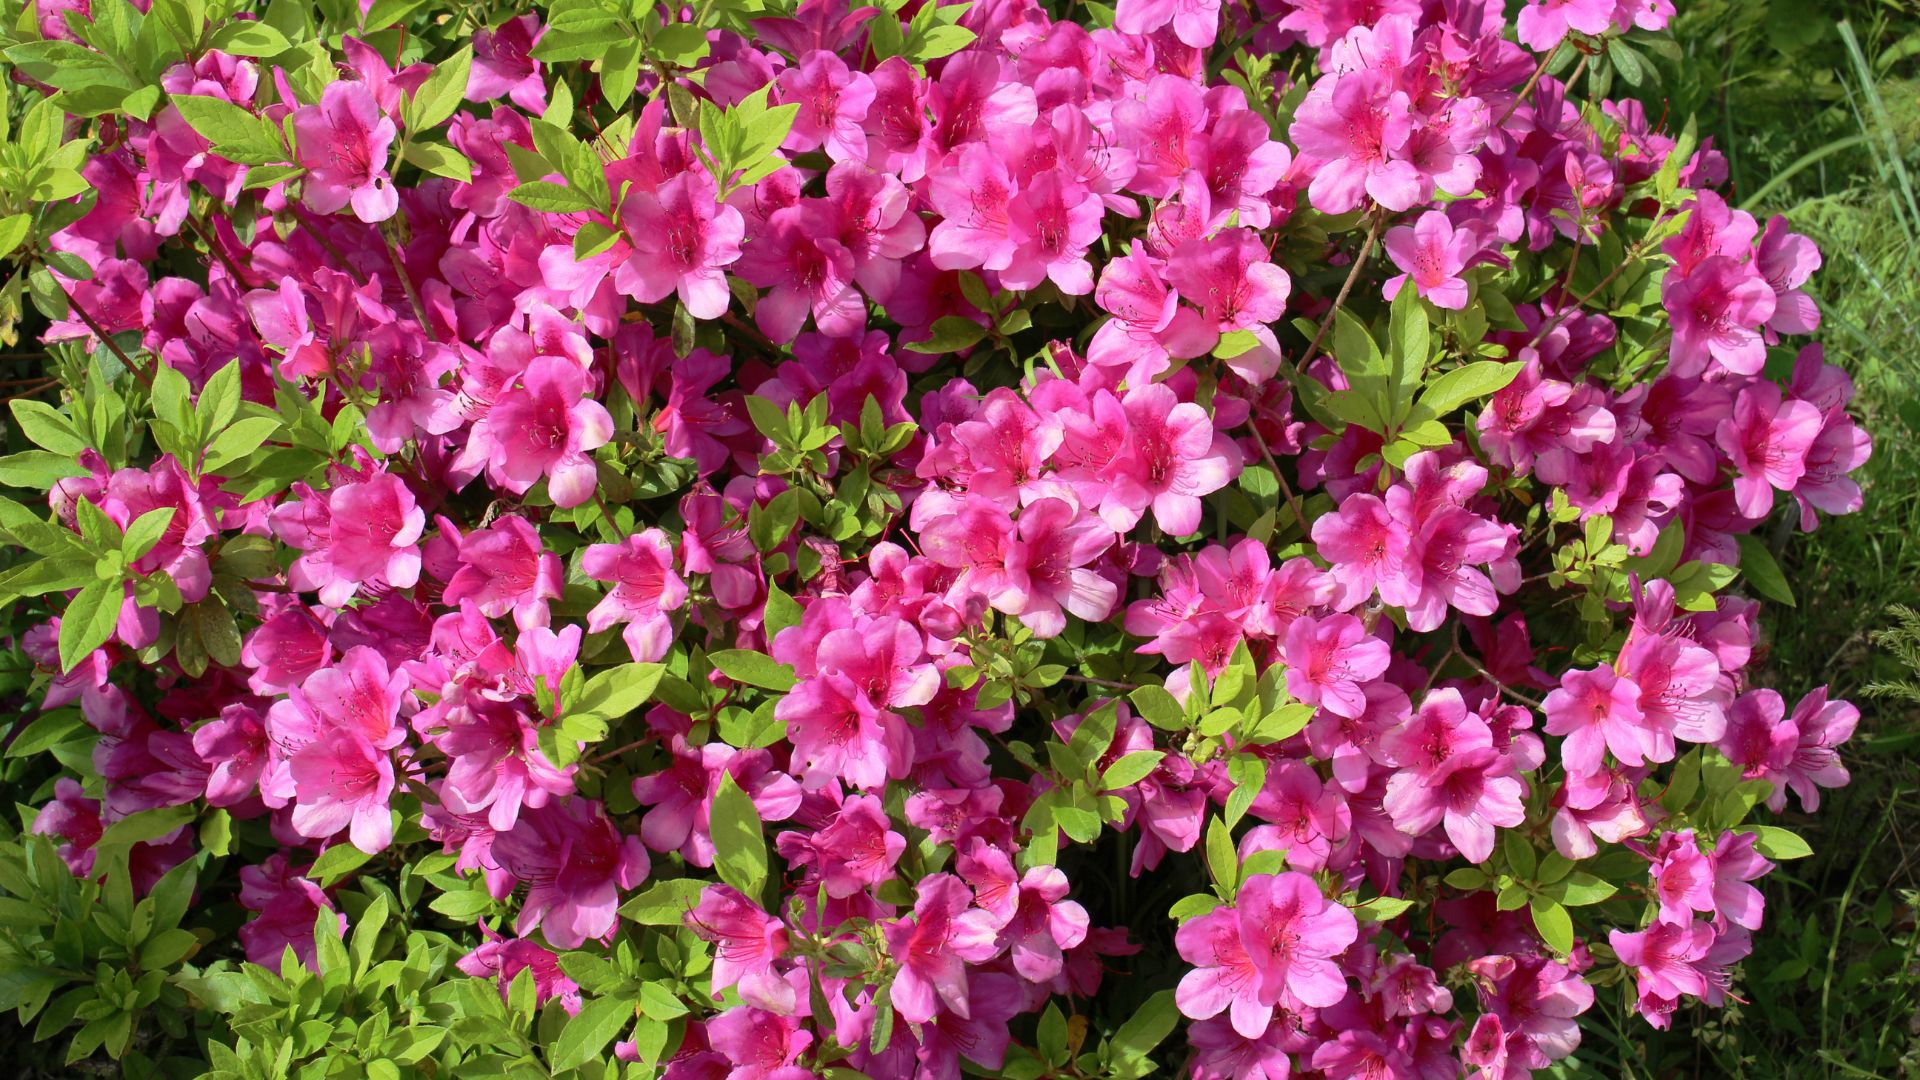
Azaleas are true showstoppers in outdoor gardens because of their gorgeous colorful blossoms. But it can be disheartening for growers when they notice their Azaleas are not reaching their full potential.
If you have this issue and there aren’t as many blooms as there used to be, don’t worry, there are some things you can do to fix it.
In this article, I’ll show you a few easy steps that will help you get your Azaleas to produce more blooms!
Let’s get started!
Step #1: Select The Variety For Your Climate
When purchasing new Azaleas, It’s essential to check the variety and if it can survive in your conditions. If you live in a northern region, you’ll need to select cold-hardy Azaleas.
But bear in mind that these varieties won’t do well in warmer climates and may not bloom at all.
If you select a variety for warmer climates, they can’t survive harsh winters.
Mandarin Lights, Ribbon Candy Sweet Azalea, and Karen’s Azalea are some of the varieties that are more suitable for cooler climates.
On the other hand, Lady Cavendish, Autumn Starburst, and Florida Flame are some Azaleas that thrive in warmer climates.
Some varieties, such as Encore Azaleas, are reblooming, which means they’ll generate the second set of flowers under optimal conditions.
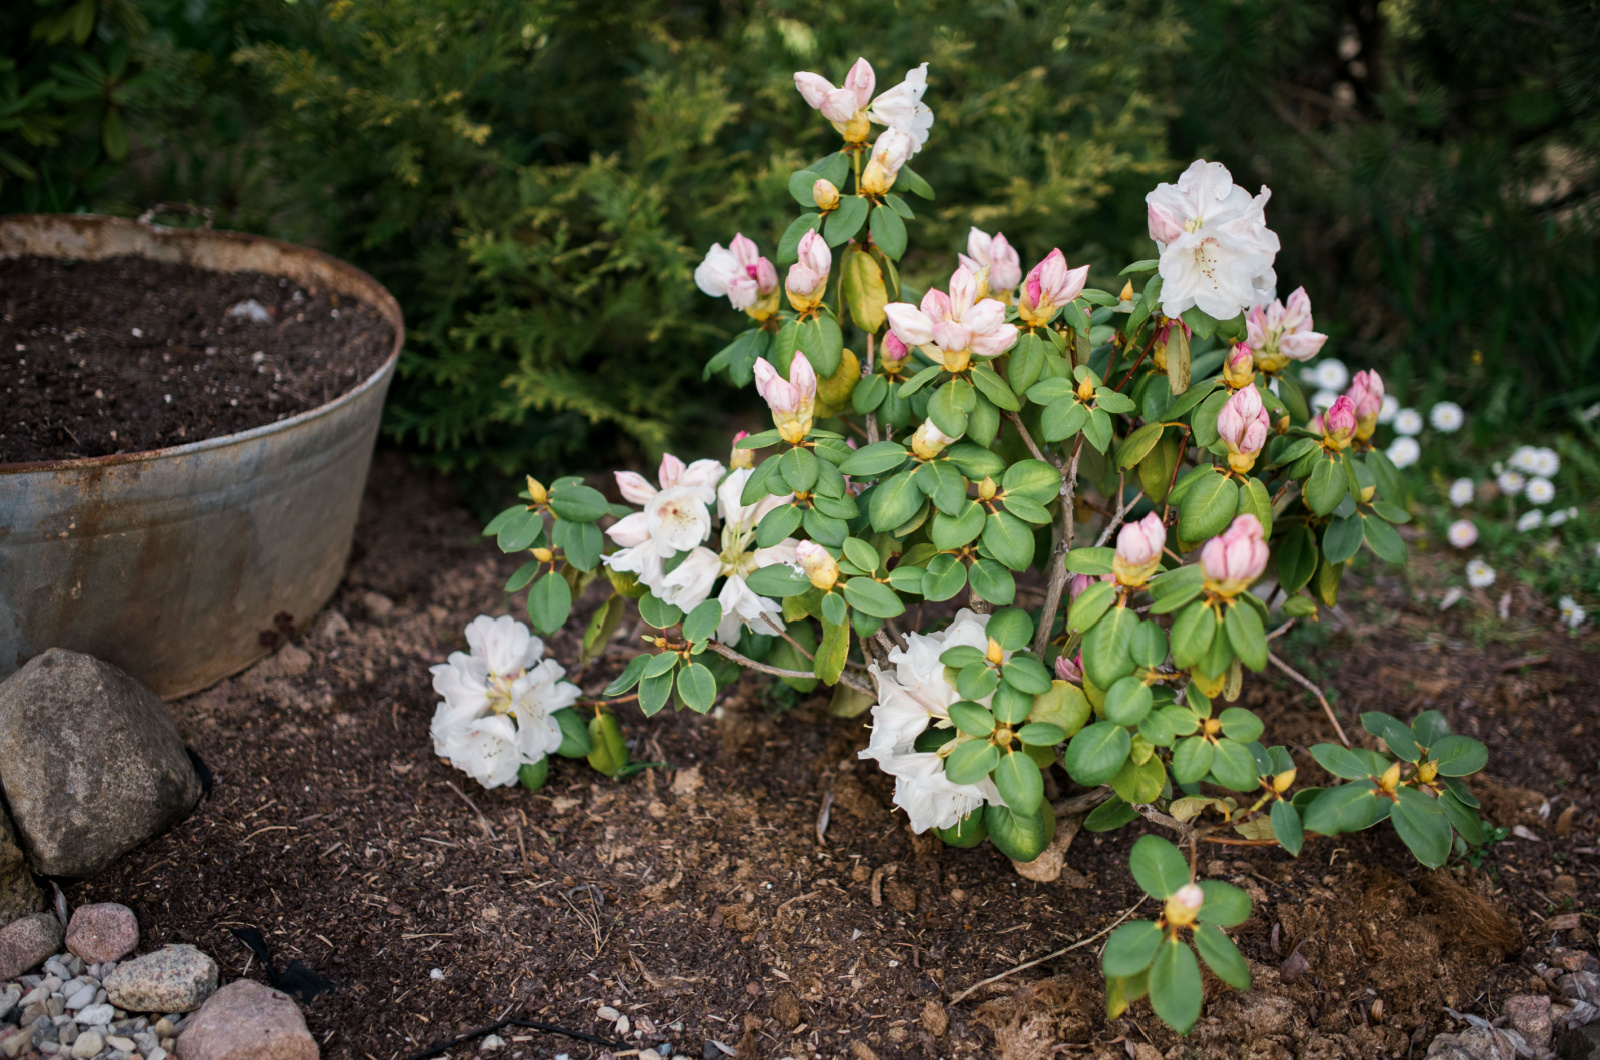
Step #2: Ensure Dappled Shade
Planting your Azaleas in the right location is the first step to getting an abundance of blossoms. These plants don’t like fully shaded spots or being exposed to full sun.
Full shade can significantly affect blooming and will cause fewer blooms or none at all.
Dappled shade is ideal for all Azaleas for healthy development and will trigger the plant to generate numerous blooms.
Step #3: Prune At The Right Time
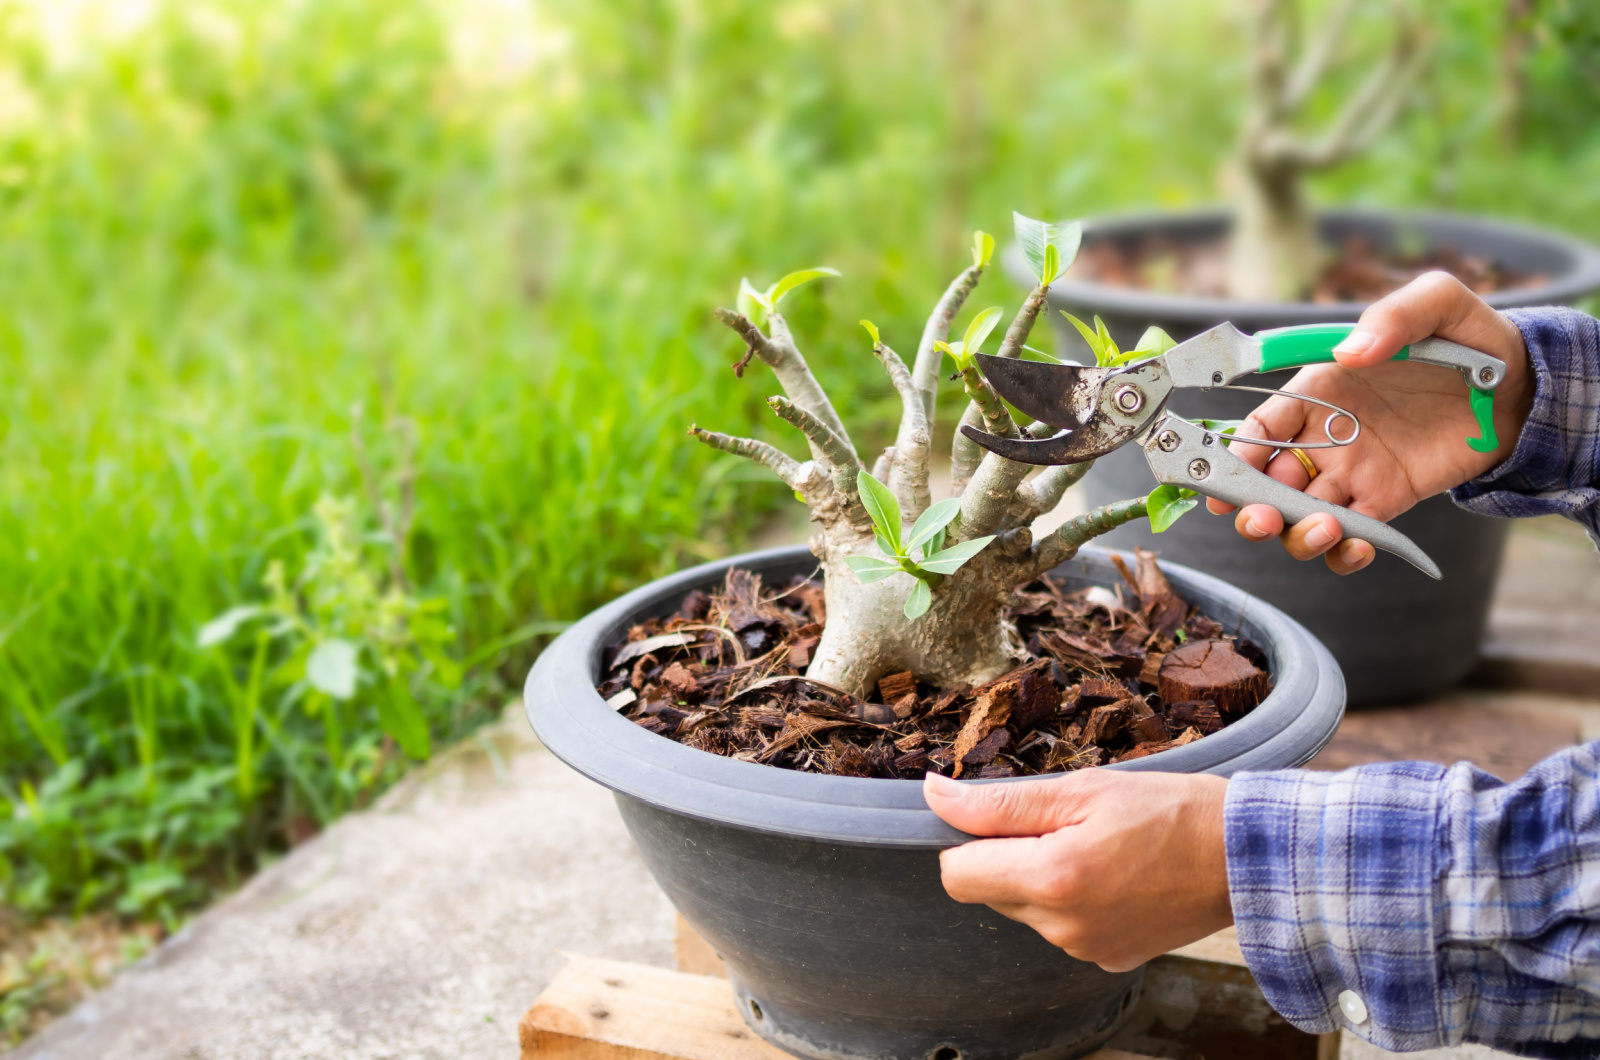
Pruning plays an important role in the development of these colorful flowering plants. You must choose the perfect time for pruning your Azaleas and complete the task after the plant ends the flowering stage.
For the majority of Azaleas, the blooming season ends in late spring, and pruning will help the plant produce more blooms the next season.
These plants generate buds at the end of the year, before the active growing season the following spring.
If you wait for too long to prune your Azaleas, i.e., late summer or fall, you may remove the plant parts that will produce blooms the next year.
But increasing the number of blossoms isn’t the only benefit of pruning your Azaleas. Using this gardening technique will help you enhance air circulation around the plant and get rid of dying or damaged branches that waste the plant’s energy.
Additionally, lightly pruned Azaleas are less susceptible to diseases.
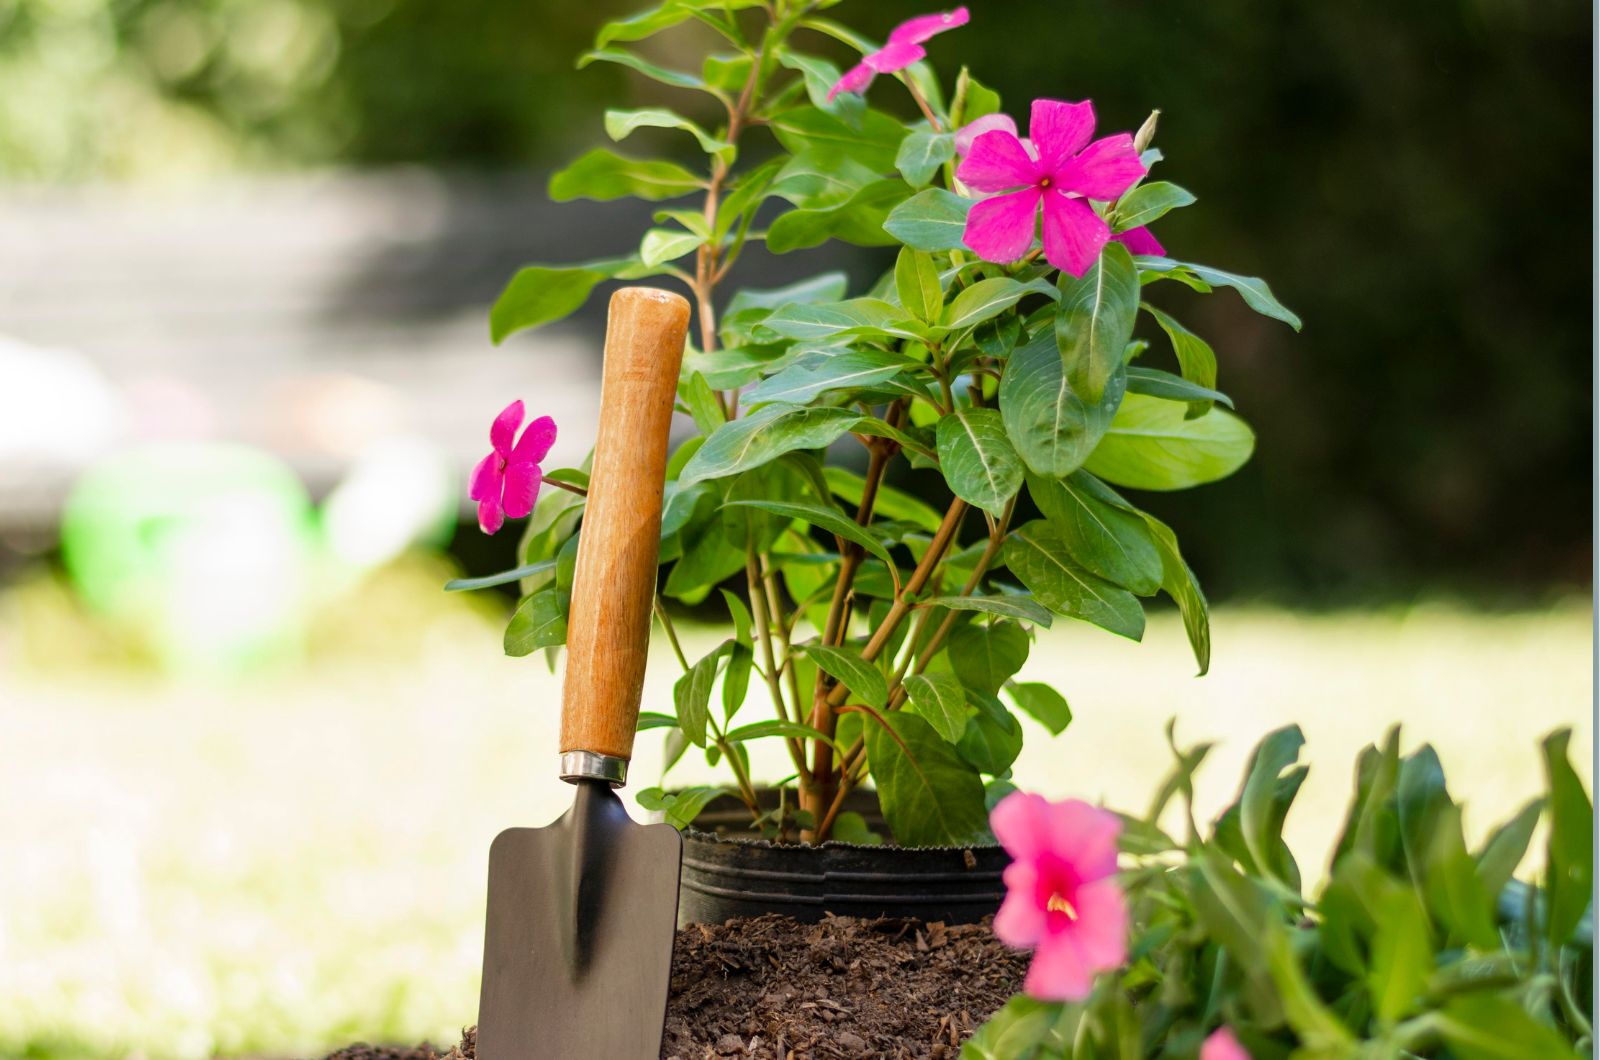
Step #4: Plant Your Azaleas In The Right Soil Type
One of the essential things to know is that these are acid-loving plants, so pay attention when choosing the soil type.
Additionally, the growing substrate must be loose, quick-draining, and rich in organic matter. This soil provides Azaleas with essential nutrients and water, and prevents waterlogging.
These plants are prone to root rot, which primarily occurs in Azaleas grown in too compact soil types that retain too much water.
If your prized Azaleas grow in compact soil, you should amend it with fast-draining ingredients, such as perlite, pumice, or bark.
You can use coffee grounds in these plants to raise acidity in the growing substrate.
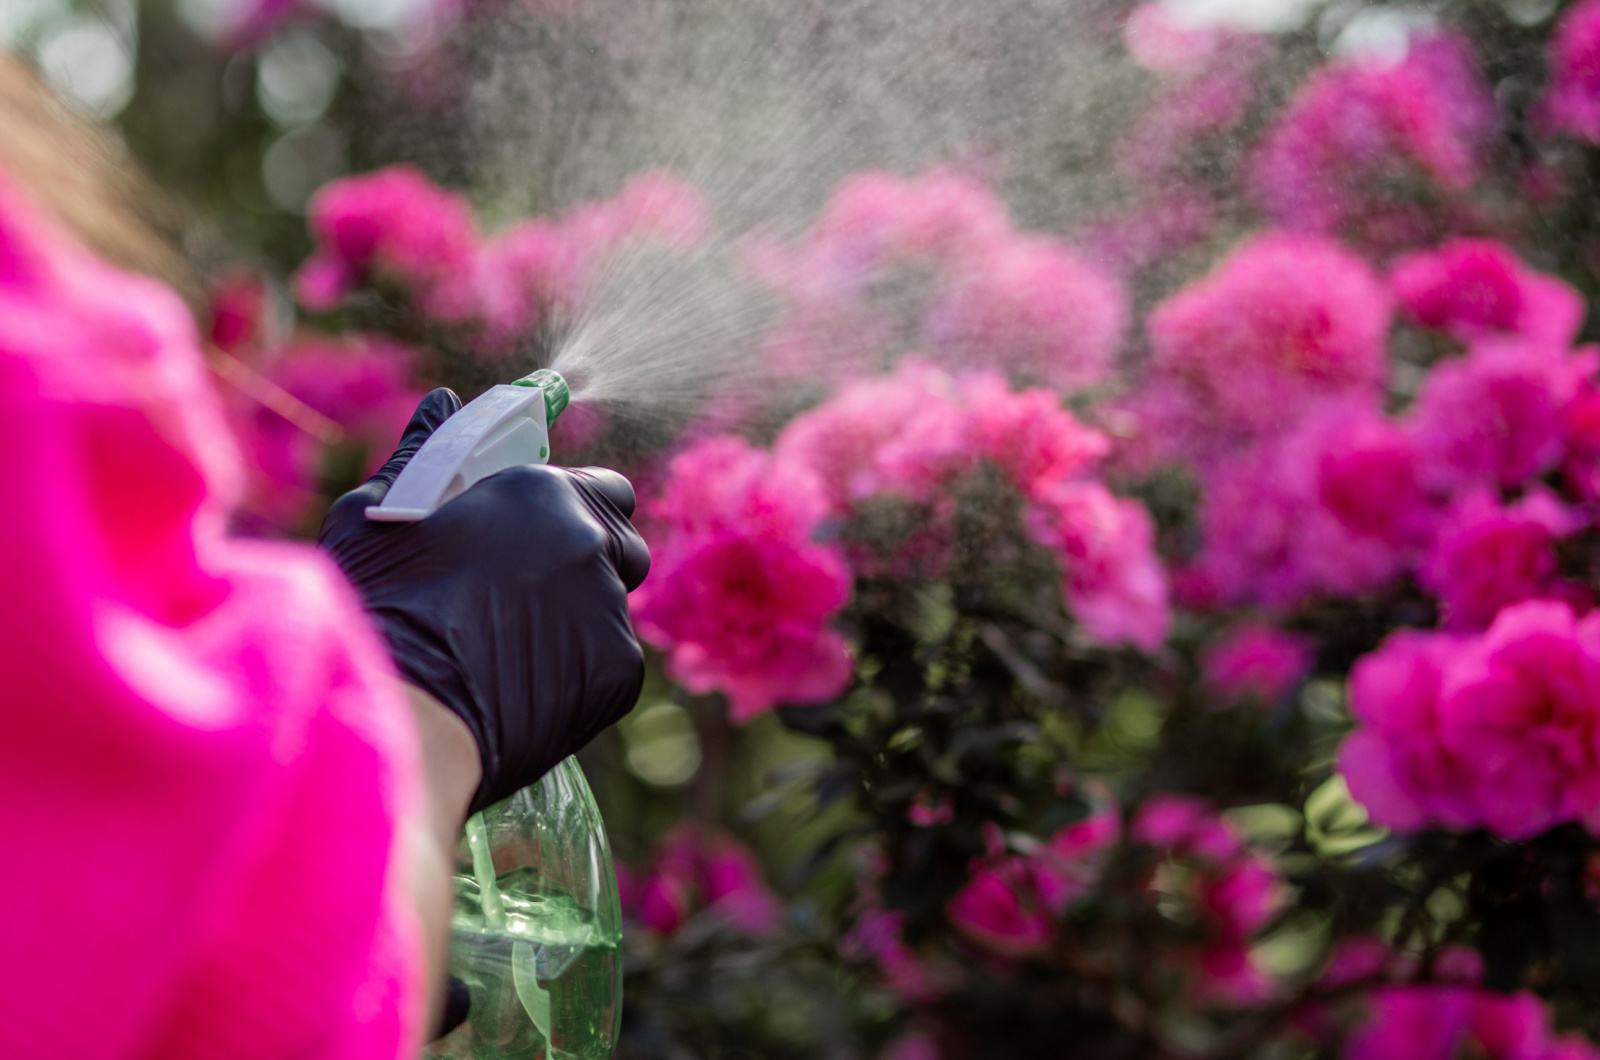
Step #5: Ensure Protection From Harsh Weather
Frost is the sworn enemy of various flowering plants and Azaleas aren’t an exception. If the frost hits newly formed buds, the quality and quantity of blooms may be severely reduced. Some Azalea buds may fail to open completely.
Of course, this primarily refers to Azalea varieties that aren’t cold-hardy. This brings us back to the first step I showed you in this article: selecting varieties that perform well in your climates.
If your particular area experiences frost or winter conditions that are unusual or not typical for the region, it can significantly affect your Azaleas.
In this case, the best option is to protect these shrubs with cotton bed sheets, making sure to suspend them on stakes or frames.
Here’s a video on how to do it:
Step #6: Create A Perfect Watering Schedule
Many gardeners believe that plants don’t need water during the winter months. There’s some truth in that but the thing is that plants don’t need a lot of water, though they can’t survive without it at all.
For instance, if your Azaleas experience drying winds, they can get dehydrated. This will affect the bud formation and consequently the number and quality of the blooms.
But this scenario can also occur if you don’t provide these plants with enough water during different growth stages.
Newly transplanted Azaleas will benefit from regular watering during the first growing year.
Never irrigate these plants overhead because it increases the chances of various diseases. Water only around the base of your Azalea and when the soil feels dry to the touch.
Step #7: Repot
One of the reasons for lack of blooms in Azaleas is being rootbound. If you grow these plants in containers and you haven’t repotted them in a while, the containers may be too small.
In this case, you’ll need to plant your Azalea in a pot that’s approximately 2 inches larger in diameter.
If you purchased a new Azalea and you want to plant it in the ground, it’s essential to carefully break up the root ball before planting.
This way, you’ll help the roots to spread out below the soil surface. These plants have a pretty shallow root system and it’s crucial to encourage them to spread in the first year after transplantation.
Otherwise, the roots could circle and won’t spread deeper in the ground, but rather stay in the planting hole.
You should employ the gardening technique known as scoring the root ball. It refers to making 3-4 vertical cuts around the root ball, going from the top to the bottom.
Step #8: Add A Layer Of Mulch
Mulching has numerous advantages for Azalea plants, such as protecting them from heat or wind, enhancing moisture retention, and keeping weeds at bay.
You should choose a coarse mulch for these plants; pine needles are one of the best examples. Make sure the selected mulch doesn’t inhibit water and airflow in the soil.
Don’t pile up mulch around the base of your Azalea but rather cover the soil above the roots, making sure the mulch isn’t in contact with the stems or leaves.
Step #9: Fertilize
Last but not least, you need to be careful about how and when you fertilize your Azaleas.
If you add too much nitrogen, it will encourage the plant to focus its energy on leaf instead of flower production. Insufficient phosphorus can lead to fewer blooms and too much can lead to a decrease in iron concentration in the soil.
So, what to do? First, you should perform a soil test for your Azaleas. It will provide you with all the info you need regarding the amount of nutrients in the soil.
Then, amend the soil with the nutrients it lacks; you can consult with plant nurseries for precise information.
If you’re a beginner and this seems too much work, simply purchase fertilizers designed specifically for Azalea plants and apply them according to the instructions on the package.
That’s it! Azaleas add a unique touch to landscapes and by following our tips and tricks, you can enjoy an abundance of blooms the next season!