How Dried Hydrangea Blooms Turn Into Lasting Home Décor After The Season Ends
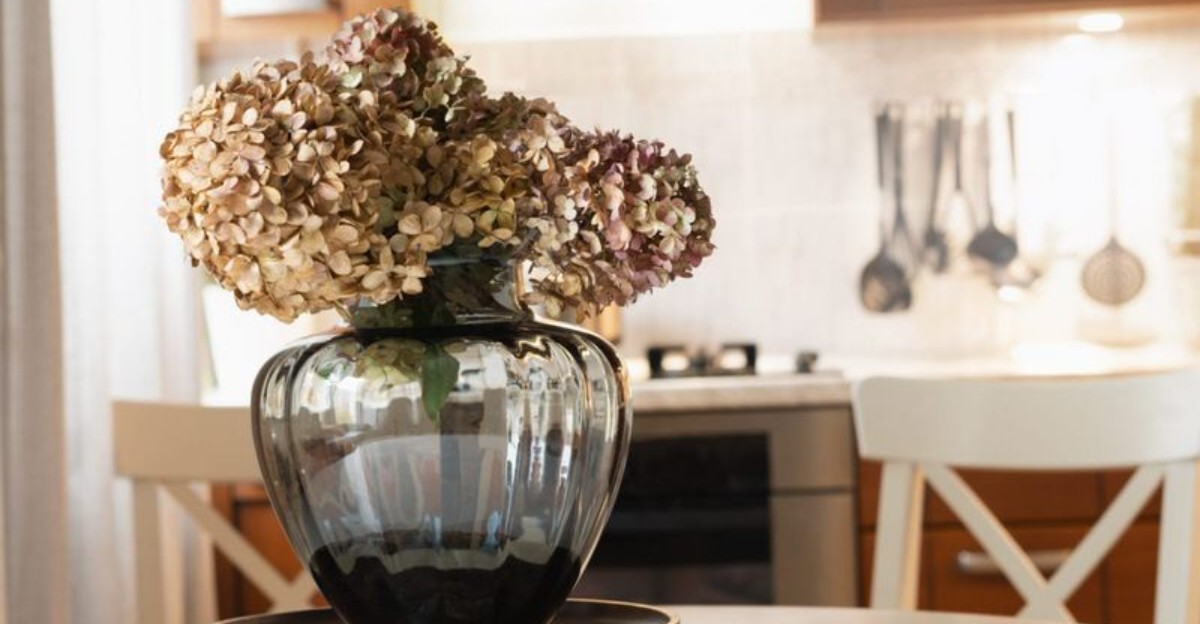
The best flowers for drying are often the ones that already look a little tired on the shrub. Wait too long and frost gets them, but cut too soon and they shrivel into sad brown wads.
I learned the hard way that fresh, juicy petals are the wrong pick. The winners feel papery, almost like old tissue paper, and their colors shift toward antique greens, dusty pinks, and soft burgundy.
Here’s what gets me. These are mostly not petals at all but showy sepals, which is part of why they hold their shape so well once the moisture leaves.
Trust me on this one, you don’t need fancy tools or a craft room. A vase, a dry closet, and a little patience can carry summer color straight through winter. So which flower heads on your shrub are quietly ready right now?
Those Papery Hydrangea Heads On The Shrub Are Telling You Something
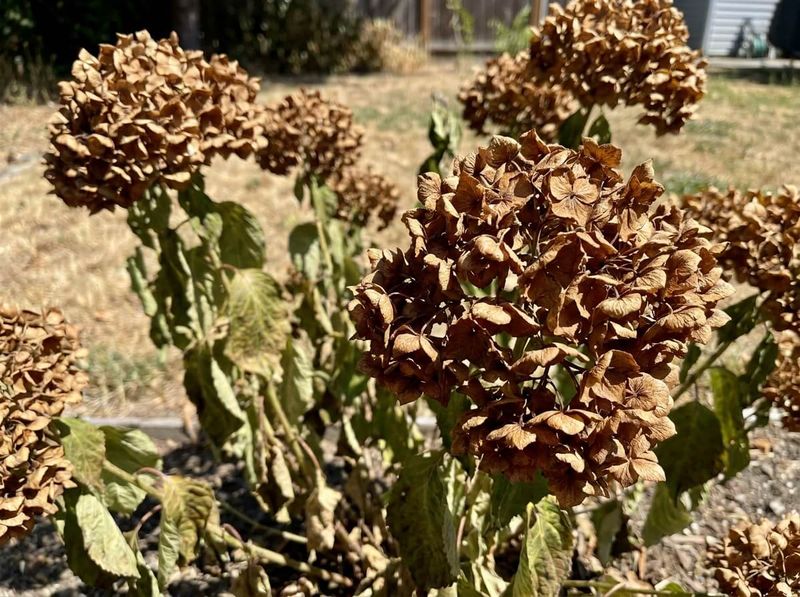
Run your fingers across a hydrangea bloom in late summer and pay attention to the feel. Fresh flowers feel soft and cool. Blooms ready for drying feel crisp, a bit like stiff tissue paper.
That texture change is the whole secret. As the season moves along, the colorful parts of the flower slowly lose water while still attached to the plant. Gardeners call this aging on the shrub, and it does a big share of the drying work for you.
Fun fact: the showy parts of most hydrangea blooms are sepals, not true petals. The tiny true flowers sit in the center or tucked underneath. Sepals are tougher, which helps explain why hydrangeas dry so much better than many garden flowers.
You’ll also notice the colors shifting. Bright blue may fade toward slate or purple. Pink can slide into rose or burgundy, and white often turns lime green or creamy beige.
Those shifts are a sign the bloom is maturing, not failing. Many crafters love these vintage tones more than the original summer colors. So instead of feeling sad when your shrub starts looking faded, take it as an invitation to grab your pruners.
Cut Your Hydrangea Stems On A Dry Day For Better Results
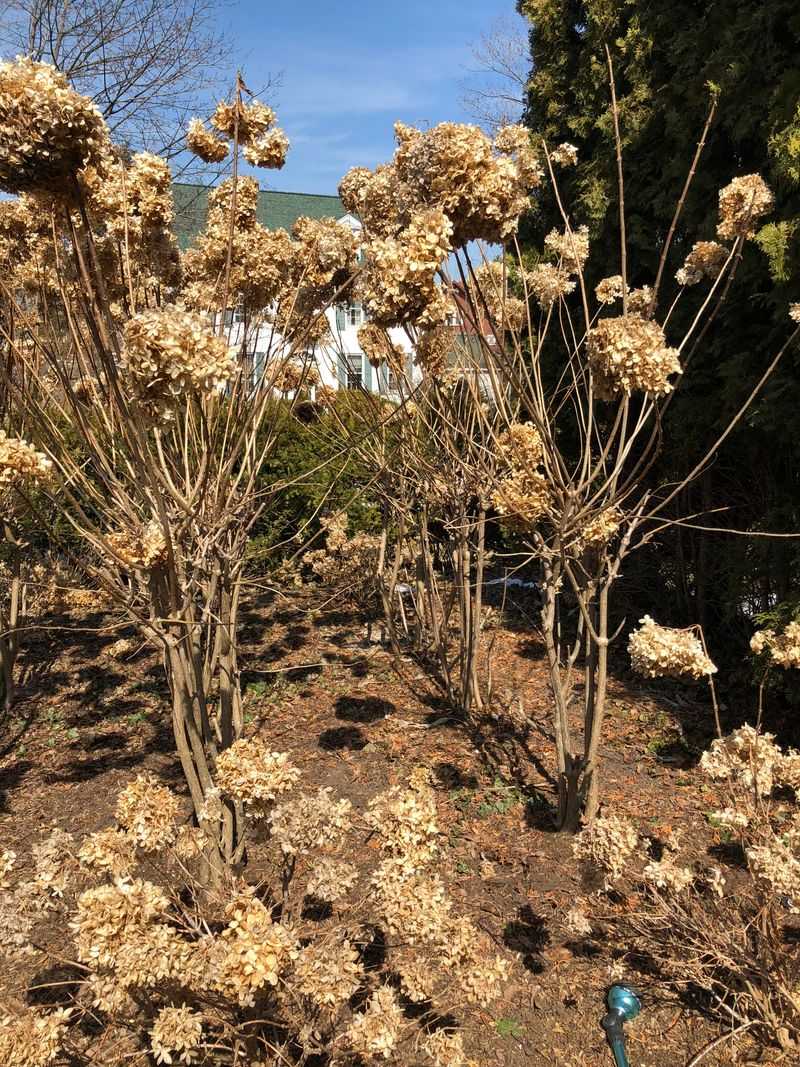
Timing your harvest matters almost as much as picking the right bloom. Aim for late summer or early fall, before your first frost turns the flower heads brown and mushy.
Pick a dry day and wait until the morning dew has burned off. Wet petals carry extra moisture indoors, and extra moisture invites mold. A sunny late morning or early afternoon usually works well.
Grab sharp, clean pruners and cut stems about 12 to 18 inches long. Long stems give you more options later, whether you want a tall vase arrangement or short stems for a wreath. You can trim them down anytime, but you can’t add length back.
Next, strip off every leaf. Leaves hold onto water and can make the stem droop or rot while drying. Plus, dried hydrangea leaves tend to curl and crumble in a messy way.
One more tip from my own trial and error. Don’t harvest every bloom on a big mophead or bigleaf shrub at once if you’re unsure about timing. Test a few, see how they dry, then go back for more. Your shrub will keep its remaining flowers for a while yet.
A Shallow Vase Of Water Dries Hydrangeas Surprisingly Well
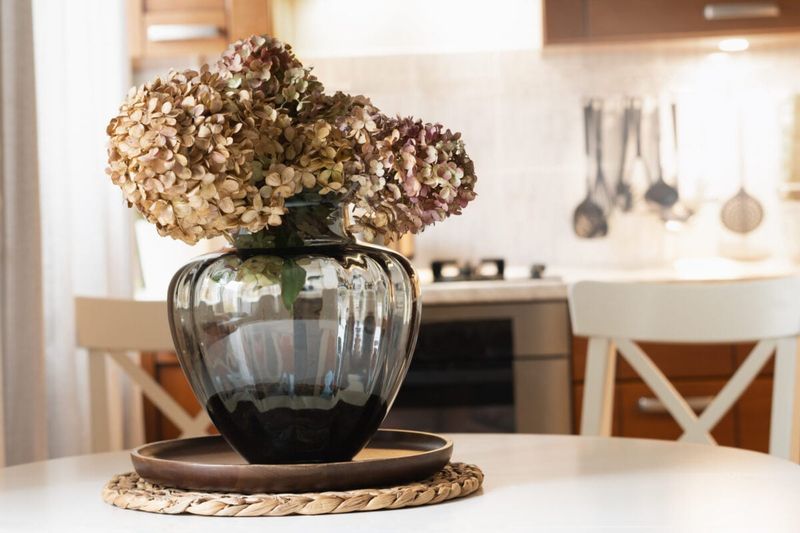
Call me stubborn, but I didn’t believe this one until I tried it. Drying hydrangeas in water sounds backward, yet it’s one of the easiest methods around.
Here’s how it works. Place your leafless stems in a vase with just two to three inches of water. Then walk away and let time do the job.
Over two to three weeks, the stems slowly drink the water while the blooms lose moisture into the air. That slow pace helps flower heads keep their full, rounded shape instead of collapsing. Don’t top off the water as it disappears.
Spacing makes a real difference. Crowded blooms press against each other and can dry with flat spots. Give each head a bit of breathing room so air moves freely around it.
Set the vase somewhere cool and out of direct sun. Sunlight bleaches color fast, and heat can make petals brittle before they finish drying.
When the water is gone and the blooms feel crisp, you’re done. The best part is that the vase you used for drying can stay right where it is as a ready-made display.
Bundles Of Hydrangeas Hanging Upside Down Bring Rustic Charm
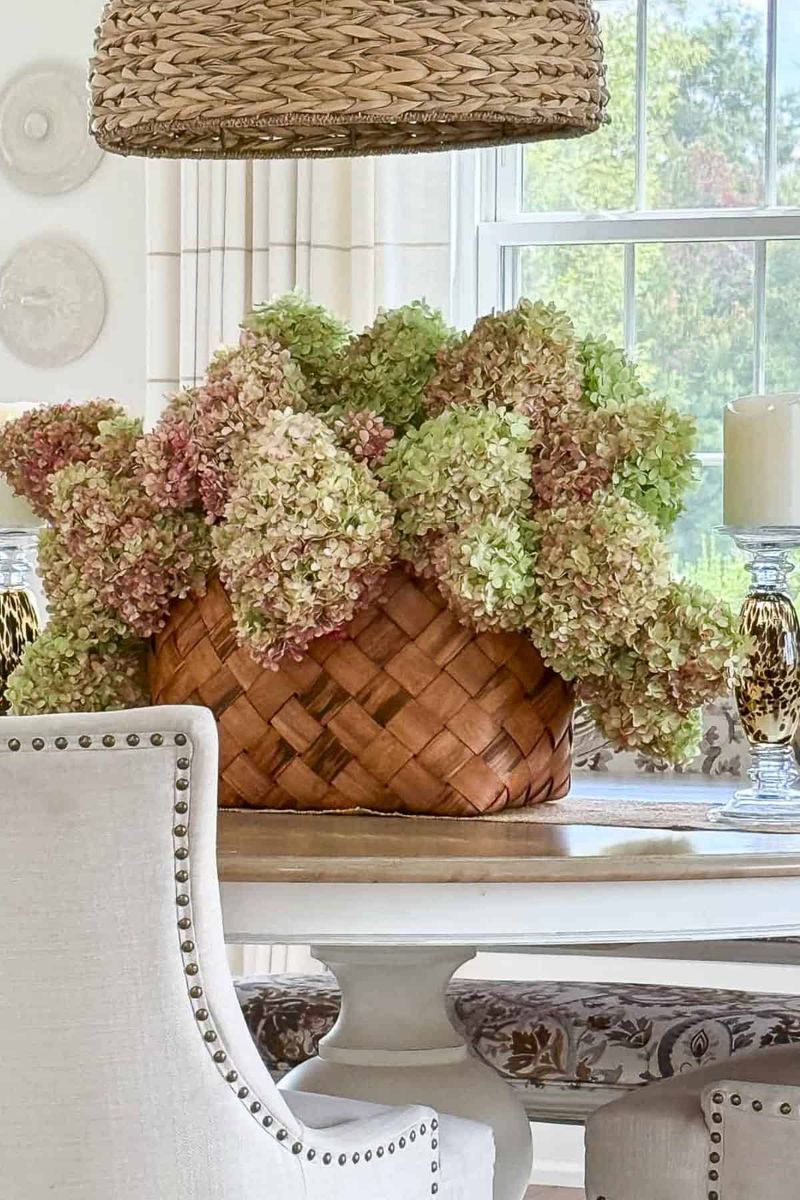
Old farmhouse kitchens had the right idea with flowers dangling from the rafters. Air drying is the classic method, and it still works beautifully for hydrangeas.
Gather a few leafless stems into small bunches. Three to five stems is plenty, since big bundles trap moisture in the middle. Secure them with string or a rubber band, which tightens as the stems shrink.
Hang the bundles upside down in a dark, dry spot with decent airflow. A closet, spare room, or dry attic corner all work. Darkness helps hold color, while airflow helps prevent mold.
Expect about two to three weeks before the blooms feel crisp. Check them now and then, and gently fluff any heads that are pressing together.
Air-dried hydrangeas usually end up more muted than water-dried ones. Think creamy tan, dusty rose, and sage instead of bright summer shades.
Honestly, that softer look is why I keep doing it. These rustic tones fit right in with fall wreaths, wheat stalks, and natural baskets. If your home leans cozy and earthy, air drying might become your favorite method too.
Silica Gel Keeps Blue And Pink Hydrangea Color Bright
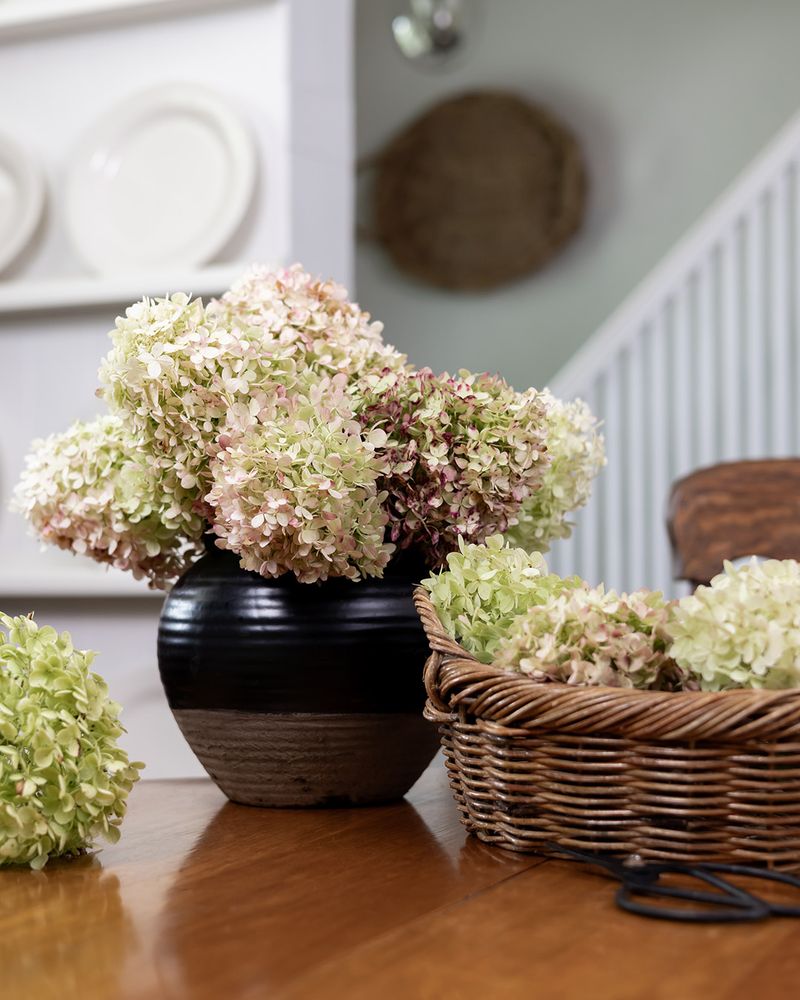
I didn’t expect a bag of crystals to make me this happy. Silica gel can keep hydrangea pinks, blues, and purples surprisingly close to their garden colors.
Silica gel is a drying agent sold at craft stores. It pulls moisture out of petals quickly, and speed is the key to strong color.
Start with an airtight container big enough for your blooms. Trim stems short and remove the leaves. Pour a layer of gel into the bottom, then set the flower heads in carefully.
Spoon more gel around and over each bloom until every gap is filled. Go slowly so the florets keep their shape. Seal the lid tightly.
Most blooms finish in about three to seven days. Afterward, tip off the crystals and use a soft paintbrush to clear any stuck bits.
A few safety notes are worth following. Wear a dust mask when pouring, keep the gel away from kids and pets, and store it sealed. Many brands can be dried out in a low oven and reused, so check the label. That makes one purchase last for many seasons of bright, cheerful blooms.
Panicle And Annabelle Hydrangeas Make Some Of The Toughest Dried Flowers
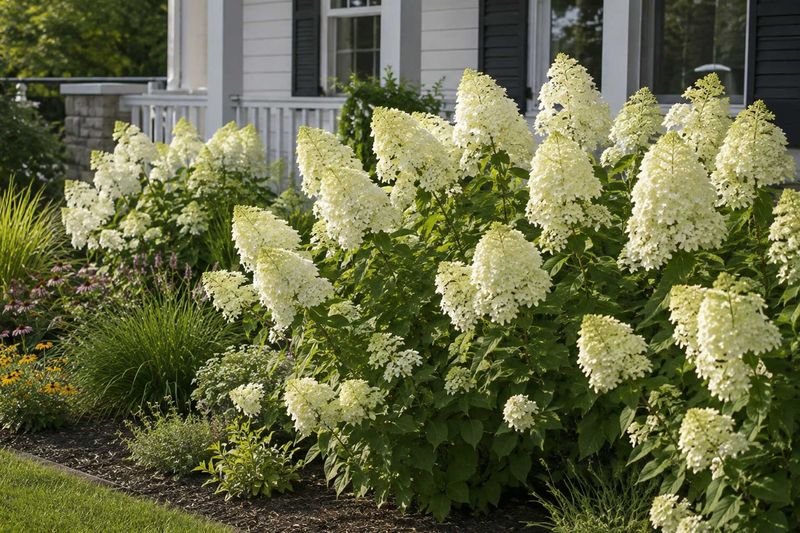
Not every hydrangea shrub dries the same, and knowing your type helps a lot. Some varieties seem almost made for a second life indoors.
Panicle hydrangeas, Hydrangea paniculata, are standouts. Cultivars like ‘Limelight’, ‘Quick Fire’, and ‘Pinky Winky’ have sturdy stems and cone-shaped blooms. They dry into lovely beige, green, and blushing pink shades.
Smooth hydrangeas, Hydrangea arborescens, include the famous ‘Annabelle’. Those huge white globes turn soft green and papery, holding their round form well.
Bigleaf or mophead hydrangeas, Hydrangea macrophylla, are classic choices for drying. Their colors often deepen as they age, and soil acidity affects whether they bloom blue or pink in the first place.
Oakleaf hydrangeas, Hydrangea quercifolia, bring a woodsy touch. Their cone-shaped flowers age to pink and burgundy. Bonus point: oakleaf hydrangeas are native to the southeastern United States and smooth hydrangeas to the eastern United States, so they’re a great pick if you’re adding plants with local roots.
When choosing which heads to cut, favor big, firm blooms with thick stems. Thin, floppy stems tend to bend once dry. Sturdy ones stand tall in a vase for months.
Sunny Windowsills And Crowded Vases Can Ruin Dried Hydrangea Blooms
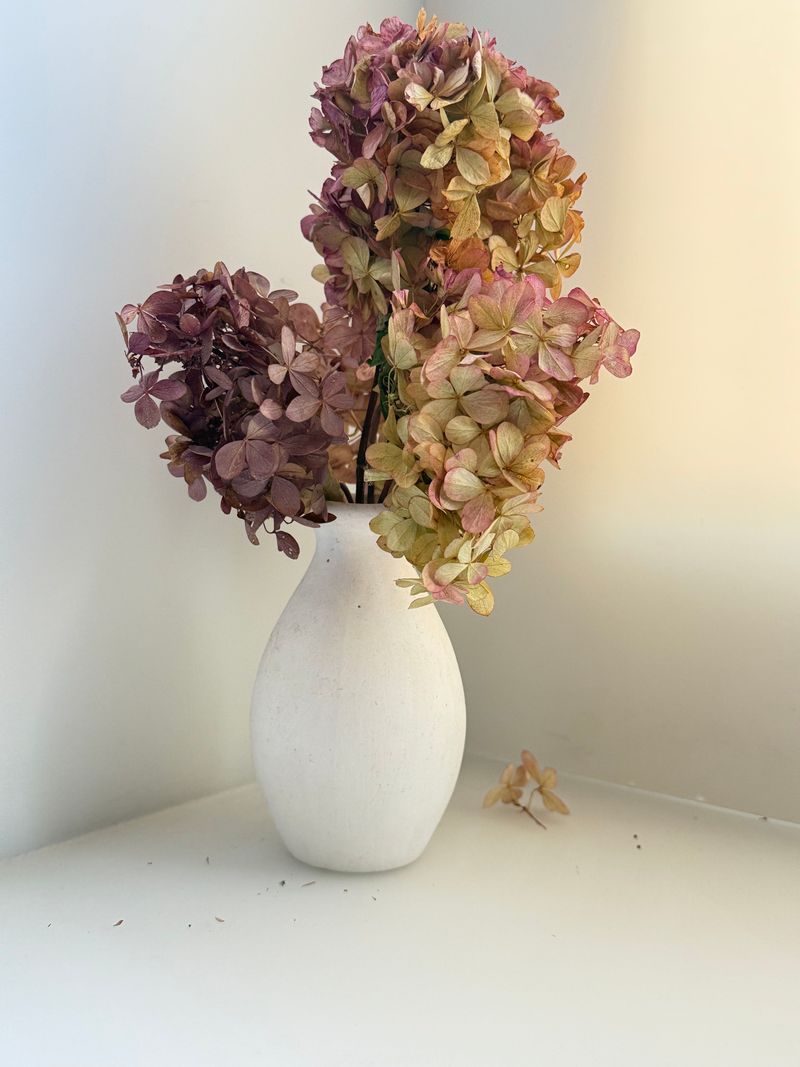
Guilty as charged, I’ve made nearly every drying mistake there is. The upside is that each one taught me something useful.
The biggest blunder is cutting too early. Moist, fresh blooms usually wilt and shrivel instead of drying nicely. When in doubt, wait a little longer and check the papery feel again.
Sunlight is the next trouble spot. A bright windowsill looks like a great drying station, but strong sun bleaches colors to dull tan in a hurry. Even finished arrangements fade faster in direct light.
Crowding causes problems too. Packed stems trap moisture between florets, and that can lead to mold or flattened sides. Give each bloom space, both while drying and once displayed.
Humidity is a sneaky one. Bathrooms and damp basements can soften dried flowers and invite mildew. A dry living room or bedroom is much kinder.
Last, keep your expectations realistic. Dried hydrangeas rarely match their fresh summer shades exactly. Colors drift toward vintage tones, and that change is part of the appeal. Once I stopped fighting it, I started loving the quiet, faded beauty of every bundle.
Dried Hydrangea Wreaths, Garlands, And Centerpieces Can Brighten Your Home For Months
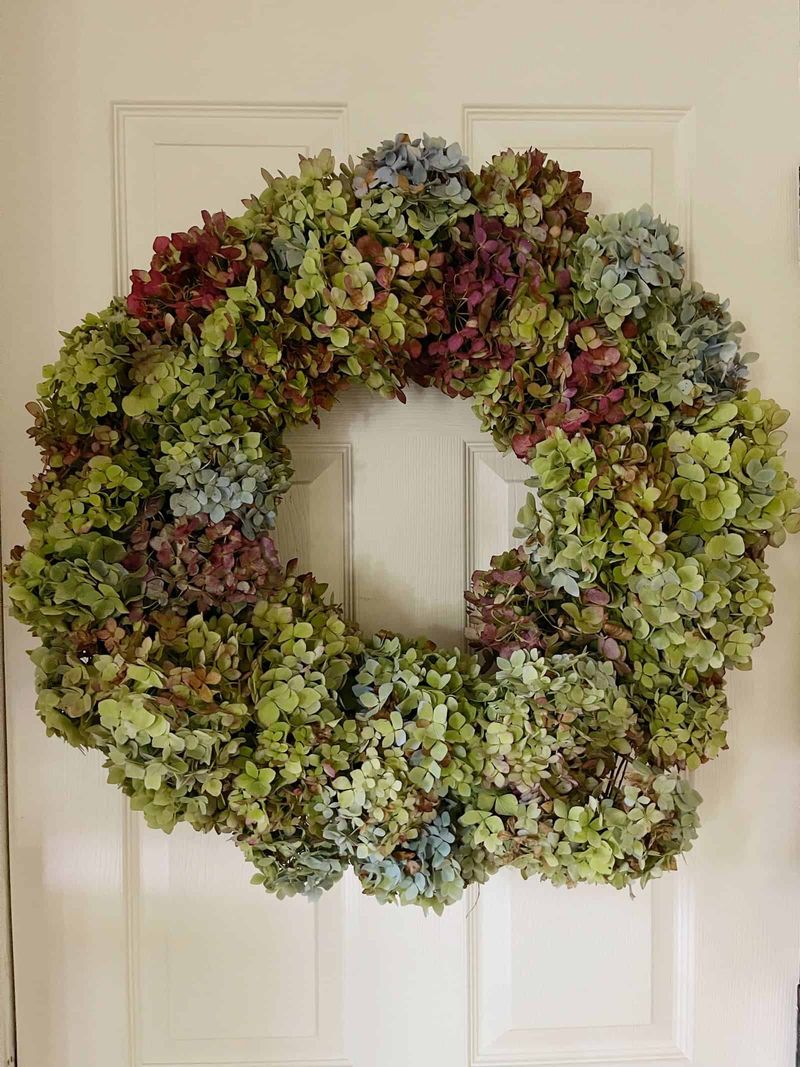
Once your blooms are crisp, the playful part begins. Every fall I end up with more dried hydrangeas than I planned, and I find new spots for them each time.
Start simple with a pitcher or crock. A few big heads in a plain container look effortless and elegant. Wooden dough bowls and wide baskets filled with blooms make a welcoming table centerpiece.
Wreaths are a natural fit. Tuck flower heads into a grapevine base with floral wire or hot glue for full, textured coverage. You can also add a few to an existing fall or winter wreath.
Garlands work great on mantels and staircases. Thread smaller clusters onto craft twine, spacing them evenly.
For small touches, try a single floret at each place setting or press a few into a shadow box frame.
To help them last, mist arrangements lightly with floral sealant or unscented hairspray. Keep displays away from heat vents and direct sun, and dust gently with a hair dryer on cool. With care, they can look lovely for a year or more, until next summer’s blooms are ready to cut.