How Florida Gardeners Propagate Desert Rose Plants And Actually Get Results
Desert rose plants have a reputation for being difficult to propagate.
That reputation is mostly wrong, but it sticks around because a few specific steps get skipped, rushed, or done in the wrong order.
The result is a cutting that sits in soil for weeks without doing anything, and a gardener who concludes the whole process is beyond them.
Florida actually has one of the best climates in the country for propagating these plants. The warmth, the light, and the long growing season create conditions that most of the world cannot replicate without a greenhouse.
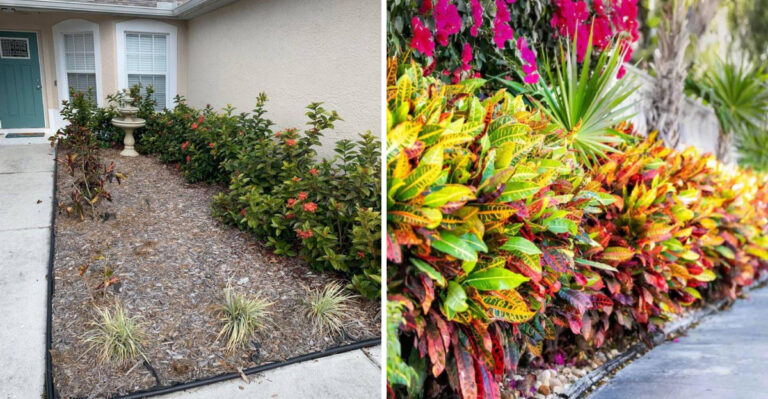
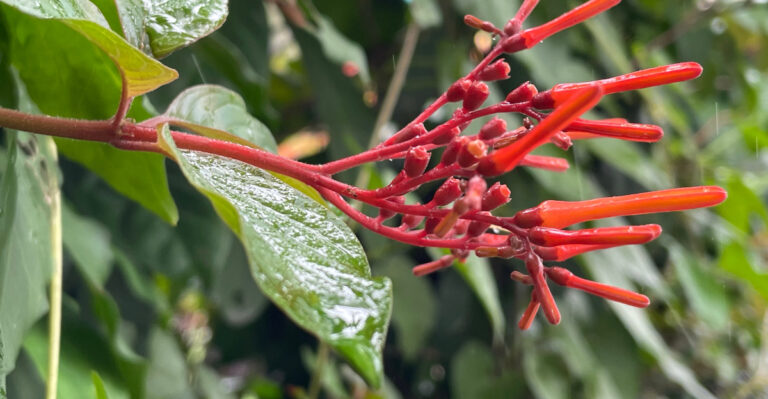
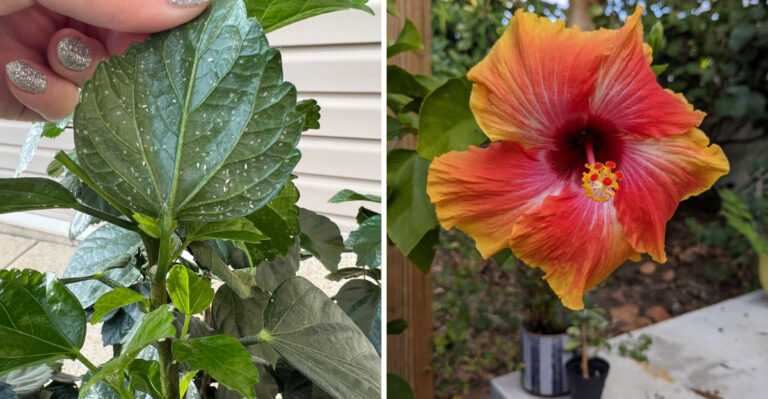
The plants are extraordinary. Swollen trunks. Twisted branches. Flowers that look painted. A mature desert rose looks like something a set designer placed in the garden rather than something that grew there naturally.
Getting from cutting or seed to that finished plant is more straightforward than most guides suggest. A few steps require patience. One requires doing nothing at all for several days.
Have you ever lost a desert rose cutting and not quite understood why? These steps explain both the failure and the fix.
1. Start With A Healthy Desert Rose

Not every desert rose makes a reliable source for new plants.
The quality of the cutting or seed traces directly back to the health of the plant it came from, and starting with a weak or stressed specimen sets the whole process up for disappointing results before it even begins.
A good parent plant has firm, plump stems with no soft or mushy spots anywhere along their length. The leaves should look green and glossy without yellowing, spotting, or wilting at the edges.
The caudex, that swollen base at soil level, should feel solid and round rather than shriveled or sunken when pressed gently.
Pest inspection matters before any cutting gets made.
Spider mites, mealybugs, and scale insects travel easily on cut stems and can establish problems in new plants before roots even form. Check stems and leaf undersides carefully before reaching for the shears.
Florida gardeners have a genuine advantage here. Desert roses thrive outdoors nearly year-round across most of the state.
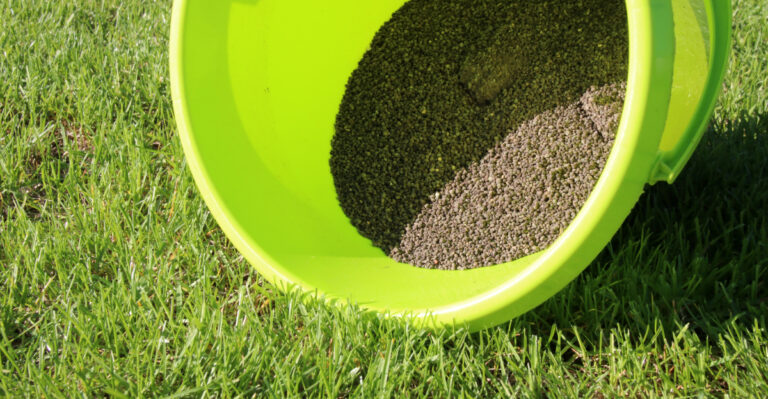
A plant that has been growing in full sun with good drainage and regular warm-season fertilizing carries significant stored energy. That energy transfers directly into cuttings and seeds, giving new plants a faster, stronger start.
A parent plant that looks like it is having its best season ever produces cuttings that behave accordingly. One that looks like it is managing rather than thriving produces cuttings that do the same.
Choose the enthusiastic one.
2. Take Cuttings During Warm Growth

Desert rose cuttings root fastest when the parent plant is actively growing and moving nutrients through its system.
Florida’s warm climate extends that window considerably compared to most of the country, but timing still matters more than most gardeners realize.
Late spring through early fall is the productive cutting window across Florida.
The plant is pushing new growth, circulating nutrients, and producing the internal signals that encourage rooting at the cut end. Cuttings taken during this period have a measurable head start over those taken during slower months.
Your Florida Garden Changes Every Week. Your Plan Should Too.
Gardening in Florida changes quickly throughout the season. Every Friday you’ll receive a simple weekly plan showing exactly what to plant, prune, fertilize, harvest, and protect so you never miss the right timing.
Cooler periods in Central and North Florida, typically December and January, slow rooting dramatically.
A cutting taken during a cool stretch often sits in the mix for weeks without showing any progress. Not because something went wrong, but because the biological conditions for rooting are simply not present at lower temperatures.
When the timing is right and the plant is actively growing, choose a stem about four to six inches long with at least two or three leaf nodes along it.
Clean, sharp shears produce a smooth cut that heals faster than a ragged one. Tip cuttings, taken from the end of a branch rather than the middle, tend to root slightly more reliably.
Remove the lower leaves and leave just a few at the top. This reduces the moisture the cutting has to manage while it focuses entirely on building roots rather than maintaining a full canopy.
South Florida gardeners enjoy a bit more flexibility here since temperatures stay warmer longer into the calendar year.
3. Let Cut Ends Callus First

The impulse after taking a fresh cutting is to plant it immediately. The soil is ready, the pot is waiting, and the whole thing feels productive.
Resisting that impulse and waiting several days first is the step that separates successful propagators from frustrated ones.
Callusing is the process by which the cut end of the stem dries out and forms a protective layer of tissue over the wound.
That layer seals the entry point that would otherwise allow fungal pathogens to move directly into the cutting once it contacts moist soil. Without it, the open wound and the damp potting mix create conditions that favor rot over rooting.
Setting cuttings in a dry, shaded spot with good airflow is all the callusing step requires.
Direct sun during this period can cause the cutting to shrivel before rooting has a chance to begin, so a shaded porch, a countertop away from direct afternoon light, or a spot under a covered patio all work well.
Florida’s warm, humid air typically produces a good callus within two to four days. The cut end should appear dry, slightly darker in color, and firm rather than moist and soft.
Some growers wait a full week before moving to the next step, and that extra patience consistently produces better results.
Once the callus is visible and the end feels genuinely dry to the touch, the cutting is ready for soil.
The patience required here is measured in days, not weeks. The rot it prevents develops in hours.
4. Root Cuttings In Fast Draining Mix

Soggy soil does not just slow desert rose cuttings. It ends them. These plants evolved in dry, rocky, well-draining environments where roots have consistent access to oxygen.
Placing a cutting in standard potting mix or garden soil in Florida’s humidity is asking for the exact conditions that cause failure.
A reliable rooting mix combines equal parts perlite and cactus or succulent potting mix.
Some experienced Florida growers add coarse sand or pumice for additional drainage, producing a medium that drains almost immediately after watering and rarely stays wet for more than a few hours.
Terracotta pots are the preferred container among desert rose growers for a practical reason. The porous walls allow moisture to evaporate through the sides, which keeps the root zone drier between waterings than plastic containers can manage.
Plastic works, but it requires more careful watering discipline to avoid the wet conditions that cause problems.
Every container used for rooting needs drainage holes at the bottom. This is not optional.
Set the callused cutting about one to two inches into the mix and firm it gently enough that it stands upright without compacting the medium around it.
Compacted mix reduces airflow around the base, which reduces the oxygen availability that developing roots require.
The right mix at the start prevents most of the problems that show up later. It is the kind of decision that looks minor at planting time and significant three weeks in when other cuttings are rotting and yours are not.
5. Keep The Soil Barely Moist

The instinct to water generously after planting a cutting comes from good intentions and produces bad outcomes.
A cutting without roots cannot absorb water efficiently, and sitting in damp soil simply creates the rot conditions that the callusing step was designed to prevent.
During the rooting phase, water the mix lightly and wait until the top inch feels dry before watering again. In Florida’s warm summers, that interval runs roughly five to seven days.
During cooler stretches when the mix dries more slowly, extending to ten days or longer is appropriate. The mix guides the schedule better than the calendar does.
Light misting on the leaves helps reduce the stress a cutting experiences while working on root development.
Cuttings lose moisture through leaf surfaces even without a root system supplying replacement water, and a gentle misting every couple of days can prevent shriveling during the early weeks. A light spritz on the foliage is the goal, not a soaking of the medium.
New leaf growth pushing out from the growing tip is one of the most satisfying signals in propagation. It indicates that root development is underway below the surface. The cutting is no longer just surviving. It is building something.
Resist the temptation to ease off watering restraint immediately at this point. Keep the schedule conservative for another week or two before gradually transitioning toward a more regular routine.
The cutting worked hard for those new leaves. Rewarding it with root rot is not the celebration it deserves.
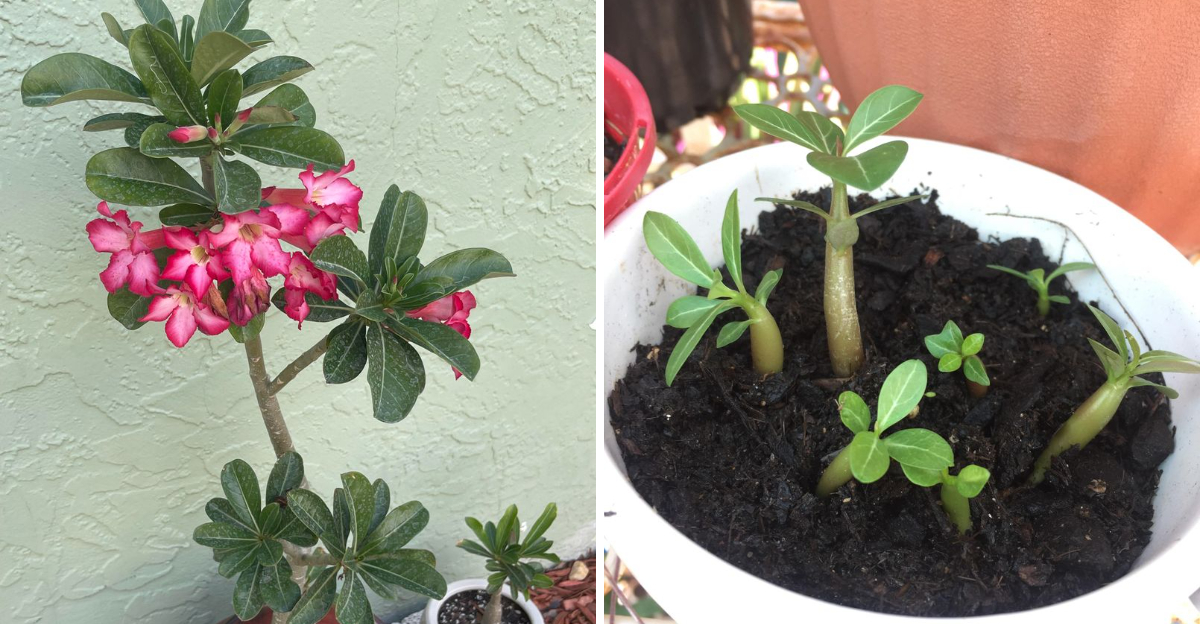
6. Grow Seeds For A Better Caudex

Anyone who has seen a mature desert rose with a spectacular bottle-shaped base and wondered how to grow one that impressive has probably been starting from cuttings.
Cuttings produce excellent plants, but the caudex development that makes a desert rose look like a small fantasy tree tends to be more pronounced and dramatic in seed-grown specimens.
Florida’s warmth makes seed germination reliably successful across most of the state.
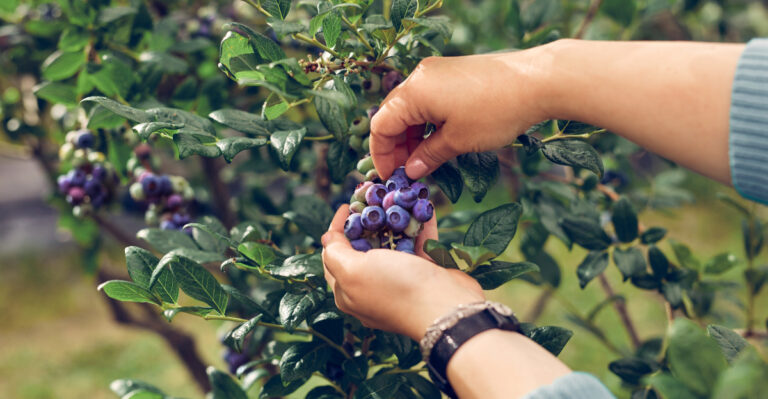
Fresh seeds germinate most dependably, so sourcing from a reputable grower or collecting from a ripe pod on an existing plant produces the best results.
The long slender seed pods split when fully ripe and release seeds with distinctive fluffy tails designed for wind dispersal.
Plant seeds on top of a moist, well-draining mix and press them in lightly without burying them deep. Warmth and bright indirect light are the requirements for germination.
Keeping the temperature above 70 degrees Fahrenheit and the location well-lit produces sprouts within a week or two under good conditions.
Seedlings are more delicate than rooted cuttings during the first several weeks, so gentle handling and conservative watering protect the developing root system.
Within a few months, the signature swelling at the base of the stem begins to form, and the plant starts to look like what it is actually going to become.
Growing from seed takes considerably more patience than cuttings. The payoff is a caudex that looks like it was carved rather than grown, and a plant with a shape that belongs in a sculpture garden.
7. Repot Only After Roots Settle

New leaves pushing out of a cutting are exciting, right? But they are also misleading.
Above-ground growth does not always mean the root system below is ready for a change of container, and repotting too early into a larger pot is one of the more common ways to set back a cutting that appeared to be doing well.
Roots need time to fill the starter container before a larger environment is introduced. Moving a young root system into a much bigger pot surrounds it with more soil than it can use.
That excess soil holds moisture the roots cannot absorb, and that leftover moisture creates the conditions that cause problems even in a correctly draining mix.
A practical readiness test involves gently tipping the pot and looking at the drainage holes. White roots beginning to emerge from the bottom openings indicate the plant is ready for a slightly larger container.
A root ball that holds together when the pot is tipped out is well-established enough for a move. Soil that falls apart means the roots are not yet filling the container and the plant needs more time.
When repotting is warranted, moving up one pot size rather than jumping to a significantly larger container keeps the soil-to-root ratio manageable. Use the same fast-draining mix from the rooting stage and water lightly after the move.
Placing the newly repotted plant in bright indirect light for several days before returning it to full sun reduces transplant stress without interrupting growth momentum.
One pot size at a time is a reasonable pace. The plant will let you know when it is ready for the next one.