How Missouri Gardeners Are Turning Storm Debris Into Hugelkultur Mounds
Storms don’t just rearrange things, they hand you resources. Branches piling up across Missouri lawns hide a secret. Fallen logs look ordinary, but they aren’t. You can turn that debris into a self-watering bed.
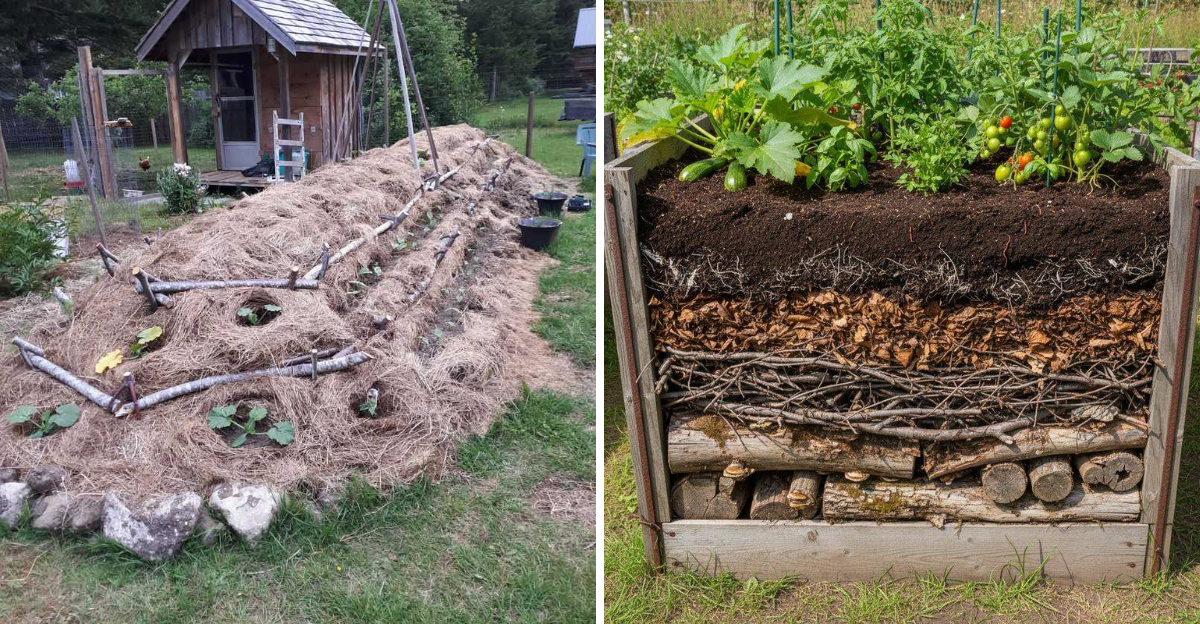
Hugelkultur, a traditional gardening method, can dramatically improve soil moisture and fertility. Inside every mound, wood slowly builds a food web. Layers of wood, compost, and soil trap rainwater efficiently.
Tucked timber holds moisture for months, feeding roots nonstop. Missouri’s unpredictable weather makes that stored water essential. Nothing here requires money, kits, or store-bought soil.
Every layered log keeps feeding your garden for years. Decomposing timber releases nutrients slowly, pushing growth forward constantly. Your pile of storm debris just became valuable infrastructure.
Skeptics change their minds once they see the harvest. Time turns wood into nutrition your plants crave instantly.
Curiosity got you this far, but building takes commitment. Ready or not, your very best garden begins right now.
1. Gather Fallen Branches And Logs After Storms Pass
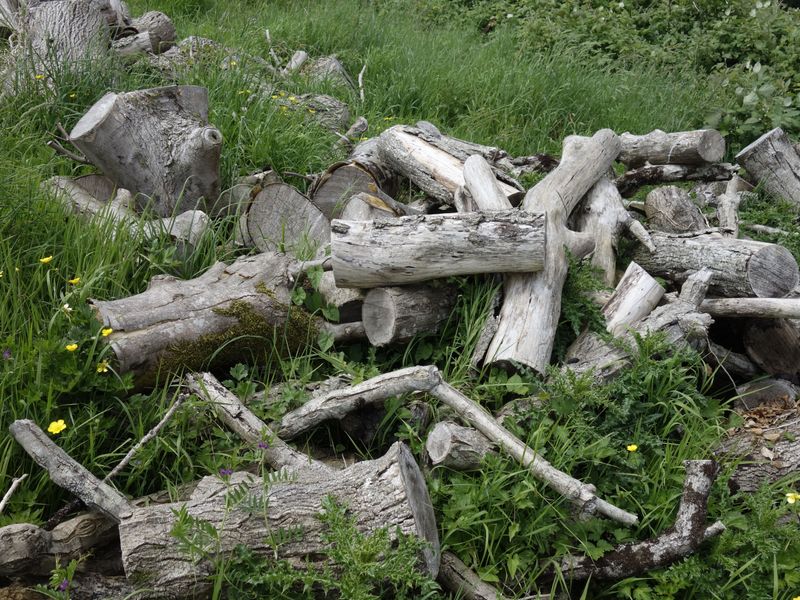
Your yard just became a lumber yard. After a storm sweeps through, fallen branches and logs are everywhere, and hauling them to the curb feels like a waste.
Hugelkultur starts right here, with whatever wood landed in your yard. Oak, maple, elm, and hickory are all common in Missouri and work beautifully as mound material.
Fresh storm debris is actually ideal because the wood still holds moisture inside. That trapped water slowly releases into the soil as the wood breaks down over months and years.
Grab a pair of sturdy gloves and a wheelbarrow before you start collecting. Thick leather gloves protect your hands from splinters and hidden nails that sometimes show up in storm-damaged wood.
Walk your entire property and drag branches toward one central spot. Keeping everything in one pile makes the layering process much faster and easier when you are ready to build.
Skip any wood that smells strongly of rot or shows signs of fungal disease. Diseased wood can introduce problems into your new garden bed, so it is worth being selective from the start.
Logs thicker than your forearm are especially valuable for this project. The bigger the wood, the longer it holds water and feeds the soil with nutrients as it decomposes.
Think of this step as gathering useful material from your own backyard. Every branch you collect is one less bag of mulch or fertilizer you will need to buy this season.
2. Sort Debris By Size For Proper Mound Layering
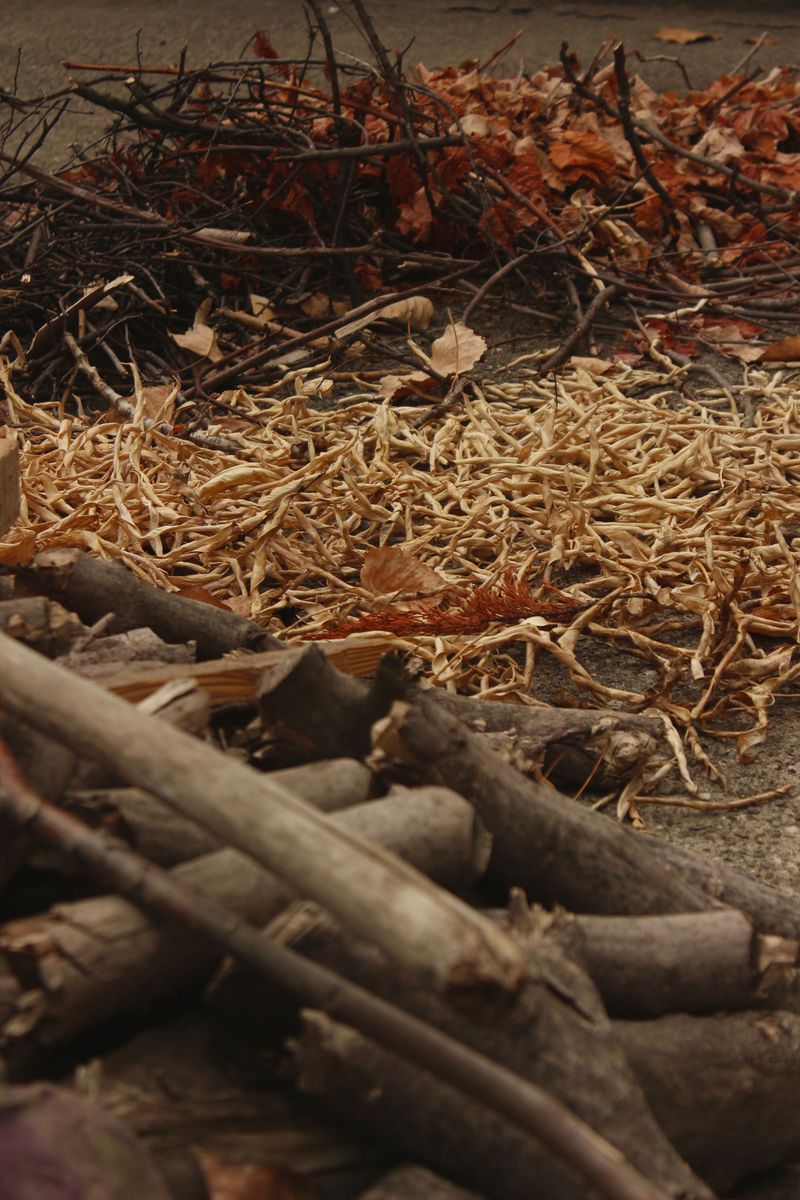
Organization is the secret weapon of a great hugelkultur mound. Tossing everything in randomly might seem faster, but sorting by size makes a huge difference in how well the mound performs over time.
Start by separating your debris into three rough categories: large logs, medium branches, and small twigs. Each layer in the mound serves a specific purpose, so having them pre-sorted saves serious time.
Large logs, anything thicker than your wrist, go in the core of the mound. They act like a slow-release sponge, holding water and releasing nutrients for years as they gradually break down.
Your Missouri Garden Changes Every Week. Your Plan Should Too.
Gardening in Missouri changes quickly throughout the season. Every Friday you’ll receive a simple weekly plan showing exactly what to plant, prune, fertilize, harvest, and protect so you never miss the right timing.
Medium branches, roughly the size of your arm or smaller, come next in the layering order. These fill in gaps around the large logs and help the mound hold its shape as it settles.
Tiny twigs, leaves, and bark scraps belong at the top of the pile. They break down quickly, feeding the soil and giving you a soft, workable surface for planting.
You do not need to be obsessive about perfect sorting. Rough groupings work just fine, and you can always adjust pieces as you stack them into the mound.
Some Missouri gardeners mark their piles with simple flags or stakes so they can grab the right material quickly. It sounds overly organized, but it cuts your build time nearly in half.
Good sorting now means less frustration later. A well-layered mound drains better, holds moisture longer, and gives roots a healthier environment to explore.
3. Dig A Shallow Trench To Anchor The Base
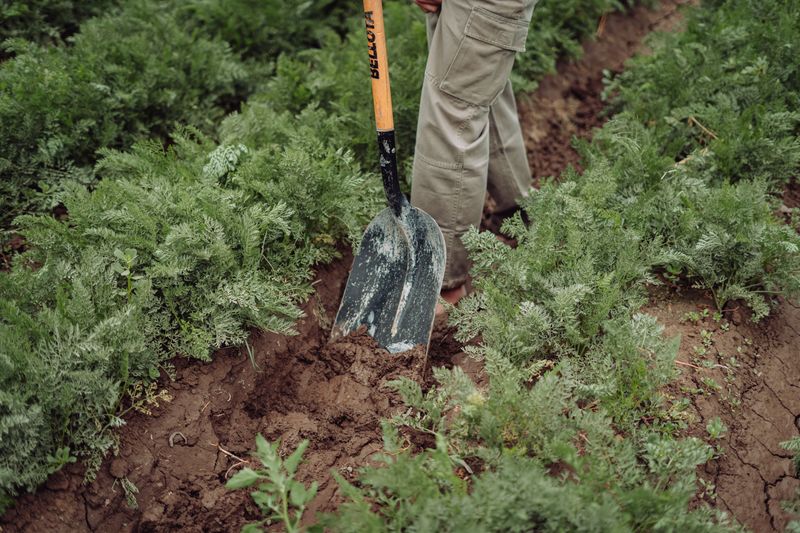
Picture this: you just stacked a beautiful mound of logs and branches, and then a rainstorm rolls the whole thing sideways. A shallow trench prevents exactly that kind of frustrating disaster.
Digging a trench is the step most beginners skip, and it is also the step most beginners regret skipping. Even a six-inch-deep trench makes a dramatic difference in mound stability.
Grab a flat-edged spade and outline the footprint of your planned mound first. Most hugelkultur mounds in backyard gardens run about six feet long and three feet wide, though you can scale up or down.
Dig straight down along the outline, removing the top layer of sod and soil. Set that sod aside because you will use it later when covering the mound with organic material.
The trench does not need to be deep. Six to eight inches is plenty to grip the base logs and keep the mound anchored through heavy Missouri rains and wind.
If your yard has a slope, orient the mound so it runs across the slope rather than down it. Cross-slope placement slows water runoff and keeps the mound from washing away after heavy rain.
Loose, sandy soil may need a slightly deeper trench for extra grip. Clay-heavy Missouri soils, which are very common in the region, hold a trench shape well and provide natural stability.
A solid base is how your mound stays productive for a decade. Taking thirty extra minutes now saves you hours of rebuilding later.
4. Stack Larger Logs First To Build The Core
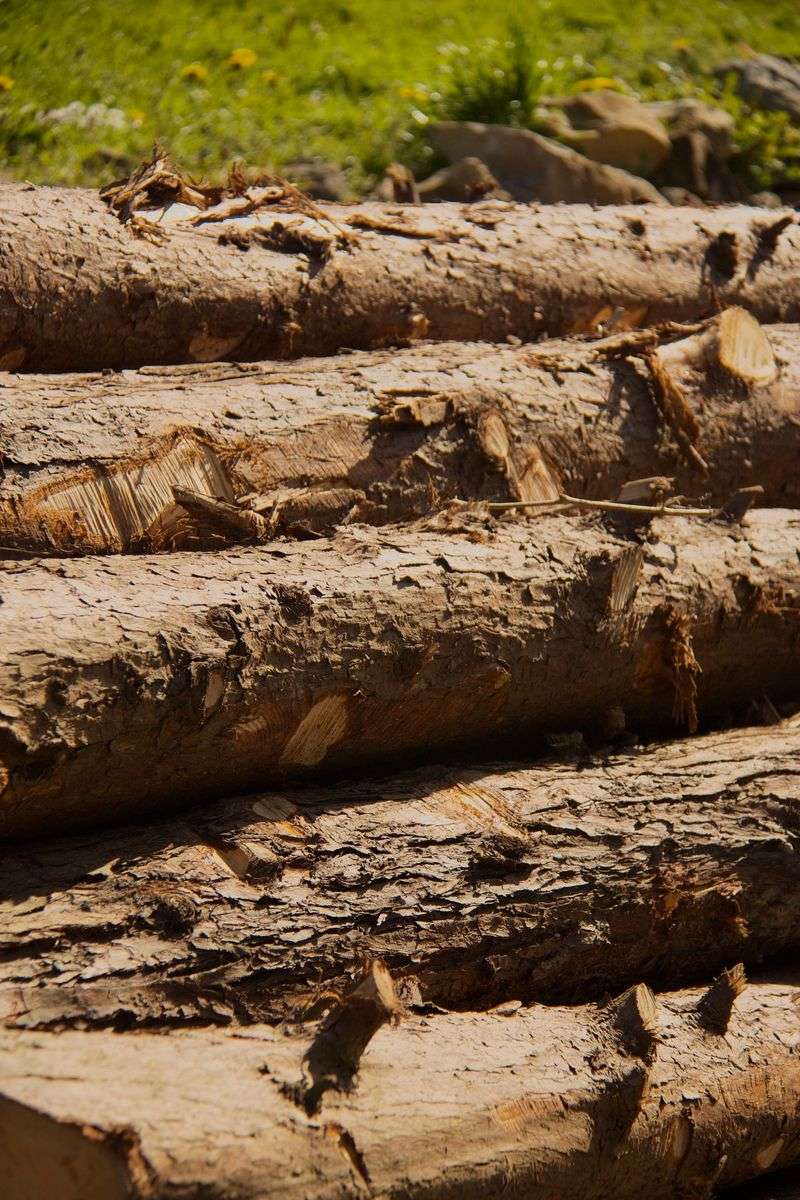
The core of a hugelkultur mound is where the key decomposition process begins. Big logs buried at the center slowly rot and transform into a spongy, nutrient-packed reservoir that plants absolutely love.
Place your largest logs directly into the trench first. Pack them tightly together, alternating directions if needed, to create a dense and stable core that will not shift or collapse.
Logs from oak and hickory trees, both of which are super common after Missouri storms, are excellent choices. They break down slowly, meaning your mound keeps releasing nutrients for five to ten years.
Avoid using black walnut logs in your mound if you plan to grow vegetables or flowers nearby. Black walnut produces a chemical called juglone that can stunt or harm many common garden plants.
Cedar and pine logs work fine in smaller amounts, though they typically break down faster than dense hardwoods. Mixing wood types actually creates a more diverse soil ecosystem as different organisms move in to decompose each type.
Press the logs firmly into the trench so they sit low and stable. The top of your core layer should sit no more than twelve inches above ground level before you add the next layers.
Fill any wide gaps between logs with smaller chunks of wood or thick branches. Fewer air pockets in the core means better moisture retention throughout the whole mound.
A dense, well-packed core is the heartbeat of your hugelkultur mound. Get this layer right and everything above it will thrive.
5. Layer Smaller Branches And Twigs On Top
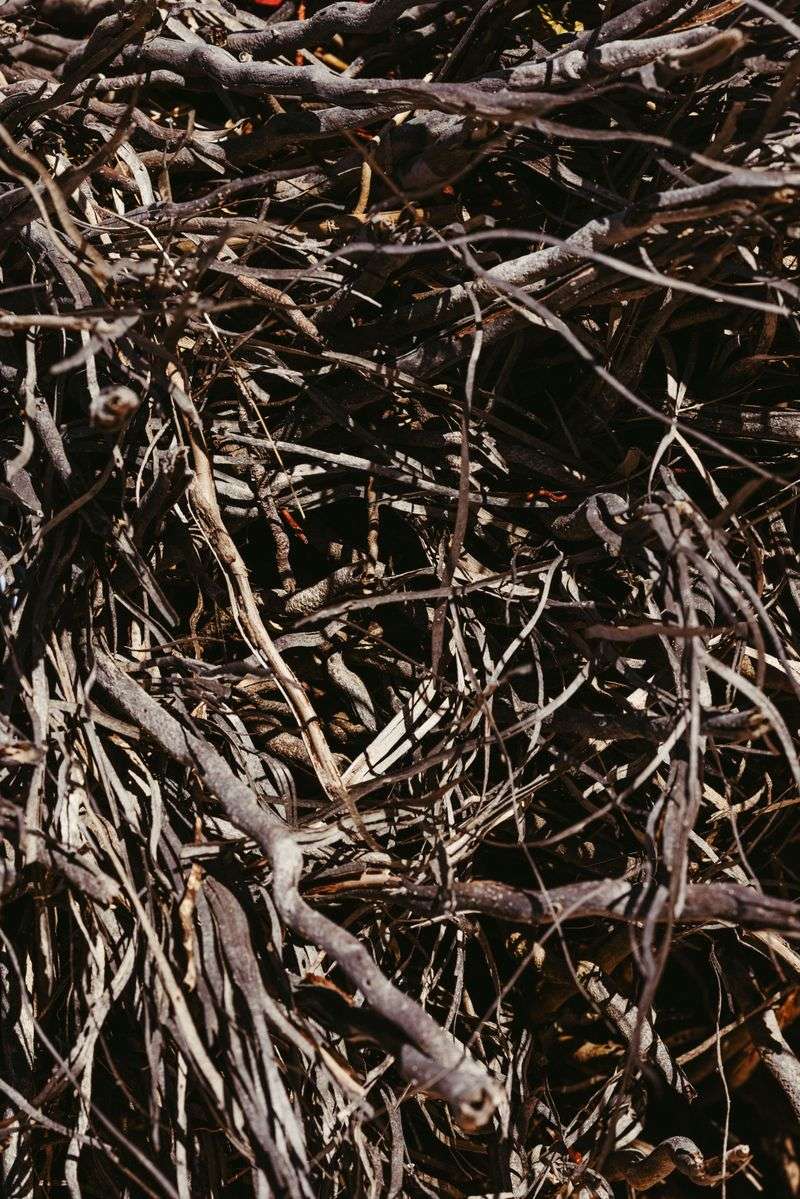
Once the big logs are locked in place, the mound starts looking like something real. Adding smaller branches and twigs on top is where the structure gains shape and character.
Smaller branches fill in the gaps that large logs leave behind. Those gaps, if left open, create air pockets that dry out the mound and give pests a cozy place to nest.
Lay medium branches in a crisscross pattern over the log core. Crisscrossing creates a more interlocked structure that stays put even when the wood begins to shrink as it dries and decomposes.
Twigs, leaf stems, and thin sticks go on top of the medium branches. These fine materials break down within one to two seasons, quickly feeding the upper layers of the mound with organic matter.
Do not overthink the arrangement too much at this stage. A rough, natural-looking layer works just as well as a perfectly arranged one, and the soil you add next will fill remaining spaces.
Tuck dried leaves into gaps as you go. Leaves break down fast in Missouri’s humid summers, adding nitrogen and carbon that balance the slow-rotting wood below.
If you have any straw leftover from a previous garden project, mix it in with the twigs. Straw adds air and drainage to the upper layers while also feeding beneficial soil microbes.
This layering step transforms a pile of storm junk into something with real purpose. Each branch placed here is a slow-release nutrient packet for the seasons ahead.
6. Add Soil And Compost To Fill Gaps
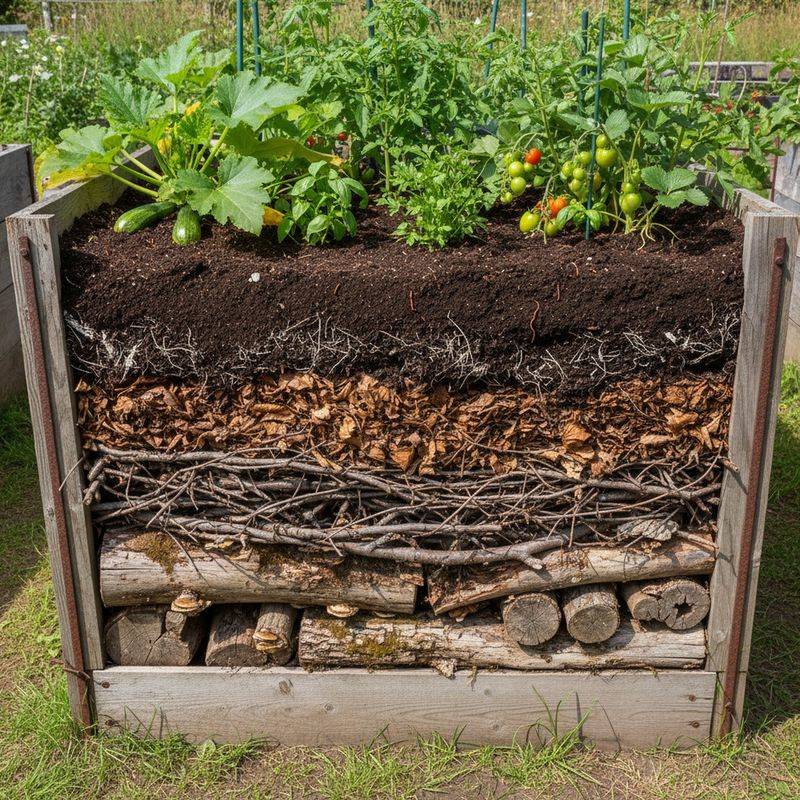
Soil and compost are the glue that holds a hugelkultur mound together. Without them, you just have a pile of sticks, but with them, you have a living, breathing garden bed.
Start by shoveling the sod you removed during the trench-digging step back onto the mound, grass side down. Flipping it upside down smothers the grass and adds a rich layer of organic material at the same time.
Next, add a generous layer of finished compost over the sod. Compost introduces a large population of beneficial microbes that begin working on the wood beneath, speeding up decomposition and enriching the soil.
If you do not have enough homemade compost, a bag or two of store-bought compost works well. Missouri gardeners often mix in aged manure from local farms, which is affordable and packed with nutrients.
After compost, add a thick layer of garden soil or topsoil to create the planting surface. Aim for at least four to six inches of soil on top so plant roots have room to establish early in the season.
Work the soil and compost together with a garden fork or your gloved hands. Blending the two materials creates a smoother, more even planting surface that seeds and transplants will love.
Check for any large gaps or sinkholes in the surface and fill them in before planting. Gaps dry out faster and can cause transplants to tip over before their roots take hold.
A well-filled mound feels firm but fluffy underfoot. That texture tells you the soil structure is just right for growing.
7. Cover The Mound With Mulch Or Straw
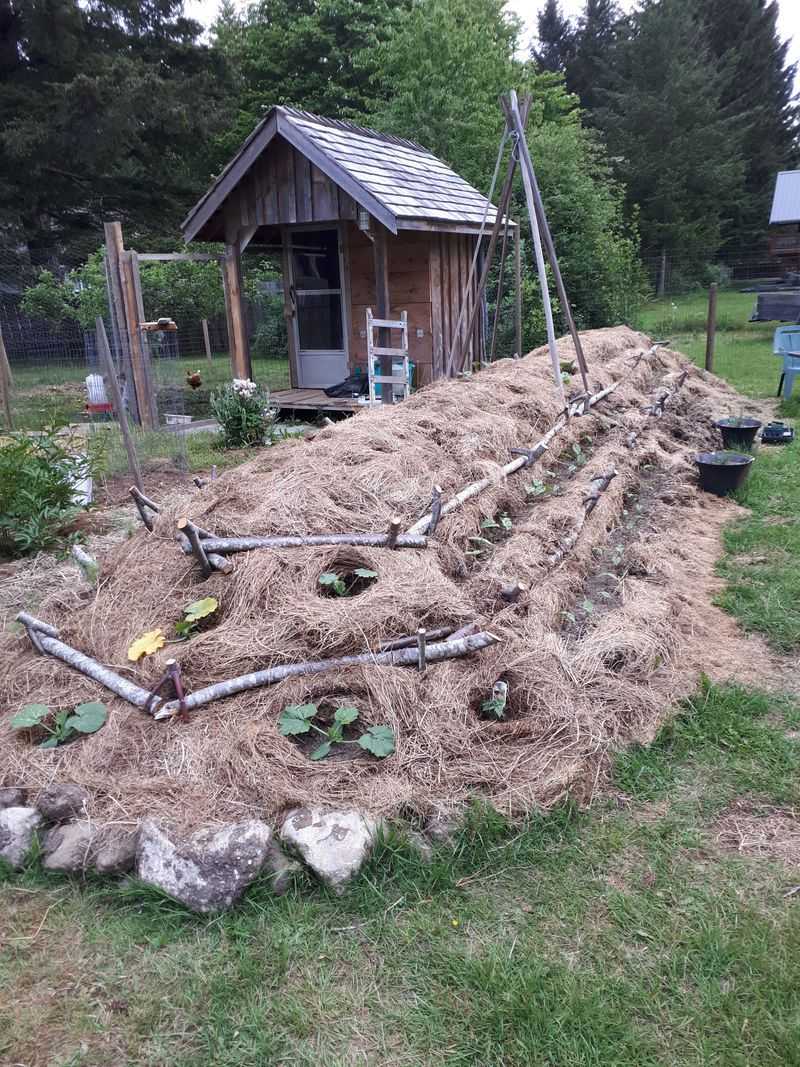
An uncovered mound loses moisture much faster. Covering your finished hugelkultur structure with mulch or straw is one of the most important finishing steps you can take before planting anything.
Mulch acts as a blanket that slows moisture loss from the mound surface. In Missouri summers, where temperatures regularly climb past ninety degrees, that moisture-saving layer can mean the difference between thriving plants and struggling ones.
Straw is one of the best mulch choices for hugelkultur mounds because it is light, affordable, and breaks down into organic matter by the following season. Avoid hay if you can, since hay often contains seeds that sprout and compete with your garden plants.
Wood chip mulch is another excellent option, especially if you have extra chips from the storm cleanup. A two-to-three-inch layer of wood chips keeps weeds down and keeps the mound surface cool and moist.
Spread the mulch or straw evenly across the top and down the sides of the mound. Covering the sides is just as important as covering the top because bare slopes lose moisture quickly and erode during heavy rain.
Pull the mulch slightly away from the base of any transplants you add. Direct contact between mulch and plant stems can cause rot and invite fungal issues in Missouri’s humid climate.
Refresh the mulch layer each spring to replace what breaks down over winter. A fresh topdressing keeps the mound productive, weed-free, and ready for another full growing season.
A mulched mound stays moist, cool, and protected. Your plants will thank you all summer long.
8. Plant Directly Into The Finished Mound
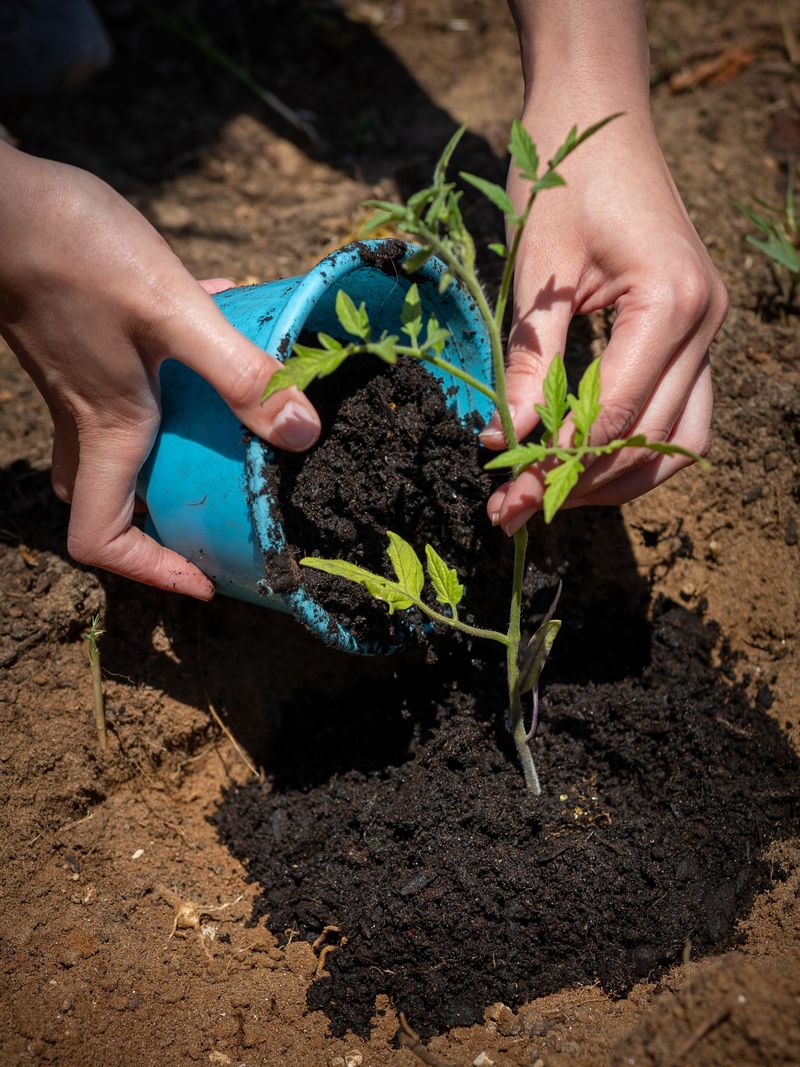
The mound is built, the soil is ready, and now comes the best part. Planting directly into your finished hugelkultur mound is where all that storm debris turns into something you can actually eat.
Hugelkultur mounds work well for a wide range of crops. Squash, zucchini, tomatoes, peppers, cucumbers, and herbs all thrive in the rich, moisture-retaining environment these mounds create.
The sloped sides of the mound offer different growing conditions than the flat top. Moisture-loving plants do well on the lower slopes, while drought-tolerant herbs like rosemary and thyme prefer the drier conditions near the peak.
Use a trowel or your finger to make a small planting hole, then set your transplant in at the same depth it was growing in its pot. Firm the soil gently around each plant to remove air pockets beneath the roots.
Direct seeding works beautifully on hugelkultur mounds too. Beans, radishes, lettuce, and sunflowers all germinate quickly in the warm, loose soil that a freshly built mound provides.
Water transplants thoroughly right after planting, even though the mound holds moisture well. That first deep watering helps roots make contact with the surrounding soil and gets them established faster.
As the seasons pass, the decomposing wood inside the mound becomes increasingly rich and fertile. Some gardeners find that hugelkultur mounds become more productive in their second and third seasons, as buried wood continues to break down.
Storm debris turned into dinner is a rewarding result of this process. That is the full power of how Missouri gardeners are turning storm debris into hugelkultur mounds.