How To Force Paperwhites And Amaryllis For Ohio Holiday Blooms
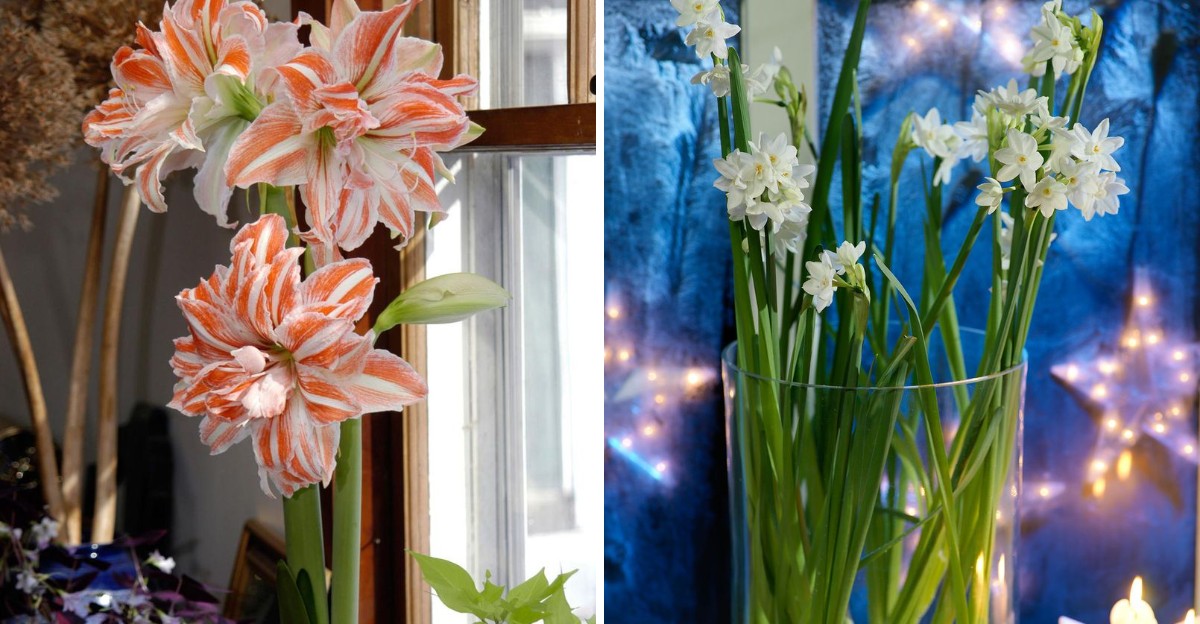
Snow piles up outside, and a tall white bloom opens on your kitchen counter like it never heard about winter.
Ohio gardeners have a cheap trick for pulling spring into the middle of the holidays. Two bulbs do most of the work, and neither one asks for a green thumb.
Both come in a box, ready to go, and both put on a show that makes guests lean in for a closer look.
Timing is where people stumble. Start too late and the blooms miss the party.
Start too early and they fade before the guests arrive. The two bulbs also run on different clocks, which catches plenty of first-timers off guard.
A few simple steps keep each one on schedule.
Mark your calendar this week and pick up your bulbs. The countdown to the holidays has already begun.
1. Neither Bulb Needs A Cold Chilling Period
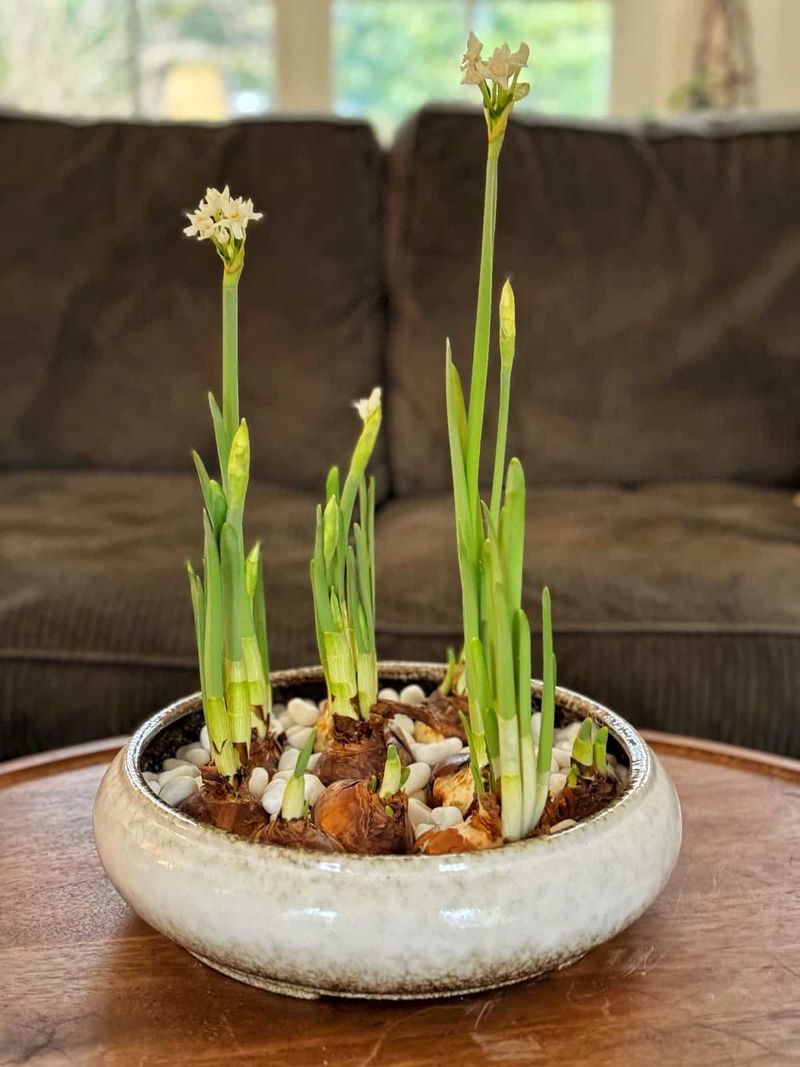
Good news for busy gardeners: you can skip the fridge entirely. Tulips and crocuses want weeks of cold before they bloom, but these two holiday favorites come ready to roll.
Paperwhites are the easiest of the bunch. They grow from warm parts of the Mediterranean, so they never learned to wait for a hard winter.
Pop them in a dish, add water, and they start waking up within days.
Amaryllis comes from South America, where seasons swing between wet and dry instead of hot and cold. Most bulbs sold in Ohio stores in fall have already finished their rest.
That means you can plant them the same day you bring them home.
There is one small catch with amaryllis you saved from last year. Those bulbs like a cool, dry break of about 8 to 10 weeks with no water.
Think of it as a long nap in a basement or closet, not a chill in the freezer.
For store-bought bulbs, though, the hard part is already done. Check that each one feels firm, like a fresh onion, with no soft or moldy spots.
A plump bulb holds the flower bud inside, waiting for its cue.
So clear some counter space instead of fridge space. Your winter show can start whenever you are ready.
2. Pot Amaryllis Now For Blooms In About 6 To 8 Weeks
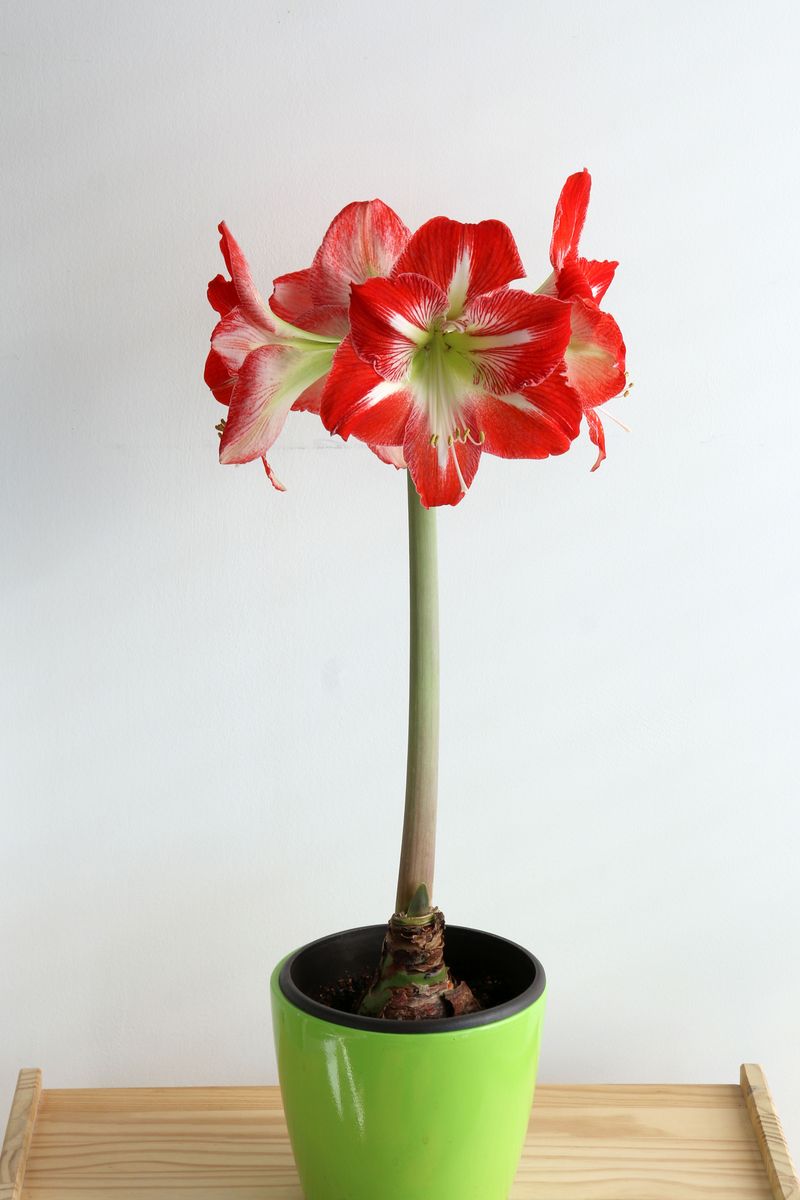
Count backward from Christmas, and you land right around early November. Amaryllis usually opens its big trumpet flowers about 6 to 8 weeks after planting.
That makes late October through mid-November the sweet spot for Ohio holiday blooms.
My neighbor in Columbus marks her calendar on Halloween. While kids grab candy, she grabs her bulbs and potting mix.
Her red blooms show up like clockwork for Christmas dinner.
Pick a pot that fits snugly around the bulb. A container about 7 to 8 inches wide works well for most bulbs.
Amaryllis actually likes a cozy fit, and the extra weight keeps tall stems from tipping over.
Size matters when you shop, too. Bigger bulbs often send up two stalks, and each stalk can carry four or more flowers.
Smaller bulbs still bloom, but the show may be a bit lighter.
Your Ohio Garden Changes Every Week. Your Plan Should Too.
Gardening in Ohio changes quickly throughout the season. Every Friday you’ll receive a simple weekly plan showing exactly what to plant, prune, fertilize, harvest, and protect so you never miss the right timing.
Want color that lasts past New Year’s Day? Plant a few different varieties, or pot them a couple of weeks apart.
Some types bloom faster than others, which stretches the season naturally.
Use a fresh, well-draining potting mix rather than heavy garden soil. Soggy dirt can cause trouble later.
A bag of indoor mix from any Ohio garden center does the job nicely.
3. Leave The Top Half Of The Amaryllis Bulb Above The Soil
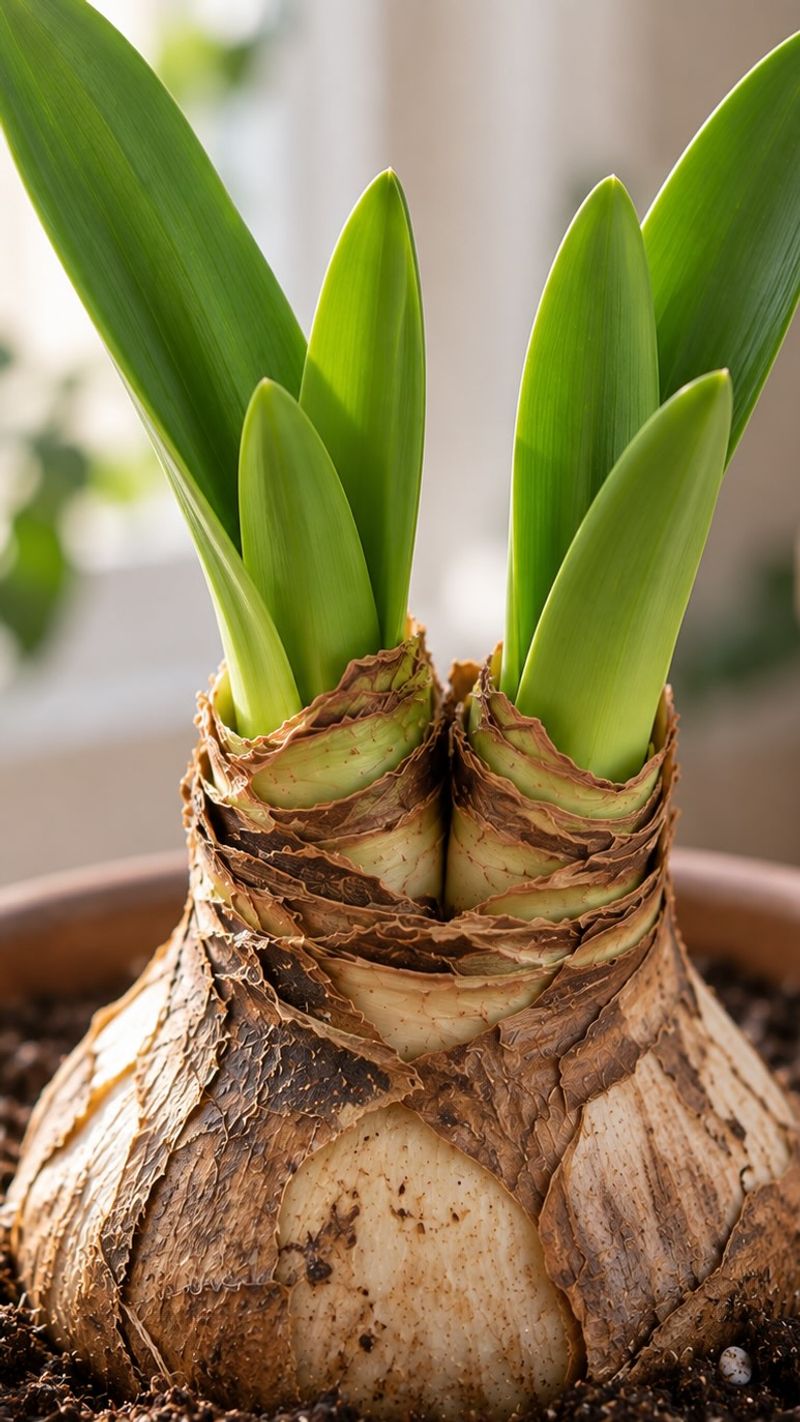
Picture a hippo in a pond, with just its back and eyes peeking out. That is roughly how an amaryllis bulb should sit in its pot.
Most of it stays above ground, enjoying the air.
Aim to keep one-half to two-thirds of the bulb showing above the soil line. Burying it deep, like a tulip, can trap moisture around the neck.
That can lead to rot and slow down blooming.
Start by adding potting mix to the bottom of the pot. Set the bulb in the center with its roots pointing down.
Then fill in around the sides, pressing gently so the bulb feels firm and does not wobble.
Leave about an inch of space between the soil and the pot rim. That gap gives water room to soak in instead of spilling across your table.
It also makes the setup look neat and tidy.
Prefer a cleaner look? Amaryllis can grow in pebbles too.
Nestle the roots among stones and pile more stones around the base, keeping the top portion exposed.
Here is a fun bonus of this method. With so much bulb showing, you can watch the green bud push up like a tiny rocket.
Kids especially love checking on it each morning.
4. Water Amaryllis Sparingly Until Green Growth Appears
Patience is the secret ingredient here, and it is harder than it sounds. Right after planting, give your amaryllis one good, deep drink.
Let the extra water drain out the bottom.
After that, put the watering can down and step away. A bulb with no leaves cannot use much moisture yet.
Extra water just sits in the soil and invites rot, which is the top reason amaryllis bulbs fail.
So how little is little? A small splash every week or so is plenty, just enough to keep the mix from turning bone dry.
Ohio homes with furnaces running may dry out a bit faster, so poke a finger in to check.
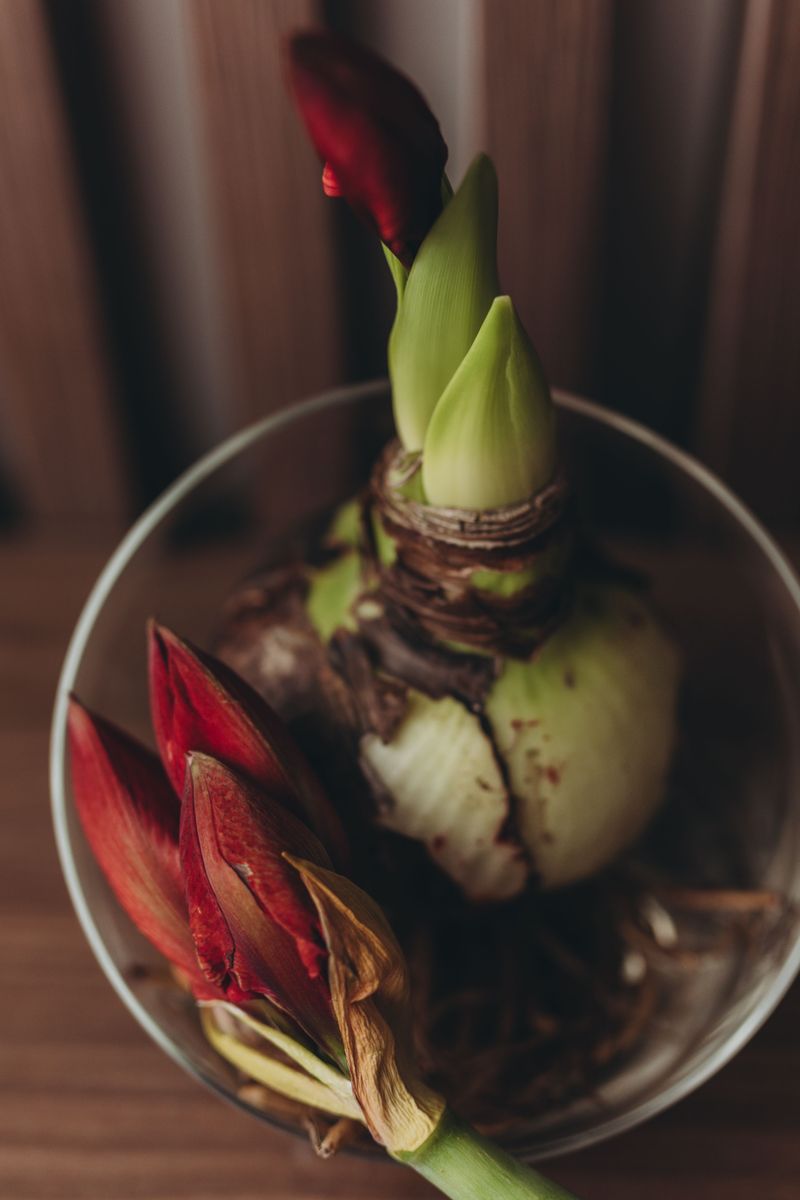
Then one day you will spot it. A green tip, usually the flower stalk, pokes out of the top of the bulb.
That shoot tells you roots are busy underneath and ready for more.
Now you can water more regularly. Let the top half of the soil dry out between drinks.
Water at the edge of the pot, not straight onto the bulb’s nose.
A saucer under the pot helps protect your furniture. Just empty it after watering so the roots do not soak.
Think of it as giving your plant a drink, not a bath.
5. Plant Paperwhites About 4 To 6 Weeks Before You Want Blooms
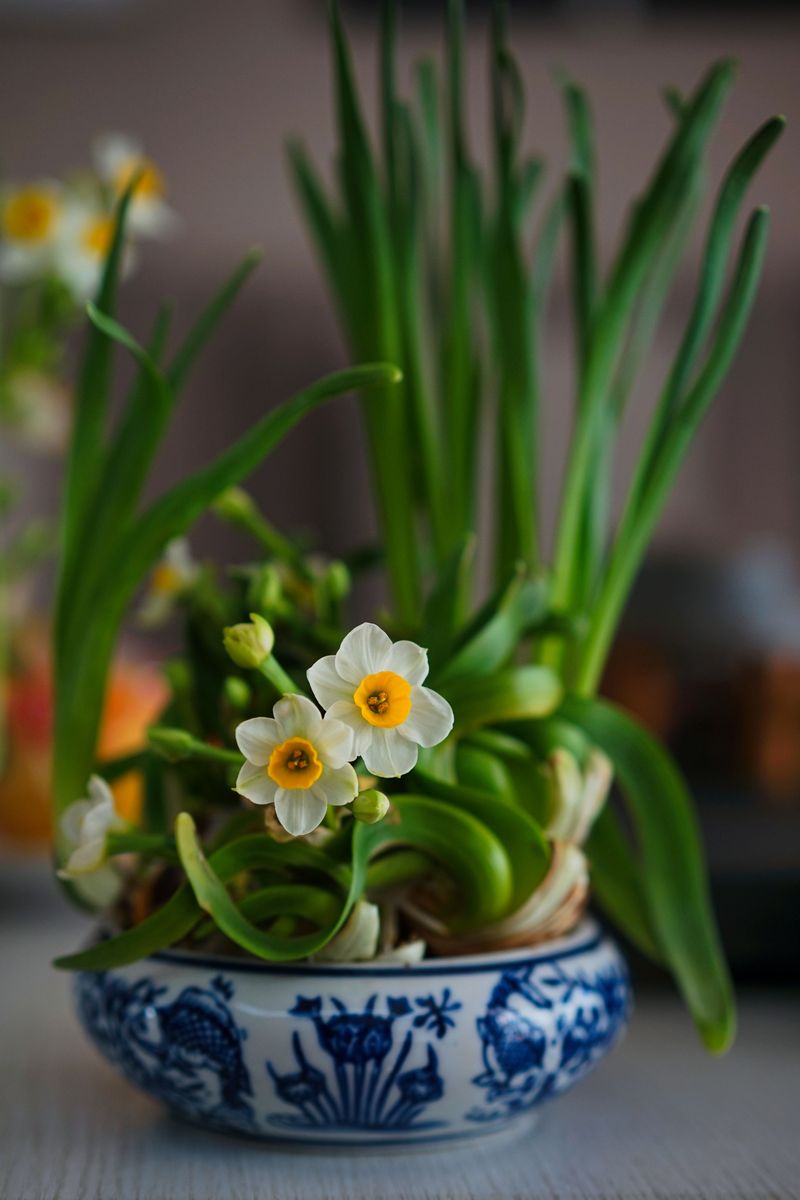
Paperwhites are the sprinters of the bulb world. While amaryllis jogs along for two months, these speedy little bulbs can bloom in about 4 to 6 weeks.
Some even open in as few as three weeks in a warm room.
That quick pace makes timing simple. Want flowers for early December parties?
Plant your bulbs in mid to late October. Hoping for blooms right around Christmas Day?
Aim for November 1st through the 15th.
Warmth speeds things up, and coolness slows them down. A bulb in a toasty living room may race ahead of one in a chilly mudroom.
You can use that to your advantage if your timing drifts.
Fun fact: paperwhites belong to the daffodil family. Their clusters of small, starry white flowers carry a strong scent.
Some folks adore it, and others think it smells a bit musky.
If you are not sure which camp you are in, start with a small batch first. Place them in a room where you can enjoy the look without being overwhelmed.
A hallway or entryway often works well.
Write your planting date on a sticky note near the bowl. Counting the weeks makes the wait feel fun, like an advent calendar made of flowers.
6. Set Paperwhites On Pebbles With Water Just Below The Bulbs
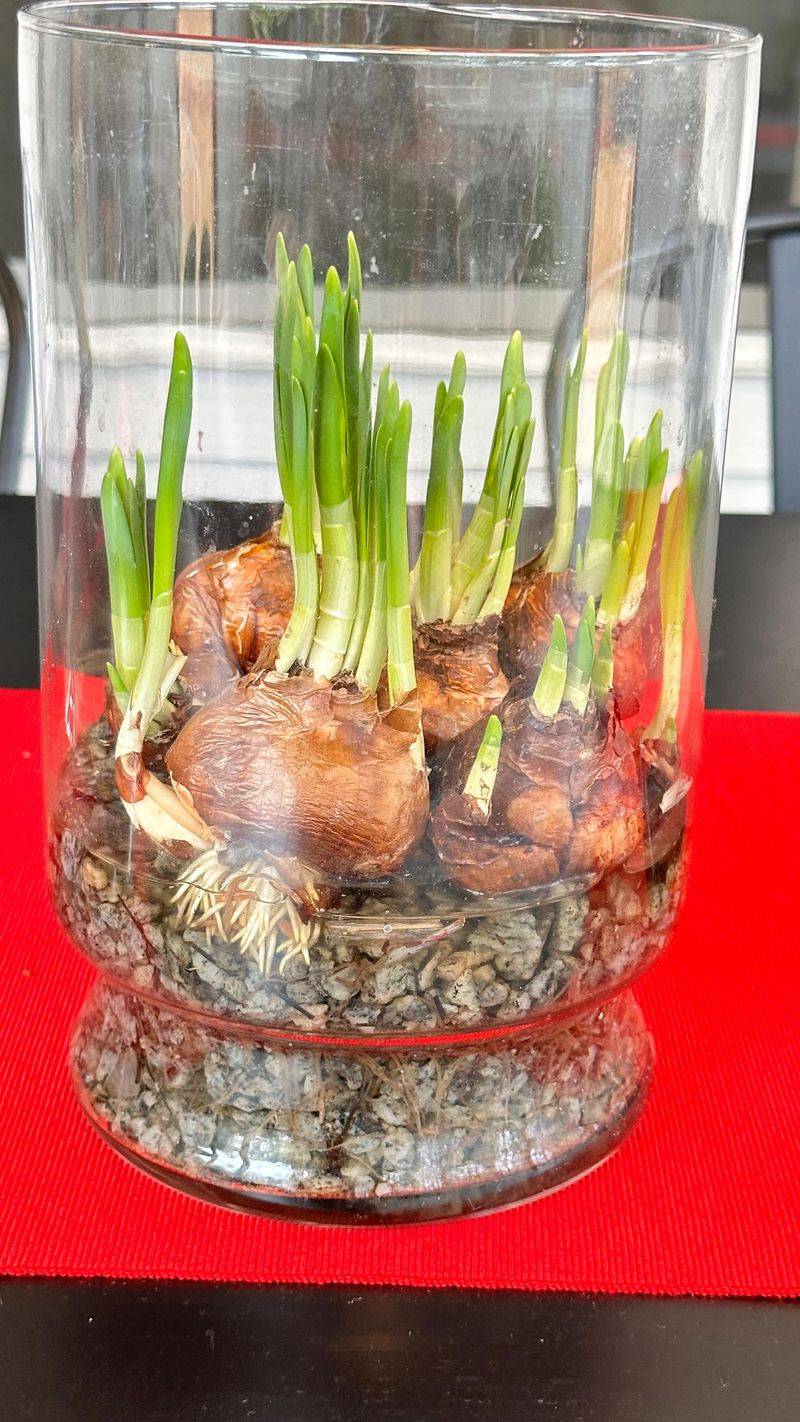
No soil, no mess, and no fuss. Growing paperwhites on pebbles is about as easy as gardening gets, and it looks lovely in a clear glass dish.
Grab a shallow container that holds water without leaking. Spread 2 to 3 inches of pebbles, gravel, or marbles across the bottom.
A deeper layer gives roots more to grip, which helps support tall stems later.
Next, set the bulbs on top with the pointed ends facing up. Pack them close together, almost touching, like eggs in a carton.
A crowded bowl looks fuller and helps the stems lean on each other.
Tuck more pebbles around the bulbs to hold them steady. Leave the top half to three-quarters of each bulb showing.
They should feel snug, not buried.
Now comes the key step. Pour in water until it reaches just below the bottoms of the bulbs.
Roots will reach down to find it, but the bulbs themselves should not sit in water, or they may rot.
Check the level every few days and top it off as needed. Clear glass makes this super easy, since you can see the water line at a glance.
Watching the white roots twist through the stones is half the fun.
7. Start A New Batch Every 10 Days For Nonstop Blooms
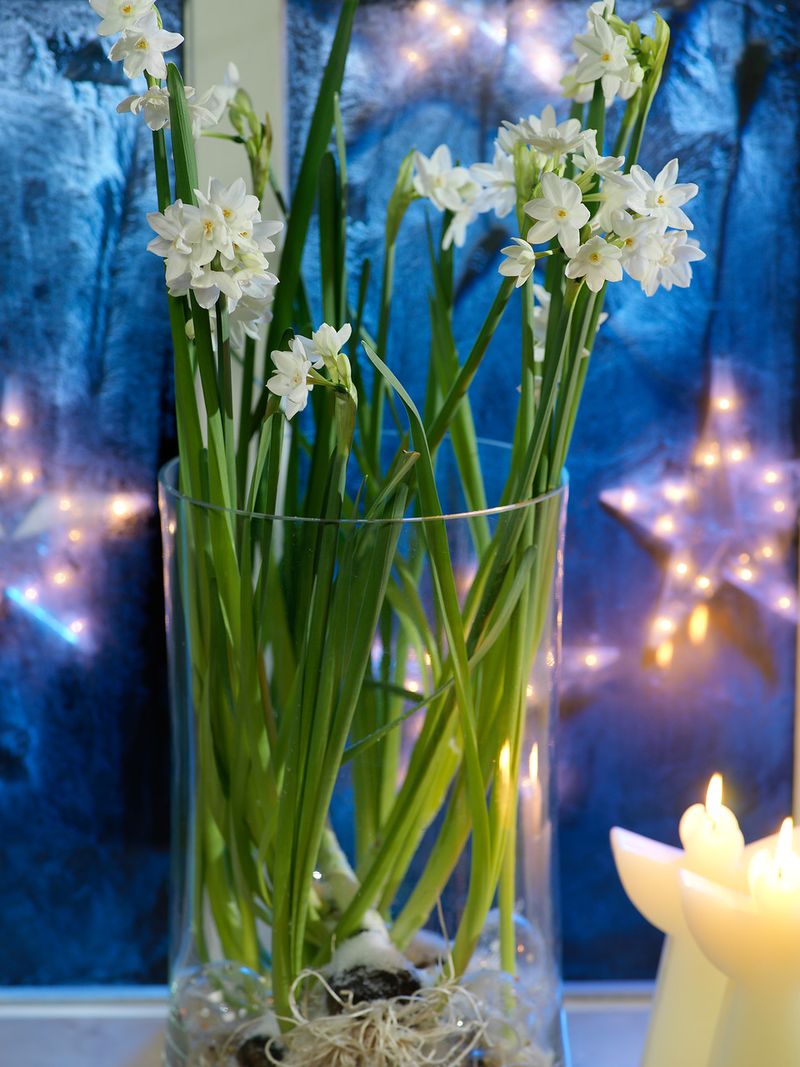
One bowl of blooms is nice, but a parade of them is even better. Paperwhite flowers last about one to two weeks once they open.
After that, the show winds down, and your windowsill goes quiet again.
Here is a simple fix: plant in waves. Start a fresh batch roughly every 10 days to two weeks.
As one group fades, the next one is just opening up.
Think of it like a relay race for flowers. The first team runs through Thanksgiving, then passes the baton to the next for early December.
Another batch carries you through Christmas and into the gray stretch of January.
Buy all your bulbs at once in fall while stores have good stock. Keep the extras in a paper bag in a cool, dry, dark spot, such as an unheated closet or garage shelf that stays above freezing.
Stored this way, they will wait politely until their turn.
Staggered bowls make great last-minute gifts, too. A teacher, neighbor, or grandparent would smile at a dish of green shoots with a bow on top.
They get to watch the blooms open at home.
Label each container with its start date. That way, you know which bowl will flower next.
8. Switch Paperwhites To Diluted Alcohol To Keep Stems Short

Researchers at Cornell University stumbled onto a strange garden trick: a little booze keeps paperwhites from flopping. It sounds like a joke, but the science holds up.
Tipsy bulbs grow shorter, sturdier stems.
Paperwhites love to stretch, especially in warm Ohio living rooms. Before long, the stems tip over like sleepy toddlers.
Watered-down alcohol slows that stretching without shrinking the flowers or dulling their scent.
Timing matters, so wait at first. Start with plain water until roots form and green shoots reach 1 to 2 inches tall.
Then pour off the water and swap in the alcohol mix.
The recipe is easy to remember. Use a clear, 80-proof spirit like vodka or gin.
Mix one part liquor with seven parts water to make a solution of about 5 percent.
Skip beer and wine, though. Their sugars can harm the roots and cause trouble.
Sweet liqueurs are a no-go for the same reason.
Use the mix every time you top off the container from then on. Your stems should end up about one-third shorter than usual.
Keep the solution labeled and out of reach of kids and pets. A little care makes this quirky trick both safe and fun.
9. Give Both A Bright, Sunny Spot While They Grow
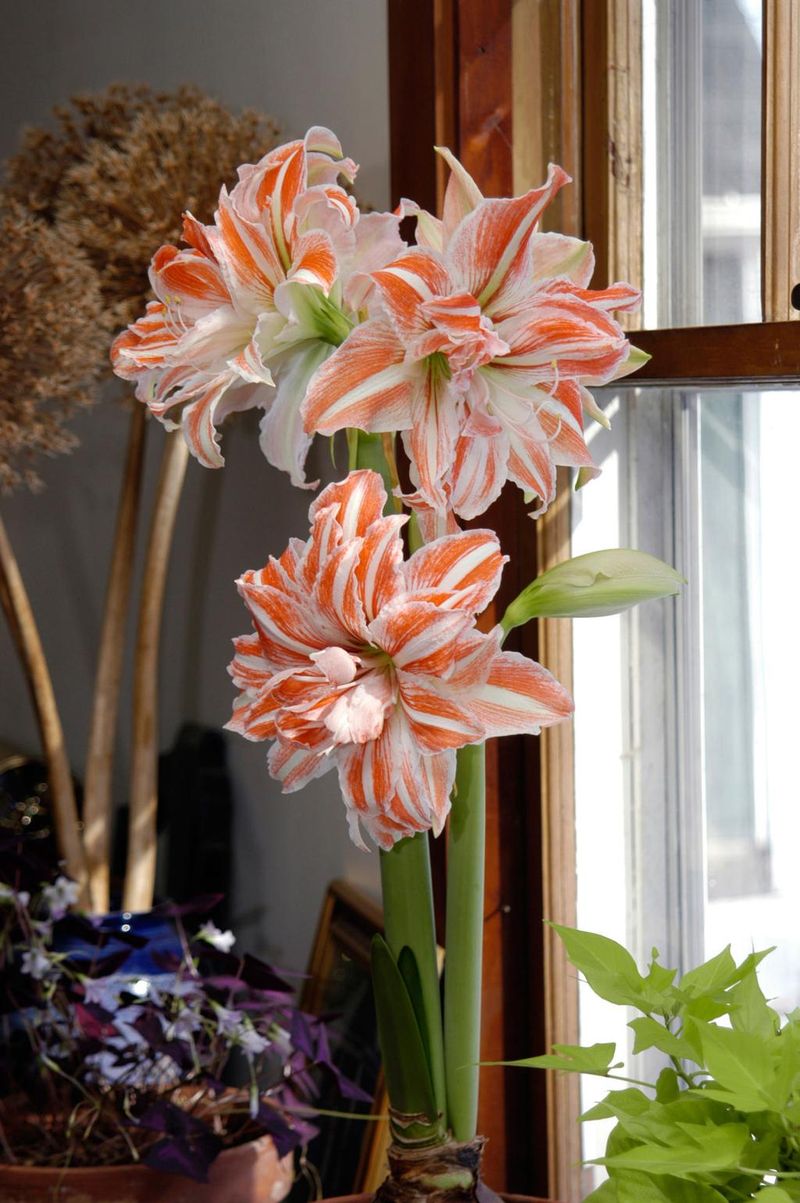
Sunlight is the fuel that turns these bulbs into showstoppers. Ohio winters bring short days and plenty of clouds, so every bit of light counts.
Put your best window to work.
Amaryllis wants bright light with some direct sun while it grows. A south or west window is ideal.
Turn the pot a quarter turn every few days, or the stalk will lean toward the glass like a curious sunflower.
Paperwhites need their sunny seat once shoots appear. Low light makes them stretch tall and weak, and then they may need stakes.
A ribbon tied loosely around the bunch can help if they start to sag.
Once flowers open, the plan shifts a little. Move paperwhites out of direct sun to a cooler spot, around 50 to 60 degrees.
A chilly entryway or sunroom can make the blooms last noticeably longer.
Amaryllis flowers also last longer away from hot sun and heat vents. Keep both plants clear of drafty doors and radiators, too.
Sudden blasts of hot or cold air can stress them out.
With good light and a little care, you will have a cheerful indoor garden. It is a bright answer to a gray Ohio winter.