How To Grow A Cherry Tree From A Pit And What Utah Gardeners Should Expect
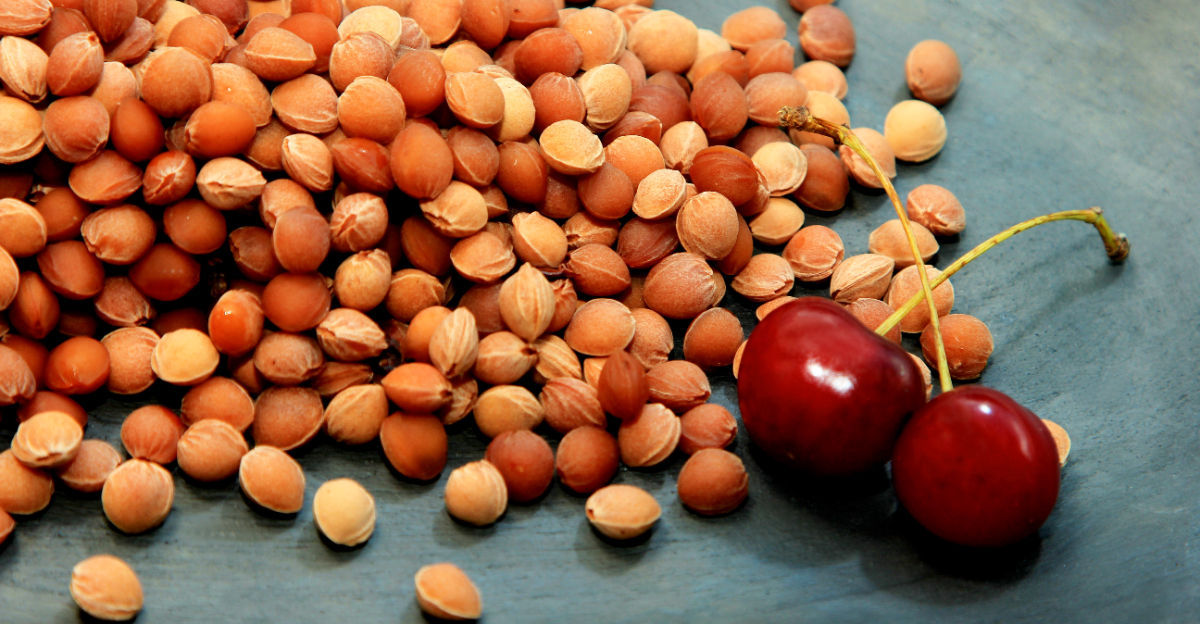
A single cherry pit can quietly outsmart your kitchen trash bin. Something that small could turn into your own backyard experiment. Utah winters seem intense, yet they help your seed thrive.
Cold temperatures trigger the dormancy break your pit needs. Summer dryness will test your patience more than your skill. Patience matters more than any tool you own.
Timing becomes everything the moment you plant that fragile seed. Sprouting takes months, testing your patience the whole time. Every stage forward carries challenge, yet your progress rarely stalls.
Nothing about this process will feel effortless or guaranteed for you. Bragging rights follow eventually, but only after your real effort. Backyard gatherings soon become your stage for a rare surprise.
Local weather patterns across Utah test your resolve constantly too. Success depends on choices you make early, not luck. Turning back now means you will miss something worth cherishing.
Extract Pits From Ripe Cherries
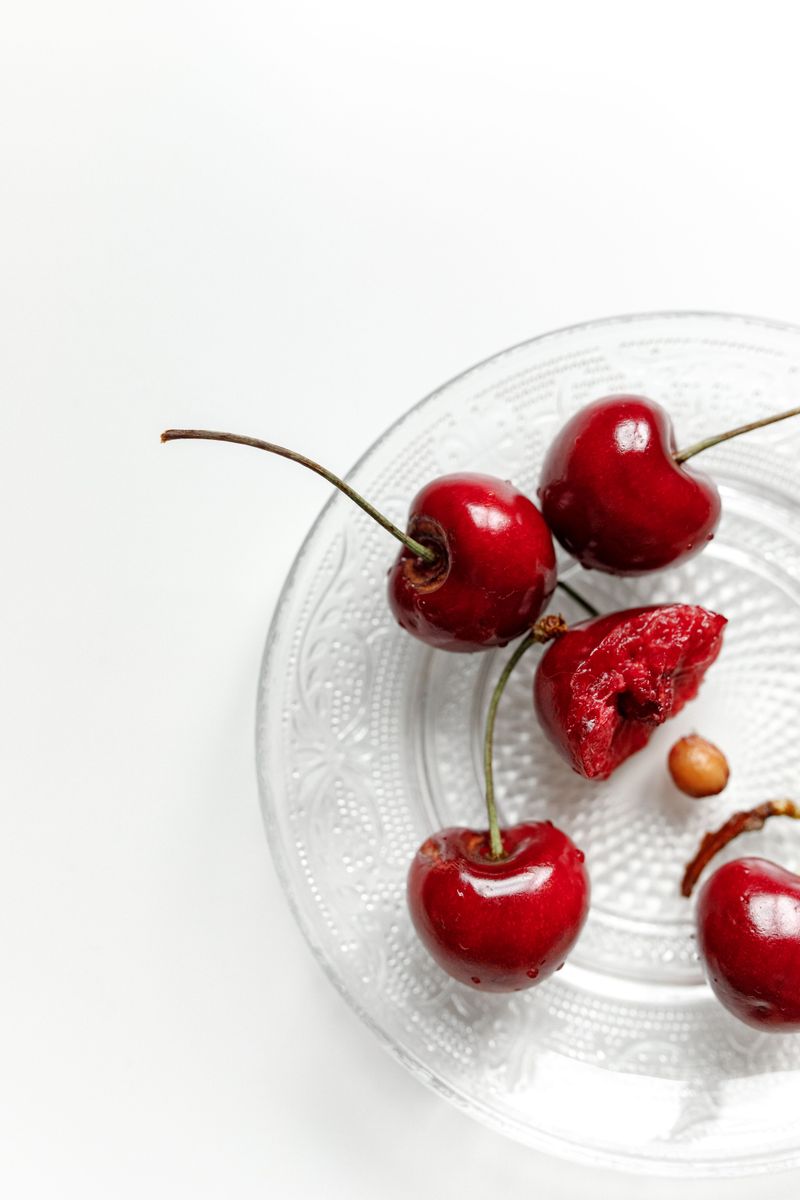
Fresh cherries hold a secret inside every single one of them. The pit at the center is actually a seed with serious potential to grow into a full cherry tree.
Start by eating or pitting sweet, ripe cherries from a farmers market or grocery store. Avoid cherries that have been treated with preservatives, since those chemicals can block germination.
Local cherries or organic varieties give you the best shot at success. Bing, Montmorency, and Rainier are popular picks that grow well in many American gardens.
Wash each pit thoroughly under cool running water. Remove every bit of fruit flesh, because leftover pulp can cause mold during the drying stage.
A soft toothbrush works great for scrubbing the pits clean. Getting them spotless now saves you a lot of headache later in the process.
Some Utah gardeners collect pits from multiple cherries to increase their odds. Not every pit will sprout, so having a dozen or more gives you a much better chance.
Think of this step as the foundation of your whole project. A little care right here sets everything else up for success when you grow a cherry tree from a pit.
Dry Pits For About A Week
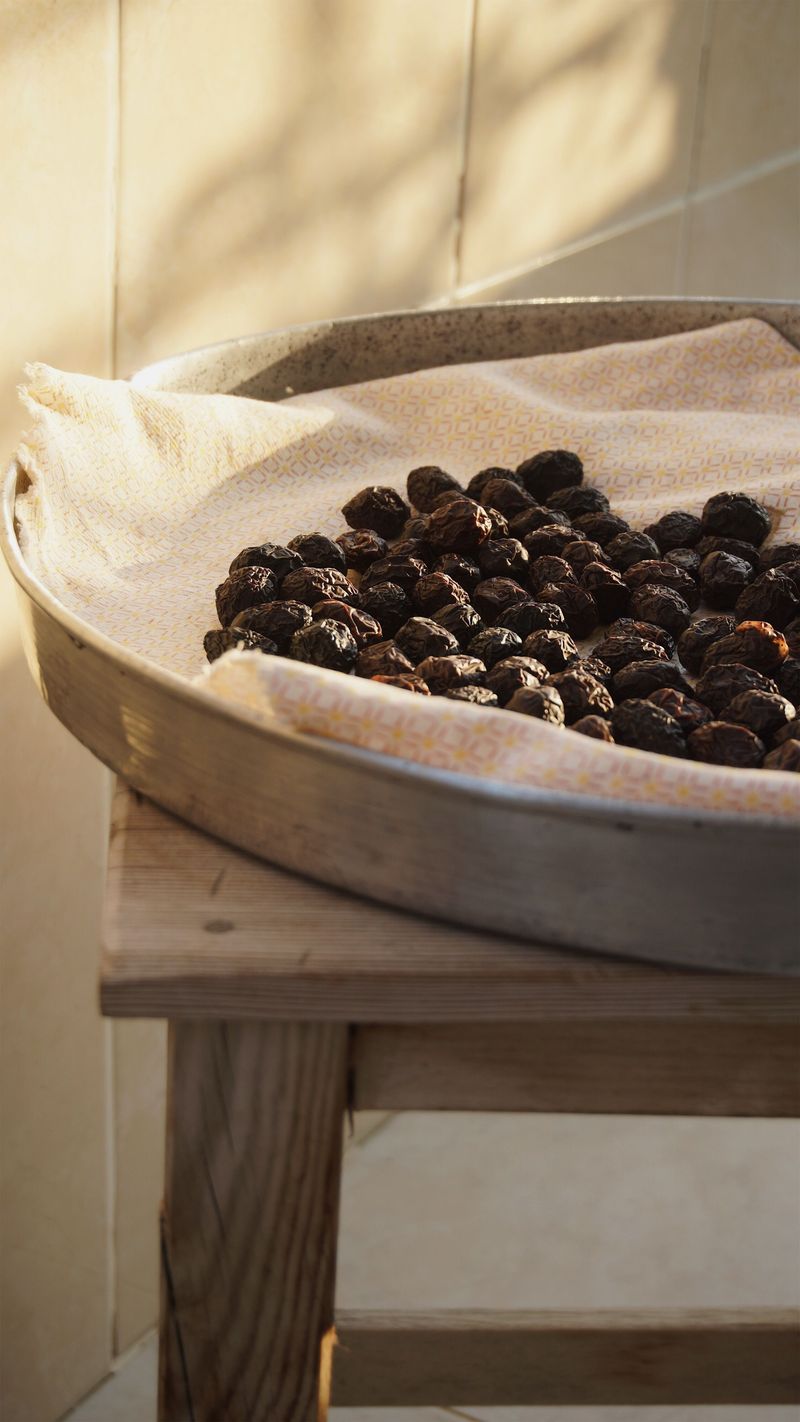
Patience is your best tool right after washing the pits. Letting them dry properly is a step that many beginners skip, and it costs them the whole project.
Spread your clean pits on a dry paper towel in a single layer. Place them somewhere with good airflow, like a countertop near a window with indirect sunlight.
Direct sun can actually dry them out too aggressively and crack the outer shell. A shady spot with a gentle breeze is the sweet spot for this drying stage.
Leave the pits alone for about five to seven days. You want them to feel dry to the touch but not brittle or cracked.
Turn them once a day to make sure every side dries evenly. This small habit prevents moisture from getting trapped underneath and causing early mold growth.
If you notice any pits turning fuzzy or dark, toss those out immediately. One moldy pit can spread to the others if you are not paying attention.
Your Utah Garden Changes Every Week. Your Plan Should Too.
Gardening in Utah changes quickly throughout the season. Every Friday you’ll receive a simple weekly plan showing exactly what to plant, prune, fertilize, harvest, and protect so you never miss the right timing.
After a week, your pits should look a bit lighter in color and feel firm. Now they are ready for the next big step, which is tricking them into thinking winter has arrived.
Proper drying is one of those quiet but critical moments in the process. Nail this step and you are already ahead of most people who try to grow a cherry tree from a pit.
Refrigerate Pits In Moist Towels
Cherry pits need a cold nap before they are ready to sprout. This process is called cold stratification, and it mimics what happens naturally during winter outdoors.
Grab a damp paper towel and lay your dried pits across one half of it. Fold the towel over so the pits are sandwiched inside, then slide everything into a zip-lock bag.
Seal the bag loosely to allow just a tiny bit of airflow. Label it with the date so you know exactly how long the pits have been chilling.
Place the bag in the back of your refrigerator, away from the freezer section. Temperatures between 35 and 45 degrees Fahrenheit work best for this stage.
Check on the towel every week or so to make sure it stays moist. If it dries out, mist it lightly with water and reseal the bag.
Most cherry pits need anywhere from 10 to 12 weeks of cold stratification. Some may start showing tiny root tips before that window closes, which means they are ahead of schedule.
Once you spot a little white root poking out, that pit is ready to plant. Handle sprouted pits gently because those tiny roots snap off easily if you are rough with them. Cold stratification is a critical step in preparing the seed.
Plant Sprouted Pits In Soil
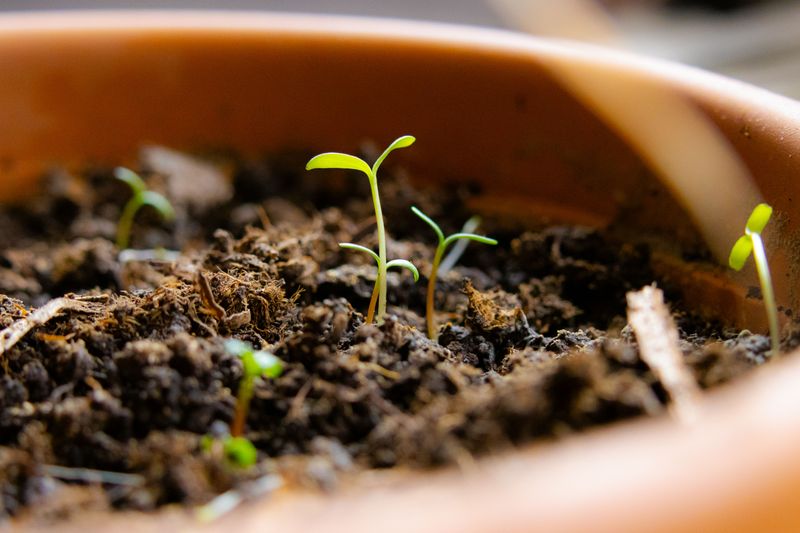
Seeing that tiny root tip is one of the most exciting moments in this whole adventure. Now it is time to give that little sprout a real home.
Fill a small pot with a well-draining potting mix that includes some perlite or sand. Cherry seedlings struggle in soggy soil, so drainage is non-negotiable from day one.
Make a small hole about an inch deep in the center of the pot. Gently place the sprouted pit inside with the root tip pointing downward.
Cover it lightly with soil and press down just enough to remove air pockets. Water it slowly until moisture drains out of the bottom holes.
Place the pot near a bright window that gets several hours of sunlight daily. A south-facing window is ideal for keeping the seedling warm and energized.
Keep the soil consistently moist but never waterlogged during these early weeks. A moisture meter from any garden center can help you avoid overwatering, a common mistake among beginners.
Within a few weeks, a tiny green shoot should appear above the soil surface. That moment can feel especially rewarding.
As the seedling grows taller, you may need to move it to a larger container. Strong roots need room to spread, and a cramped pot will slow everything down significantly. This is where your cherry tree from a pit truly begins its journey above ground.
Germination Can Take Months
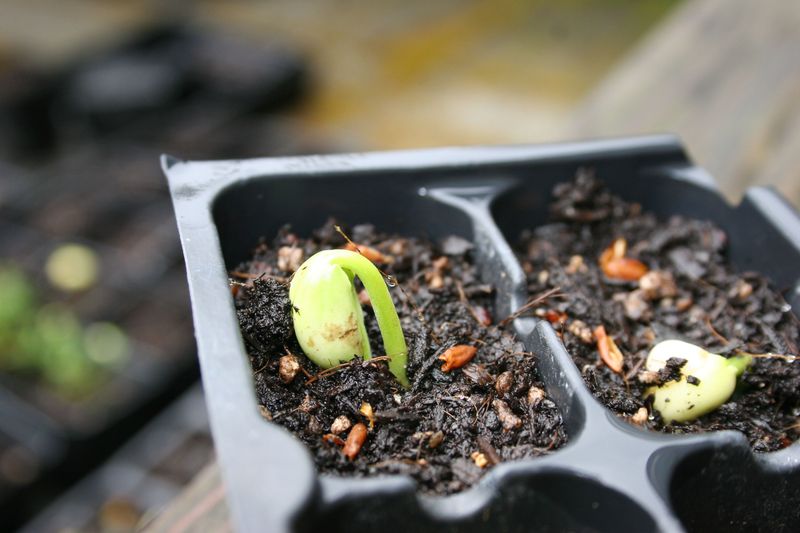
Waiting is honestly the hardest part of growing anything from seed. Cherry pits need a cold period before they are ready to sprout.
After planting, germination can take anywhere from two to four months in some cases. Temperature, seed freshness, and how well stratification went all play a role in the timeline.
Do not panic if nothing appears above the soil for several weeks. The seed may be busy developing roots underground before sending up any visible growth.
Keep the pot in a consistently warm spot, ideally between 65 and 75 degrees Fahrenheit. Dramatic temperature swings can confuse the seedling and slow down the whole process.
Resist the urge to dig around in the soil to check on things. Every time you disturb the soil, you risk snapping a fragile root that the seedling desperately needs.
Some growers place a clear plastic bag loosely over the pot to create a mini greenhouse. This traps humidity and keeps the temperature stable, which seeds absolutely love.
Once a green shoot appears, remove any covering to improve airflow. Good air circulation helps prevent fungal issues that love warm, damp conditions.
Celebrate every tiny milestone because growing from a pit requires real commitment. The slow pace teaches you something gardening books rarely mention: results build gradually, not overnight.
Stay consistent with watering and light, and your cherry tree from a pit will reward your patience soon enough.
Trees Take Years To Fruit
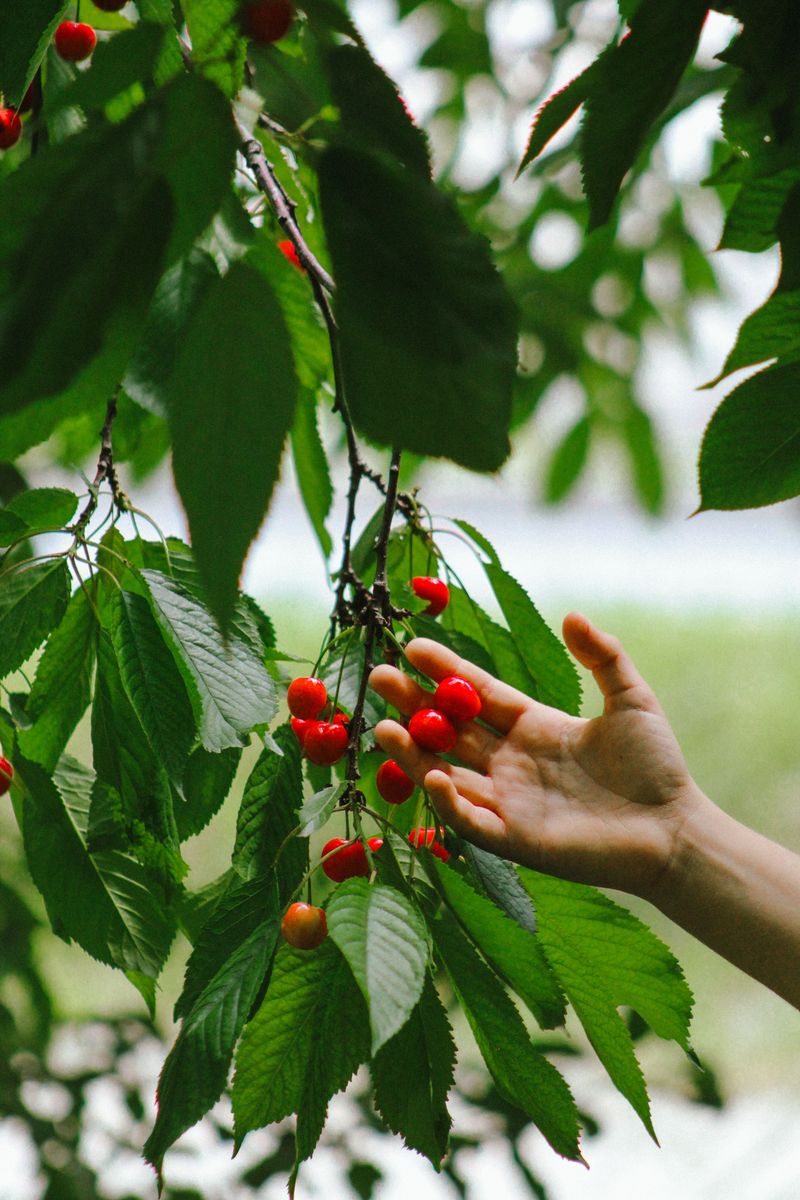
Nobody grows a cherry tree expecting cherries by next summer. This is a long game, and knowing that upfront saves a lot of frustration down the road.
A cherry tree grown from a pit typically takes between four and seven years to produce fruit. Some trees take even longer depending on the variety and growing conditions.
During those early years, your job is to help the tree build a strong structure. Regular watering, occasional fertilizing, and some basic pruning will shape it into a productive adult tree.
Think of the first few years as the tree going through school. You are investing in its future, even if you cannot see the payoff yet.
Grafted cherry trees from nurseries generally fruit faster, often within three to five years depending on rootstock and variety. But there is something deeply satisfying about a tree you grew entirely from scratch.
Gardeners in the Beehive State face an extra challenge because of the short growing season. Late spring frosts can set back a young tree, so placement in a sheltered spot matters a lot.
Plant your sapling in a location that gets at least six hours of direct sunlight daily. Full sun is not optional for cherry trees, it is a firm requirement for healthy growth.
Every spring that passes without cherries is still a season of progress. Watch the canopy fill in, the trunk thicken, and the roots deepen, and trust the process completely.
Fruit Quality May Differ
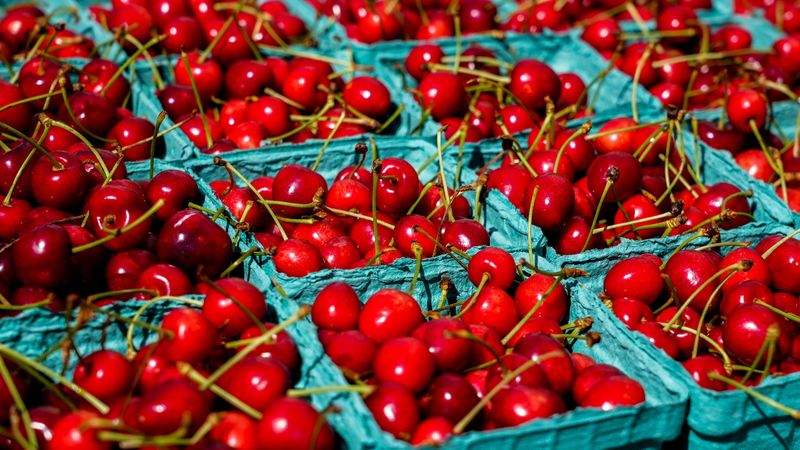
Here is something that surprises most first-time cherry growers. The cherries you eventually get may look and taste nothing like the ones you started with.
Cherry trees rarely grow true from seed, meaning the offspring is often genetically different from the parent fruit. You could plant a sweet Bing cherry pit and end up with something tart, small, or even slightly bitter.
That is not a failure, it is just how plant genetics work. Some growers have been pleasantly surprised by unique flavors they never expected from their homegrown trees.
Think of it like a mystery box situation where the contents are revealed years down the road. The unpredictability is actually part of the charm for many home gardeners.
If consistent fruit quality is your main goal, grafting is a more reliable method. But if you enjoy the experiment, growing from a pit keeps things genuinely exciting.
Wild or seedling cherries often make excellent jams, pies, and preserves even if they are not great for fresh eating. A tart cherry can be a gem in the kitchen even if it disappoints straight off the branch.
Birds also tend to love the smaller, wilder cherries that seedling trees produce. So even a tree with modest fruit becomes a wildlife magnet in your Utah yard.
Keep an open mind about what your cherry tree from a pit might offer. The surprise harvest could be your new favorite ingredient in the kitchen.
Winters Require Cold-Hardy Varieties
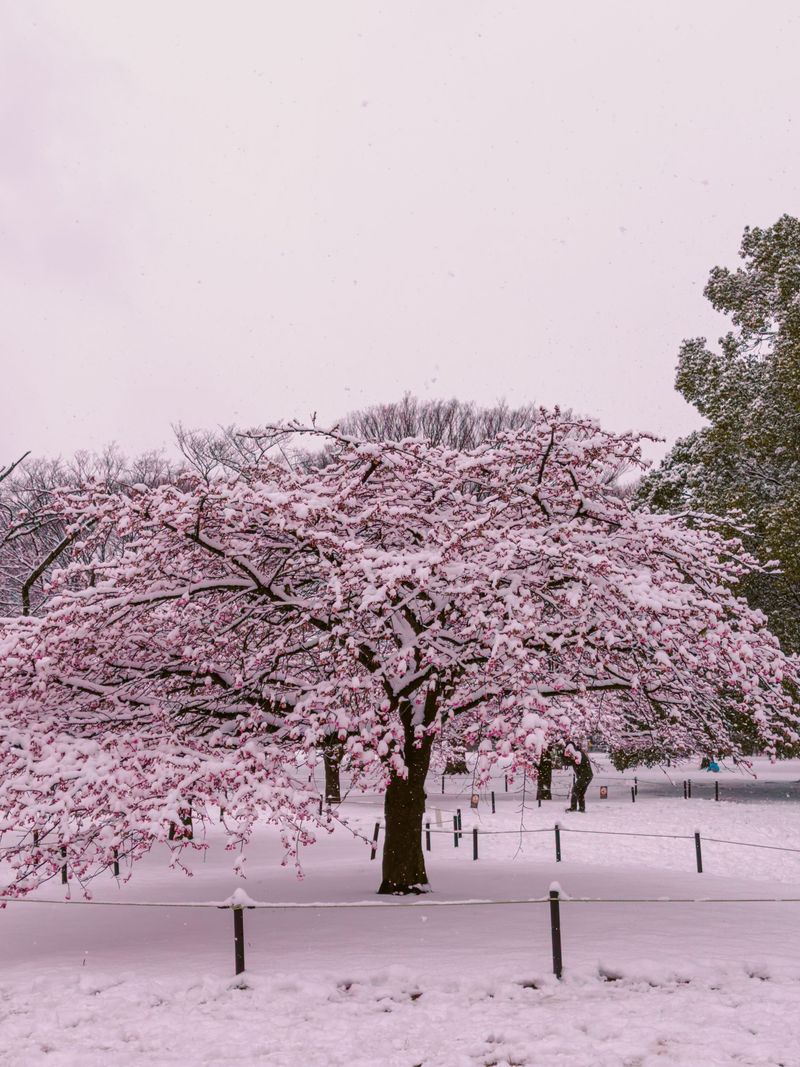
Snowy winters and freezing temperatures are a fact of life for most gardeners in this region. Choosing the right cherry variety from the start makes all the difference between a thriving tree and a struggling one.
The state sees USDA hardiness zones ranging from 4 to 9 depending on elevation. That wide range means you need to know your specific zone before selecting any fruit tree.
Montmorency is a tart cherry variety that handles cold winters exceptionally well. Carmine Jewel and Juliet are other cold-hardy options bred specifically for challenging northern climates.
Sweet cherry varieties like Bing tend to struggle in zones below 5 or 6. Planting a tender variety in a harsh zone leads to winter damage and poor fruiting year after year.
When growing a cherry tree from a pit, you cannot always predict the cold tolerance of the resulting seedling. That uncertainty is another reason why variety selection matters so much when you start with known cold-hardy parent fruit.
Mulching around the base of your tree each fall helps insulate the roots from deep freezes. A three-inch layer of wood chips or straw goes a long way on especially cold nights.
Wrapping the trunk with a tree guard protects young bark from frost cracks and hungry animals. Both of those threats are very real during a typical Utah winter.
With the right prep and the right variety, your cherry tree from a pit can thrive through even the coldest season this region brings.