5 Effective Tips That’ll Help You Grow Clematis In Pots Successfully
The clematis is one of the most popular plants because it provides privacy by climbing fences, poles, trellises, walls, and pillars. And its colorful and beautiful blossoms are a perfect focal point for your backyard.
The best part of this flower is that you can grow it in pots if you don’t have enough space in your garden. Just choose your favorite variety, plant it, and give it plenty of sunlight.
Here are some top tips to get your clematis thriving in pots!
1. Choose A Suitable Clematis Variety
The clematis is on the list of potted plants for privacy due to its ever-climbing vines. And the best part about them is that they offer an abundance of choice.
Peter Skeggs-Gooch from Thorncroft Clematis agrees, saying: Their versatile nature and abundance of colors mean we have a lot of options when it comes to fulfilling our gardening needs.
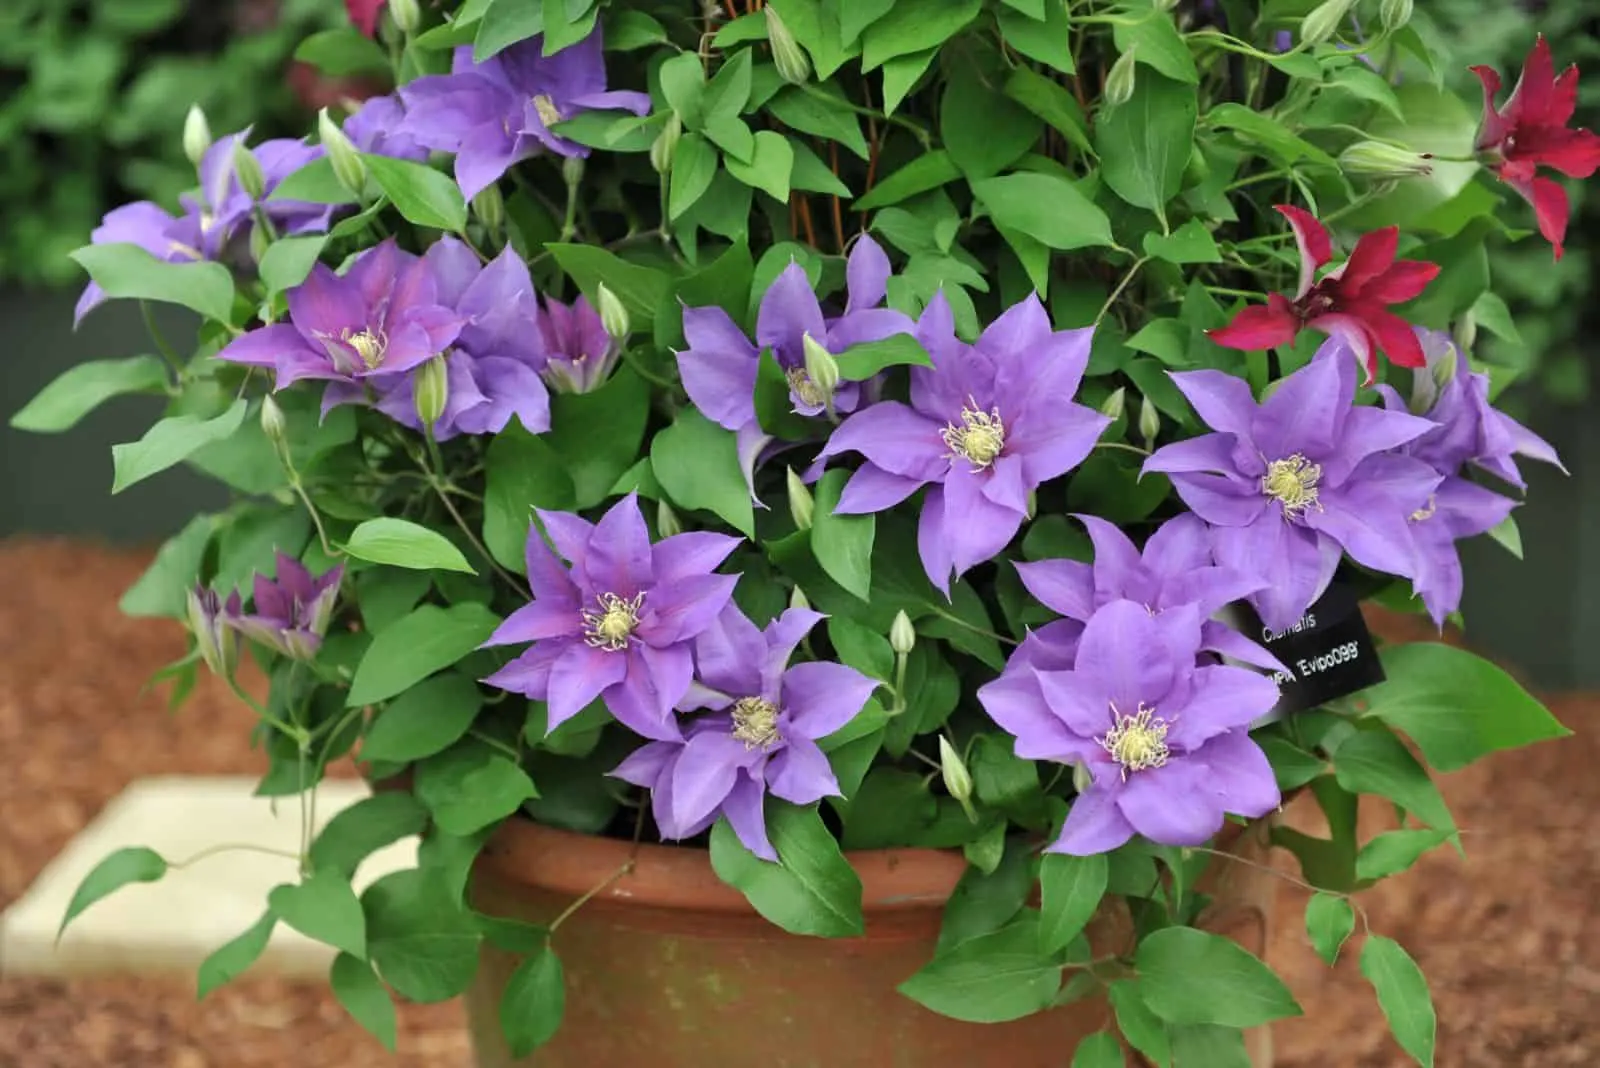
Naturally, there are some that grow better in planters and make a perfect addition to your balcony or patio. These types are bushier and more compact, such as the Clematis ‘Cassis,’ macropetala, alpina, and most evergreen varieties.
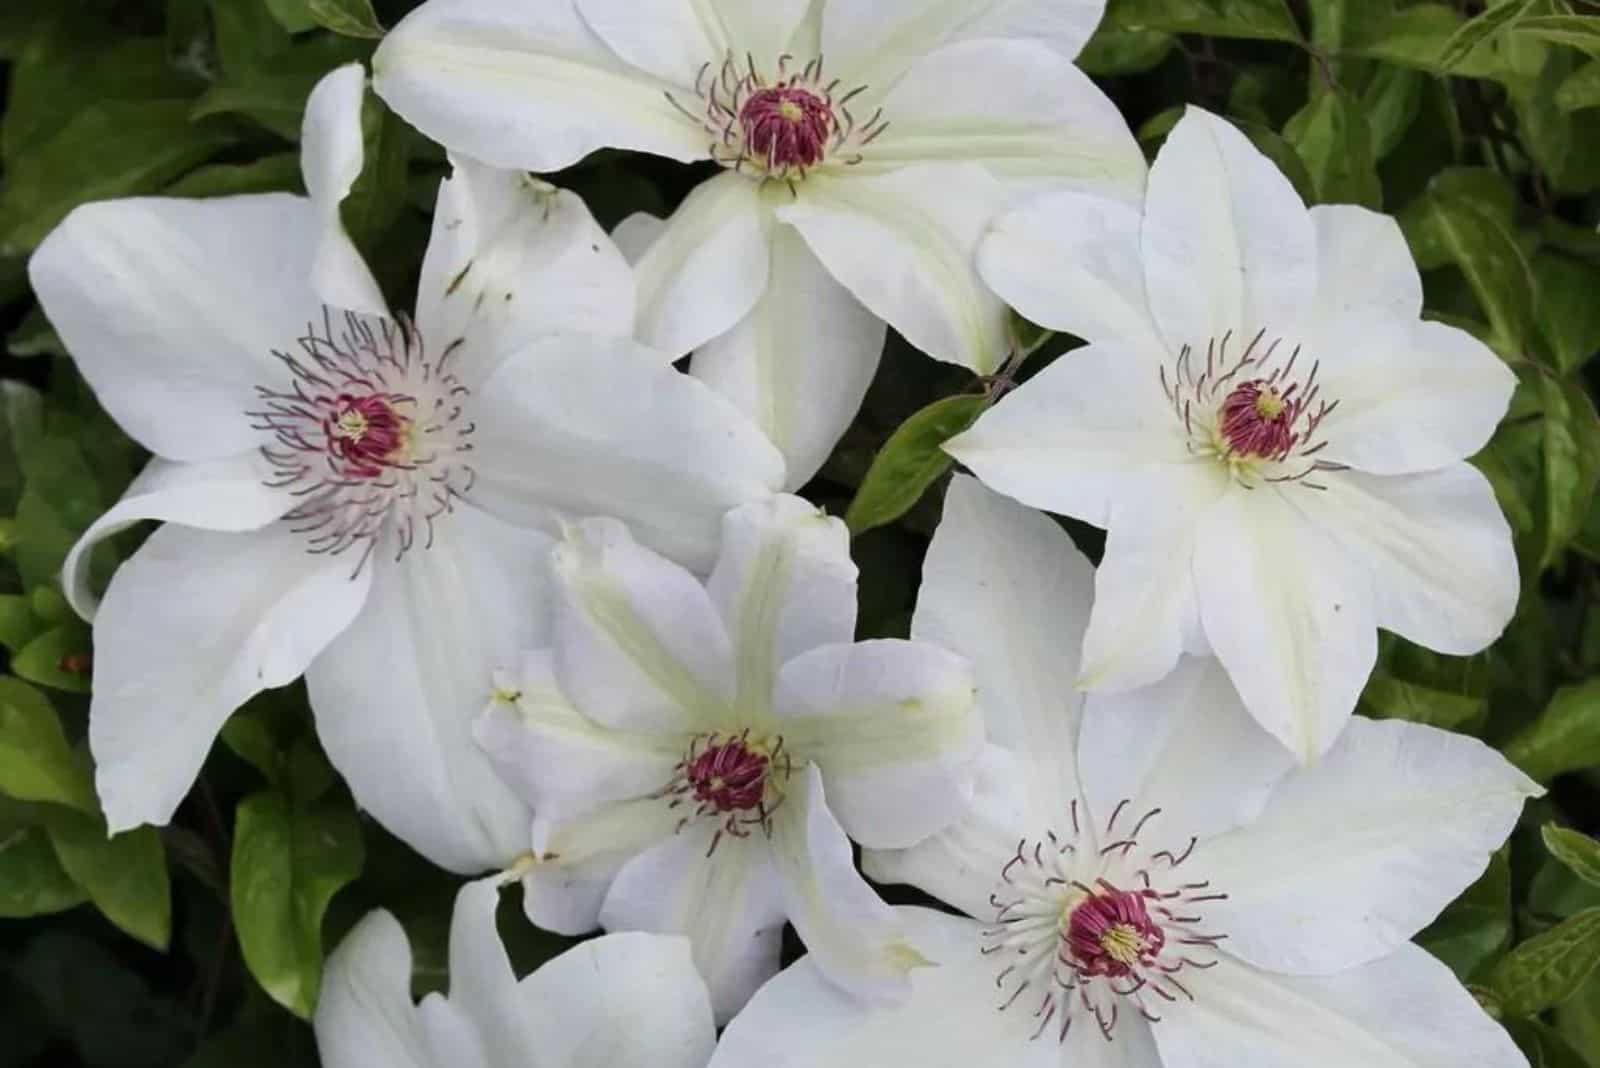
If you want an early-blooming clematis, you can’t go wrong with the white ‘Miss Bateman,’ which flowers in May and June.
If you want a late bloomer (from June to fall), the violet-blue ‘The President’ and the bi-colored ‘Nelly Moser’ are perfect. They bloom in late spring or early summer and then surprise with another flush of flowers in late summer and fall.
The Clematis ‘Alaina’ is another freely blooming variety perfect for pots. It shows off its magenta blossoms in May and July, and then again in August and September, and is perfectly happy in dappled sunlight.
2. How And When To Plant It
Plant your clematis in a container in spring or early fall when temperatures are mild and the soil is warm enough to support speedy root establishment.
Raymond Evison, a renowned horticulturist, advises placing the whole pot in a bucket of water for 20 minutes before planting it. If you skip this step, you won’t be able to moisturize the plant properly, risking underwatering and all the problems that come with it.
The next step is to transplant the clematis into a new container. Use a large pot that’s 18 inches deep and wide, allowing the root ball of the clematis to be planted about 2-3 inches deeper than the original level in its pot, reminds Skeggs-Gooch.
This method can help keep it alive if it succumbs to any sort of damage, such as clematis wilt or freezing.
Don’t use a plastic pot if you’re going to grow clematis out on a deck garden or a patio, says Evison. These pots aren’t well insulated and will get hot quite quickly, increasing evaporation and dehydration in your plant.
Use one with holes in the bottom because even though your clematis likes water, it needs to have adequate drainage to thrive.
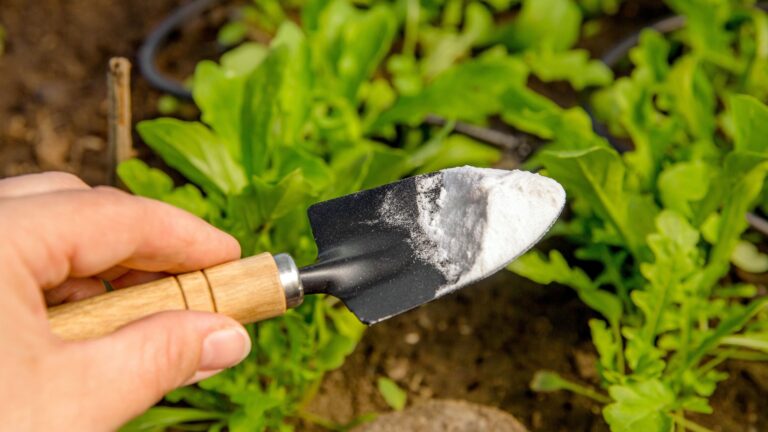
Stack some small stones or pebbles in the bottom, add a mixture of soil and compost, place your clematis in it, and backfill it with more of that same potting mix.
Once the planting is done you really need to put a nice support in so that the clematis can develop and reach its full potential.
Pro tip: Don’t forget to water the clematis after planting it. A full watering can is usually enough to satisfy its thirst.
Here’s some additional advice from this esteemed horticulturist:
3. Where To Place It
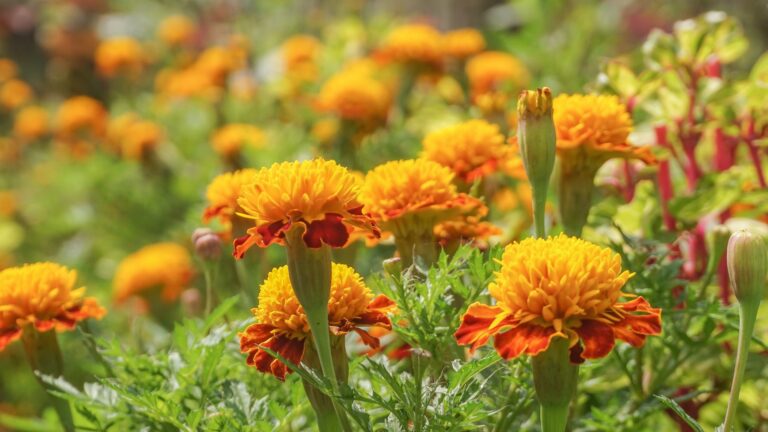
A clematis is perfect to add to your colorful flower garden as it has many different varieties to choose from.
And the best part about them is that most of these species thrive in sunny or slightly shady conditions, although there’s a type for every location.
Generally, you should strive for a spot that gets at least 6 hours of sunlight each day, with some shade during hot afternoons if you live in a hot climate.
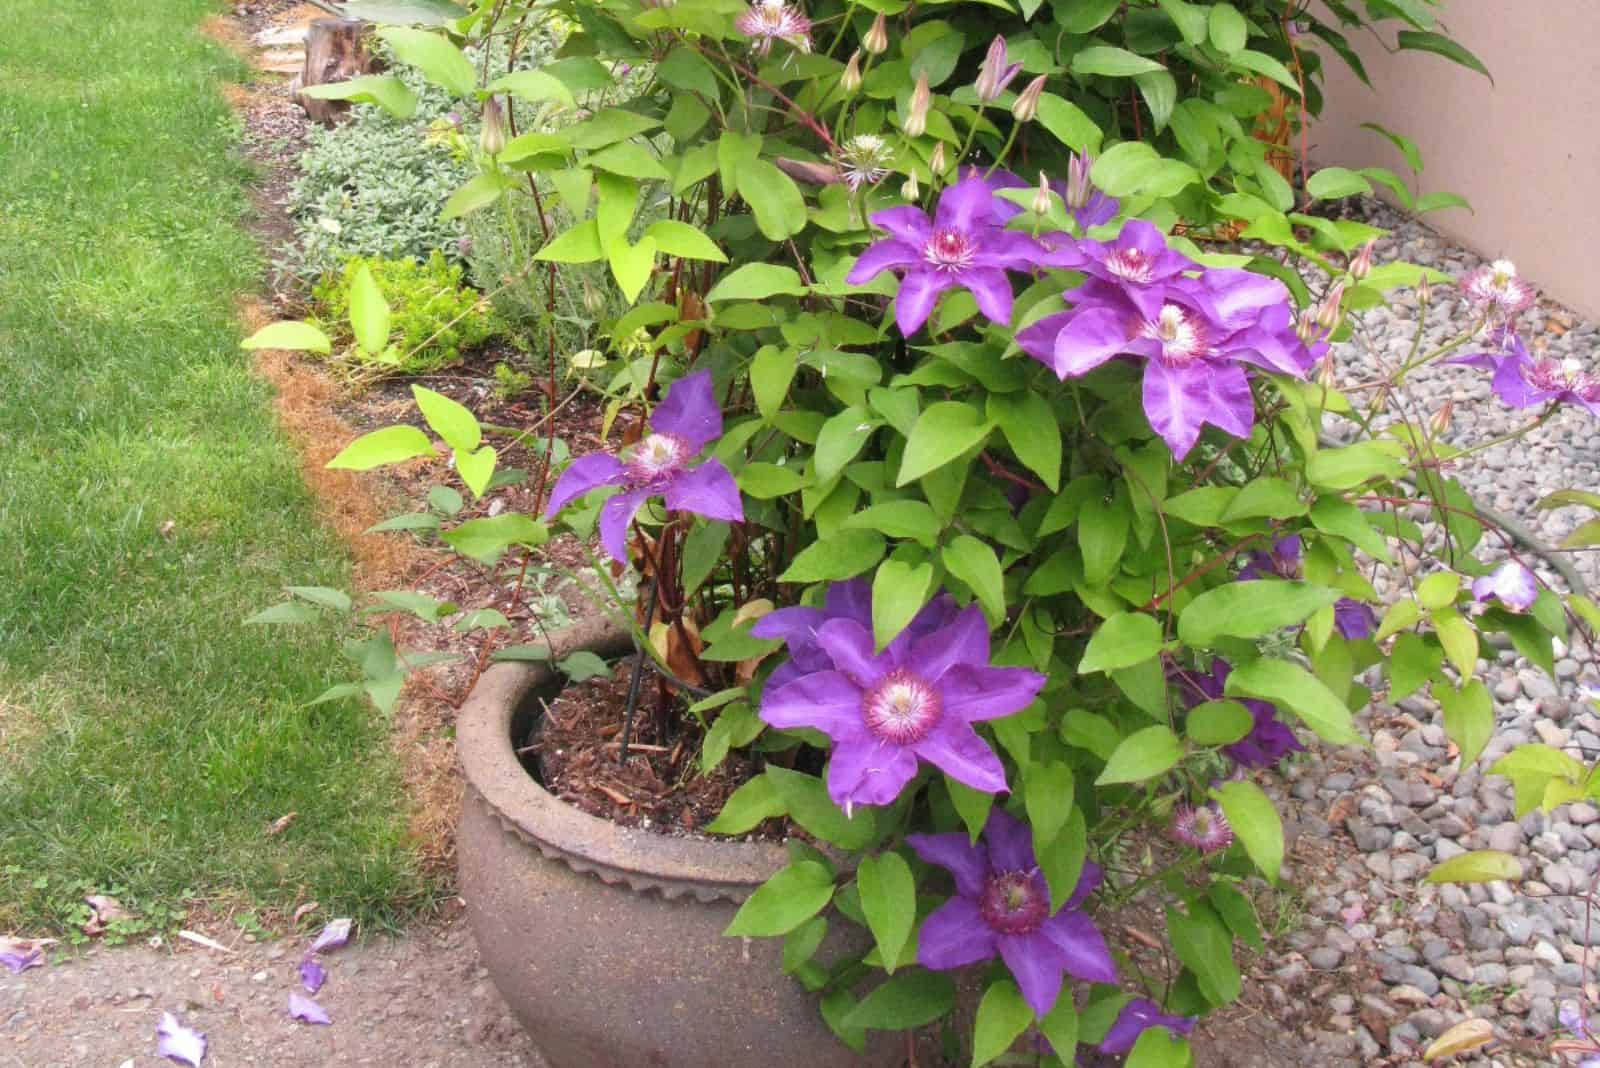
A potted clematis will look amazing on your sunny patio, especially if you install a trellis or have a wall, fence, or pillar they can climb on.
You can also use them for creating more privacy by adding clematis or two to planters or training them on trellises.
Another thing you should bear in mind is the need to protect these beauties from extreme weather. Luckily, terracotta pots or wooden boxes and troughs can provide good insulation to protect them from heat.
And if you struggle with the cold, you can keep it indoors over winter or wrap the sides with plastic if it doesn’t get freezing in your region.
Finally, don’t forget about wind and hard rain protection; a roofed patio and a wall are all it takes!
4. Caring For Clematis In Planters
In the previous chapter we only briefly touched on the importance of trellising clematis plants, but it is one of the most important aspects of its care. When you get this plant at the nursery, it usually arrives with a short bamboo trellis, which is enough for that stage.
But if you want to keep it growing, you’ll have to get a larger stake to support its growth. A metal trellis or a homemade, tall cane stake is all it takes.
And the good news is that you don’t have to remove the nursery trellis at once.
When you get to the spring, what you can do is you can take the metal trellis totally out again and then you will remove the bamboo trellis, advises Raymond Evison.
That’s usually all you need to do since these vines have tiny stems which twine around the thin surface, helping them climb upwards. But if you notice your clematis struggling, you can tie it to the trellis.
You should also ensure your plants get plenty of sunlight; direct sun in the morning and dappled light throughout the day being the best option. Give it about two watering cans of water per week, although this depends on how quickly the soil drains, rainfall levels, and the temperature.
And don’t forget to feed them. A balanced nitrogen and potassium fertilizer is all it takes to keep it blooming. You can use water-soluble products and incorporate it into your watering routine to reduce chores.
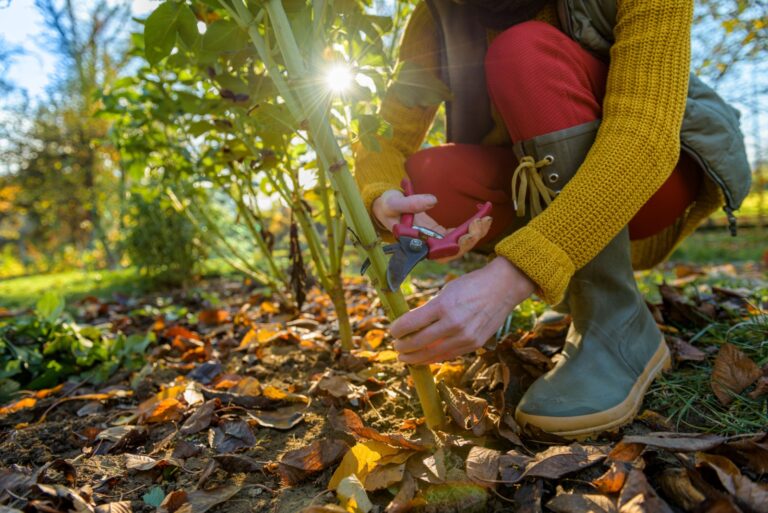
Overwinter your clematis indoors, and once it starts to die down, trim it down to 6-9 inches above ground to encourage bushiness and keep it flowering profusely.
Note: Some early-flowering clematis plants bloom on old wood, so they don’t need pruning. If you want to control their size, trim them immediately after flowering.
5. Why Is My Potted Clematis Not Flourishing?
Growing clematis in pots is fairly easy and requires very little maintenance. However, you can still experience some bumps along the course of this gardening journey.
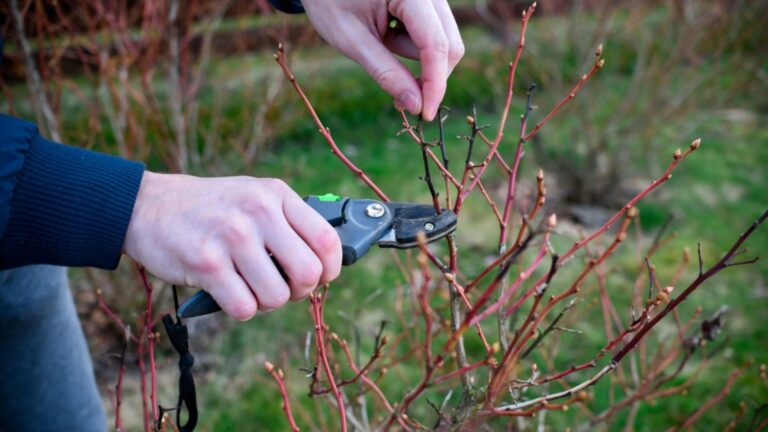
One reason your clematis might not be thriving is incorrect pruning. Research the variety you have and discover the best trimming routine. Some don’t need pruning at all, while others require heavy pruning once their leaves start to die off.
Other reasons include a shallow pot, lack of room for the clematis’ root system, and less than six hours of direct sunlight each day. Poor drainage, heavy potting soil, and inadequate watering can also lead to an inferior-quality clematis.
Finally, lack of proper support will create less-than-ideal growing conditions for your plant, which will reflect in its blooming ability.
The clematis is the one plant that no garden can go without, whether you need a plant for a large pot, a gorgeous privacy screen, or a centerpiece to something to admire.
Train them on a trellis, and you’ll get a healthy plant with a shower of blossoms throughout the year. A perfect natural screen you can move around and enjoy in any setting.
Until next time!