Use These 2 Brilliant Tips To Get A Low-Maintenance And Drought-Resistant Gravel Garden
If you’re tired of irrigating your plants constantly, or you live in a hot climate where growing a traditional lawn would be straight up impossible, it’s time to explore some other options.
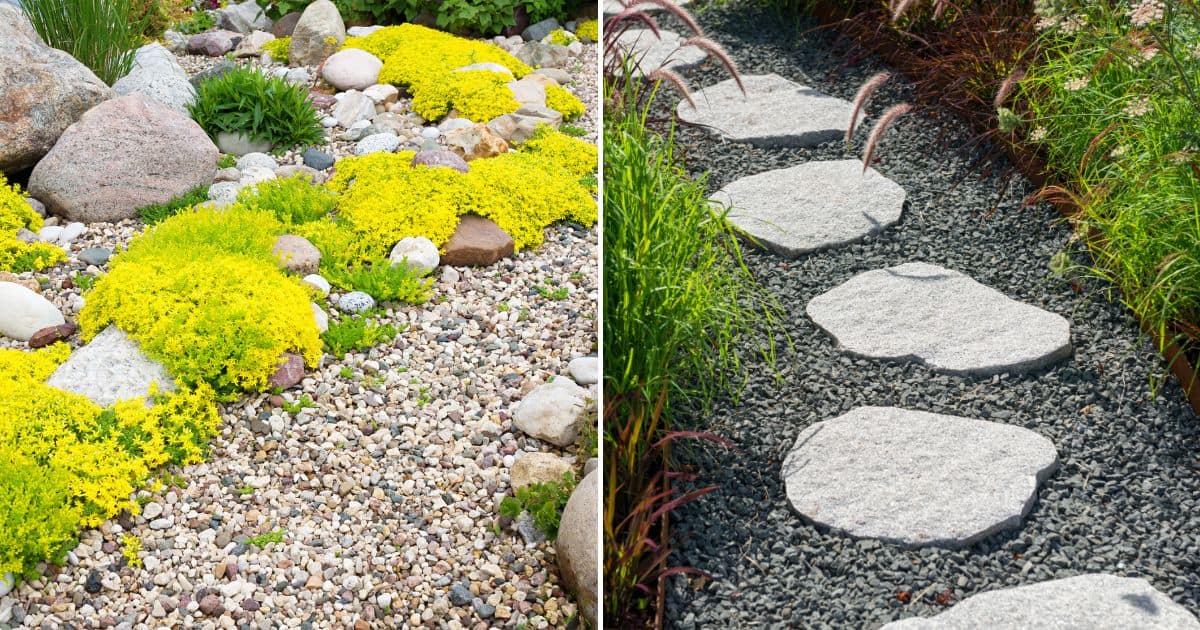
A gravel garden is one of them. This low-maintenance setup will cut down your watering and weeding, and you can enjoy it all year round. Not to mention how cost-effective it is. You can use gravel as mulch to add some color, as a border, or even as a growing medium.
All you need for this are a shovel, rake, gravel grid, weed barrier, tamper, and some gravel. If you have a really large yard, a basic wheelbarrow and gravel spreader could save you a lot of time.
Let’s discover how to set it all up and which plants are perfect for this garden!
Setting Up A Low-Maintenance Garden
The installing method is really what makes this type of garden so low-maintenance.
The first thing you need to do is remove all the grass and weeds, which makes it easier to care for in the long run.
Moisten the soil afterwards to get a level surface. It’s okay to have some bumps and slopes here and there as that’ll give your gravel garden a more natural look. However, ground that’s too steep will make it harder for the gravel to stay in one place.
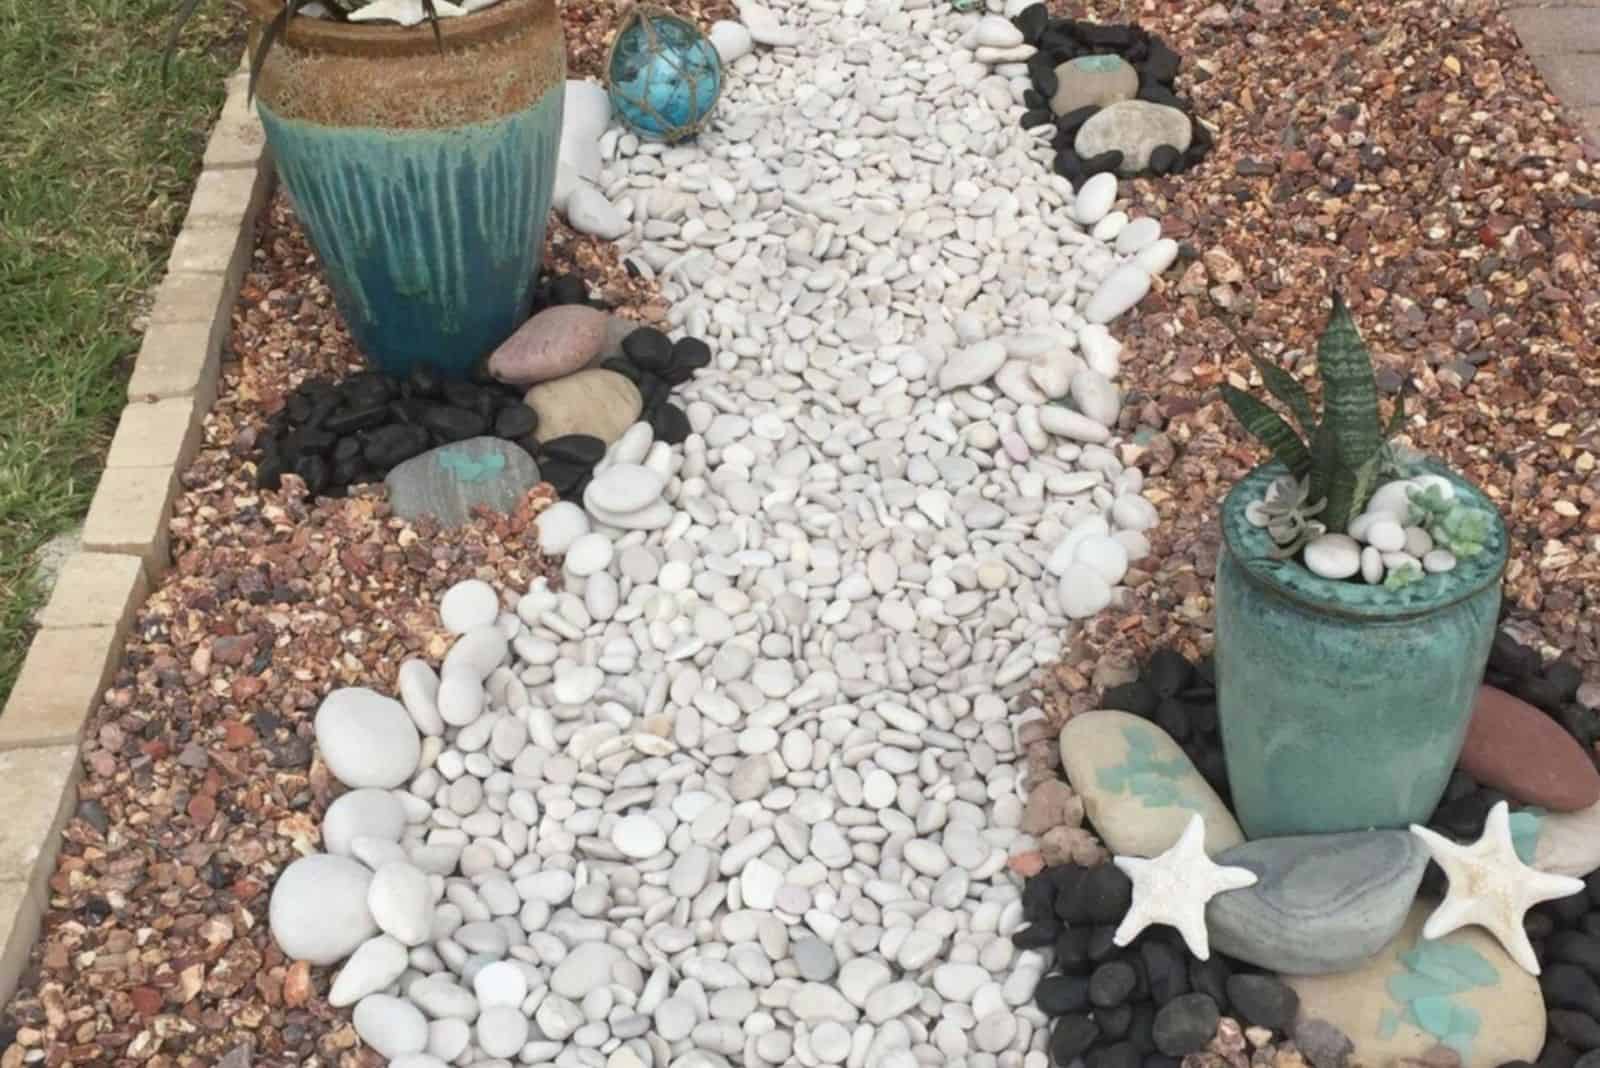
The next step is to lay a gravel grid and border to prevent this material from washing away. This will also cleanly separate it from the surrounding landscape, giving your entire garden a finished appearance.
Now that the hard work is done, we get to the fun part – choosing the perfect gravel.
Pea gravel is the cheapest, but first you should learn the pros and cons of a pea gravel patio (which also apply to gardens). They can help you decide whether this material is for you. You can also find marble chip gravel and river rocks for an affordable price.
Before you set them in their final place, use the grid and border to create some interesting designs and add more character to your landscape.
Note: The best part about gravel is that there are so many shapes, colors, and sizes to choose from, so you’ll find what you’re looking for in no time.
Here are some tips for making and maintaining it:
Selecting The Right Plants
No garden is complete without plants! One thing you can do is make small garden beds and install them straight into the gravel or leave a couple of inches of soil if you like the look.
You can also incorporate some potted plants or make it a complete container garden without any beds. They’ll add depth and texture to your garden.
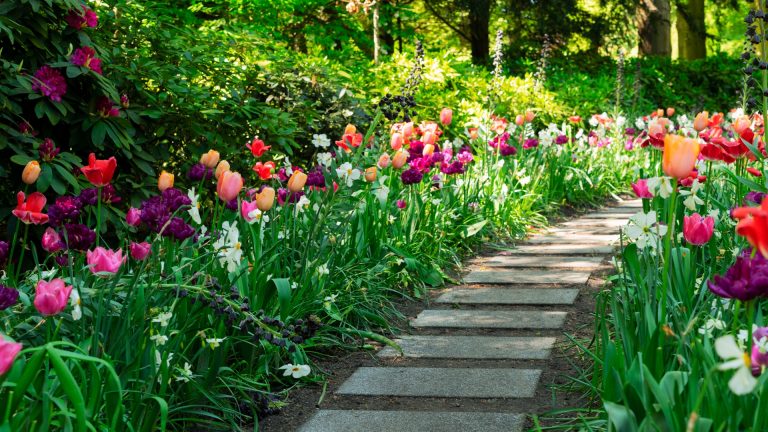
Once you choose the place and style for your plants, it’s time to add them. You can go for drought-tolerant rock garden plants such as cactuses and succulents, lavender and thyme, bellflowers, snow-in-summer, etc.
Choose sedum and stonecrop for a long lasting dash of color, or sedge grass and ajuga for more texture. Ice plants and sage are also great options as they don’t require that much moisture.
The best part about these plants is that they require minimal care, so you can get them and then forget all about them for a couple of weeks.
This doesn’t mean you won’t have to maintain your gravel garden, however. Trimming your vines and creeping plants is necessary once a year if you want them to bloom profusely or stop them from invading your entire yard.
You’ll also have to level the gravel and pull some weeds out once per season, but that’s about it!
I hope you enjoyed learning about gravel gardens.
Until next time!