Get New Lavender Plants Without Spending A Dime By Harvesting The Seeds Like This

If there’s a scent I can instantly recognize, it’s lavender! I enjoy long walks through my neighborhood in summer because almost every yard features at least one lavender plant.
And I don’t even need to mention what a visual delight that is!
It’s not really surprising that we all try to find different ways to expand our lavender collections. Some will propagate through cuttings and some will decide to purchase transplants, which can be pretty pricey.
But what if I told you that there’s a cost-effective and extremely exciting way to get new lavender plants?
All you need to do is harvest the seeds!
Keen to grow some free lavender? Of course, there’s more to it than meets the eye, so let’s start with…
A Must-Know About Growing Lavender Seeds Before You Dive In
If growing lavender from seeds is a great option, why do only a few people decide to do it? Well, there is indeed a catch.
You see, the seeds must go through a process of cold stratification. They need a lot of time to germinate and this entire procedure can take between three to six months.
Why do it, then? Just think of the final goal and the reward you’ll get: numerous seedlings for planting and enjoyment of the entire lavender growing process!
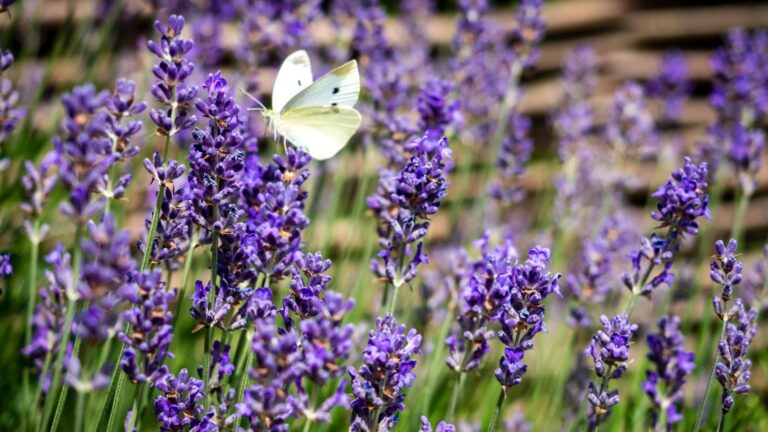
More pollinators, more vibrant hues, and an entire yard filled with calming and enchanting fragrances! Sounds wonderful, right? Then let’s take the seeds!
Now, Follow These Steps To Take And Store The Seeds
Of course, everything starts with harvesting your lavender seeds, and the best time to do it is summer.
Once you select the day, hang tight until the morning dew lifts. Remember, your goal is to lock in the oils that actually make this flowering plant so special.
And now, follow these steps:
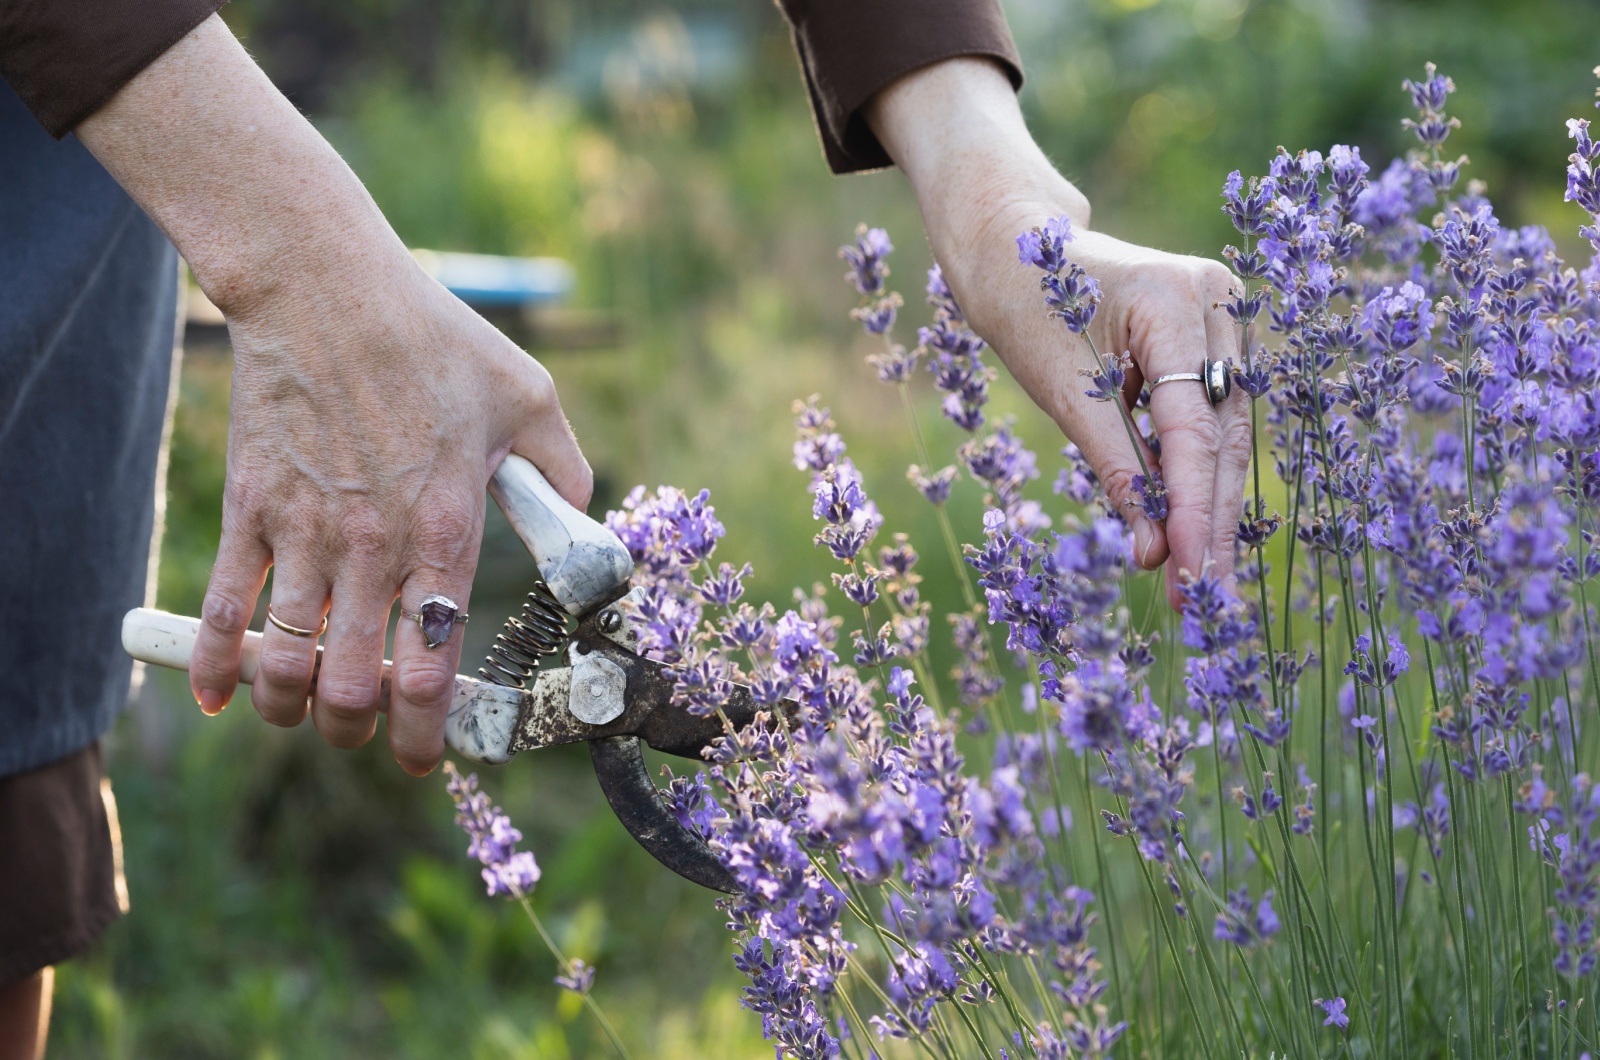
1. Grab a pair of clean and sharp pruners and snip a handful of lavender flowers with stalks.
2. Shake the stalks a little bit to get rid of annoying bugs that use lavender blossoms as a safe haven.
3. Now arrange the stalks in a couple of bundles and secure them with a rubber band.
4. Air-dry the stalks by flipping them upside down and putting them in a dark paper bag.
5. Leave the lavender bundles to dry for approximately 2 weeks. Check if the flower heads are crisp to the touch. If so, the seeds are ready for harvesting!
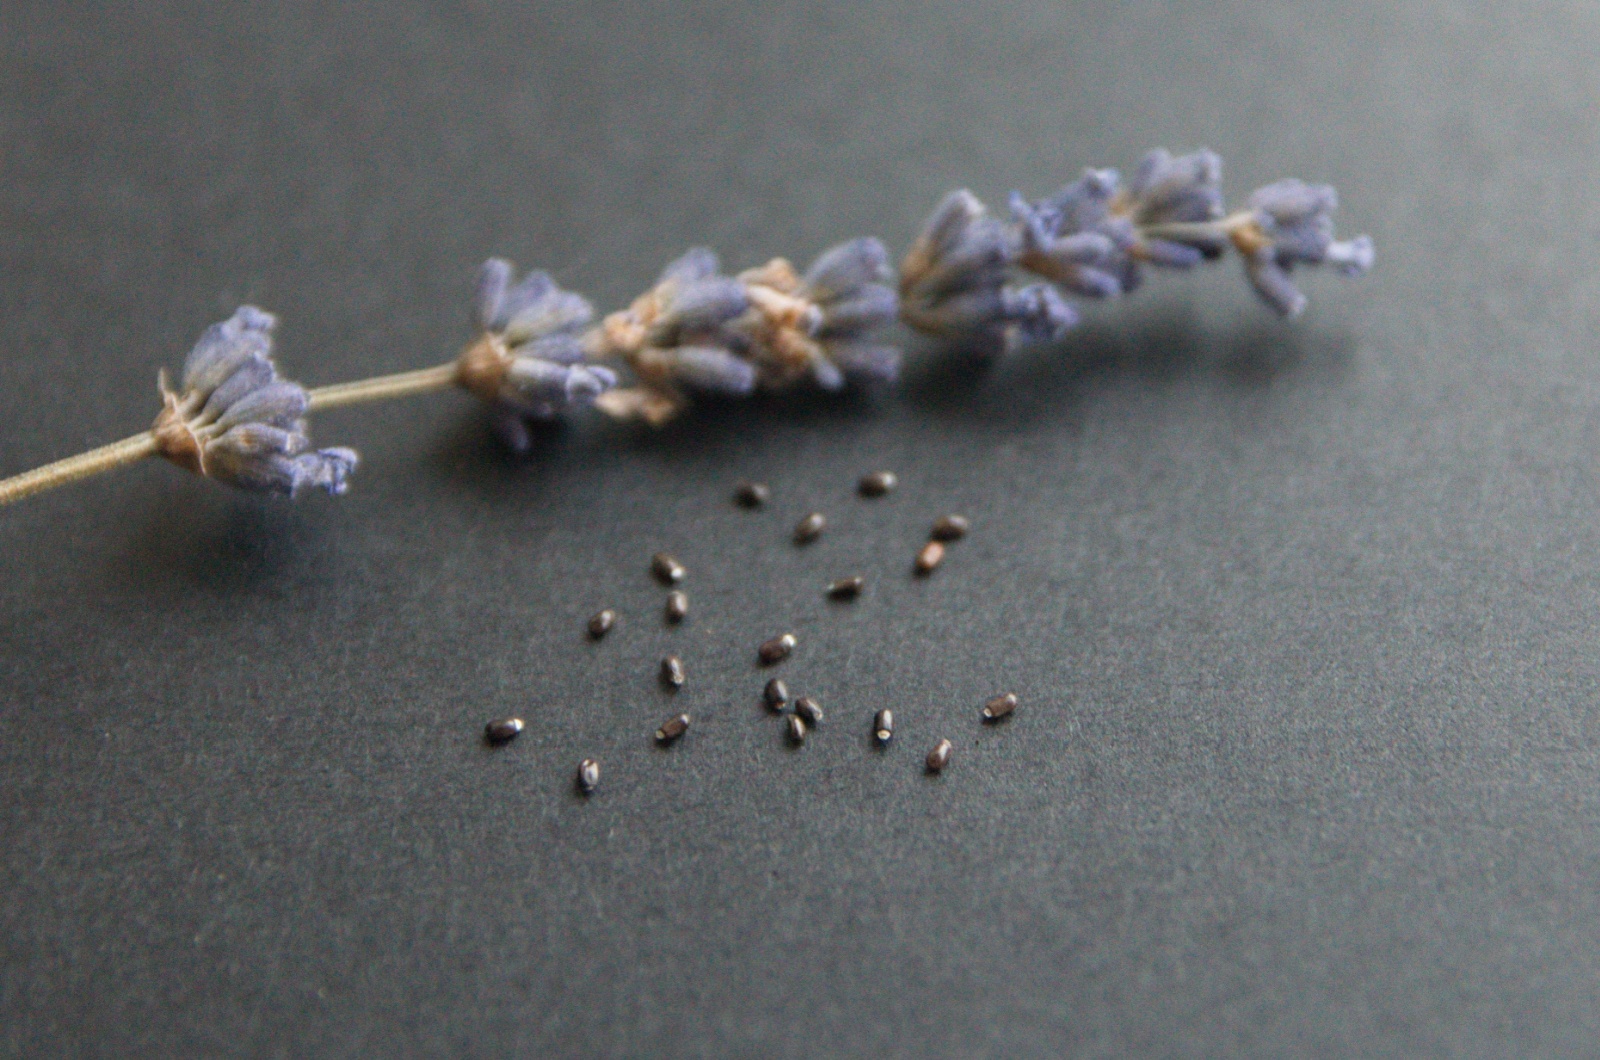
6. Put a paper towel below the flower heads and gently rub them. The tiny black seeds will quickly cover the towel.
7. Place the harvested lavender seeds in a mason jar or an envelope.
8. Find a dark and cool spot in your home for the jar/envelope with the seeds.
That’s it! Now the only thing left to learn is how to get lavender plants from the harvested seeds!
And This Is How I Grow Them
I always use the same technique for growing lavender from seeds and it works every time. I start with cold stratification.
Don’t worry, this is just a fancy term for exposing the seeds to cooler temperatures so that they germinate faster.
Take some pre-moistened peat moss, put it in a plastic bag, and scatter the seeds. Now, place the bag in the fridge and leave it there for about a month.
Once the period of cold stratification ends, take a seed tray and fill it with a seed-starting mix. I always purchase this at Home Depot and it costs about $5.
Press the lavender seeds lightly and cover the trays with a plastic lid. Put the trays in a spot where temperatures are around 70 degrees Fahrenheit.
My seeds typically sprout in 2 weeks but it can be sooner or later, depending on the conditions.
Open the lid, and make sure these 3 requirements are met:
✅ Enough bright indirect light
✅ Consistently moist soil
✅ Warm soil temperatures
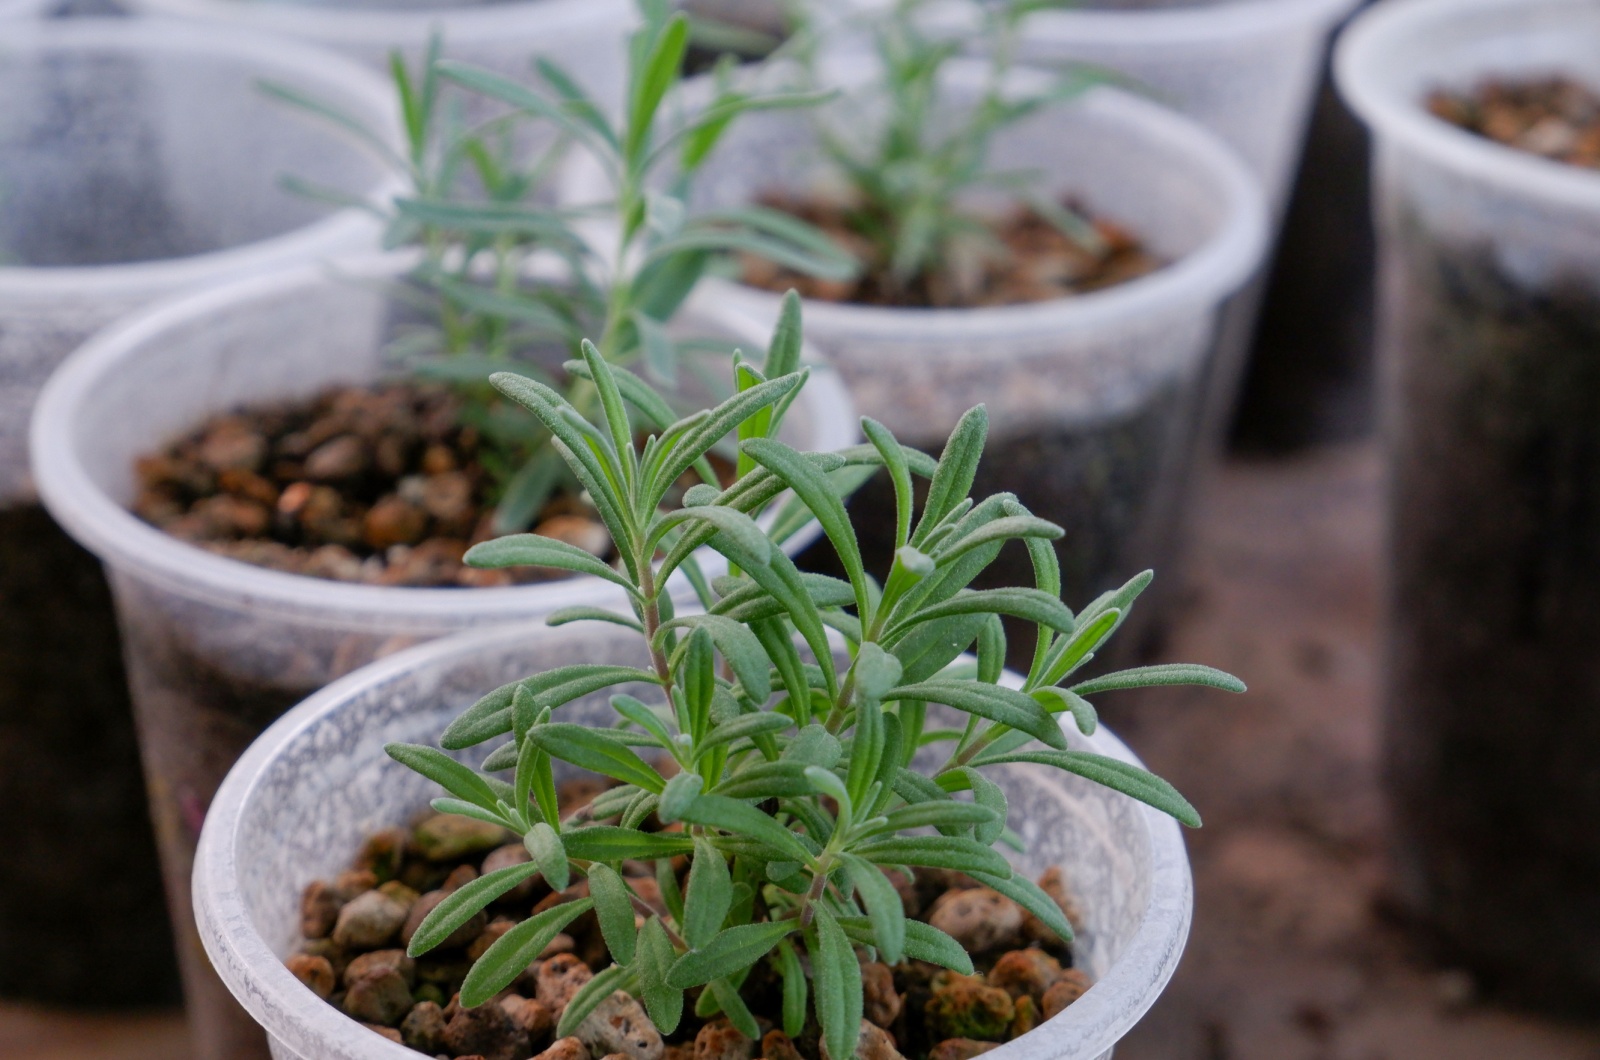
Check on the trays regularly and once the seedlings display at least two true leaves, plant them individually in small pots and water them lightly. Now your lavender is ready to adjust to outdoor conditions!
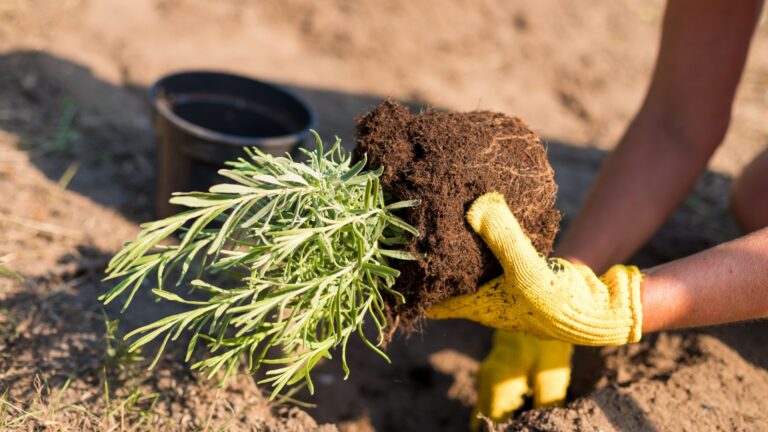
From Pot To Plot! Ensure These Conditions For Your Lavender Plant To Thrive
When the seedlings are approximately 3 inches tall they are considered perfect for transplanting outdoors.
Move your lavender outdoors every day, starting with shady conditions. Increase the time it spends outside day by day until it’s completely adapted to the sun.
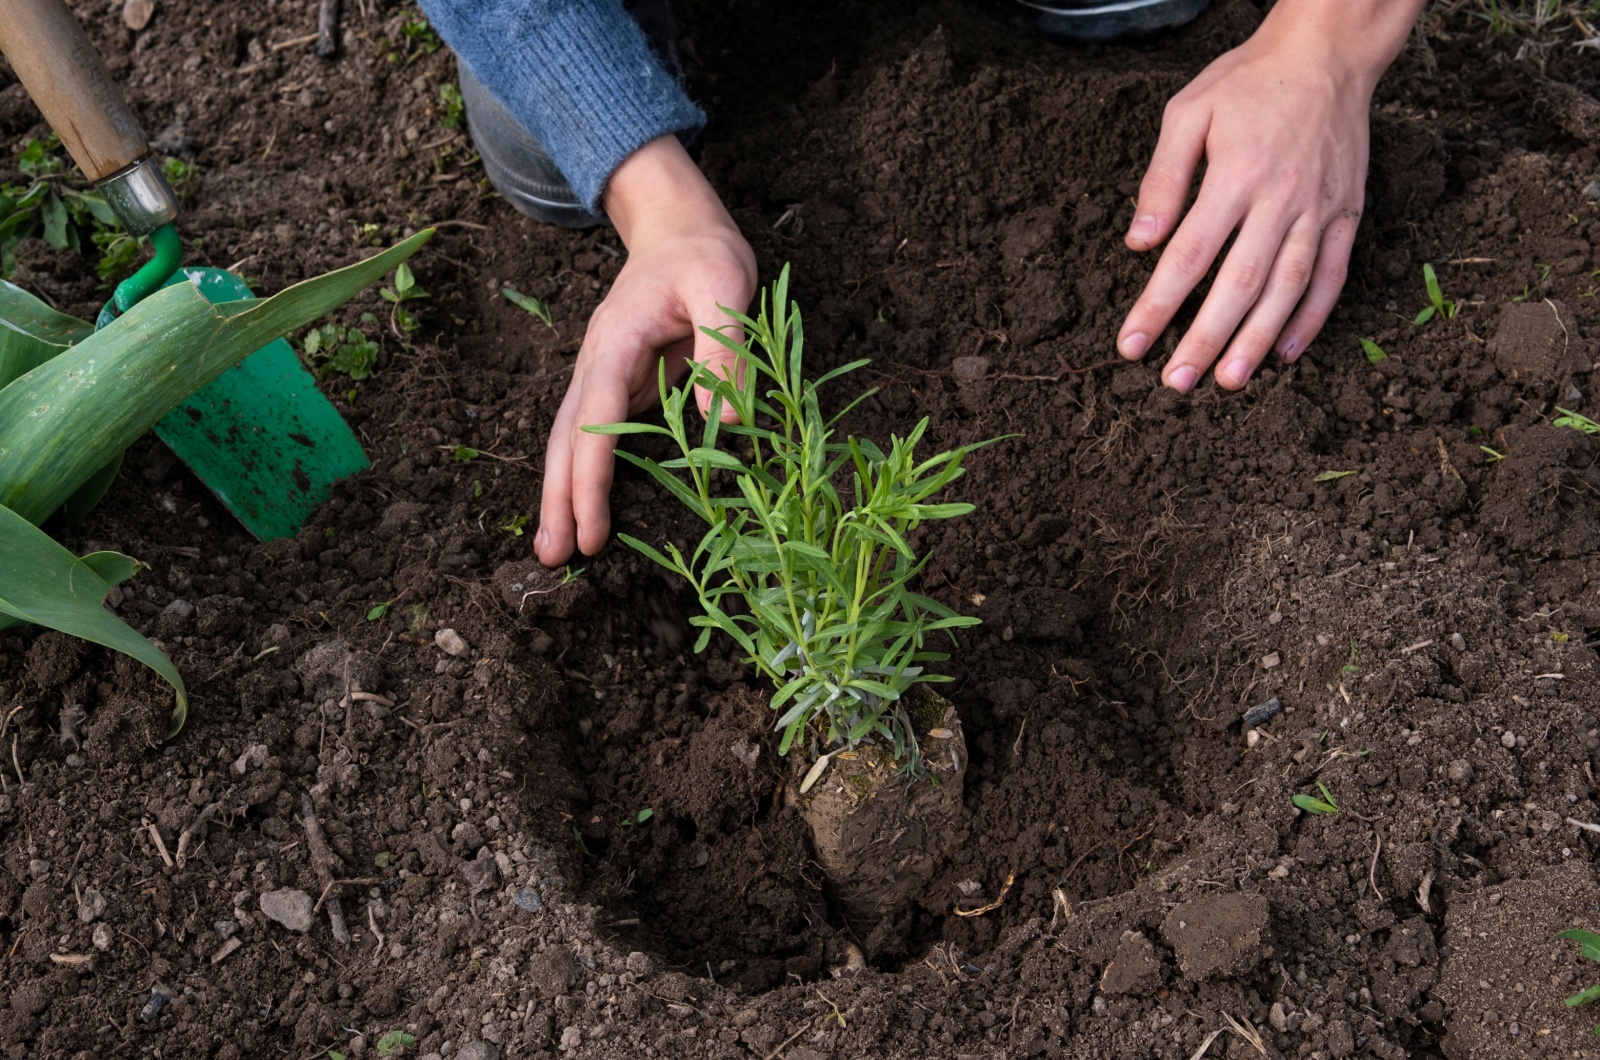
April or May is the best time to transplant your lavender. Find a sunny spot in your garden with a free-draining soil type that doesn’t have any weeds growing over it.
Also, pay attention to proper lavender spacing and make sure there is at least 3 feet between each plant. Yes, these fragrant beauties need a lot of room to spread!
Water the transplants regularly until they’re fully established. Don’t forget to trim your lavender and inspect for pests and diseases regularly!
I’m sure you’ll enjoy growing your lavender from seeds! Use our tips for the best results and may the odds be ever in your favor!