Have you ever tried a fruit and thought to yourself that it has only recently been put on the market? This is exactly what happened to me a few years ago.
I was at my grandmother’s and tried some amazing fruit. When she showed me the plant in her garden, I was utterly amazed by its appearance and juicy, sweet taste. The plant was a ground cherry.
It has been a part of my garden ever since, and now I would like to show you how to grow ground cherries, from planting to harvest!
Let’s embark on one of the juiciest journeys ever!
More About Ground Cherries
This isn’t a new plant species; they have actually been cultivated in gardens worldwide for ages.
The pause in production occurred because of issues with shipping. These fruits didn’t ship well, which is why they lost their spot on supermarket shelves.
Thanks to passionate gardeners all around the world, ground cherries are becoming more and more popular and I hope they won’t suffer the same fate again.
One thing is essential to understand; these are not cherries and they aren’t related to the Prunus species at all.
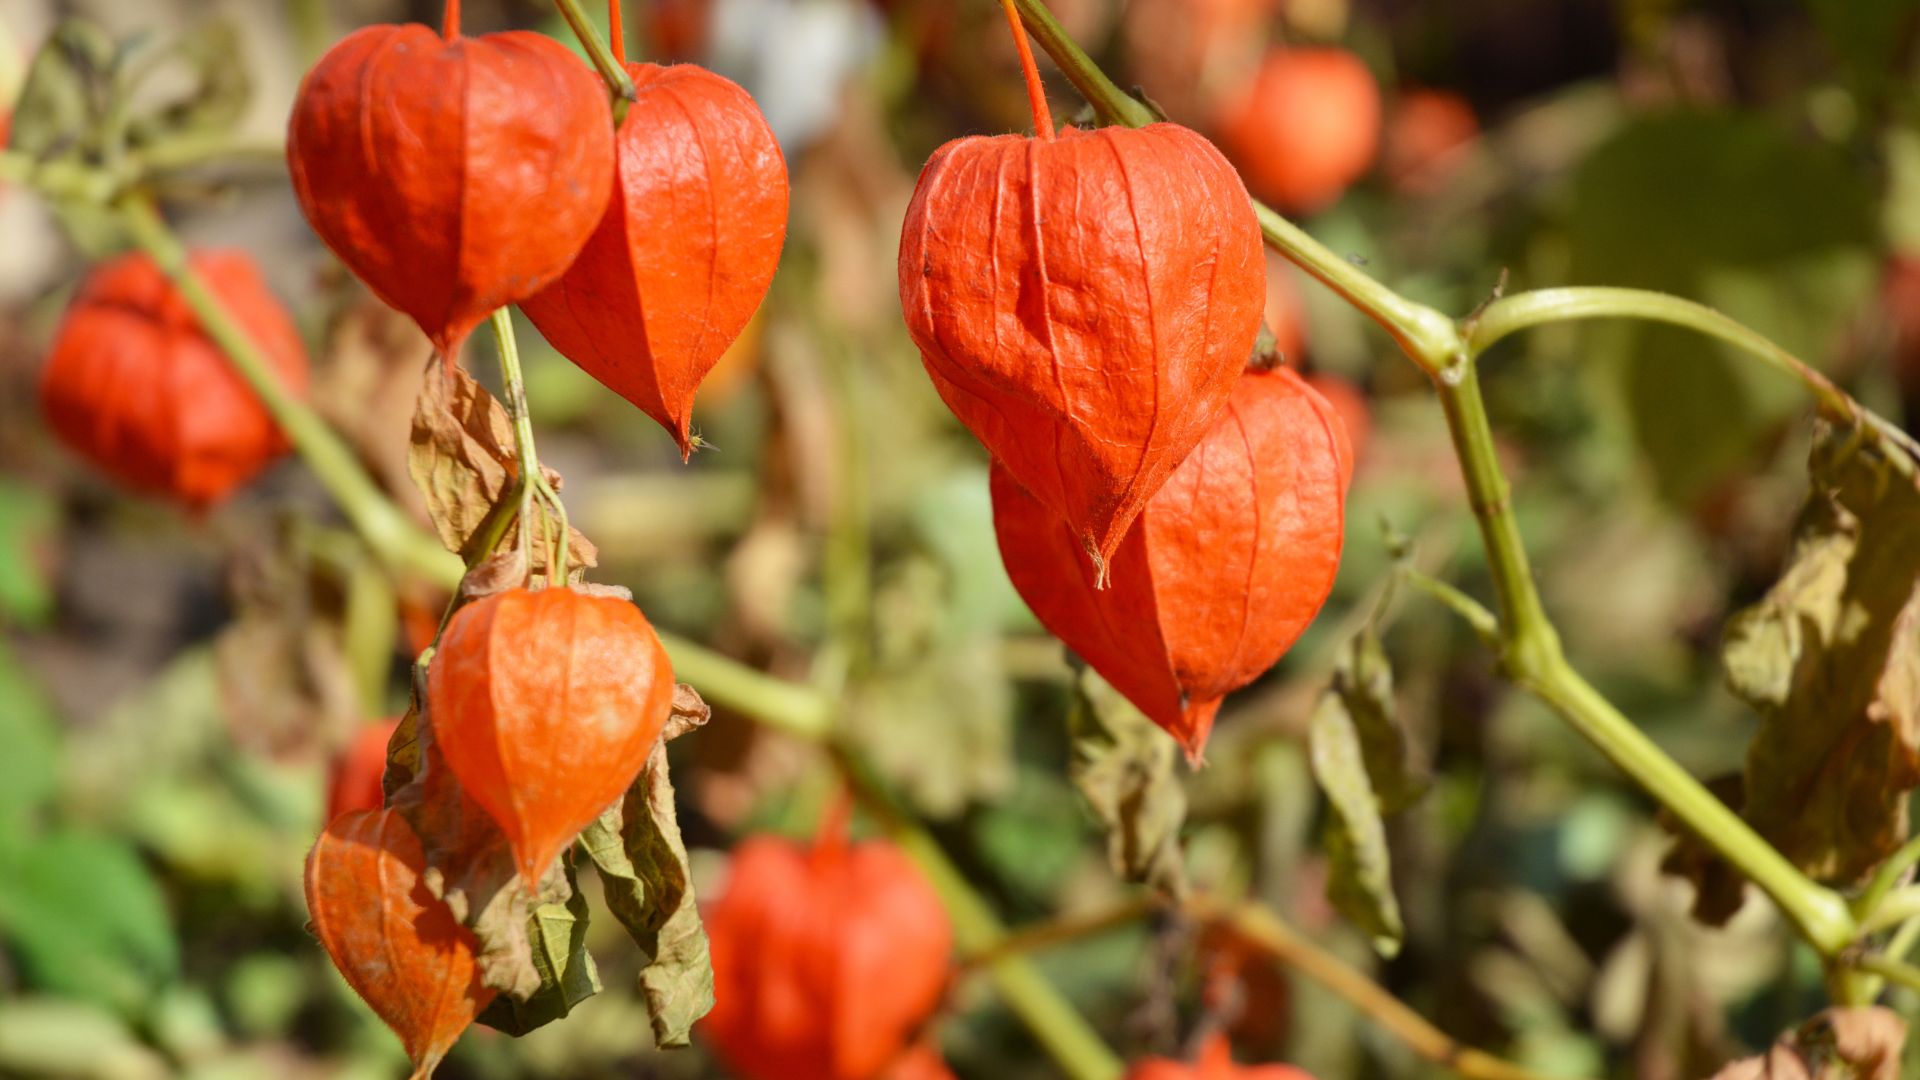
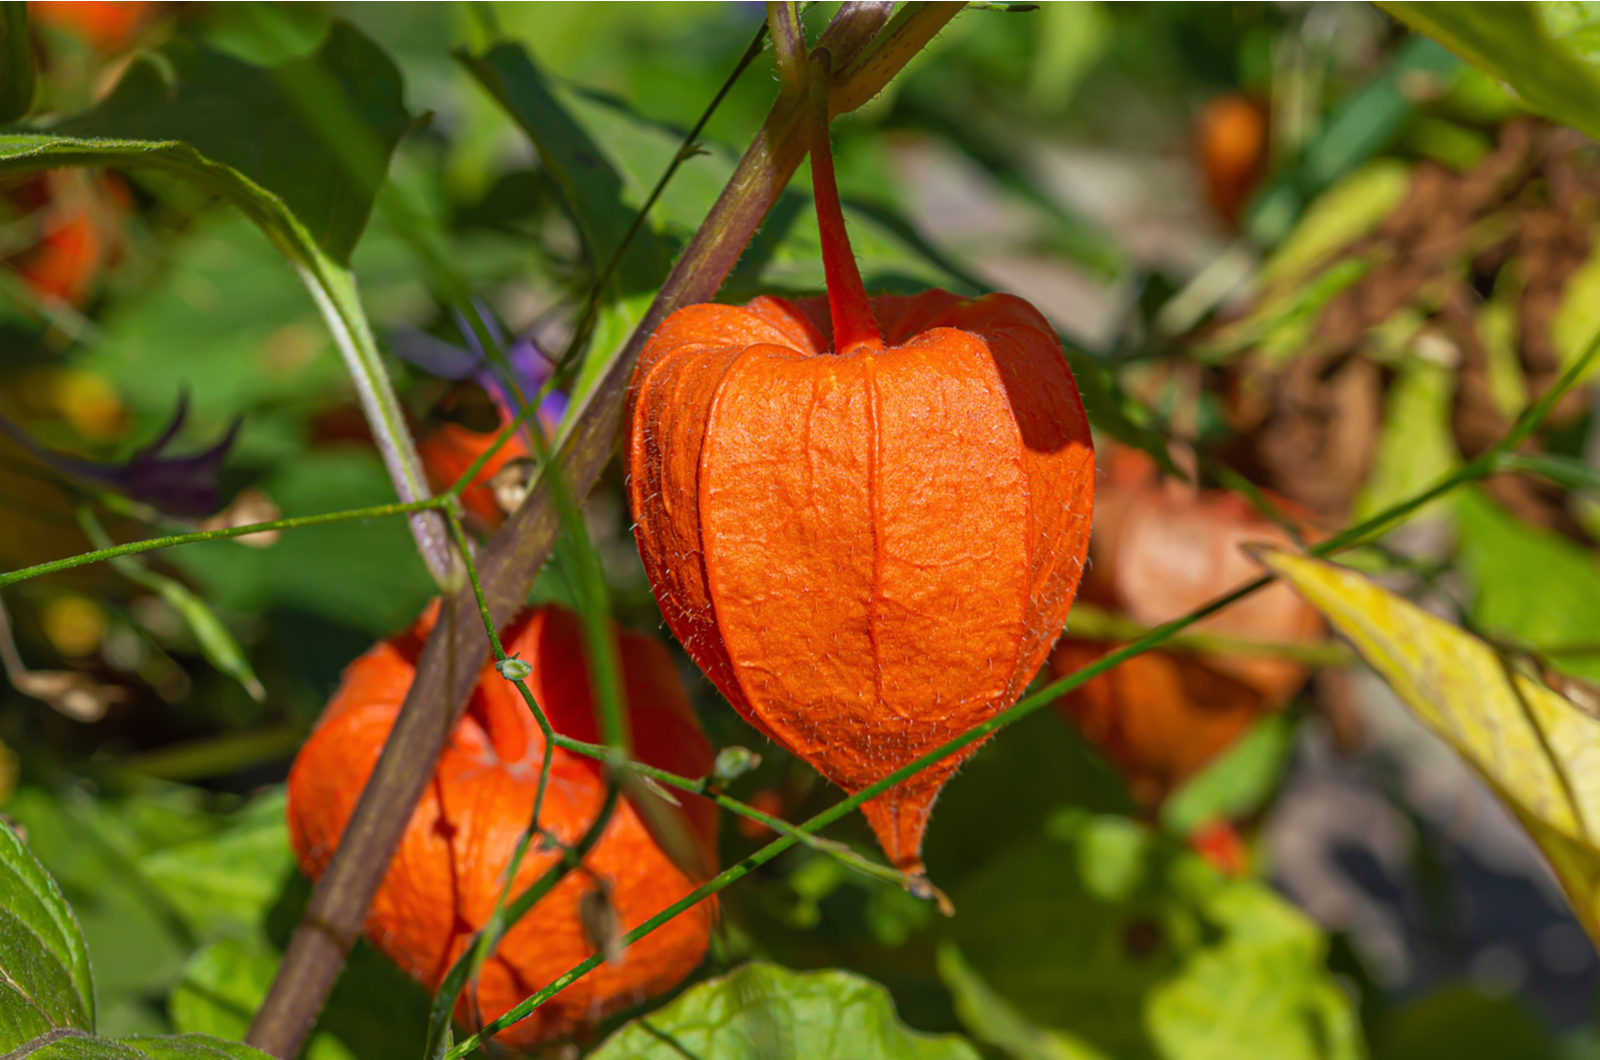
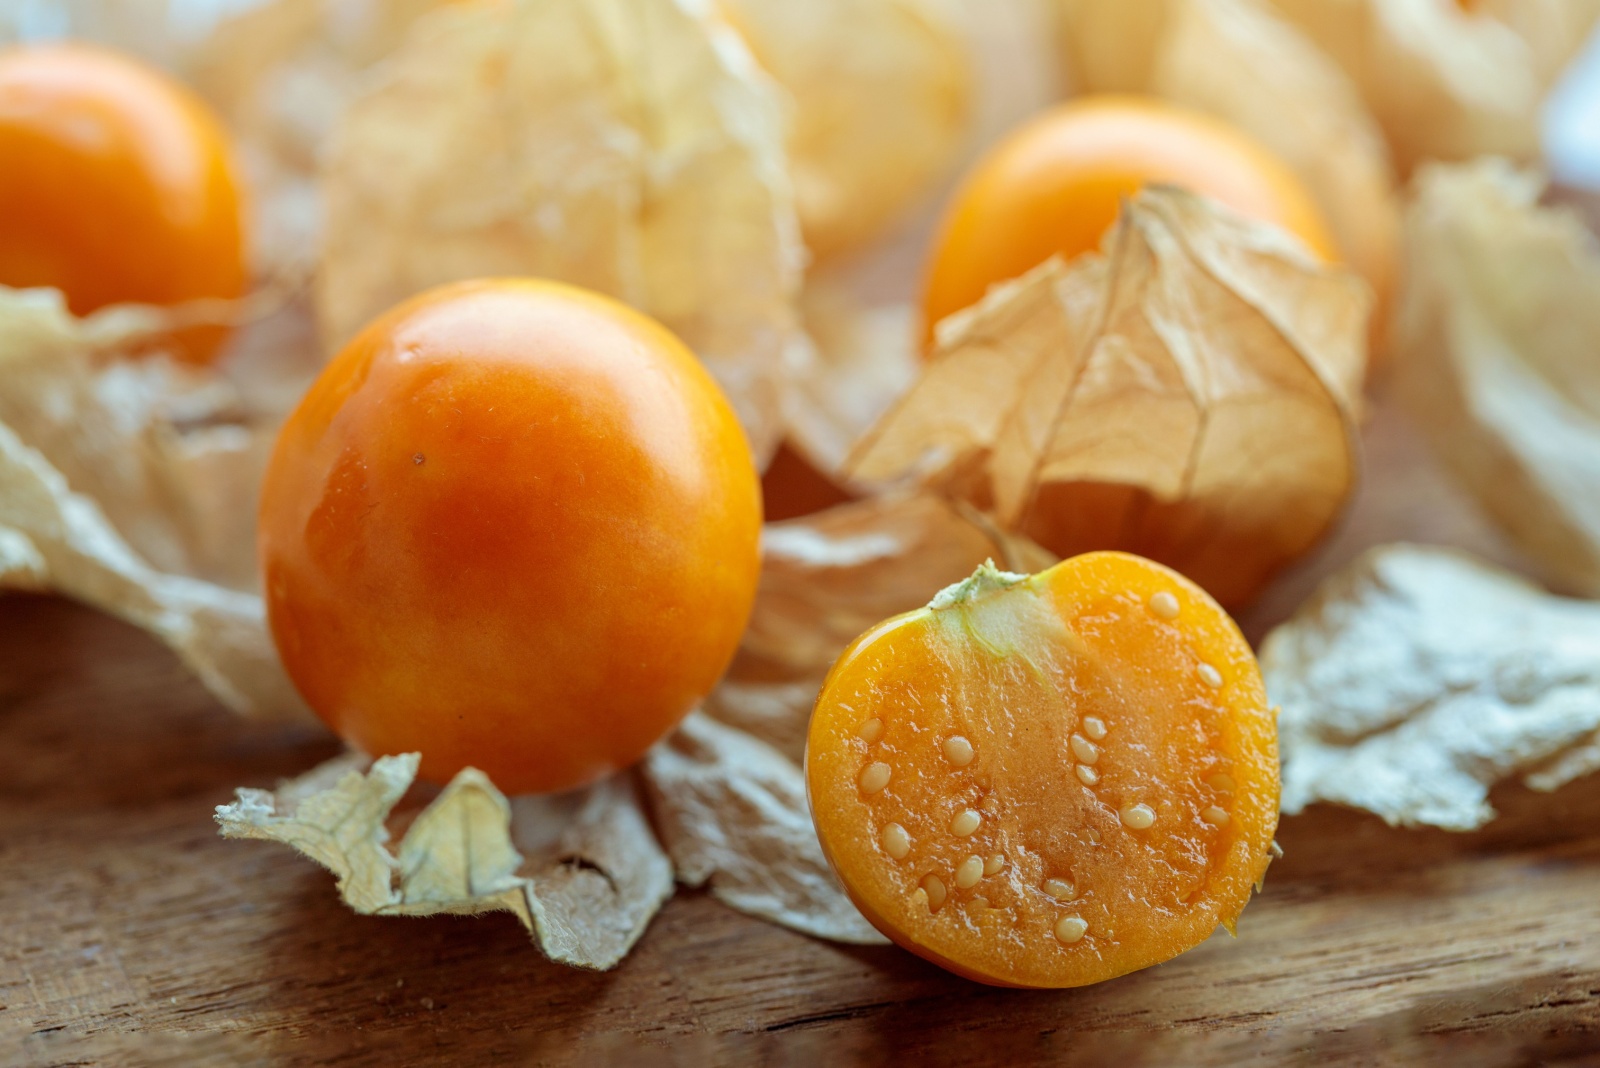
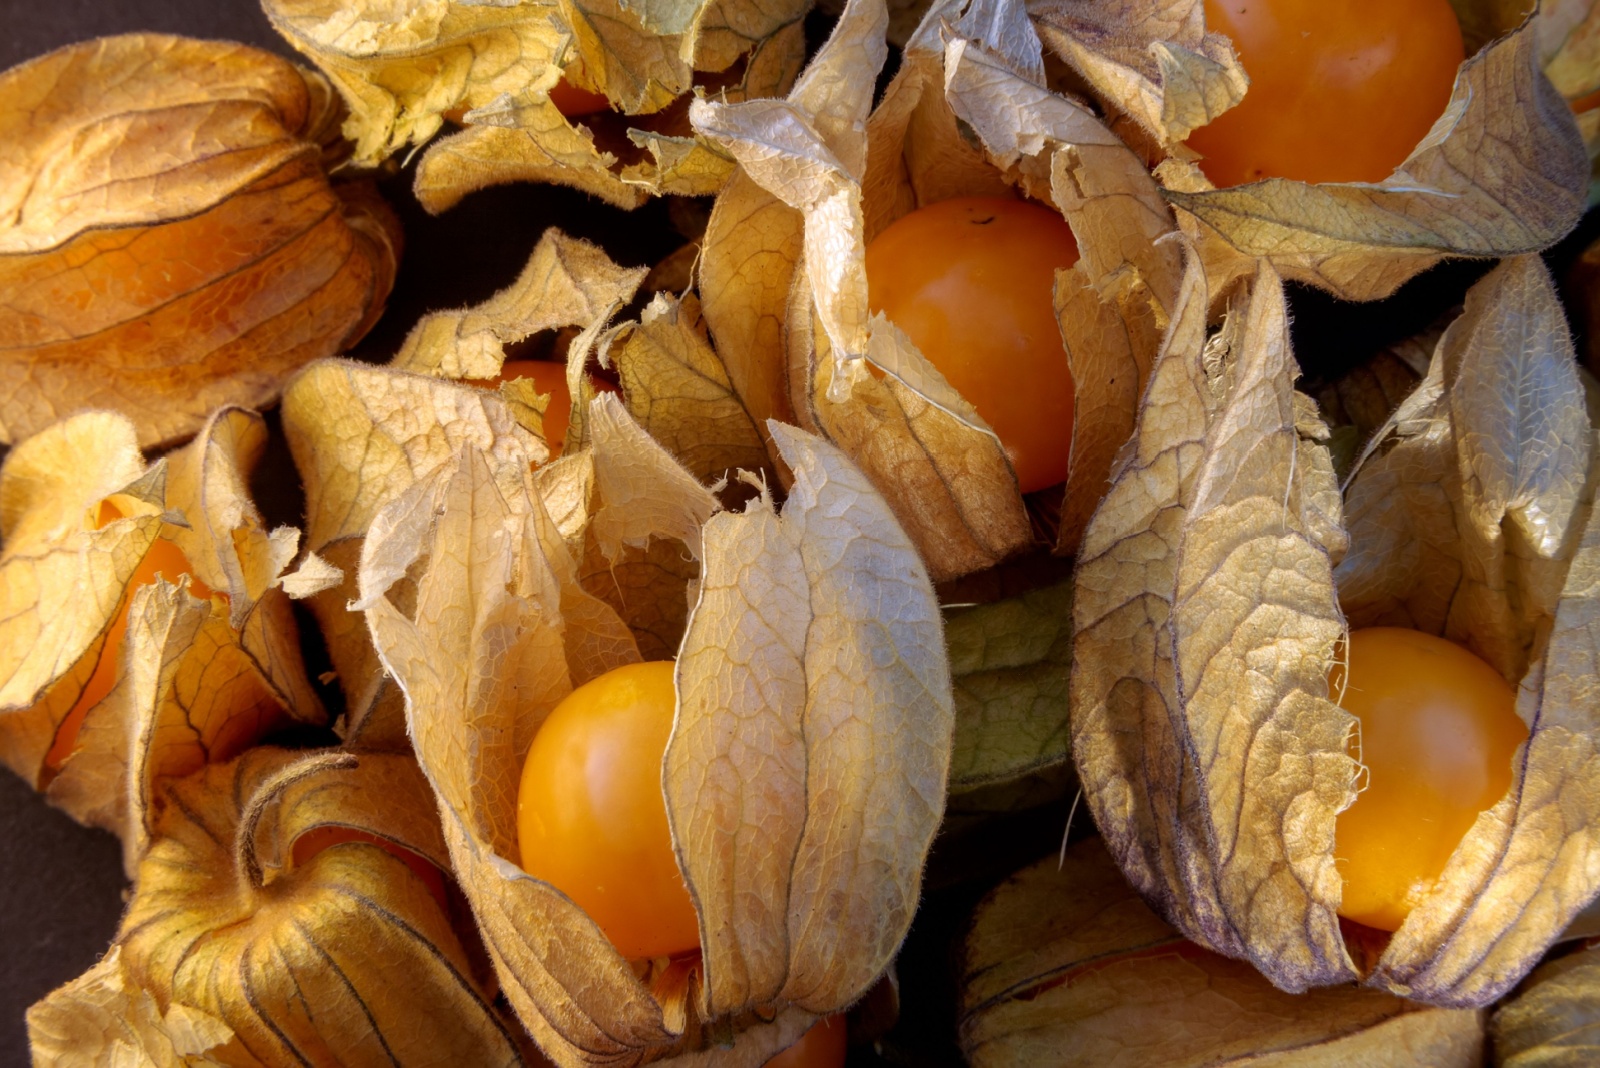
They belong to the Solanaceae family, just like tomatoes. Ground cherries are very similar to tomatillos because of the small yellow blossoms and papery husks.
Other names for these fruits include husk tomato, poha berry, and strawberry tomato.
The most common, and one of the easiest varieties to grow, is the heirloom Aunt Molly’s. I believe it’s available in the majority of nurseries or you can order it online.
How To Start Ground Cherries Indoors
If you don’t manage to find transplants, you can always start your strawberry tomatoes from seeds.
Sow the ground cherry seeds approximately 2 months before the last frost. Take a free-draining potting soil and bury the seeds about ¼ of an inch deep. You can increase nutrient levels in the soil by adding some compost.
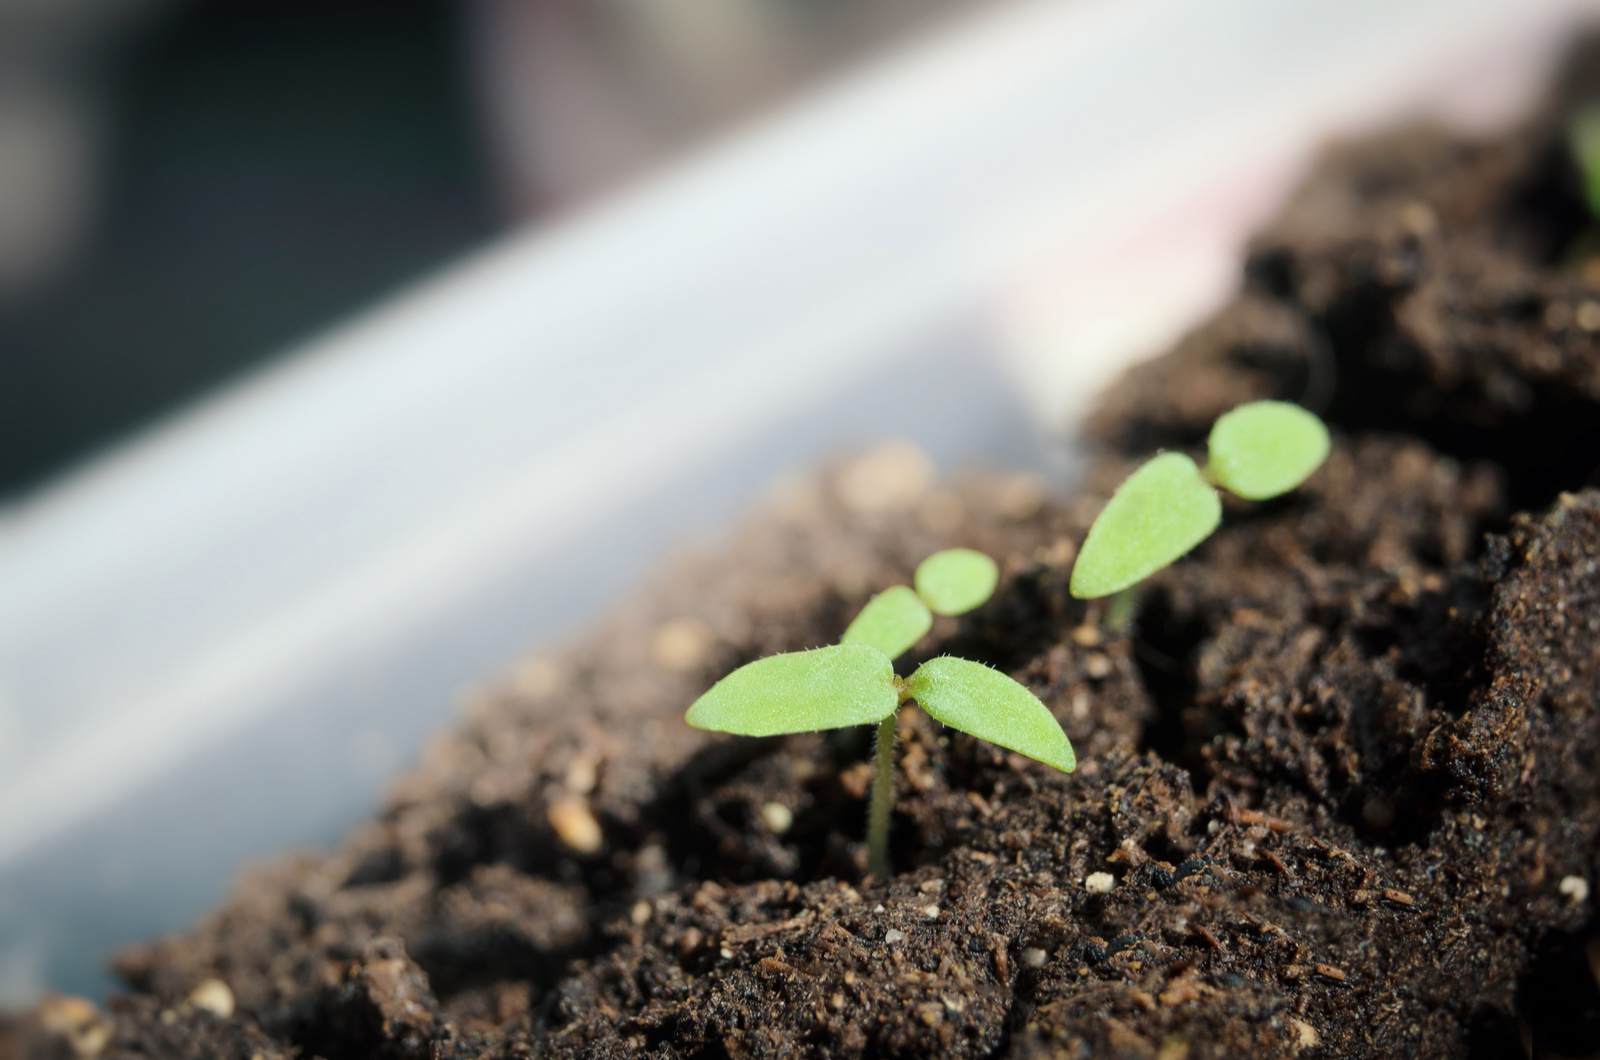
You can expect the ground cherry seeds to germinate in about a week or so. The seedlings may take longer to establish well, so your best friend at this point is patience.
Make sure the soil is warm enough and that the seeds receive enough bright indirect light. Putting a plastic cover over the tray will trap moisture and aid the healthy development of the seedlings.
Best Time To Plant Ground Cherries
One thing the ground cherry has in common with its relatives from the Solanaceae family is low tolerance to frost.
Therefore, you need to wait until the danger of frost is gone and soil temperatures are warm enough to avoid damaging the ground cherry seedlings.
I recommend using a tiller to break the ground and placing a piece of black landscape cloth so that the temperatures can rise faster.
Before you plant the seedlings outdoors, they must harden off. You can achieve this by gradually taking them outdoors; first, leave them for half an hour and increase the time each day.
How To Grow Ground Cherries In A Container
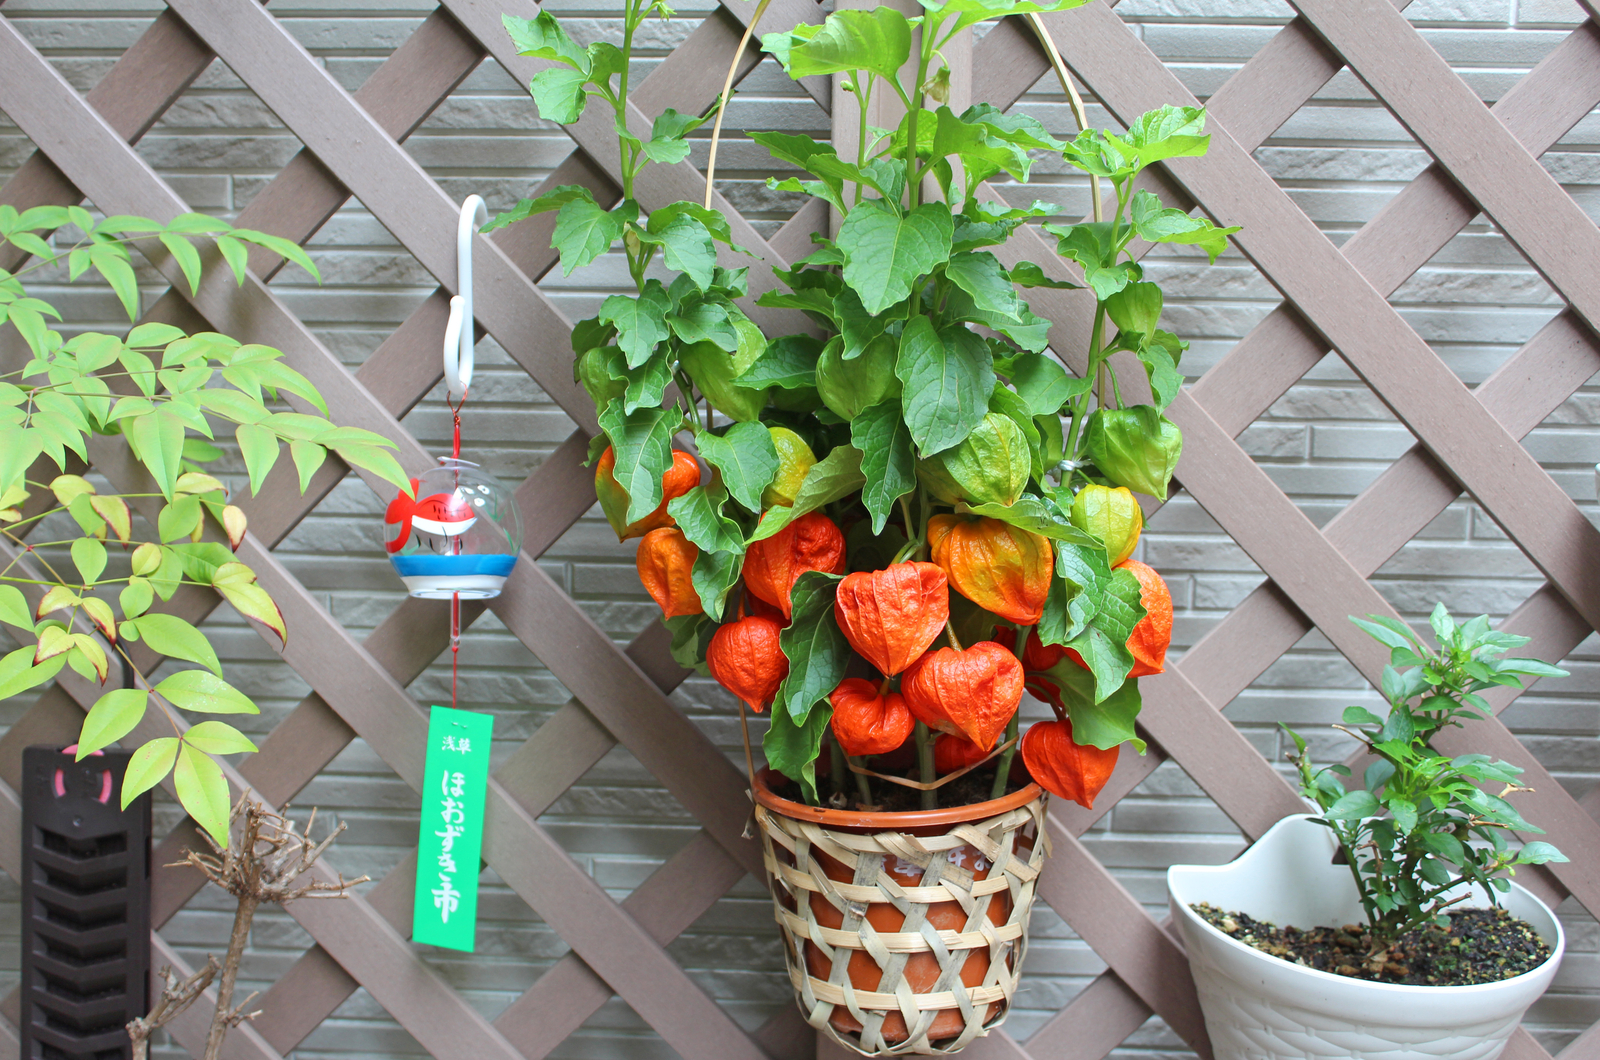
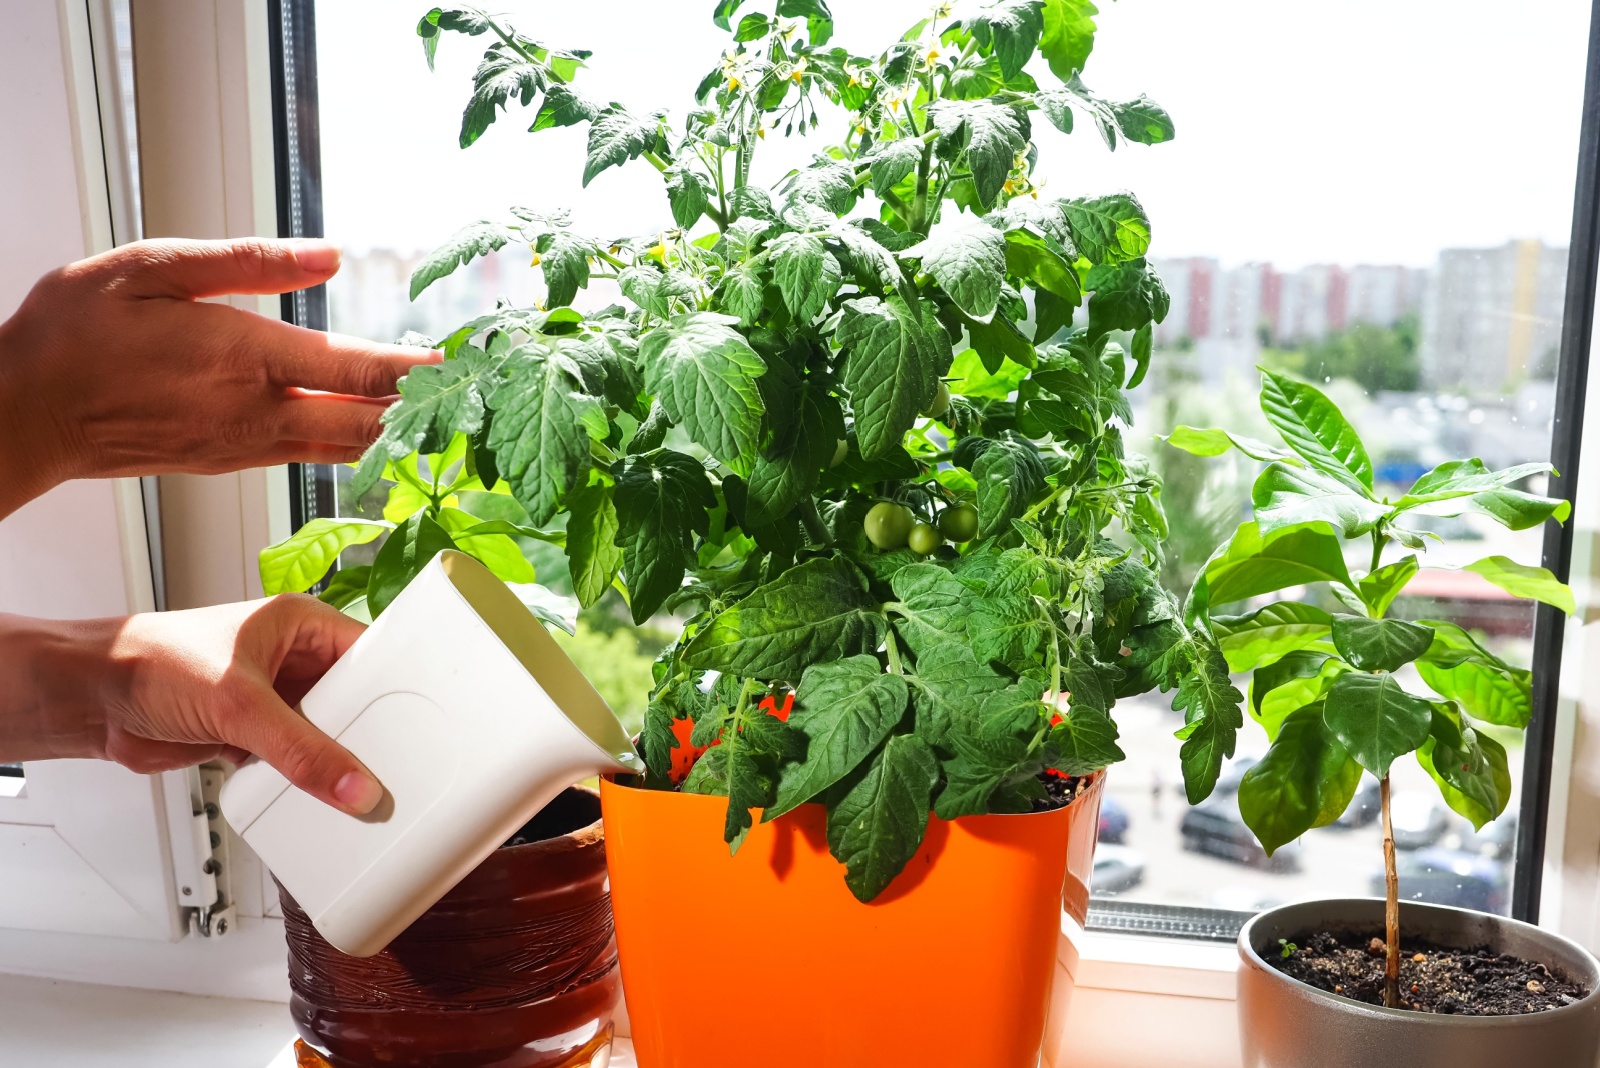
The good news is that strawberry tomatoes perform well in containers. This is an excellent feature for plant enthusiasts who aren’t lucky enough to own large gardens.
Interestingly, ground cherries won’t mind if you grow them upside down. If you want to add a unique touch to your garden, these plants are the best choice.
The essential thing to ensure is a suitable container size. Make sure it’s at least 8 inches deep to allow ground cherry roots to develop further.
Many gardeners actually prefer growing these plants in containers because they tend to creep in a garden.
Also, ensure enough water for your potted ground cherries because underwatering is a common watering mistake in container gardening that can cost you a lot.
Soil, Light, And Fertilizer
The first requirement of ground cherries is free-draining soil. These plants are sensitive to overwatering so amend the soil with well-draining materials, such as perlite and pumice.
When choosing a spot for these fruiting plants, go with one that receives at least 8 hours of full sun per day. Shady spots aren’t suitable for this fruit and lack of light can result in stunted growth and fewer fruits.
Nutrient-rich soil is another thing to ensure for your poha berries. Adding a handful of compost prior to planting will provide your plants with enough nutrients all season long.
Additional feeding typically isn’t required; compost meets all ground cherry requirements. Moreover, too much nitrogen in the soil may lead to bushy growth and fewer fruit.
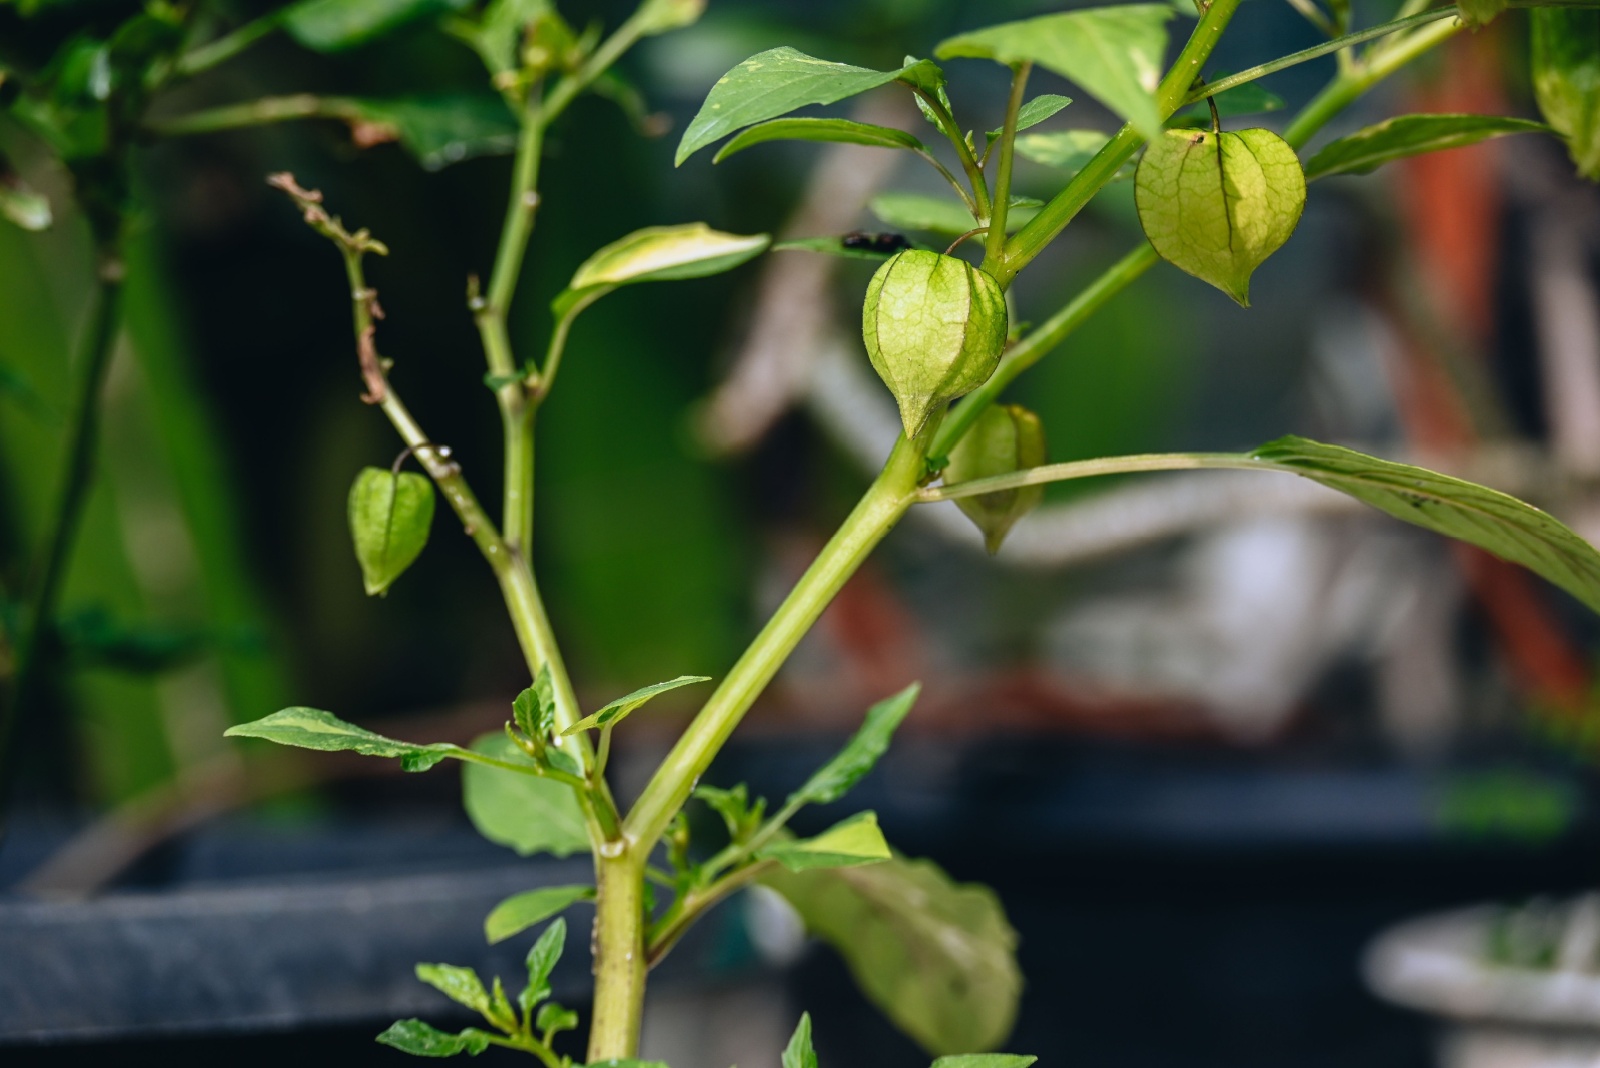
Last but not least, you should ensure structural support for your ground cherries to prevent legginess. Trellises or tomato cages are the best choice.
Pests And Diseases
Another excellent feature of ground cherries is that they aren’t susceptible to pests and diseases. This makes them a pretty good choice for beginner fruit growers.
Whiteflies and flea beetles may come by but they won’t cause damage in most cases.
The easiest way to prevent these creatures from stealing your delicious fruits is by putting floating row covers over the plants. If you notice a lot of pests, make sure to use one of these pest control methods to remove them.
When And How To Harvest Ground Cherries
The time ground cherries need until they’re ready for harvest mainly depends on the variety. However, it typically doesn’t take less than 65 or more than 90 days after transplantation.
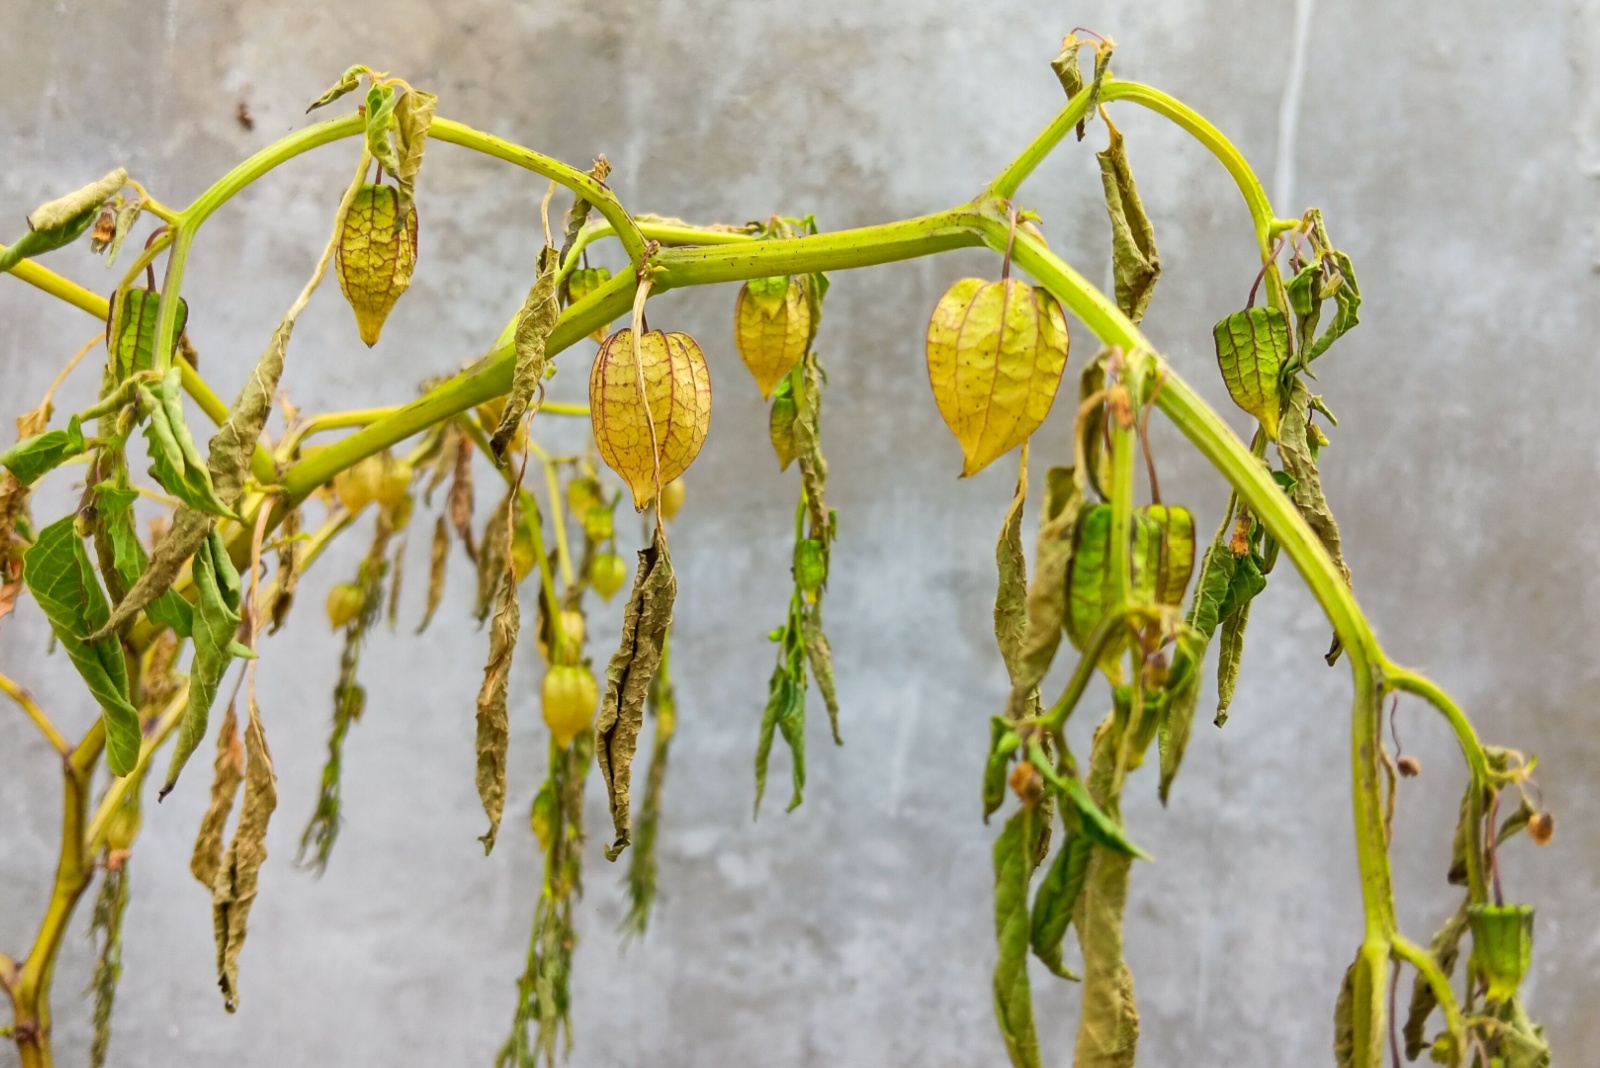
The good news is that these plants will continue to produce fruits until the first frost. If you want to extend the fruiting season, and I’m sure you do, put a cover over the plants.
Here comes the best part: each ground cherry plant yields hundreds of delicious fruits. So, you’ll have more than enough for cooking, preserving, or snacking with just one or two plants.
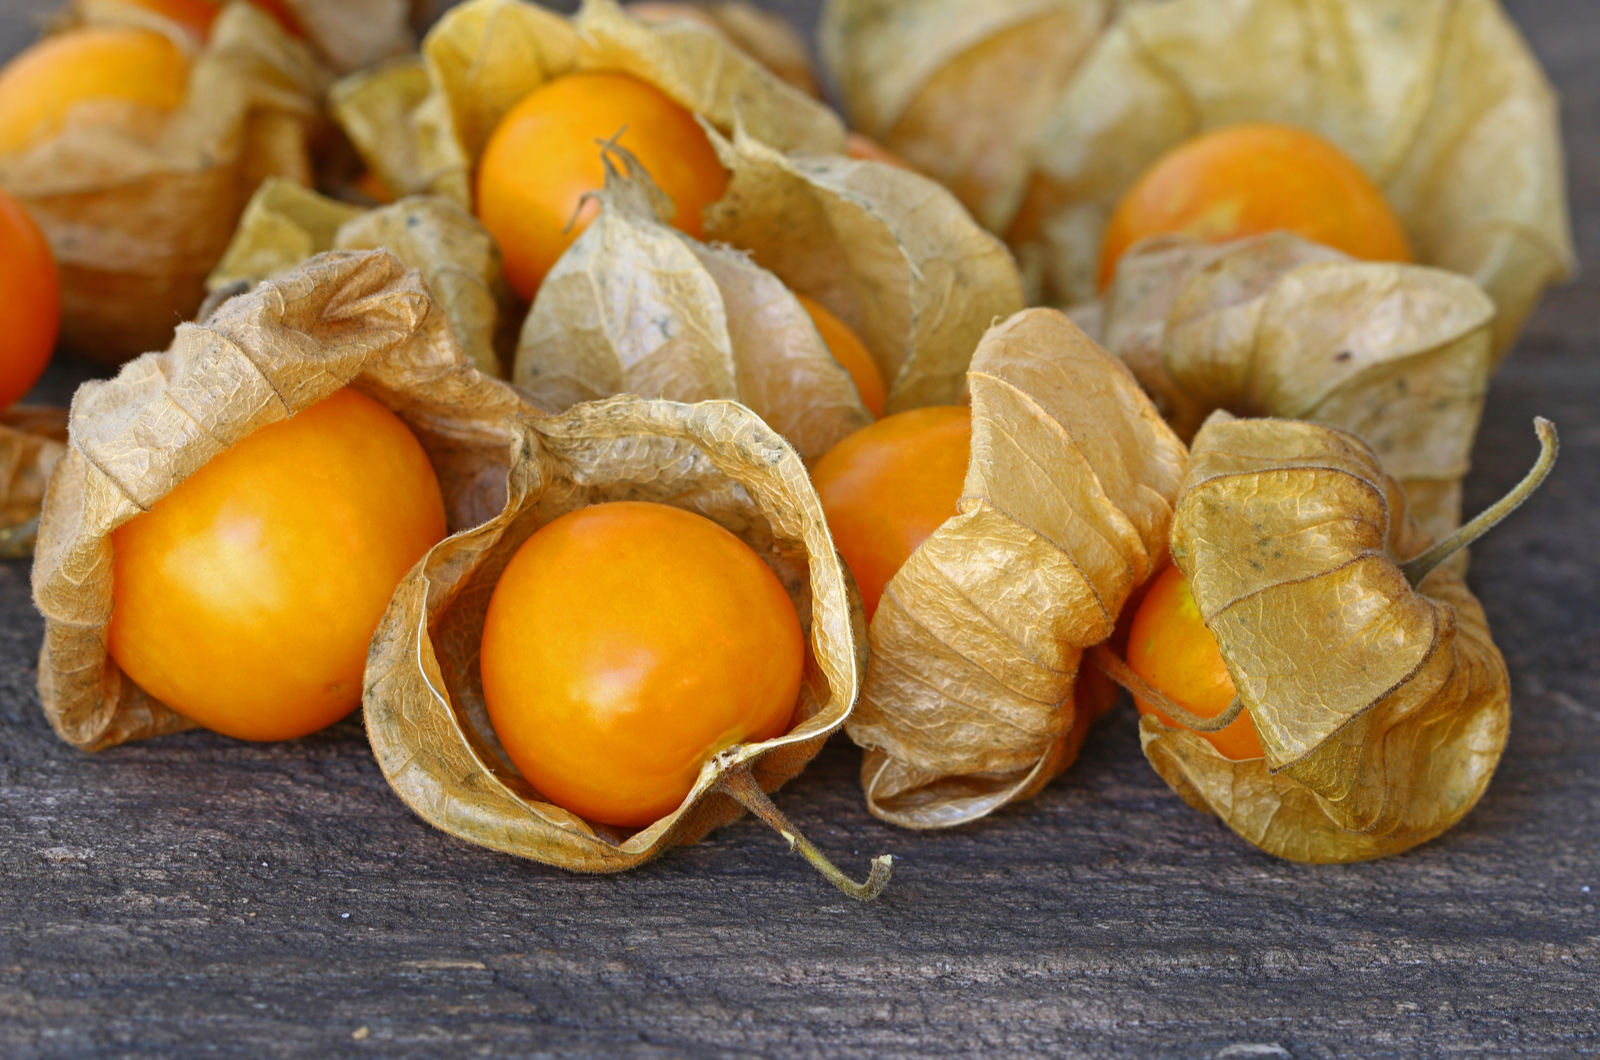
Don’t worry if some fruits fall off before they’re fully ripe. Just pick them from the ground and wait until the husk becomes papery white and the fruits turn yellow to golden.
I always put a layer of straw under the plant to catch the fruit. This makes my harvest simple and more fun!
And Finally, Eating
Once you pick all the fruits, simply remove the husk and enjoy its heavenly taste. Do not remove the husk until you start eating it.
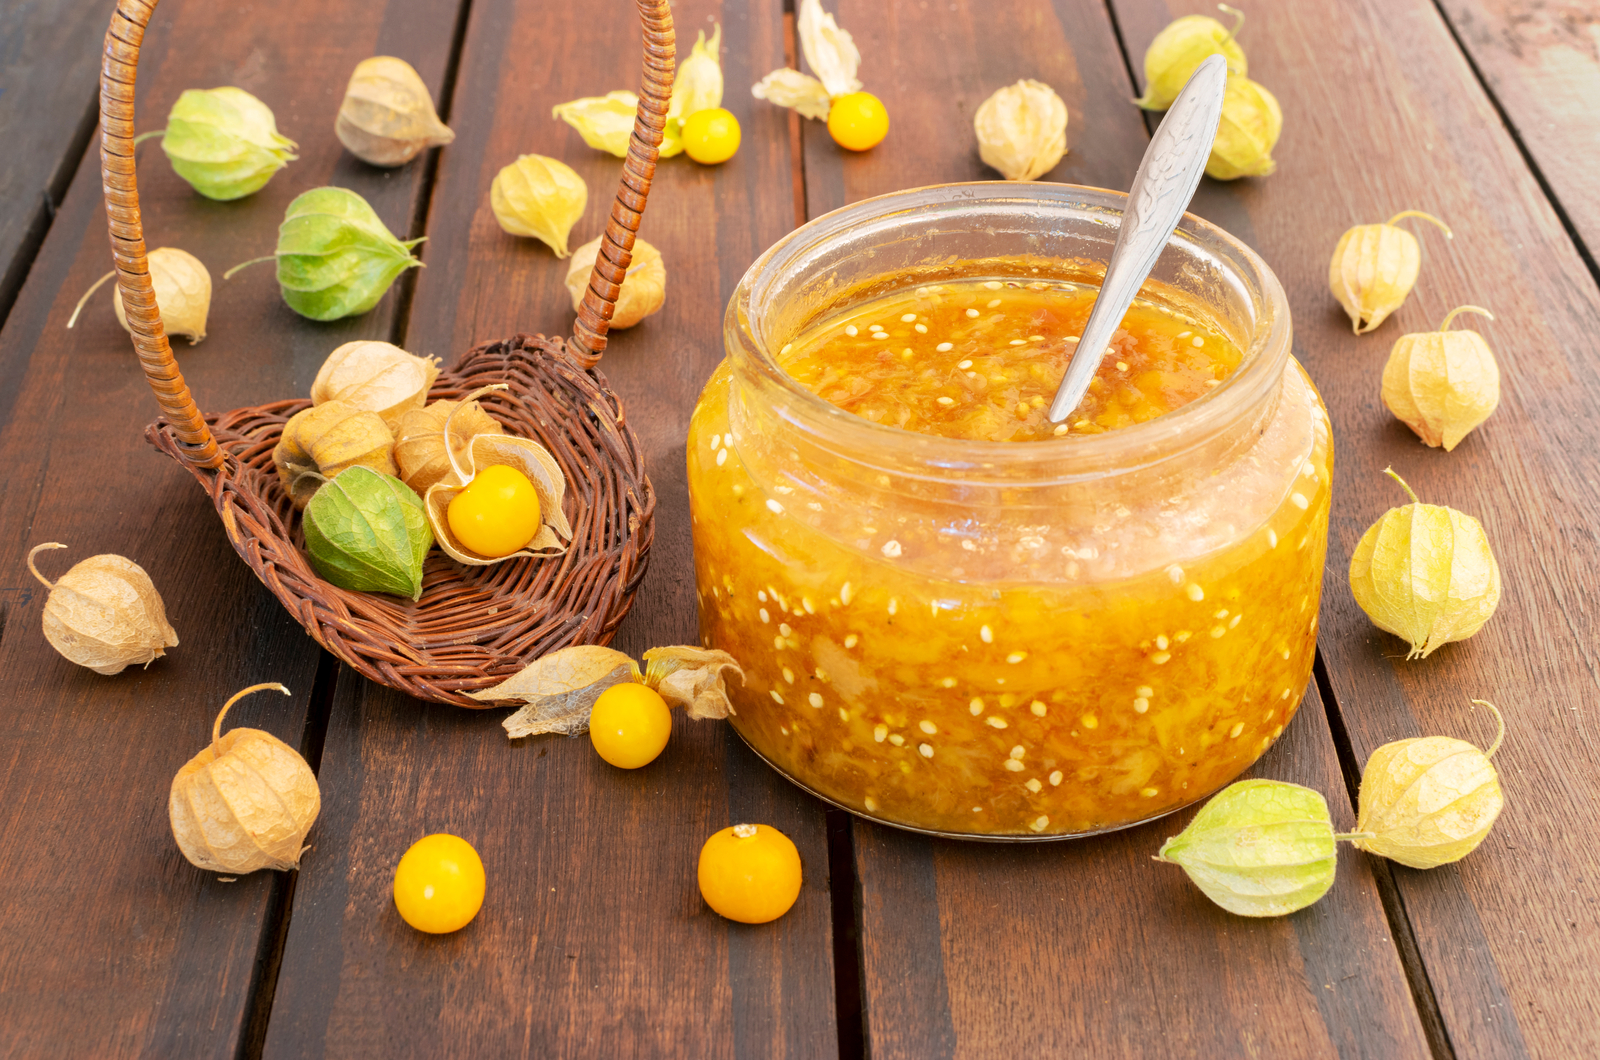
Ground cherries taste amazing in both savory and sweet dishes. If you can’t eat them all at once, there are some excellent ways to use them.
For instance, their flavor is extraordinary when you dip them in chocolate or add them to muffins and pies. You can also add them to salads, salsa, or on pizza (sorry, Italians).
Ground cherries don’t spoil as fast as other common fruits. They can last a long time after harvest if stored properly. Put them in a container and in a cool spot where temperatures are around 50 degrees Fahrenheit.
Bear in mind that ground cherries spoil faster and won’t last more than a week in the fridge if you wash and remove the husk.
These fruits respond well to freezing; remove the husk, wash the fruits and allow them to dry, and put them in a single layer on a sheet pan. Wait until they freeze entirely and then move them to a freezer bag.
Another way to store ground cherries is to dry them. You can either put them on a sheet pan and dry them in the oven or use a food dehydrator.
Once your ground cherries are entirely dry, move them to an airtight container.
Saving The Seeds
You may not have to save ground cherry seeds for the next season because new plants can emerge at the same spot.
However, if you want to save the seeds, here are 5 simple steps to do it.
1. Take a few ground cherries, mash them, and add them to a bowl filled with water.
2. Swirl and mash using your fingers to allow the seeds to fall off the flesh.
3. Leave everything to sit to help the seeds reach the bottom of the bowl.
4. Pour off water along with the flesh and skin and rinse the ground cherry seeds in a sieve.
5. When the seeds are clean, put them on a coffee filter to allow them to dry well. When they’re completely dry, place them in a clean and well-ventilated container until the next season.
Ready For The Sweetest Adventure?
If you haven’t tried ground cherries, I believe it’s high time to do so. Trust me, once you try these flavorful fruits, you won’t be able to stop at one!
Best of all, growing these plants isn’t a hard task even for beginner gardeners. Simply follow our guidelines and I’m sure you’ll have the best yield you could ever imagine.
Happy growing!

