These 5 Expert Tips Will Help You Grow Kale In Pots Anywhere, Anytime
Want to grow delicious leafy veggies but don’t know where? Well, no garden, no problem because today you can just grab some pots, plant the seeds, and put them anywhere nice and sunny!
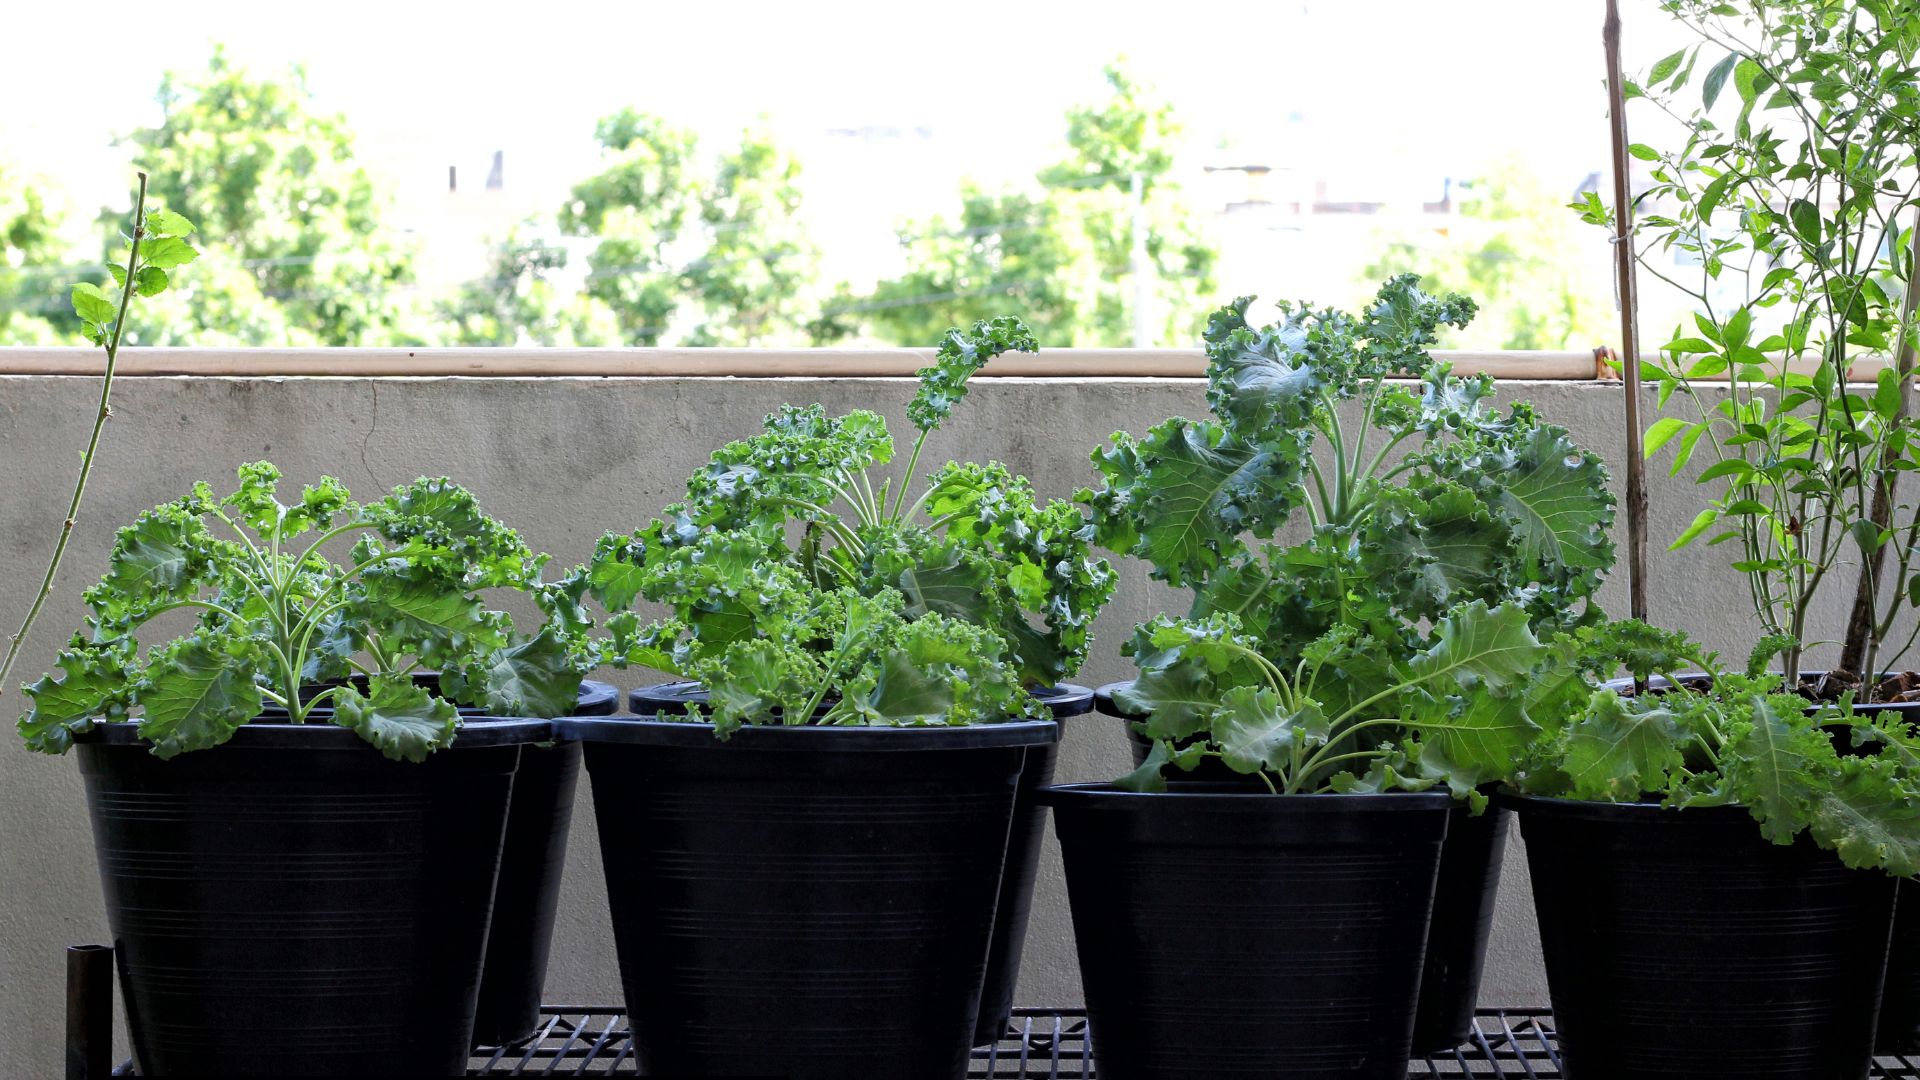
That’s right, I am talking about having your own mini kale jungle right on your balcony or patio!
This is the perfect solution for all city dwellers or anyone with limited outdoor space who still dreams of harvesting their own homegrown goodness.
But the trick is to follow the right instructions throughout the entire process: from planting to growing and harvesting. And if I can do it, so can you!
There’s no need to break a sweat, though, the process is smoother than you think!
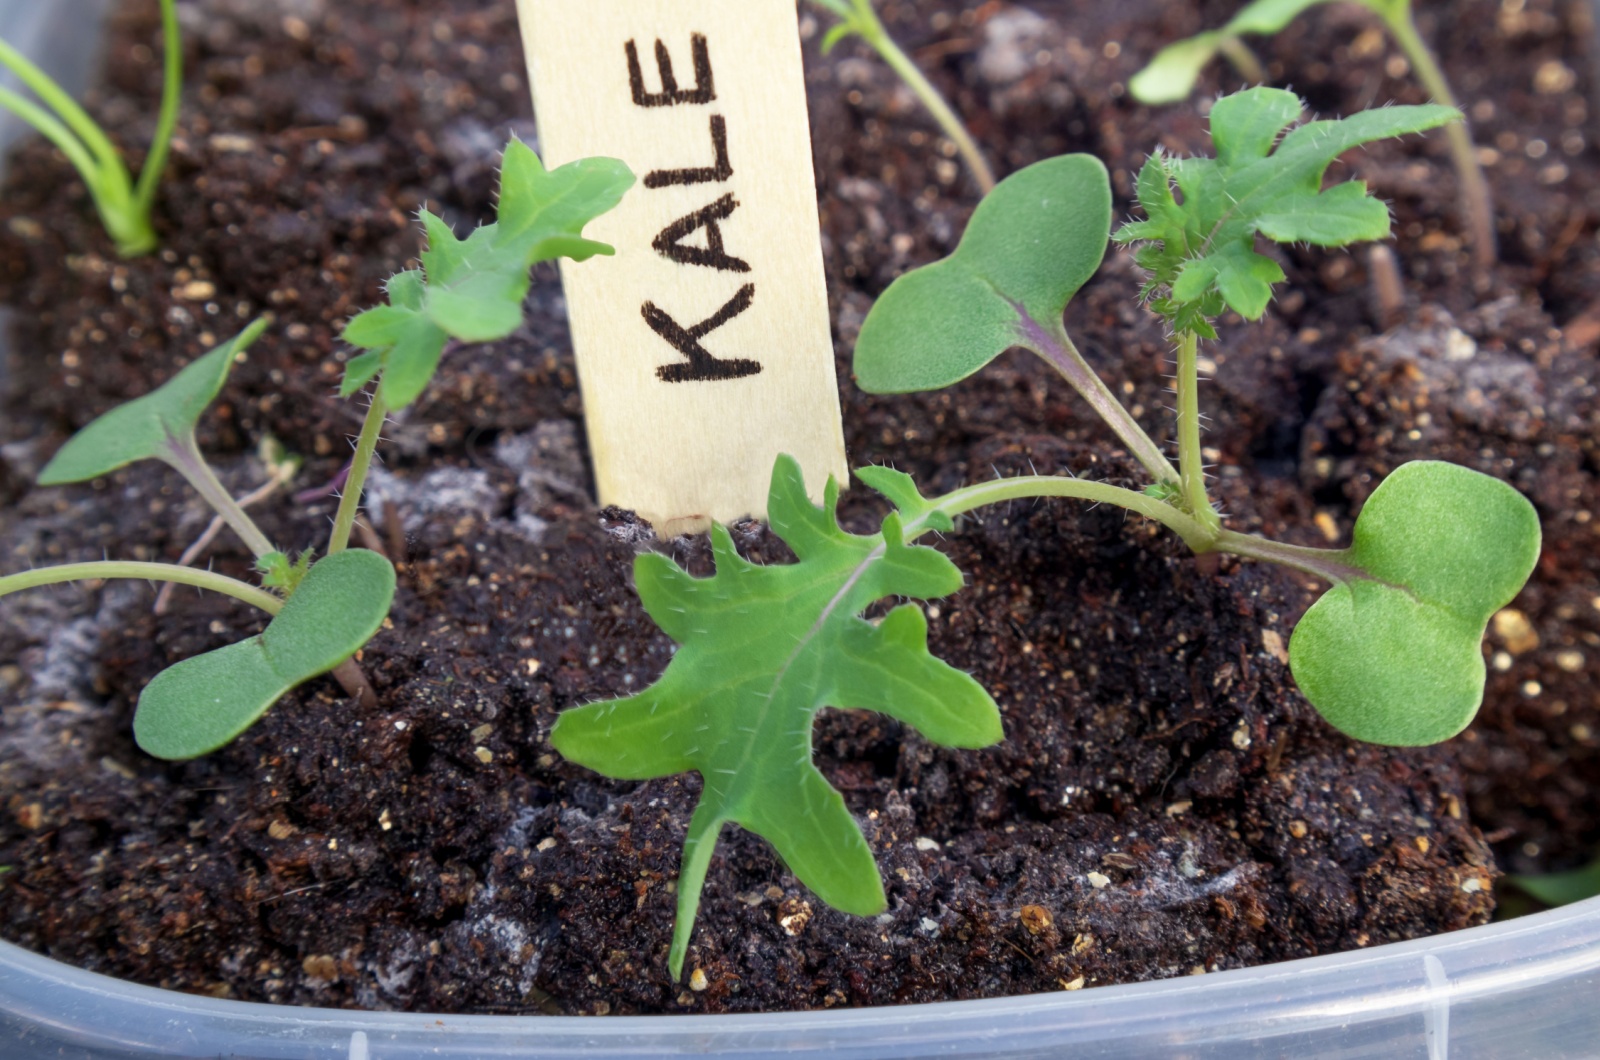
1. First Stop Is Starting The Seeds
Kale plants can sprout up from seeds either indoors or outdoors.
If you’re itching to get started before the last frost date and extend the growing season, why not kick things off indoors about six weeks prior? It’s like hosting your very own kale pre-party!
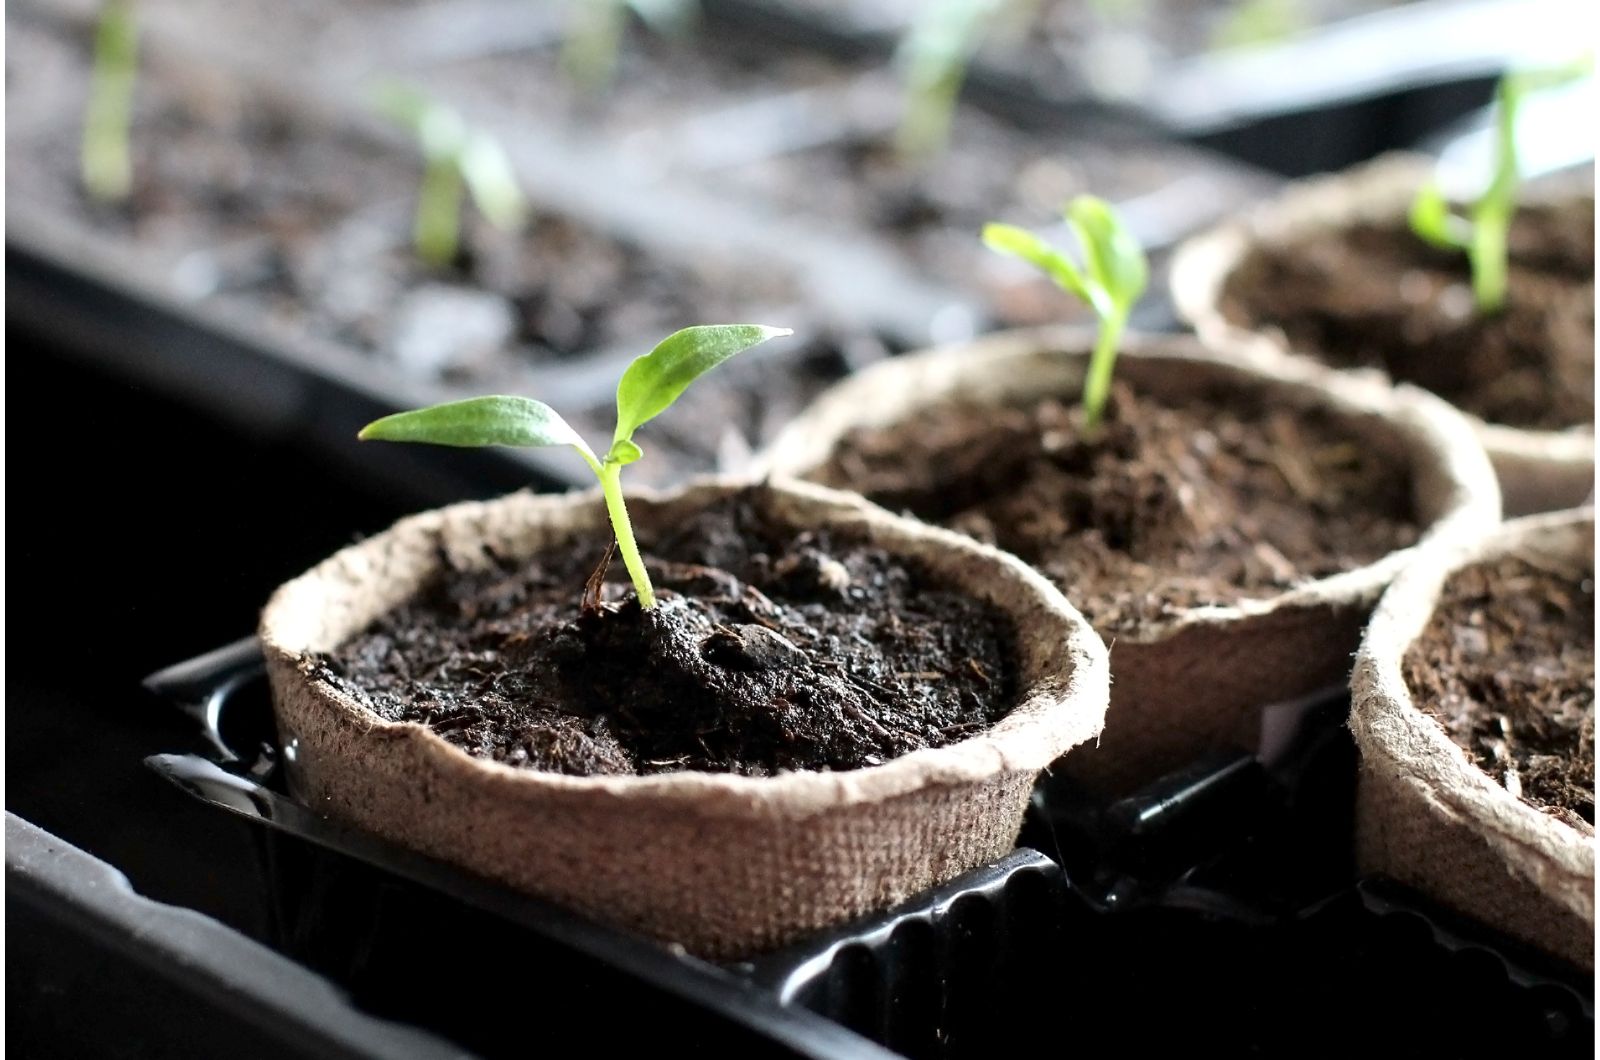
Simply grab some trays, modules, or small pots and fill them up with nutrient-rich potting soil (the kind that makes seeds feel right at home).
Sprinkle those seeds delicately on the surface, cover them up with a smidge more soil or vermiculite, and voilà – your baby kale will pop up in no time.
Keep the soil nice and moist, give your seeds plenty of sunshine on a bright windowsill or in a greenhouse, and watch those little green babies grow and thrive.
Once they’re big enough to handle, you can give them a little extra room to spread their roots, and when there’s no more frost, it’s time to transplant those beauties outdoors.
Alternatively, if you’re feeling a bit rebellious and want to sow seeds directly into the container after the frosty season has passed, go for it!
Plant those seeds a quarter-inch deep, cover them with soil, and keep them hydrated.
Related: A Complete Guide To The Kale Growing Stages & What To Expect
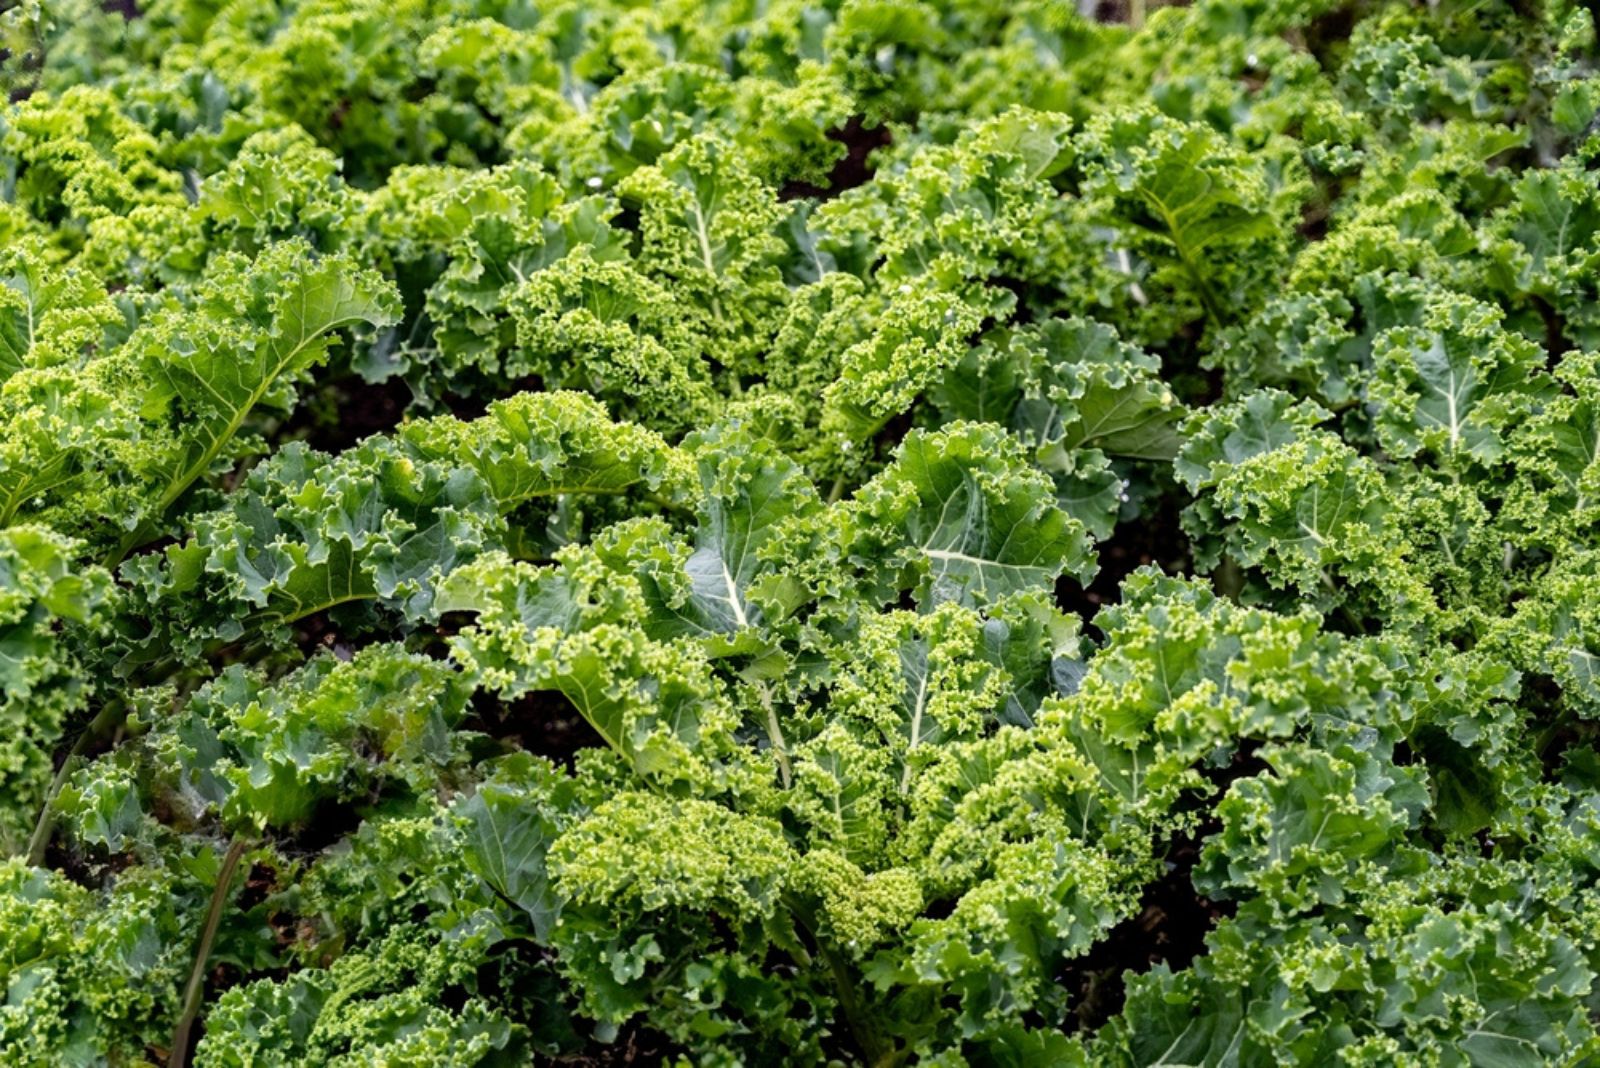
2. Then, Find A Place Where Your Kale Will Thrive The Most
Although kale is a sun-loving veggie, it can appreciate a bit of shade now and then.
Kale thrives best when it’s soaking up around six hours of sunshine every day, basking in cozy temperatures of around 65 degrees Fahrenheit.
But when the heat starts cranking up and the thermometer shows 80 degrees, your kale might start feeling a tad uncomfortable. That’s when some afternoon shade comes in handy!
All you have to do is put those containers away in a shadier spot in your garden, and then you can easily bring them back once the scorching heat is no longer an issue.
3. Water Your Way To A Thriving Kale
Kale plants thrive on that H2O, especially when they’re potted up.
Containers have this sneaky way of drying out quicker than the soil in the ground, so you’ve got to keep a close eye on those moisture levels.
In the sizzling summer heat, your kale might even be craving a drink on a daily basis.
So, water often and water deeply, my friend. Let that liquid seep down until it’s practically coming out of the drainage holes in the bottom.
Slap on some mulch to lock in that moisture and keep those roots cool as cucumbers.
Now, if you’re feeling extra fancy, you can level up your watering game with some high-tech gadgets.
My sister swears by her trusty plant watering globes – they’re like little magic wands that deliver the perfect amount of water to her potted veggies. Plus, bonus points for only needing a weekly refill or whenever they’re empty.
Also read: Use These 8 Top-Notch Tips To Start Your Own Container Garden
4. Don’t Forget To Feed Your Kale With Some Plant Food
Kale is one of those hungry veggies that need some plant food ASAP, especially when they’re all potted up.
You can give them a boost with some balanced fertilizer right off the bat. But you’ll want to keep those nutrients coming throughout the season or your kale might start feeling starved (I’m talking stunted growth and yellow leaves).
So, to keep the good times rolling, whip out that water-soluble fertilizer every two weeks like clockwork.
And if you’re feeling extra generous and wanna crank up the volume on that growth, a splash of nitrogen with some fish emulsion fertilizer will have your kale doing the happy dance in no time!
5. Protect Your Kale From Feathered Dangers
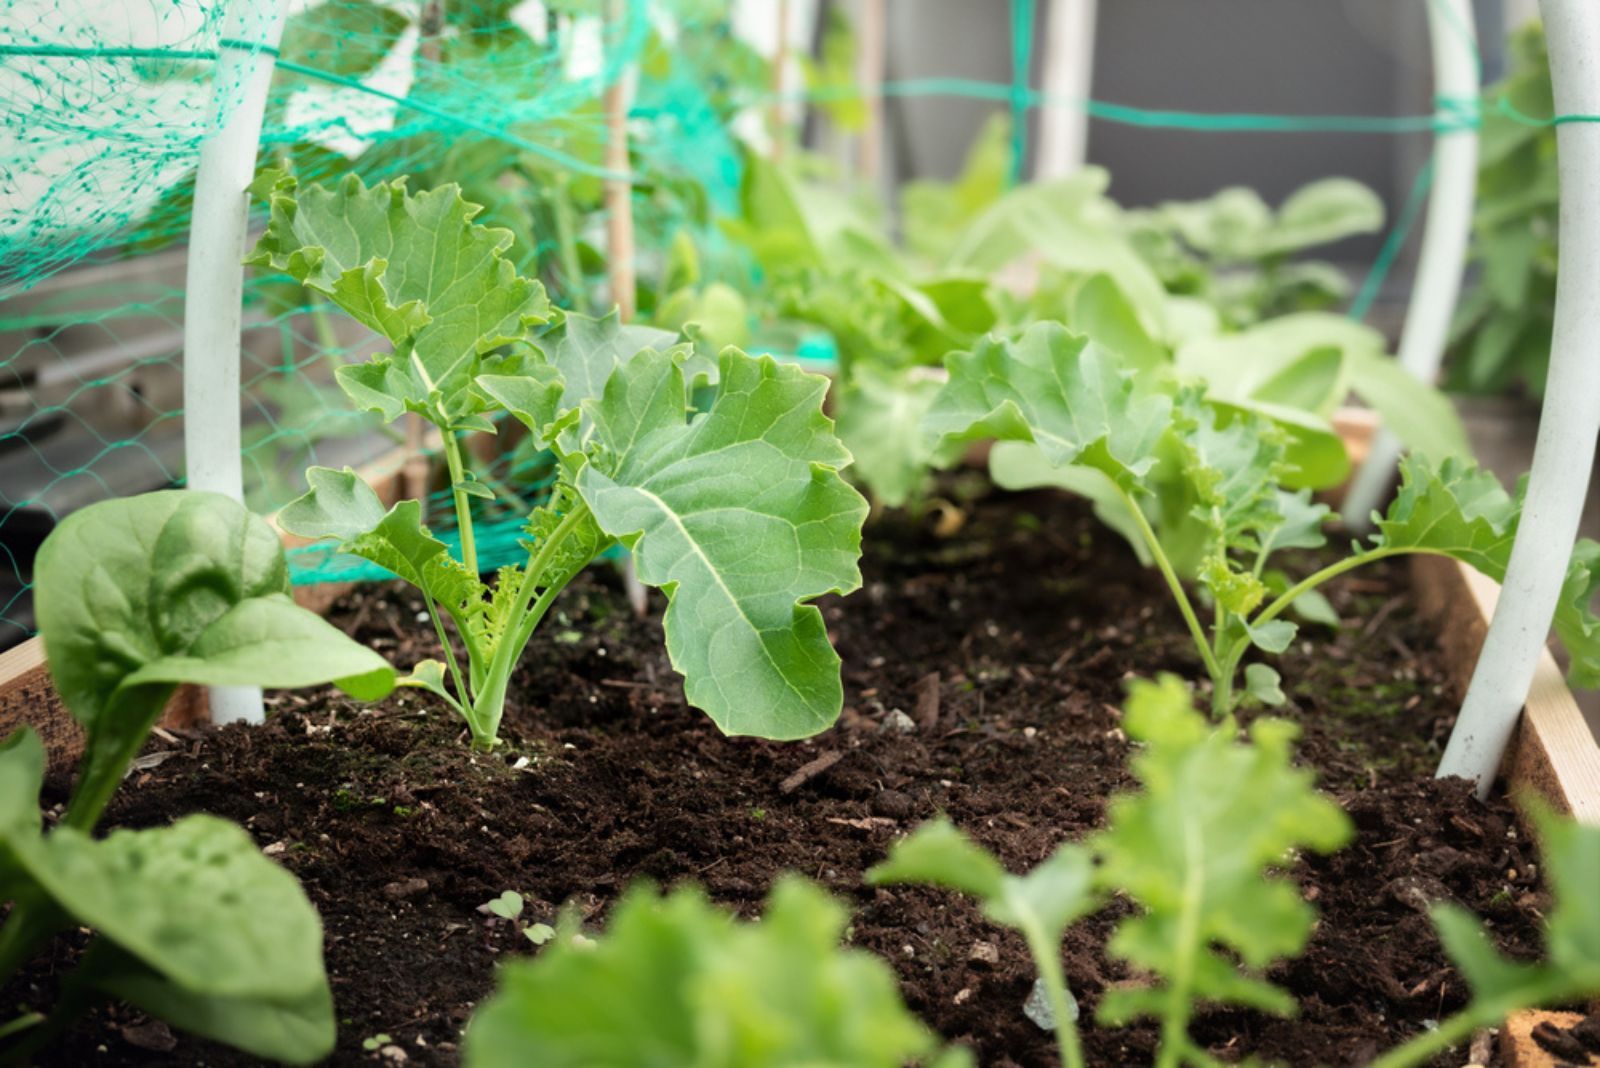
With great height comes great responsibility; and sometimes a little support is needed to keep those towering kale from toppling over. Luckily, trusty stakes are here to save the day!
Just a little extra support from these stakes and your kale will be standing tall and proud.
You have to be careful though, as those pesky pigeons love to nibble on your precious plamts. Covering your kale with fine netting might keep those hangry birds at bay (and not just any netting – it’s gotta be ultra-fine to keep out those cabbage white butterflies as well).
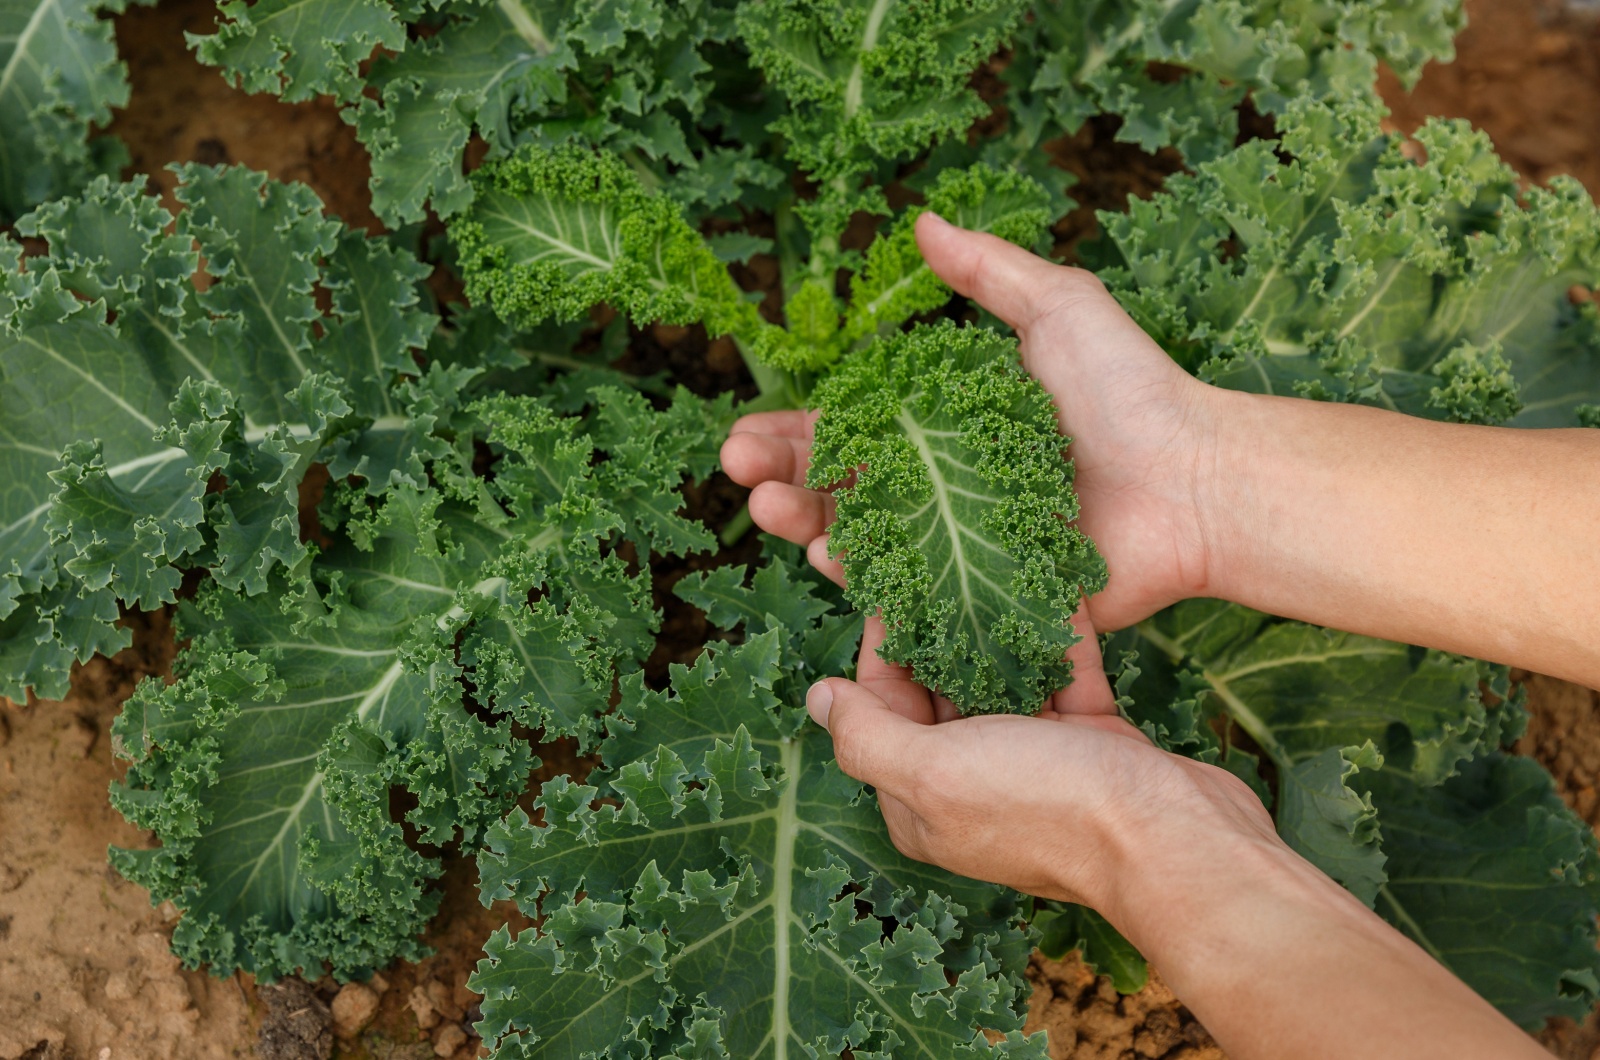
6. Now It’s Time To Harvest Your Potted Kale
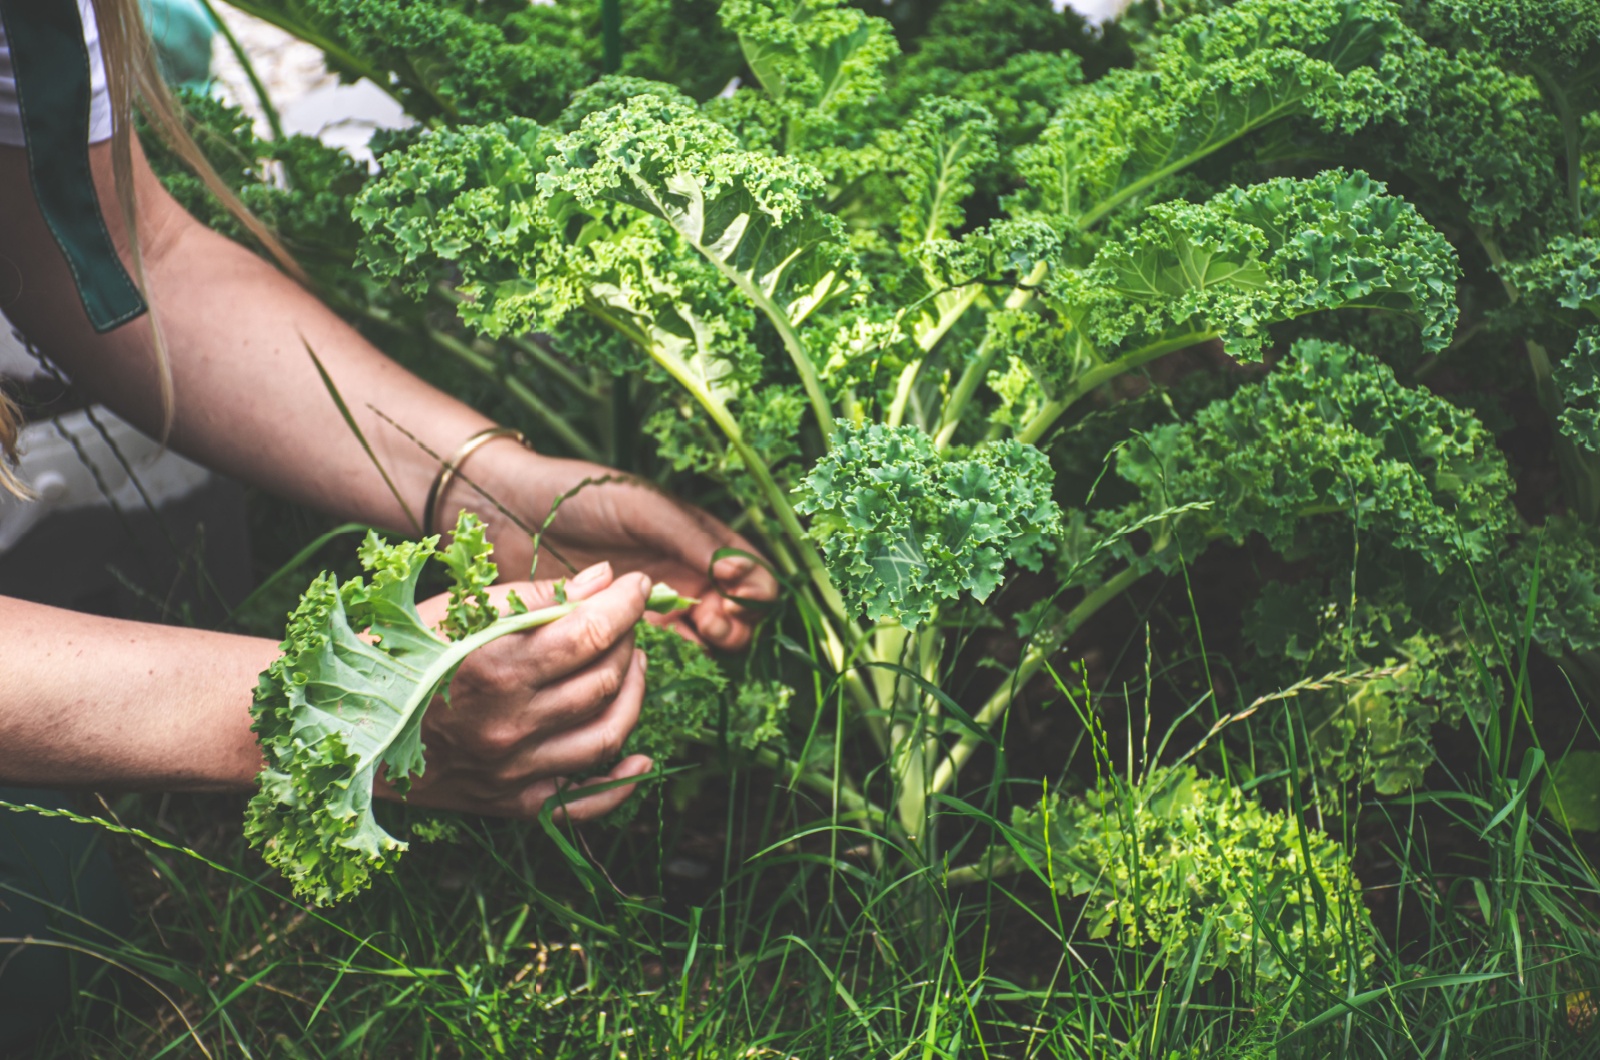
If planting and growing were smooth sailing, you’ll get to the harvesting part super quickly!
Start by plucking the outer leaves first, working your way up from the bottom of the plant. Think of it as a treasure hunt for the crispiest, most vibrant greens!
The best feature of kale is its generosity – this crop keeps on giving, so you can harvest it as much as your heart desires.
Now, here’s a little secret: kale gets even sweeter after a frosty embrace. So, if you’re lucky enough to experience a frosty night or two, your kale will reward you with an extra dose of sweetness.
Congratulations, you’re now equipped with the ultimate kale-growing wisdom!
Who knew that all it takes is a little pot and some green thumbs to transform your space into a kale paradise?
I bet you are excited to taste the freshness of homegrown kale in your salads, smoothies, and stir-fries, so don’t be afraid to get your hands dirty and show your leafy green some love!
Also read: Use These 2 Methods To Store Kale And It Will Stay Crisp And Fresh For Long